

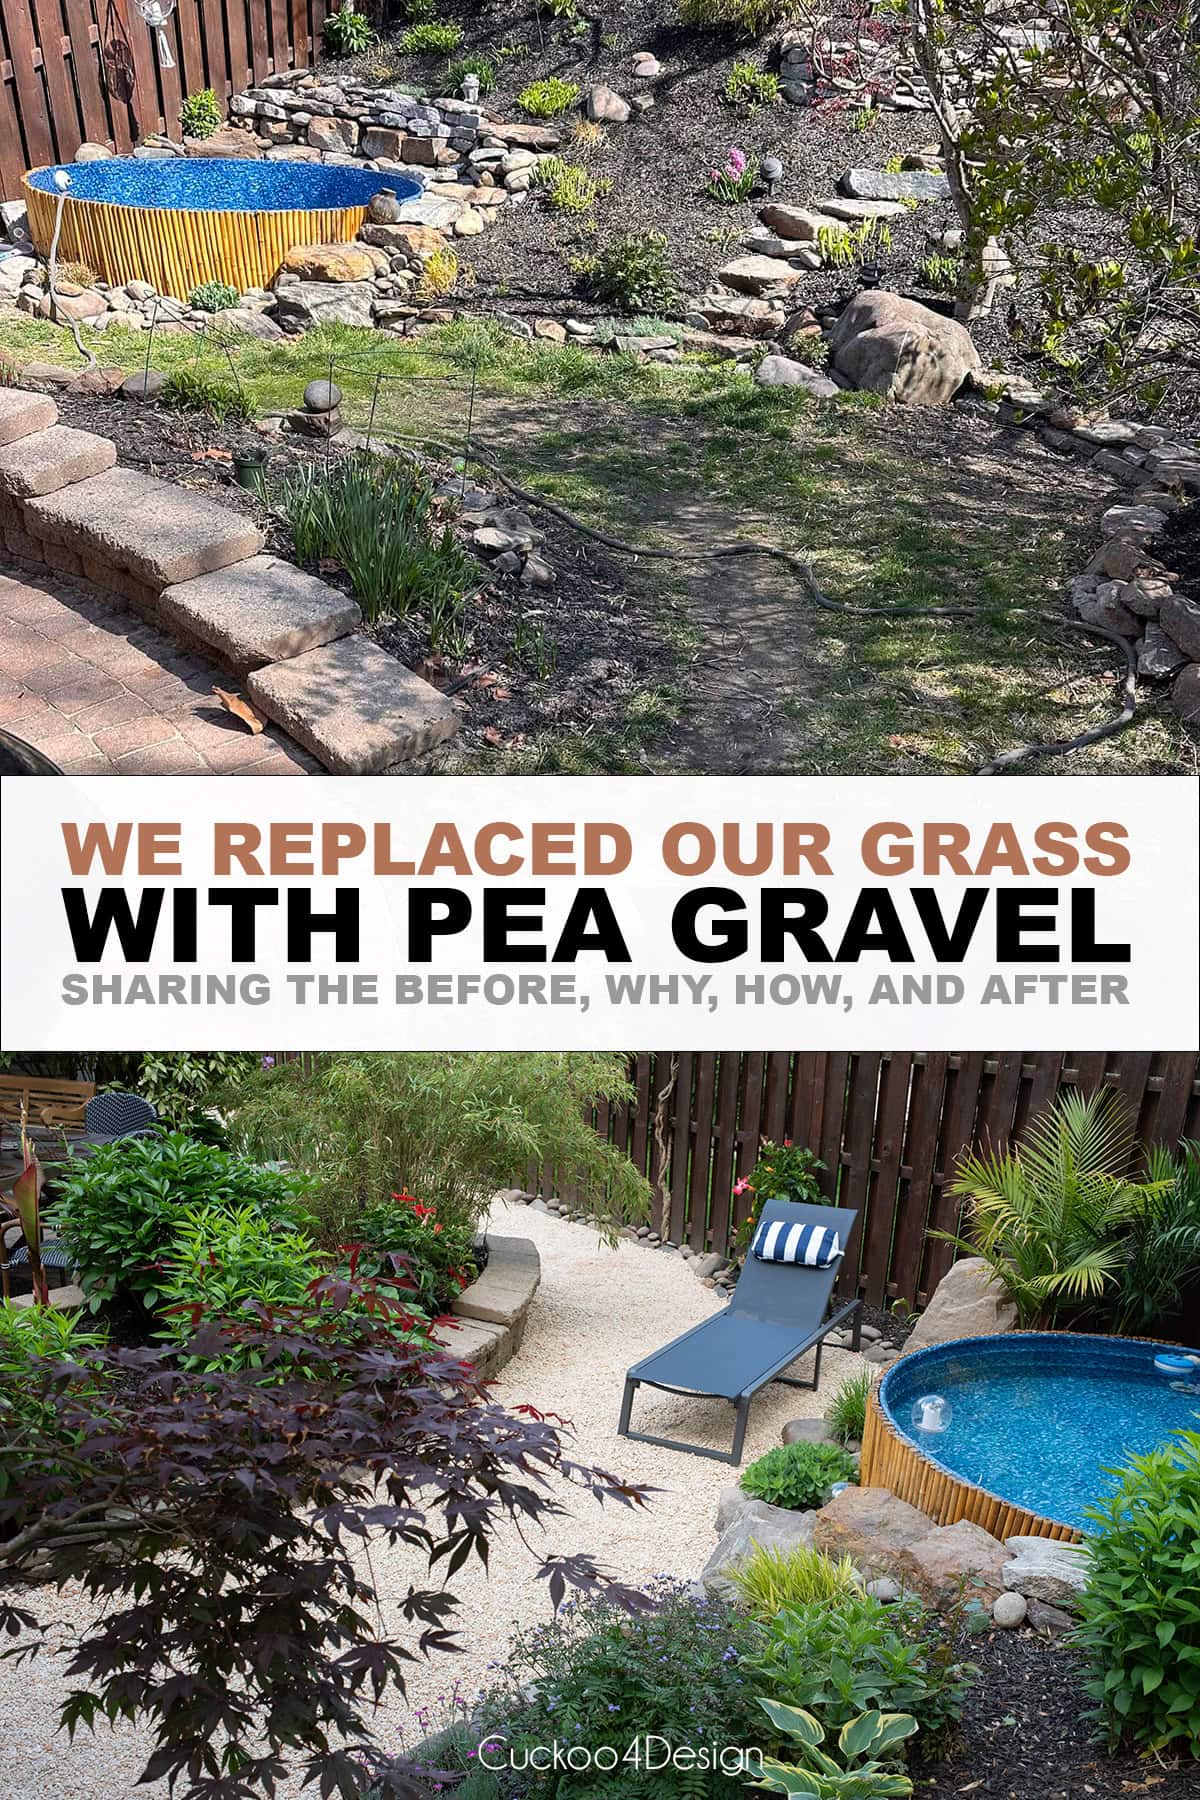
Why We Replaced Our Grass With Pea Gravel
If you have been staring at a sad, patchy lawn area due to issues like heavy foot traffic and wondering if there is a better solution, you are in the right place. We finally decided to replace grass with gravel in our backyard, and I want to share not just how we did it but also whether it actually makes sense for your situation, because honestly, it is not the right choice for everyone.
Why we finally gave up on grass
This post may contain affiliate links from which I will earn a commission at no extra cost to you. View my full disclosure policy.
For about 20 years, we have been fighting to grow grass in our backyard and losing. I will be honest with you, though, there were times when it actually looked decent. Early in the season, when everything was green and growing, I could convince myself we had it under control. But by late summer, when it was dry and hot, and everyone was walking through it constantly, the grass would give up again, and we were back to patchy grass with bare dirt areas.
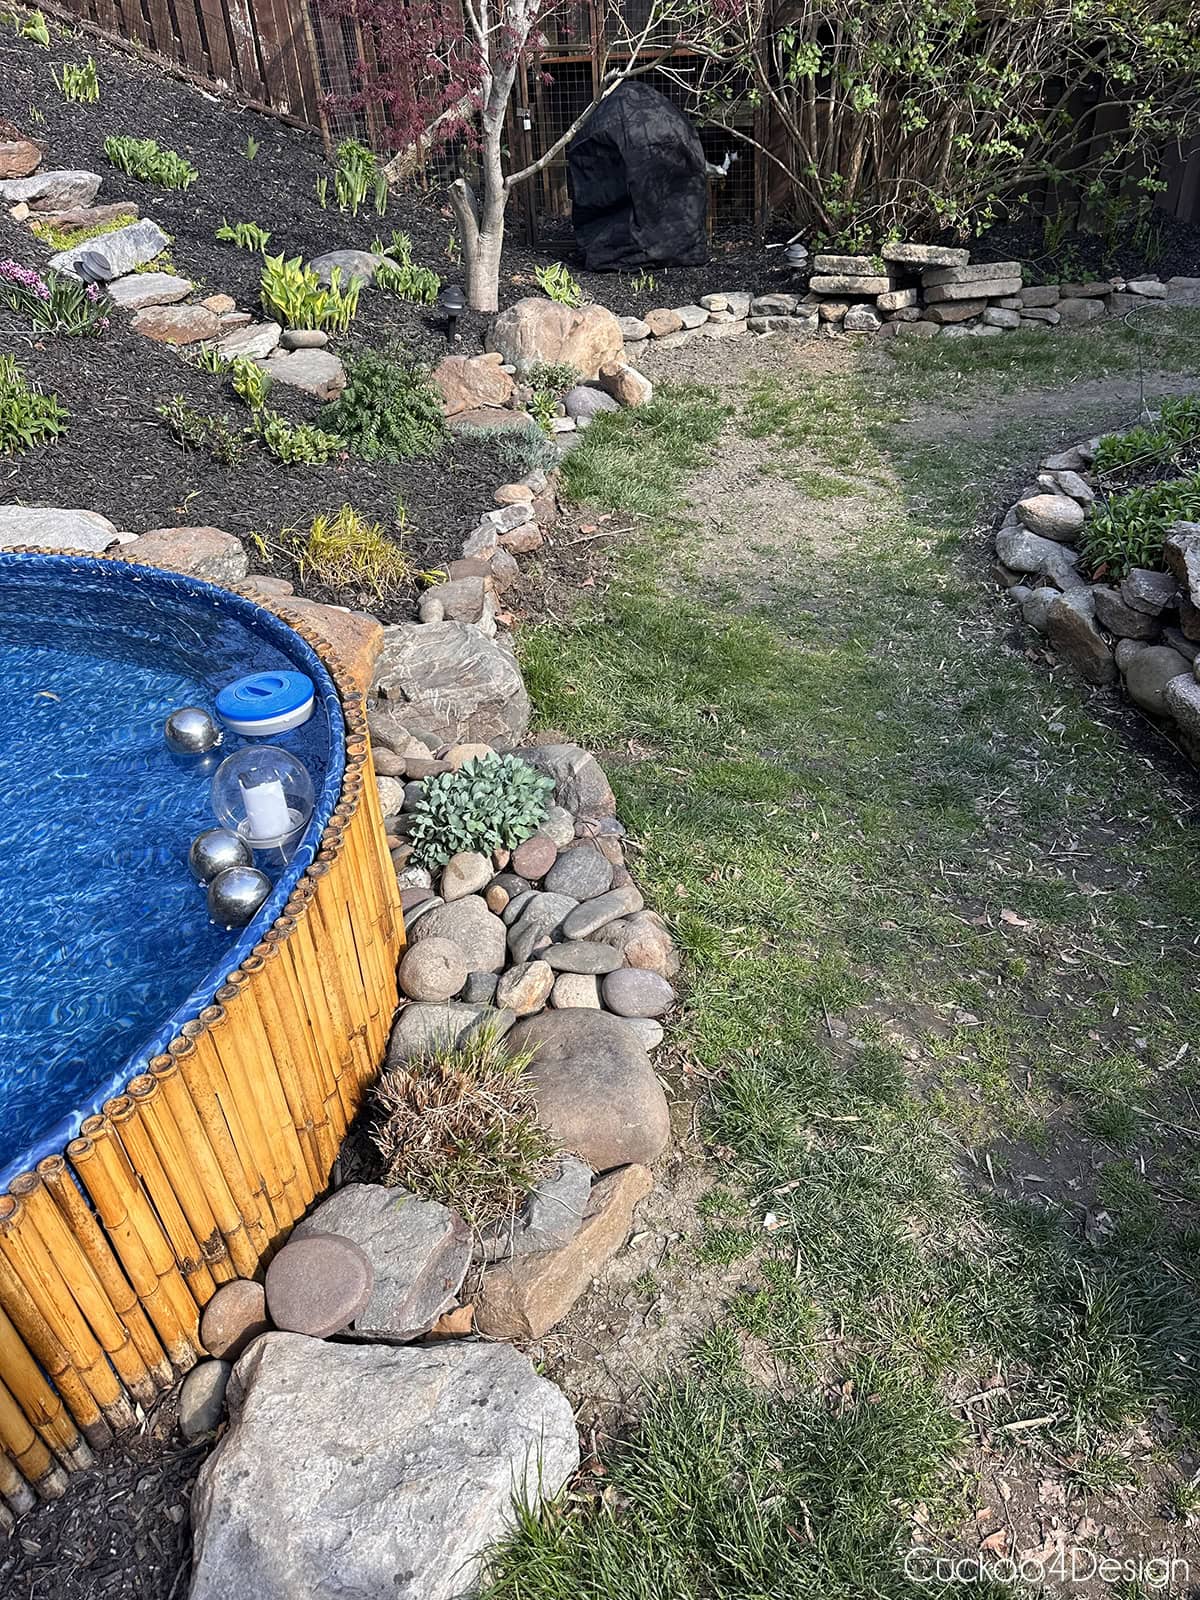
That is also why a lot of my blog photos of my garden do not look as bad as reality was. I took them in spring when things were still relatively okay, or I found the angle that made it look better than it was. The truth is that the areas where we walked the most never really recovered year after year. On top of that, one section near our stock tank pool had a drainage problem that turned into a muddy mess every time it rained.
We looked into artificial turf because that seemed like the logical solution. The cost stopped that conversation pretty quickly. Installing it yourself is pretty difficult, too. So we kept living with it until we finally decided at the end of last summer that pea gravel was the answer.
The areas where we had grass were never a sprawling, open lawn to begin with. They were more like wide walkways wrapping around our flower beds and connecting to the patio, plus a section along the side of the house where we are setting up a game area for cornhole or quoits. So yes, we replaced all of our grass with gravel, but the scale of what we had was walkway-sized, not a full backyard lawn.
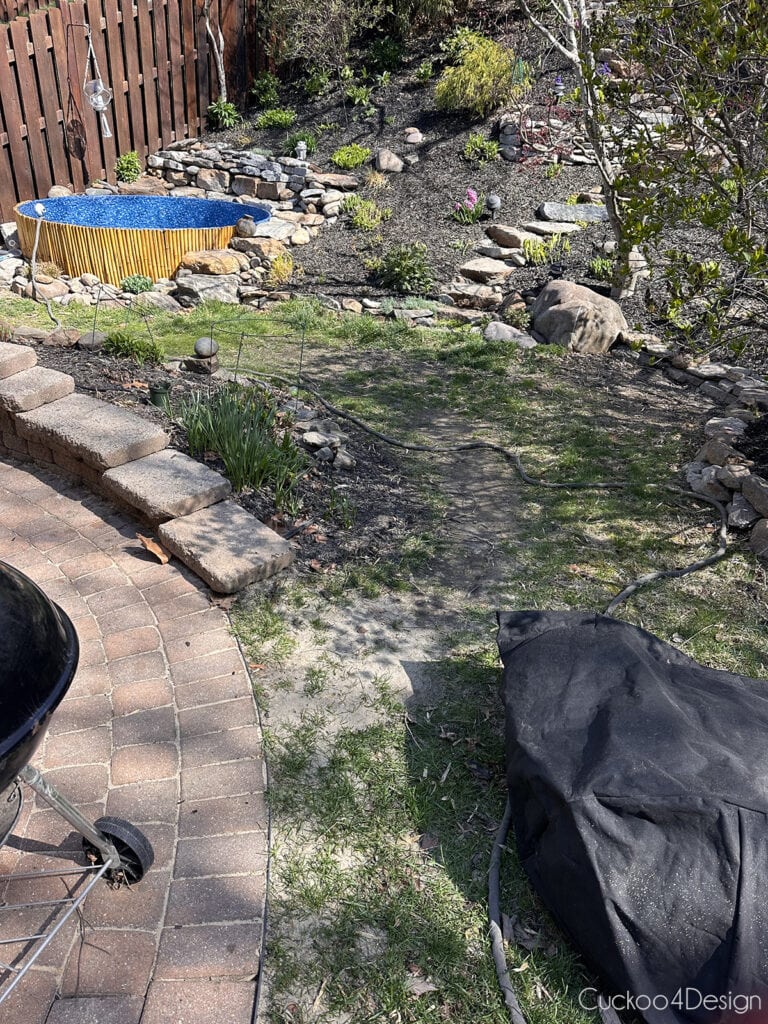
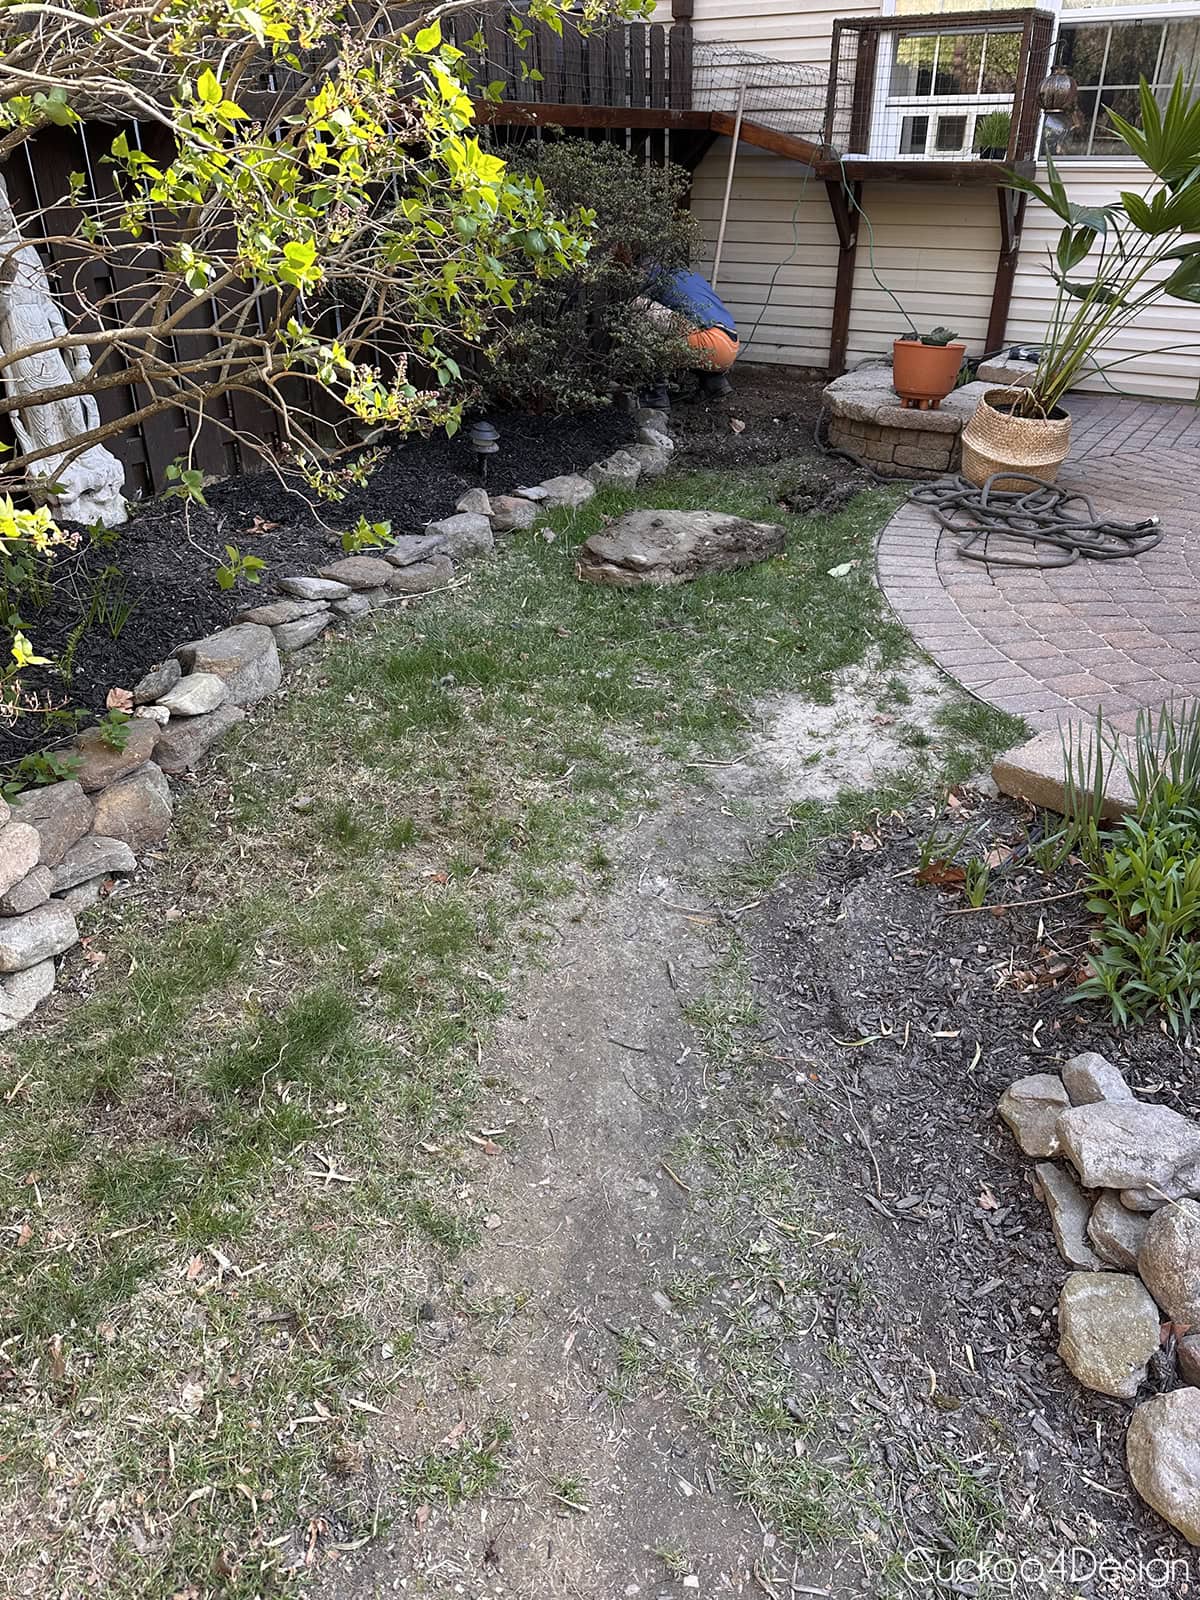
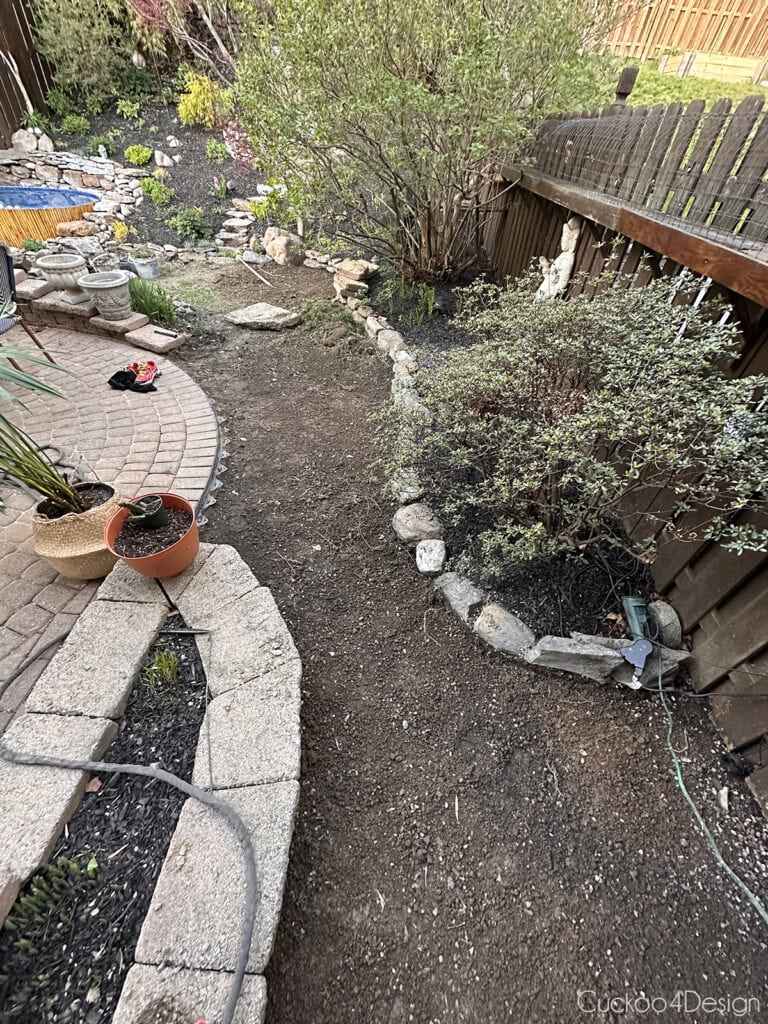
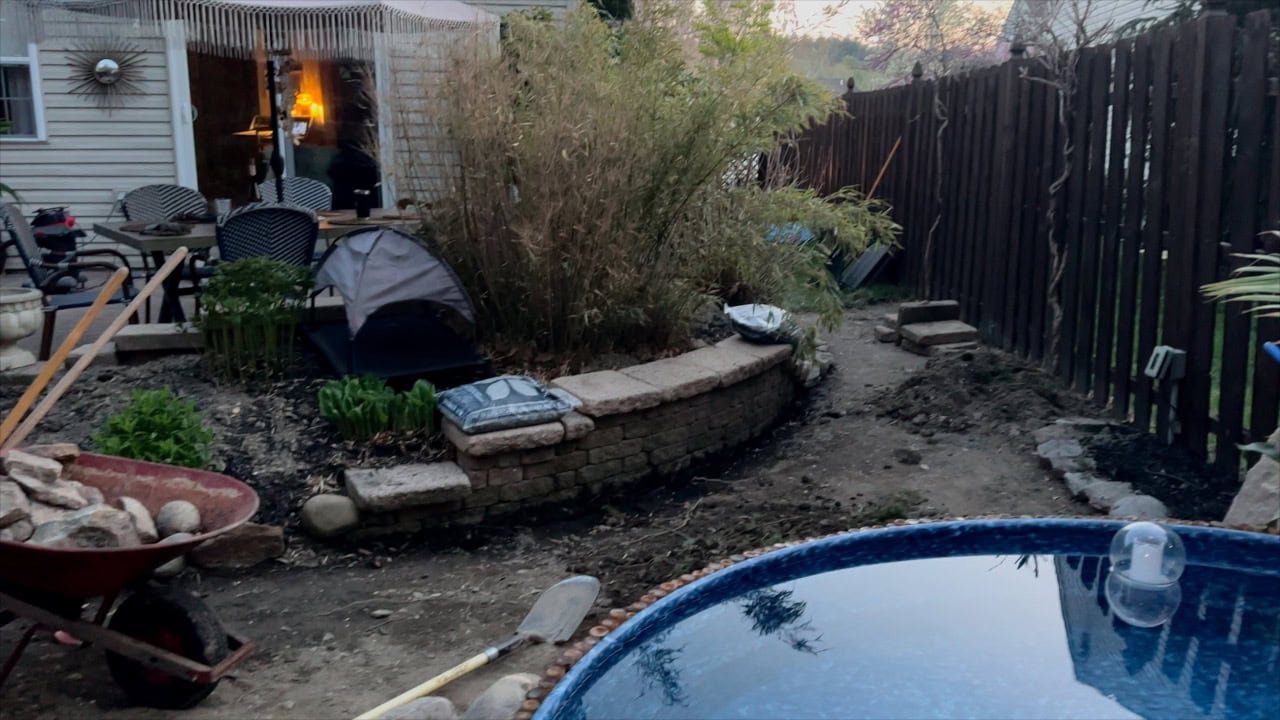
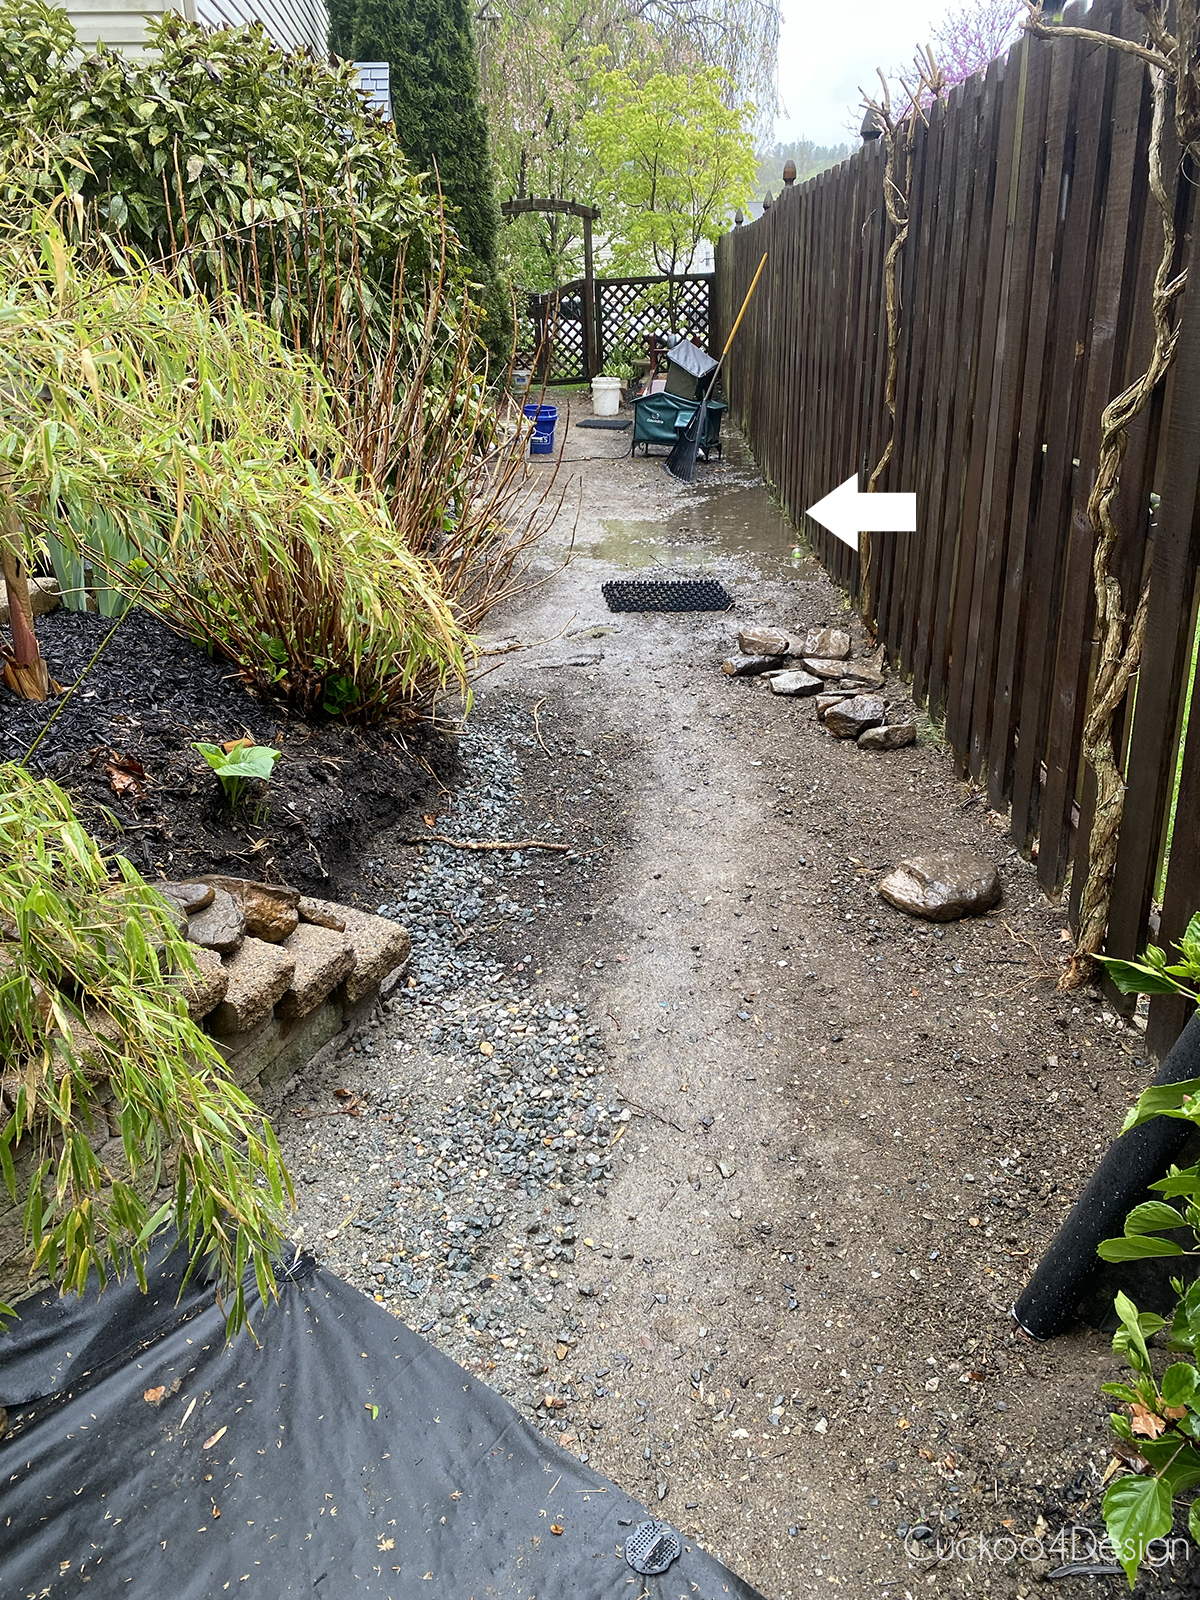
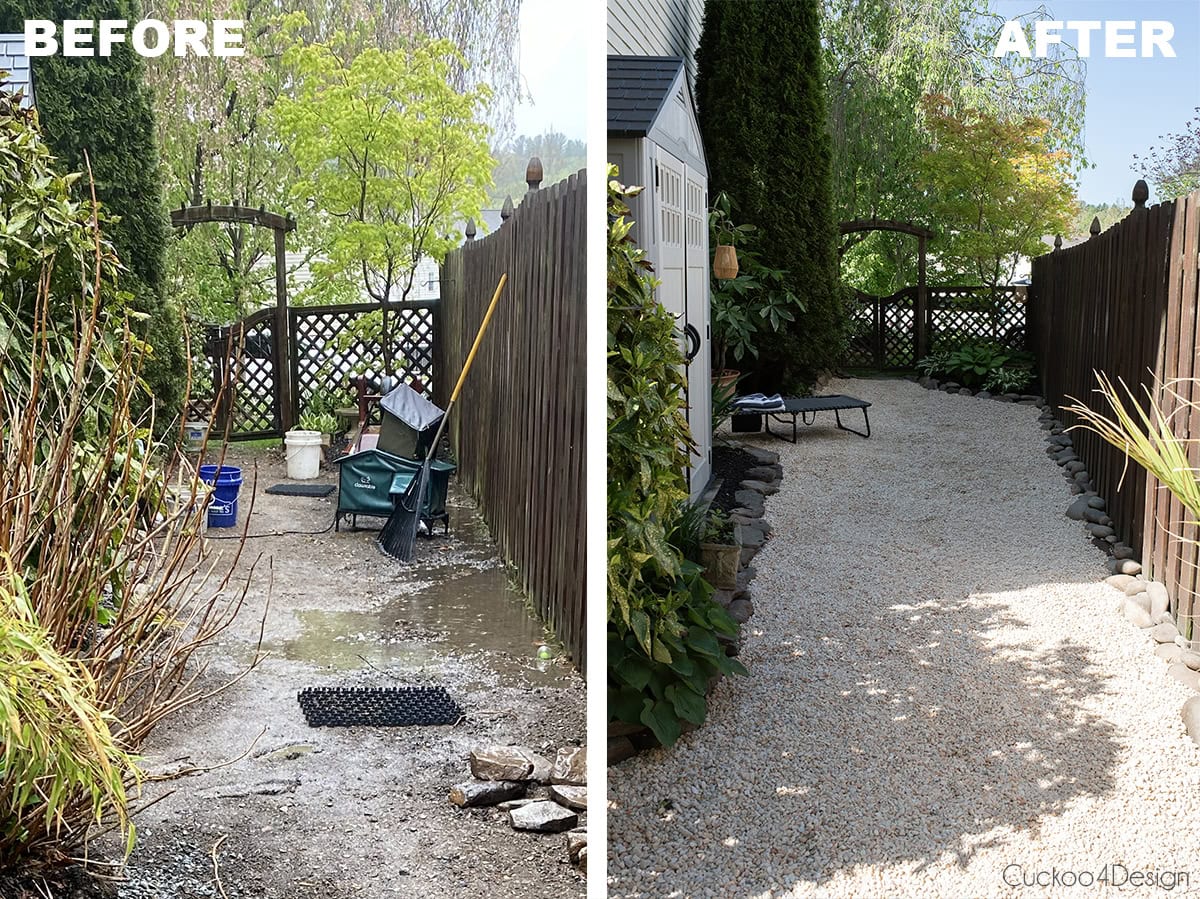
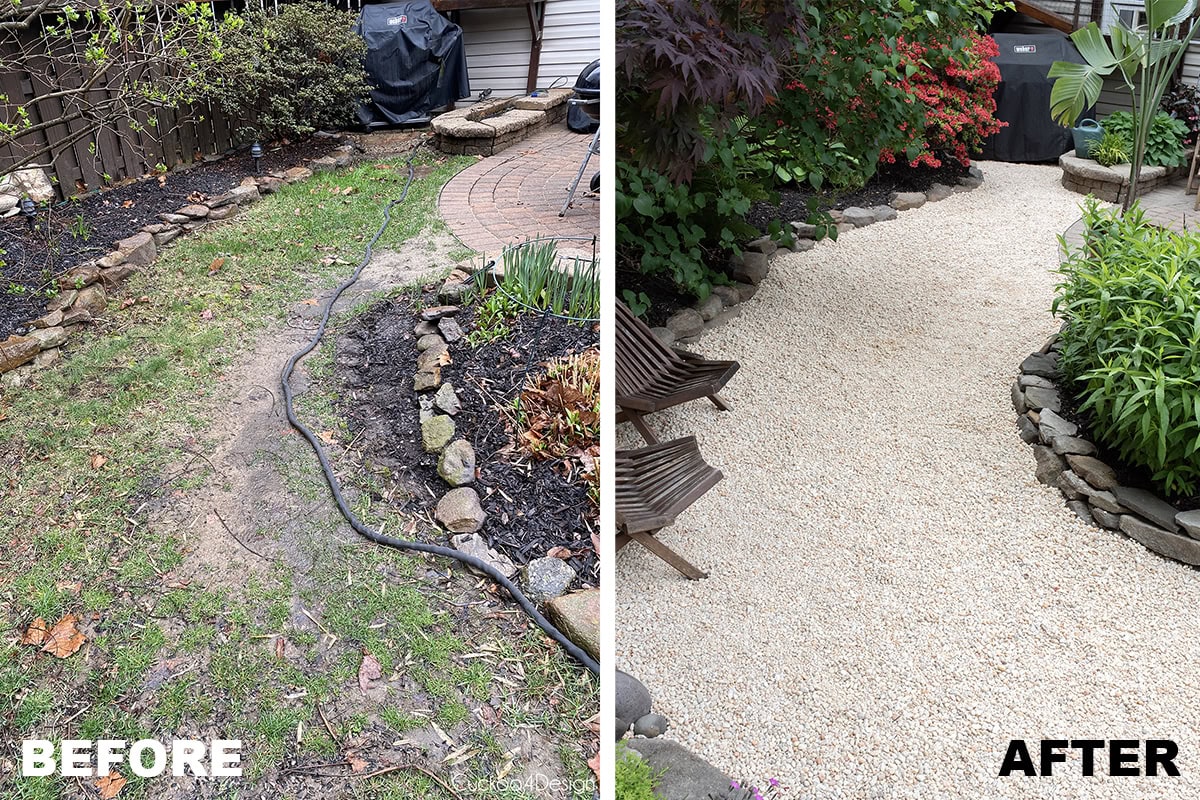
This is what it looked like this spring and you can clearly see the trampled paths where people walked the most:
Pea gravel vs. grass: Who maybe should and who probably shouldn’t make the switch
| Your yard situation | Good fit? | Why |
|---|---|---|
| You want low maintenance | It depends | You trade mowing and reseeding for debris cleanup and occasional weeding. Whether that feels easier is personal. |
| Drainage problems in a specific area | Yes | You can add drainage rock underneath before laying gravel |
| Grass won’t grow due to foot traffic or shade | Yes | Gravel doesn’t care about either |
| Replacing a walkway or a narrow side yard | Yes | Smaller areas are easier to maintain and look intentional |
| Pool, hot tub, or stock tank nearby | Yes | Keeps the area clean underfoot, no more mud tracked into the water |
| Want a game or a lounge area | Yes | Level and stable for game areas or seating areas; doesn’t get destroyed by foot traffic |
| Existing flower beds and plantings nearby | Yes, with care | Flower bed edging keeps gravel contained; fabric underneath prevents weeds and stops dirt from mixing with the gravel |
| Lots of overhanging trees dropping debris | Think twice | Leaves and twigs are harder to clean out of gravel than grass. We have lots of trees, and we will see this fall how the cleanup will be. Go in with realistic expectations. |
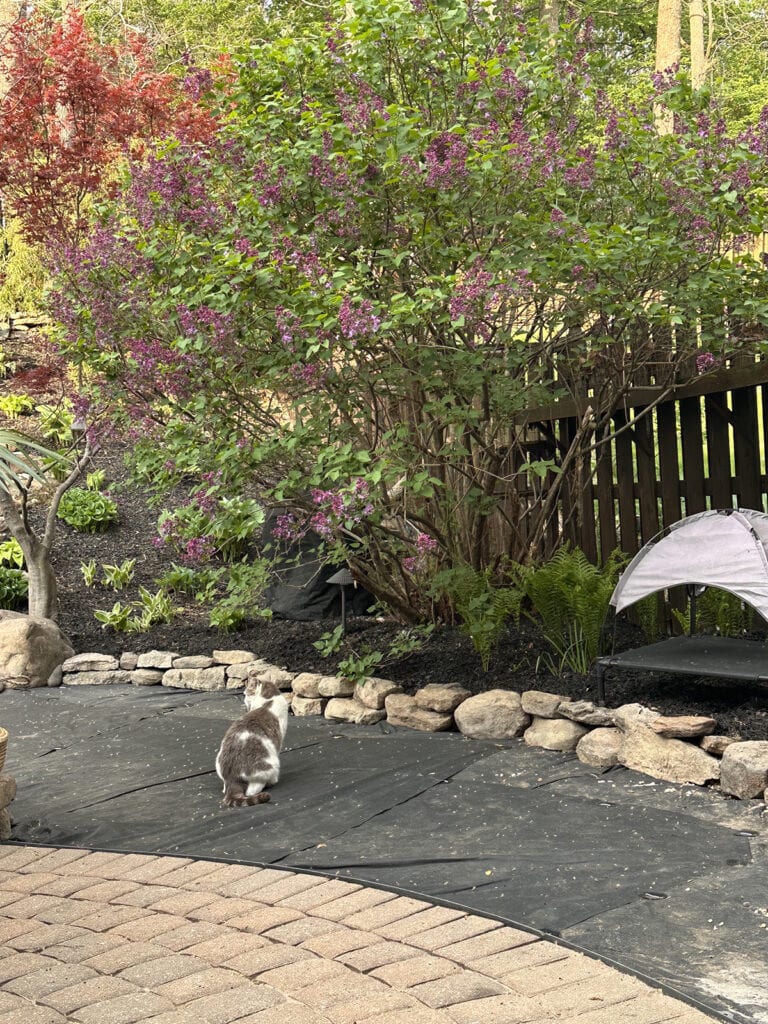
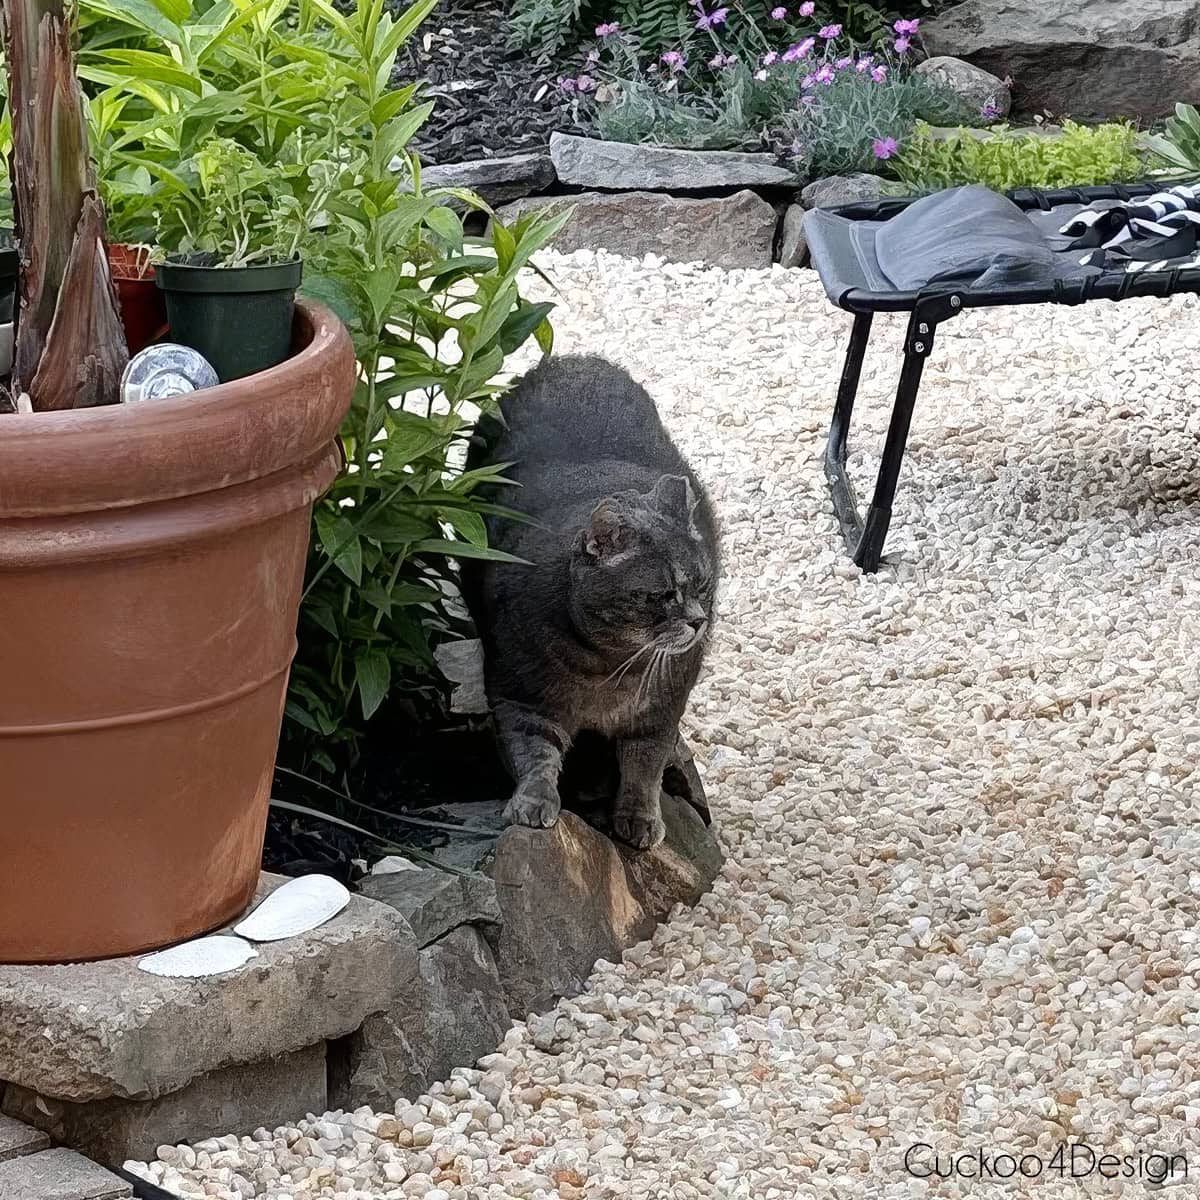
| Children or pets who play barefoot | Think twice | I would have never guessed that our cat hates it this much, but our neighbor’s dog and barefoot 5-year-old didn’t mind it at all. |
| Do you get droughts | probably yes | We get annual droughts by the end of the summer, when we can’t water the lawn, and now we don’t have to anymore. |
| Replacing your entire main lawn | Probably not | A sea of gravel with no structure looks unfinished and raises heat |
| You want green and lush again someday | No | Gravel is not easily reversible once the fabric and base are in. It’s a lot of work to remove it again. |
How we replaced the grass with gravel
Here is a quick video which you can also watch on my YouTube Channel if you prefer. I’m showing a clip at the end of last summer, of what it looked like, too. It’s not a tutorial, but rather to show you in video form what it all looks like before and after.
And I’m not going to lie, we had a lot of arguments during this project. My husband doesn’t want any input along the way, which isn’t possible if I like to do it the right way, and he wants to cut corners whenever he can. This was a ton of work for both of us, but the heavy lifting fell on him for sure. And then if I redid something that he did, he got angry. In the end, now he is glad that I’m stubborn and stood my ground.
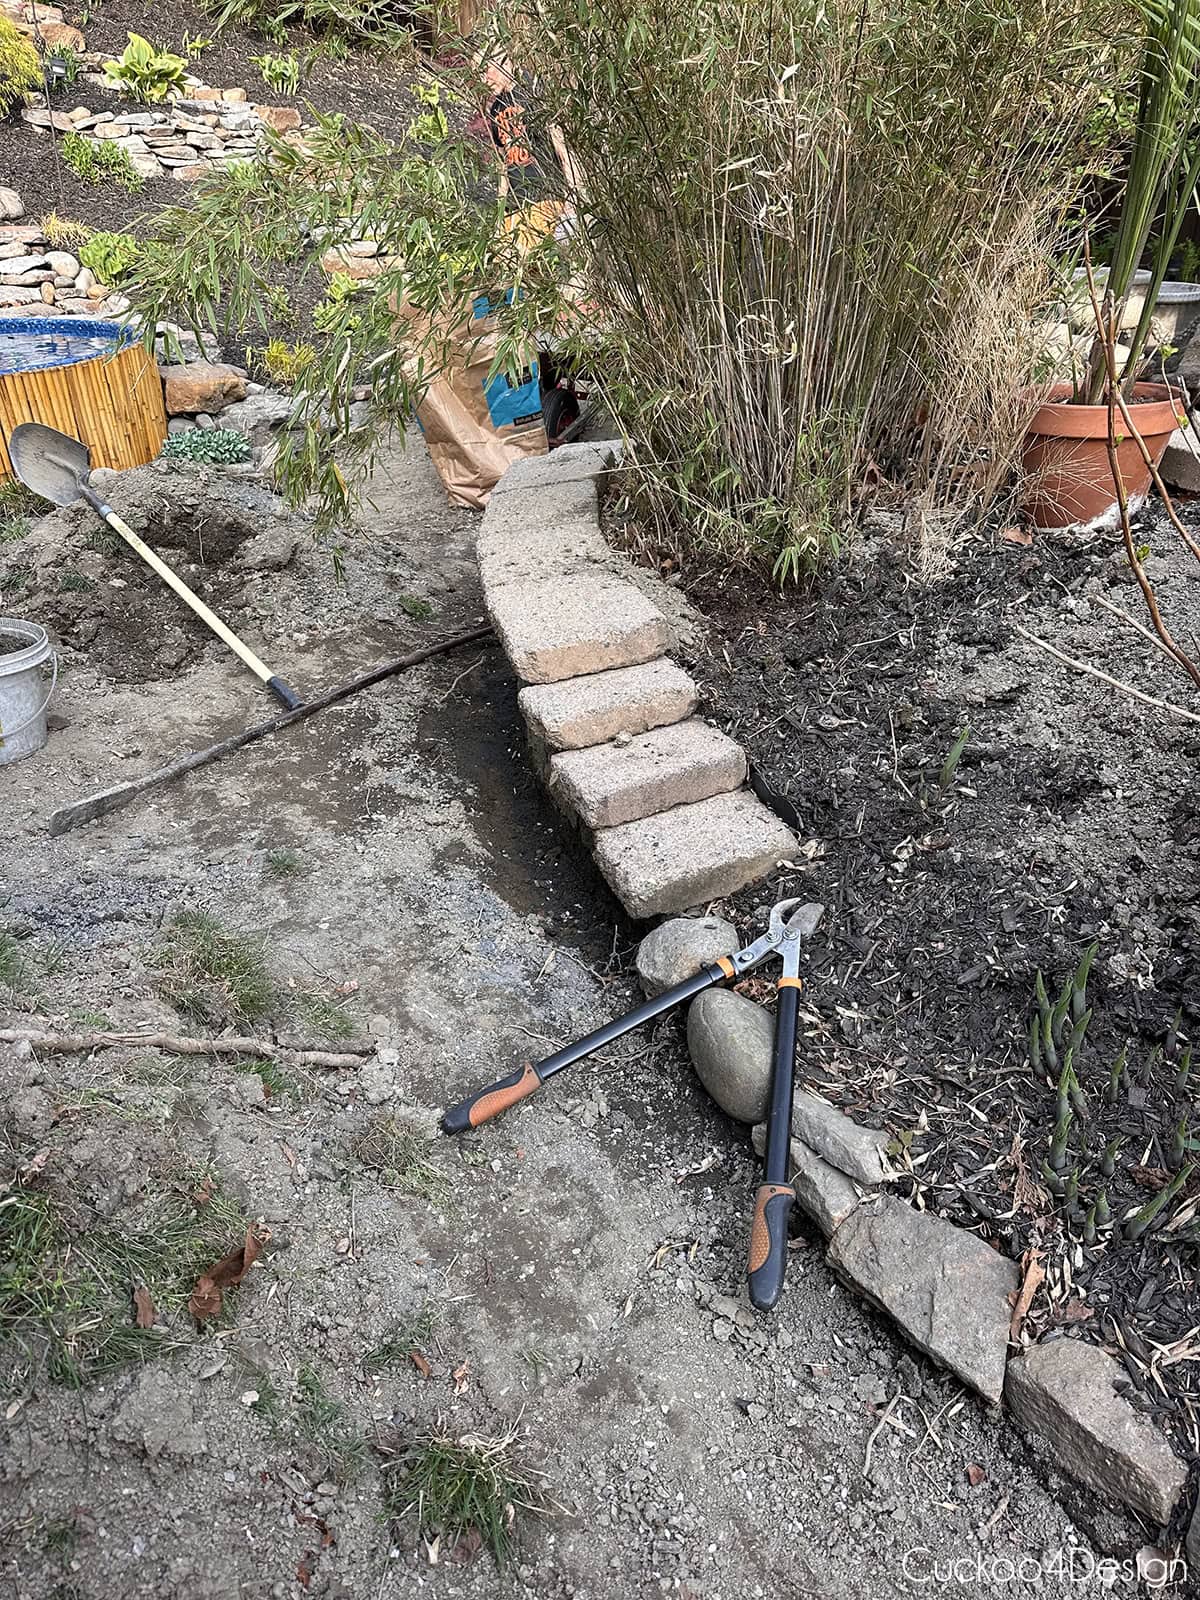
Removing the grass
We first wanted to rent a sod cutter, but then ended up just removing the grass and top layer of soil with a shovel. The cutter sure would have made things go faster, though.

Addressing the drainage issues
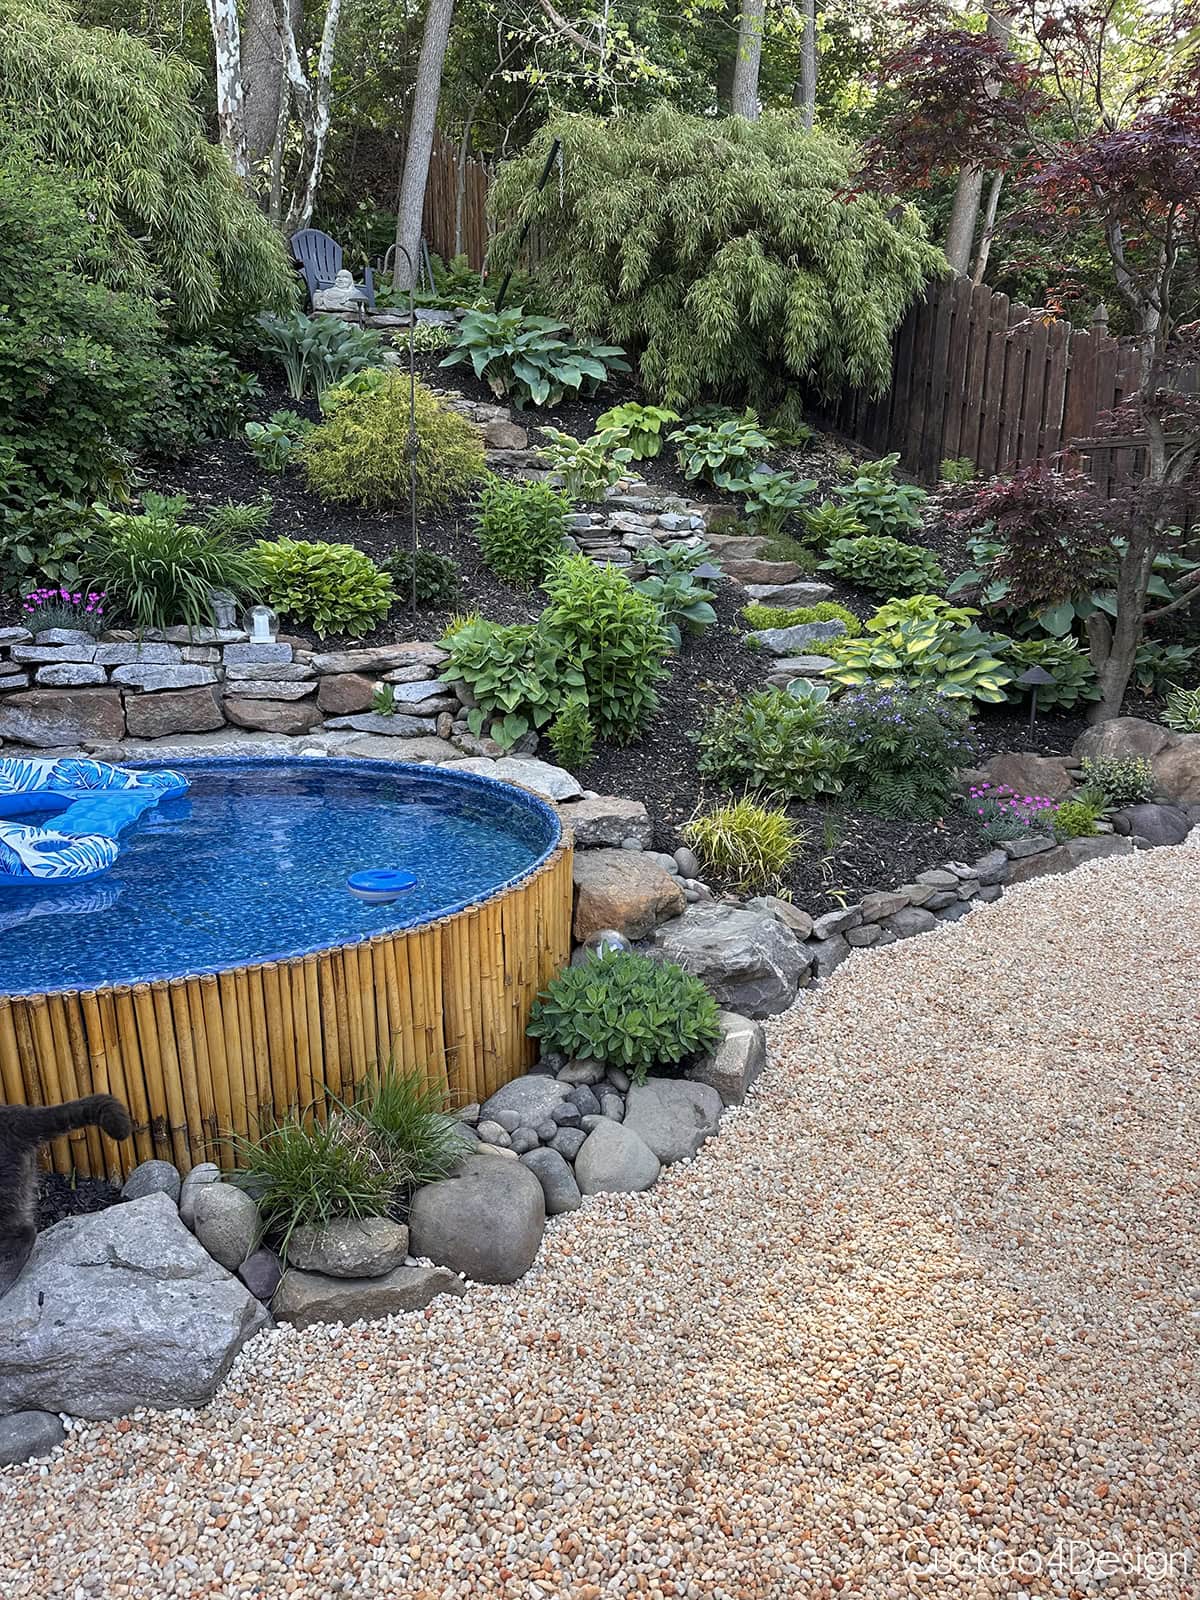
The area near the pool required more prep work than the rest. As I mentioned, there was a drainage issue, which we think made the paver wall lean forward a bit over time. We dug a deeper trench along the wall, added drainage rock followed by paver base, and then laid landscaping fabric over everything before putting the gravel down.
Here you can see the slightly leaning wall, which we were not able to fix, even though we tried our best. Now that the project is done, you can barely tell that the wall is leaning slightly. My husband also dug a trench behind the wall that we also filled with drainage rock, so the dirt didn’t keep washing through the wall and eventually onto the gravel. I couldn’t stand that previously, when I pressure-washed the wall, the mud kept running through the wall cracks. I also think that’s the reason the clumping bamboo was dying, because it just got too much water. There was white clumpy mold at the base, which I removed and started spraying with copper fungicide. Hopefully, this helps the bamboo get healthy again.
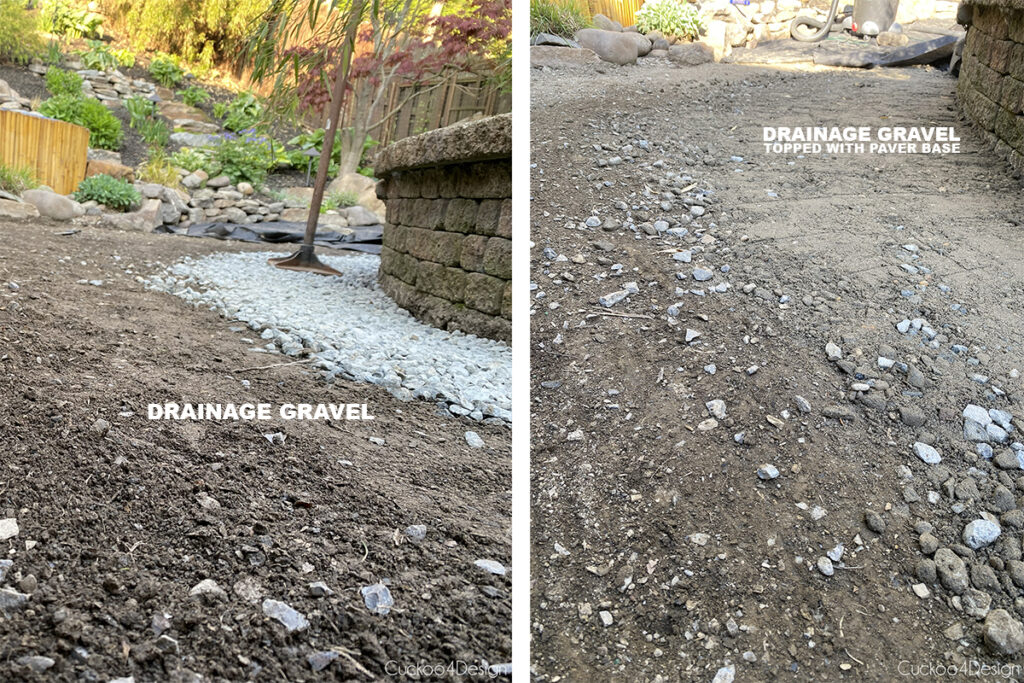
Below is a view of the drainage rock-filled trench, and to the right is where we added the paver base. That was one of the areas for the most arguments because the hubby didn’t want to rake out all the small drainage rocks before adding the landscaping fabric.
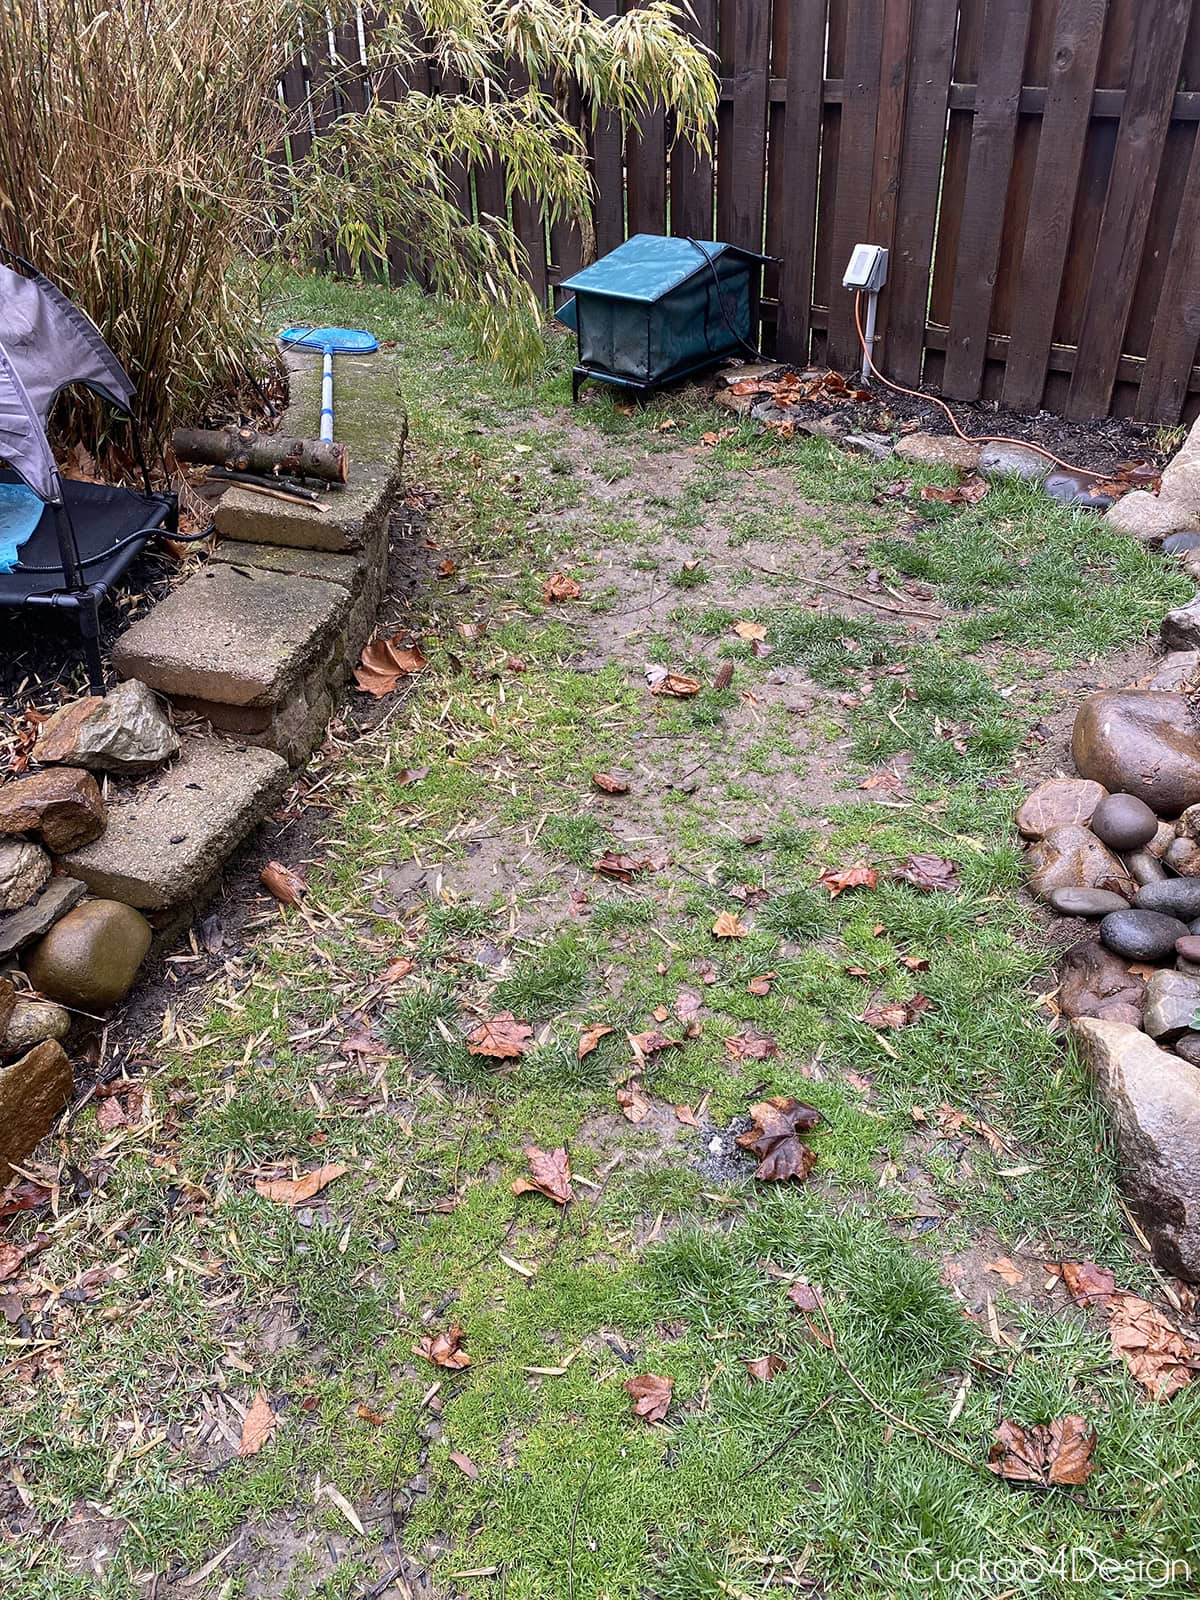
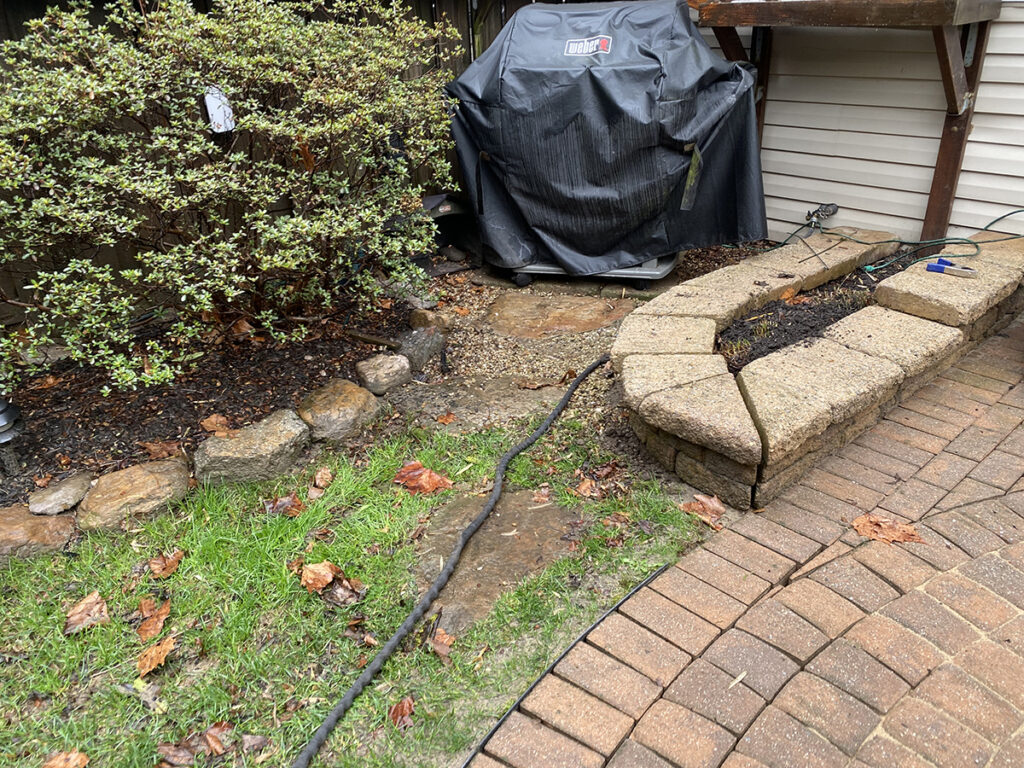
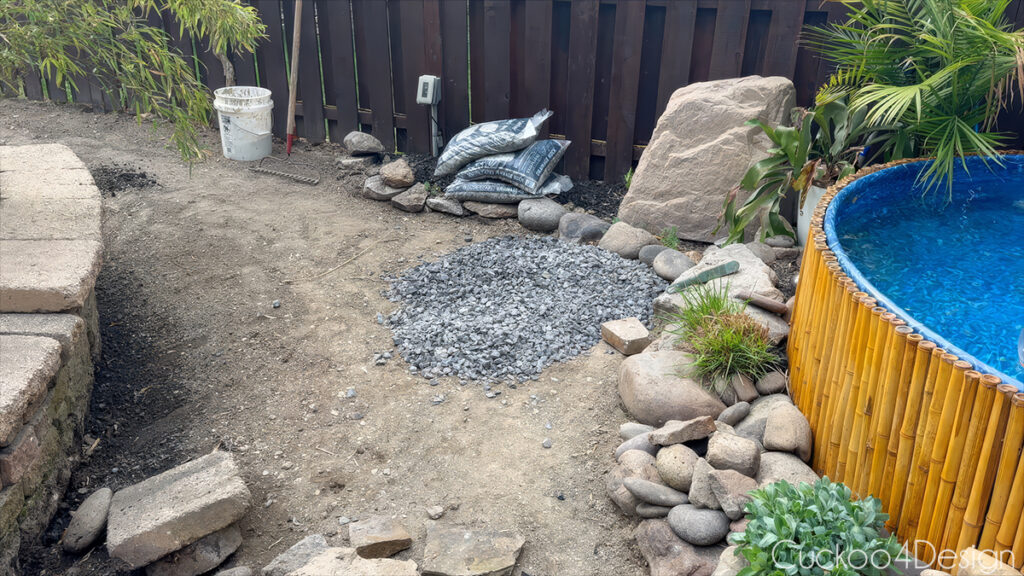
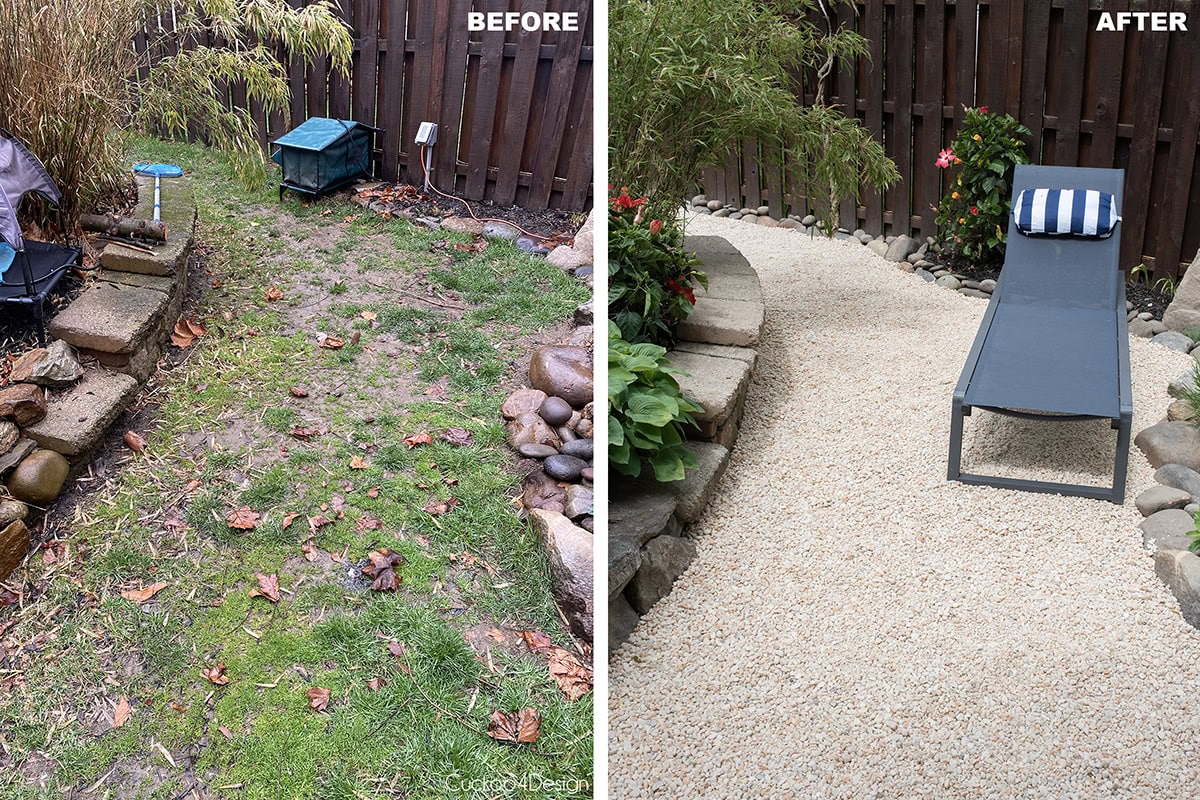
Below you can see the side yard, where there is another area that usually gets a puddle when it rains. We even had to replace that fence post already because it rotted.
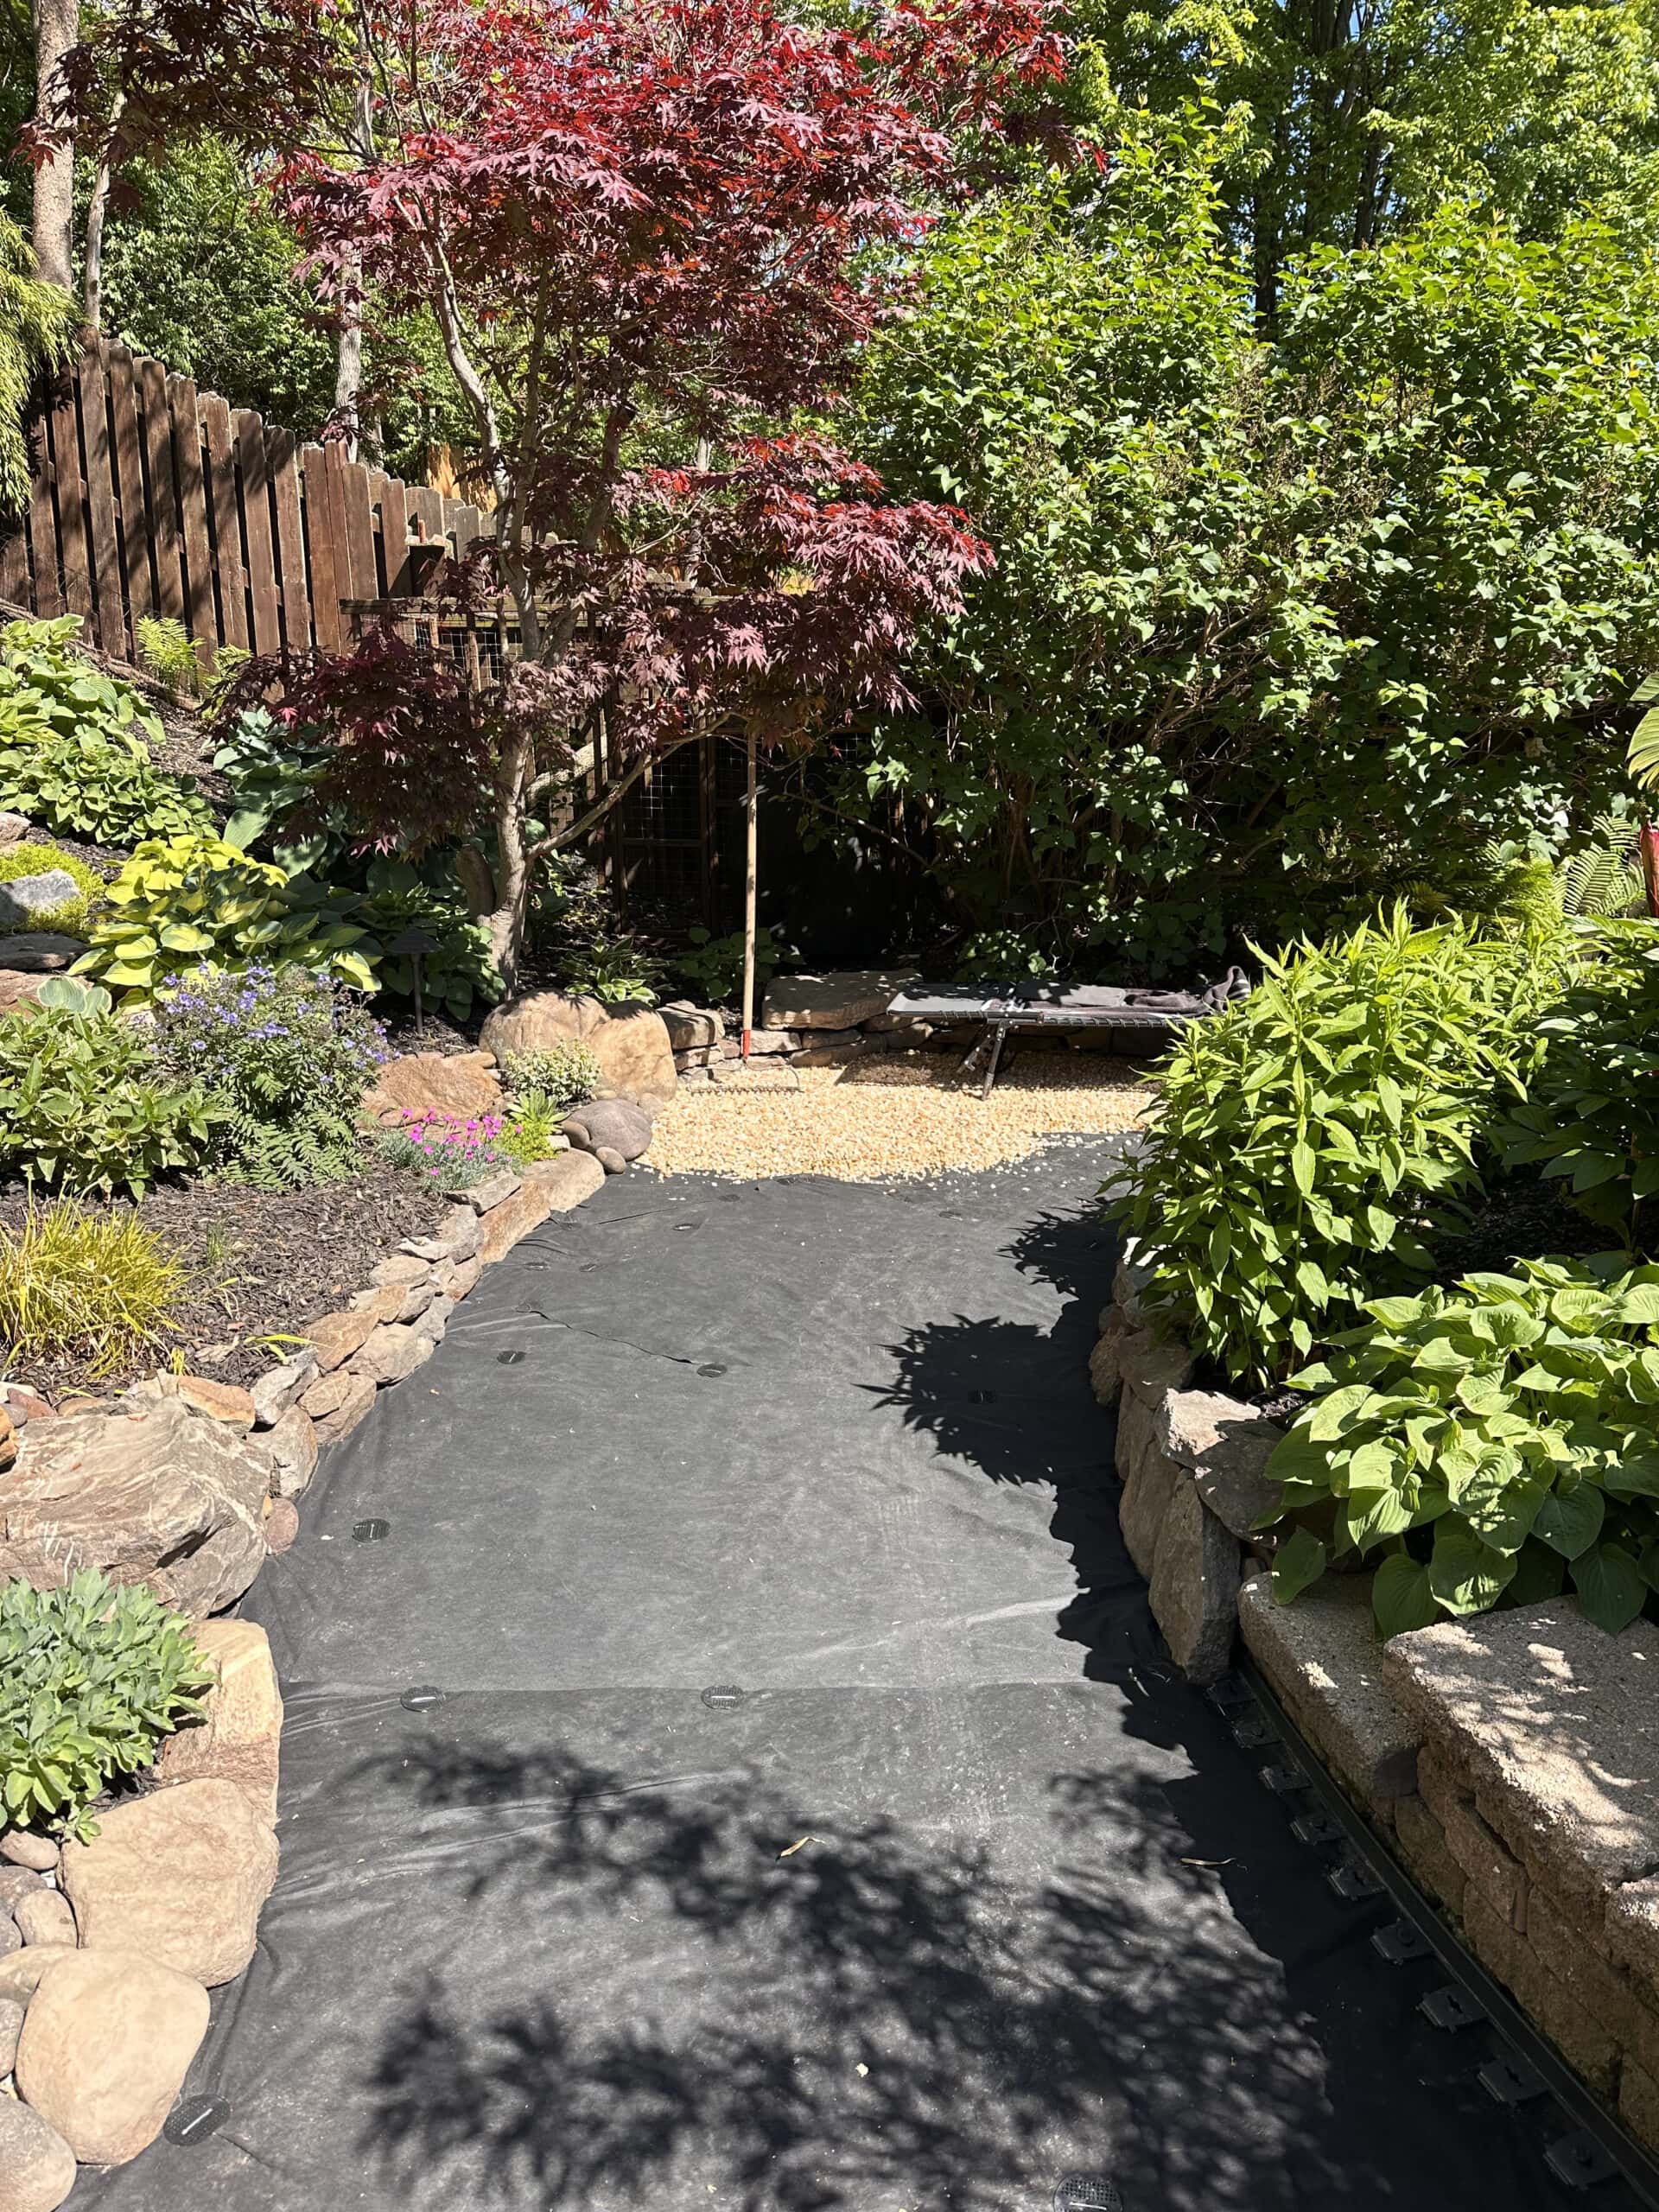
Laying down landscaping fabric
We added landscaping fabric and galvanized staples everywhere and redid all the rock walls that separate the flower beds from the walkable areas. For that, we also made sure that the landscaping fabric is behind the rock walls, which was then backfilled with drainage gravel, too, to prevent dirt from washing into the pea gravel.
The part of adding the landscaping fabric and redoing the walls was the most time-consuming. We also had to wait three weeks for the 3/8-1/2 Maryland pea gravel to finally arrive so we definitely had time to put all the work into adding the landscaping fabric the right way.

My husband said that he never envisioned having to remove and clean every single rock in our yard 😉 It was so worth it though!
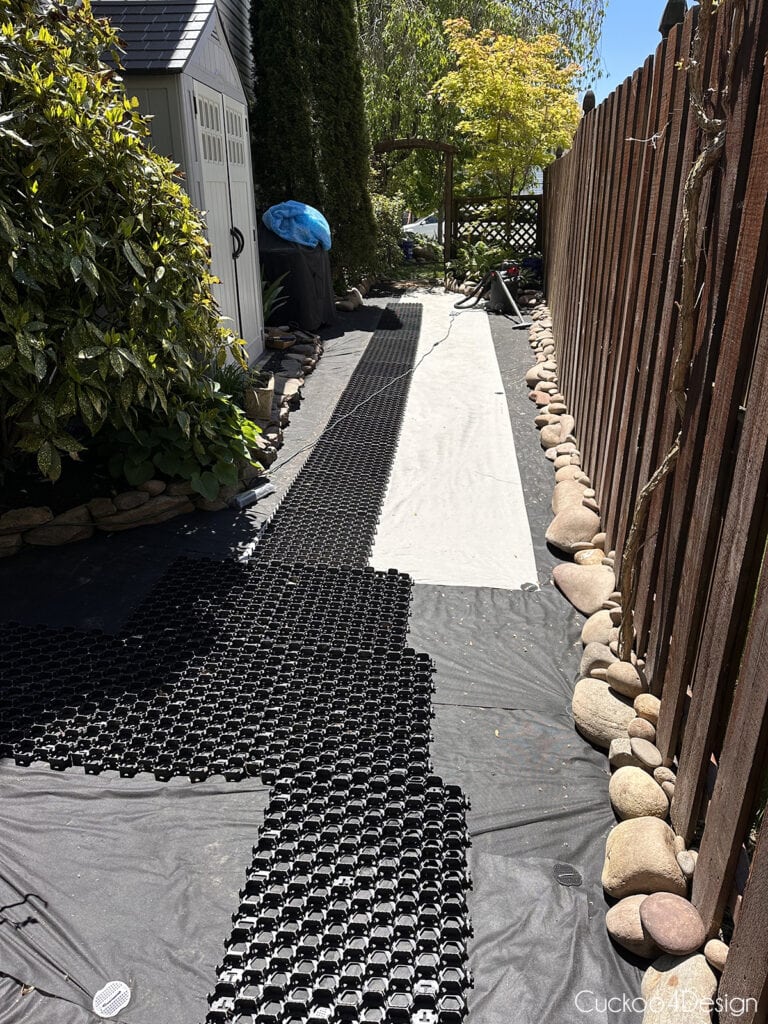
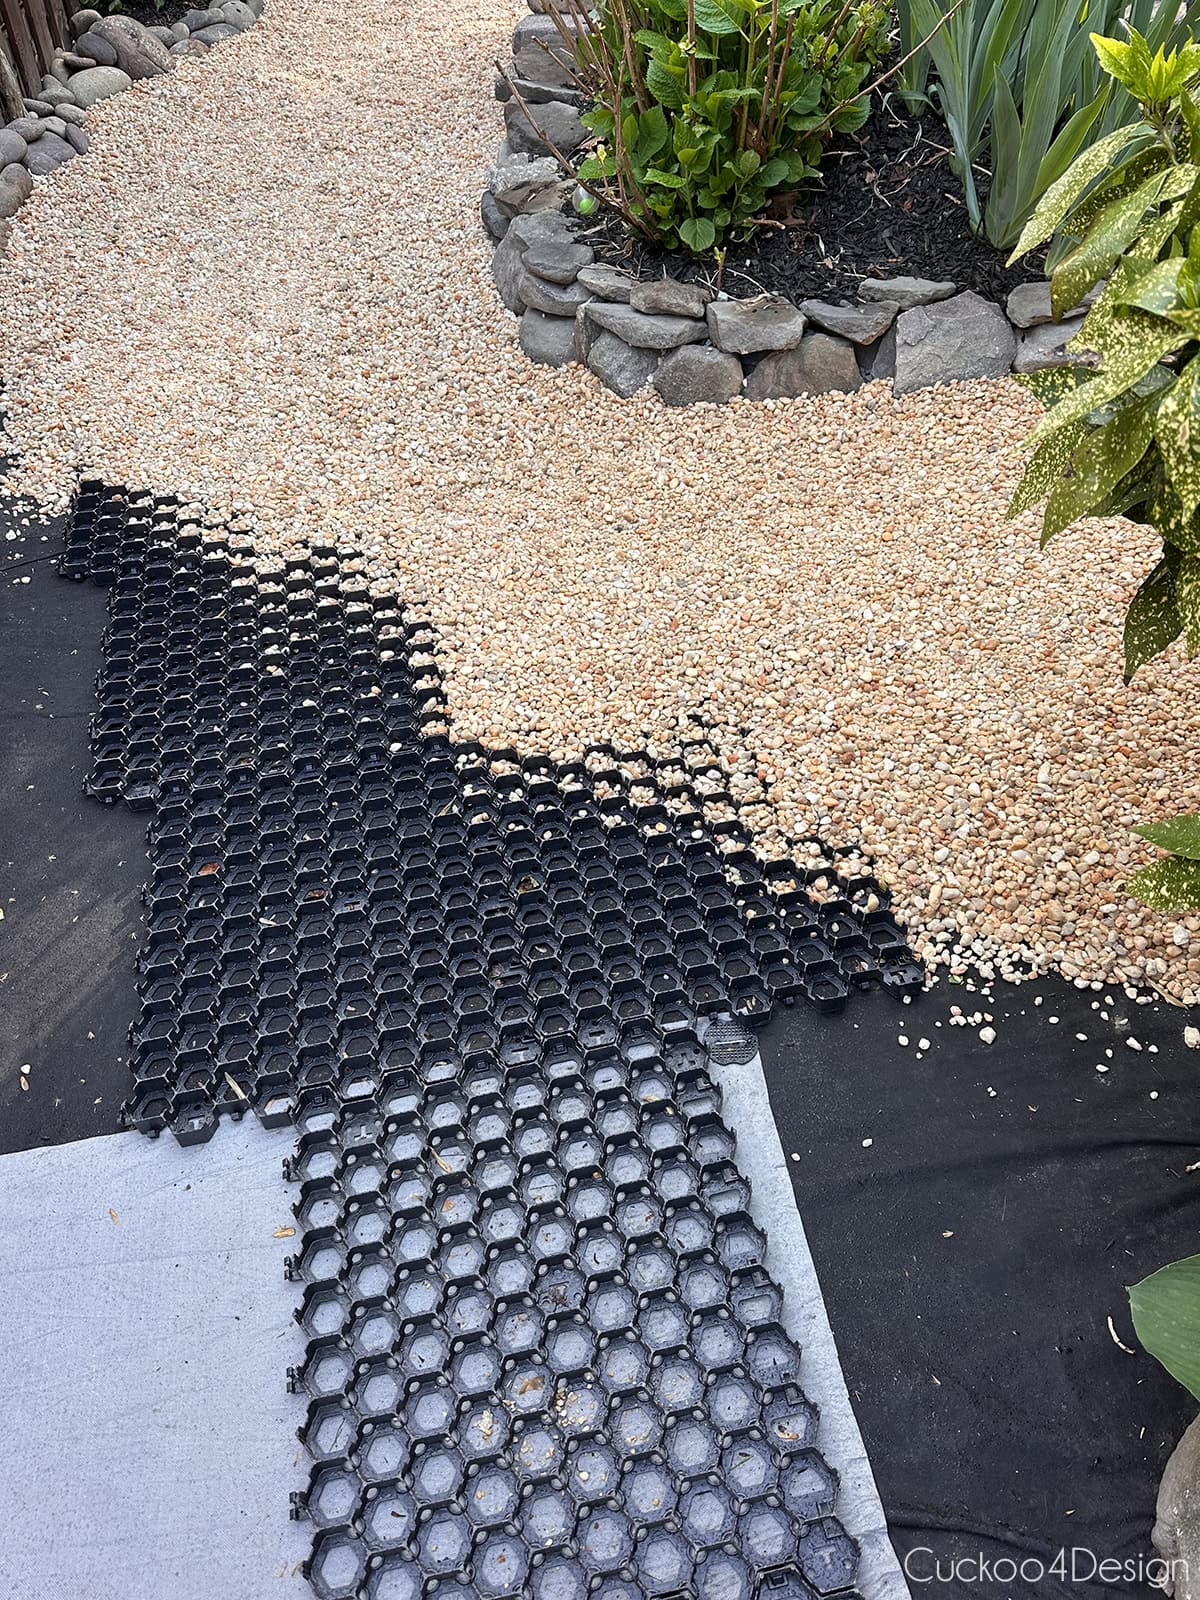
Adding gravel grid
We added a gravel grid in the areas where there is the heaviest foot traffic. I love this stuff, and it makes a big difference in how the gravel feels underfoot. It is rather expensive, which is why we didn’t add it everywhere. I kinda wish we did, though. SO that’s something to consider for everyone attempting to do the same as us.
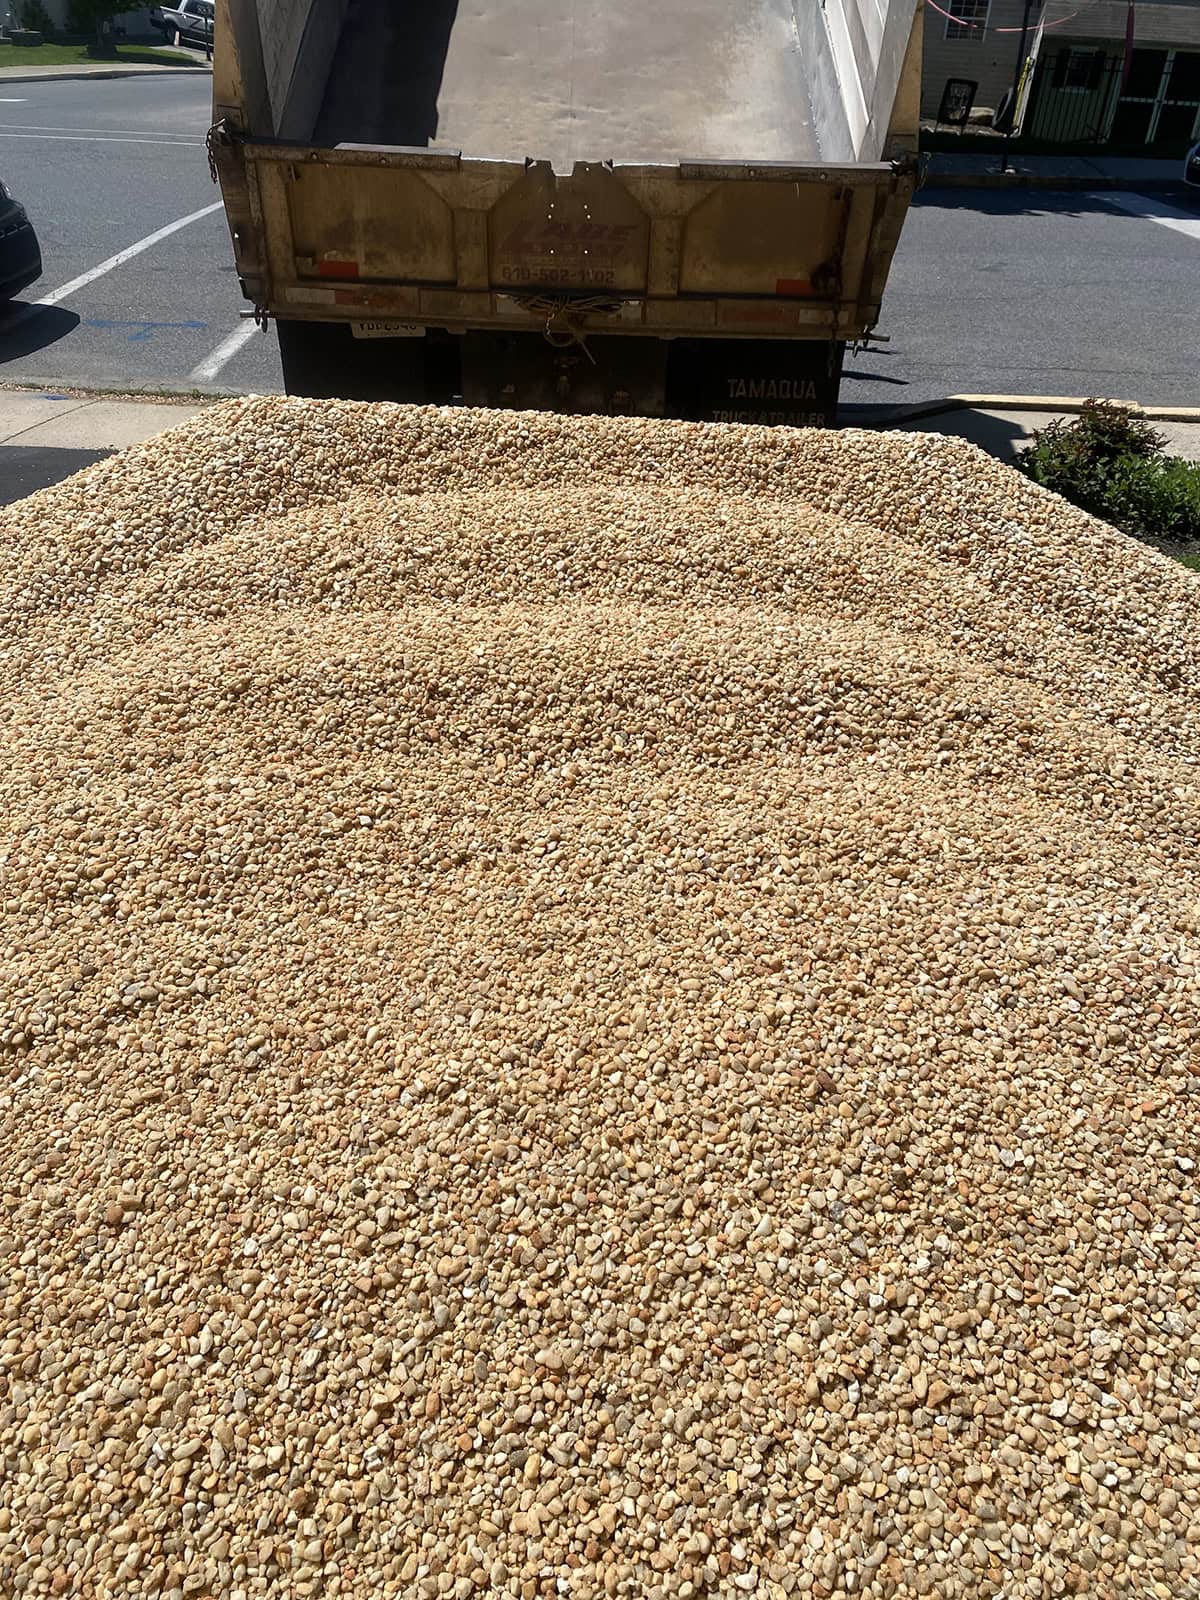
Spreading the pea gravel
The landscaping company dumped 8 tons of the small Maryland pea gravel into our driveway, which was too much even though I measured twice and the guy calculated twice for a 2-inch gravel layer. We even used a bit more than 2 inches. In the end, we were lucky to be able to sell the rest on Facebook Marketplace.
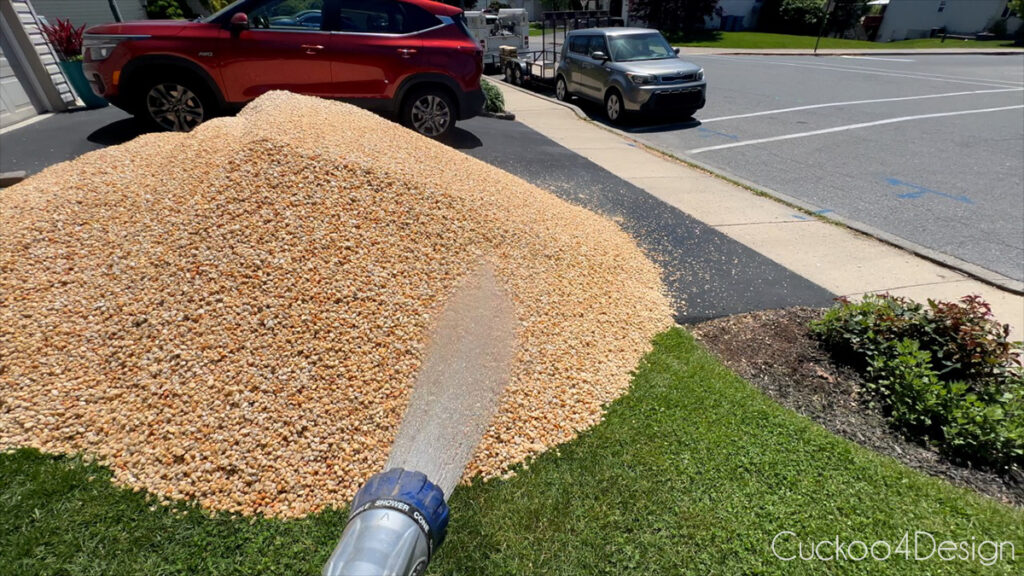
The pea gravel was shoveled by us into a wheelbarrow and then dumped right on top of the landscaping fabric, and then raked out. That part was so satisfying.

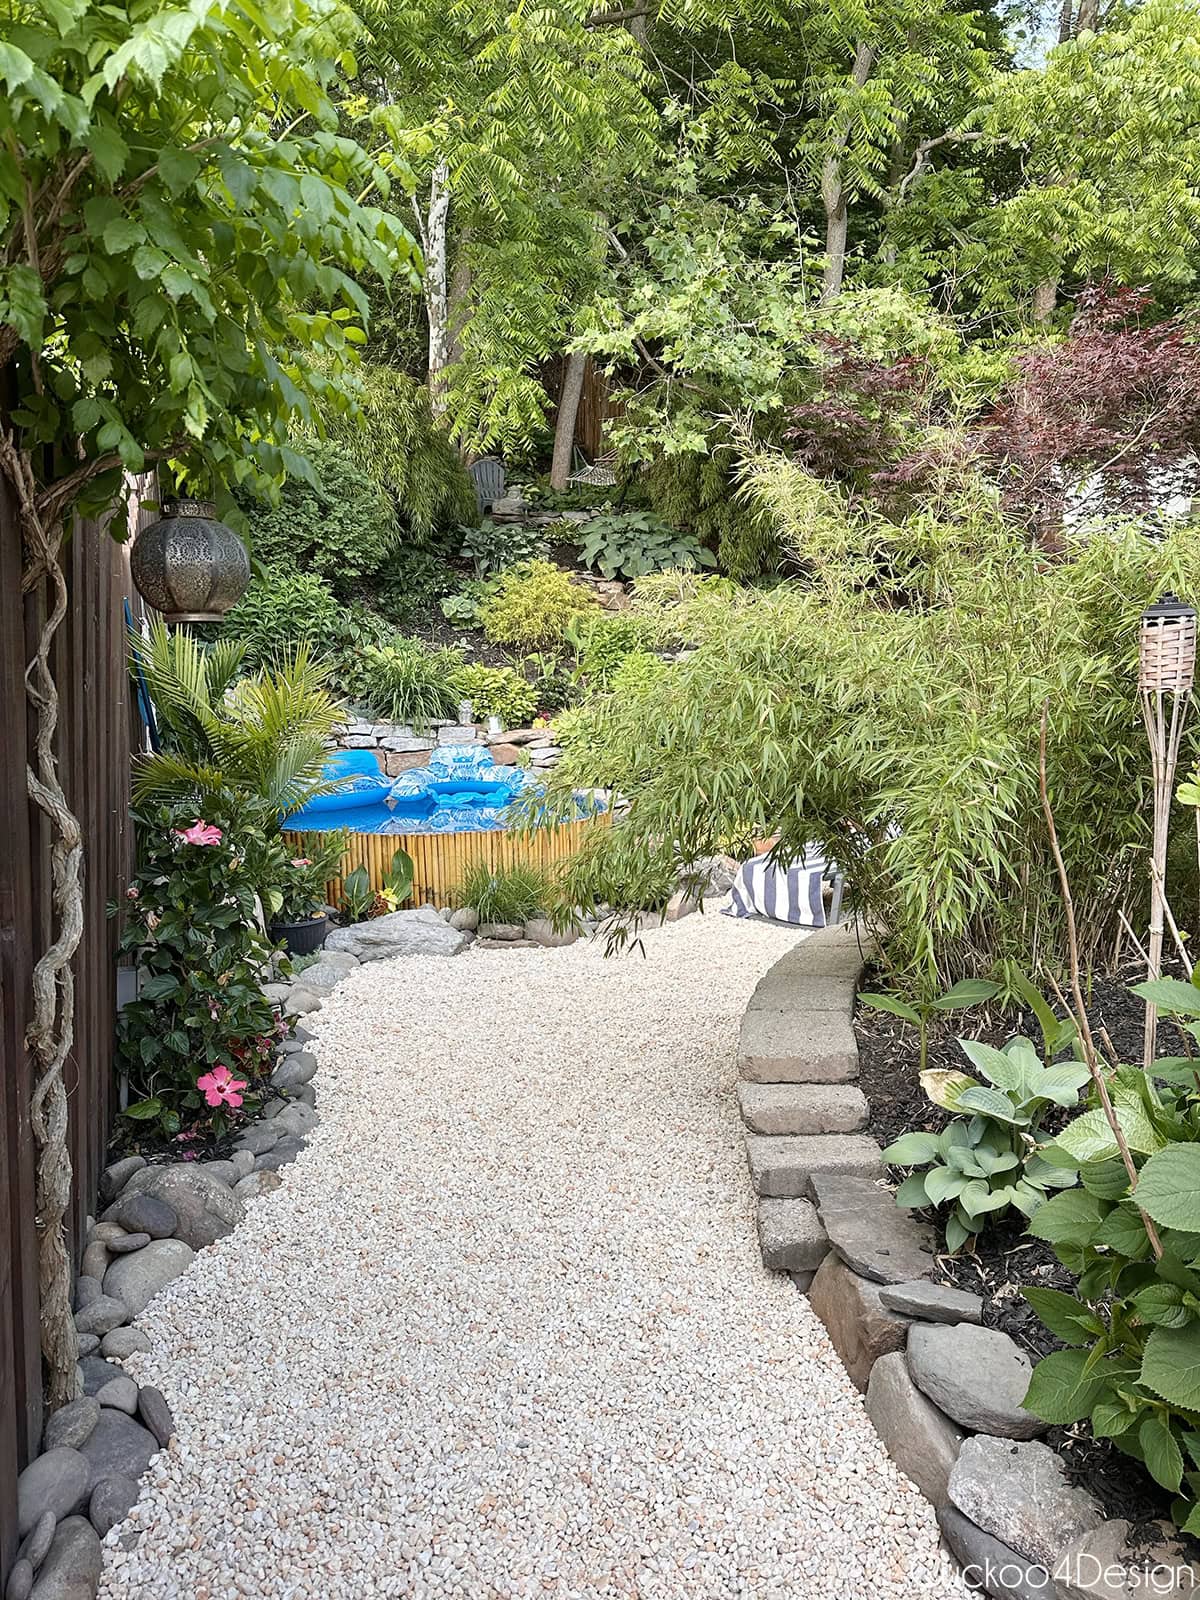
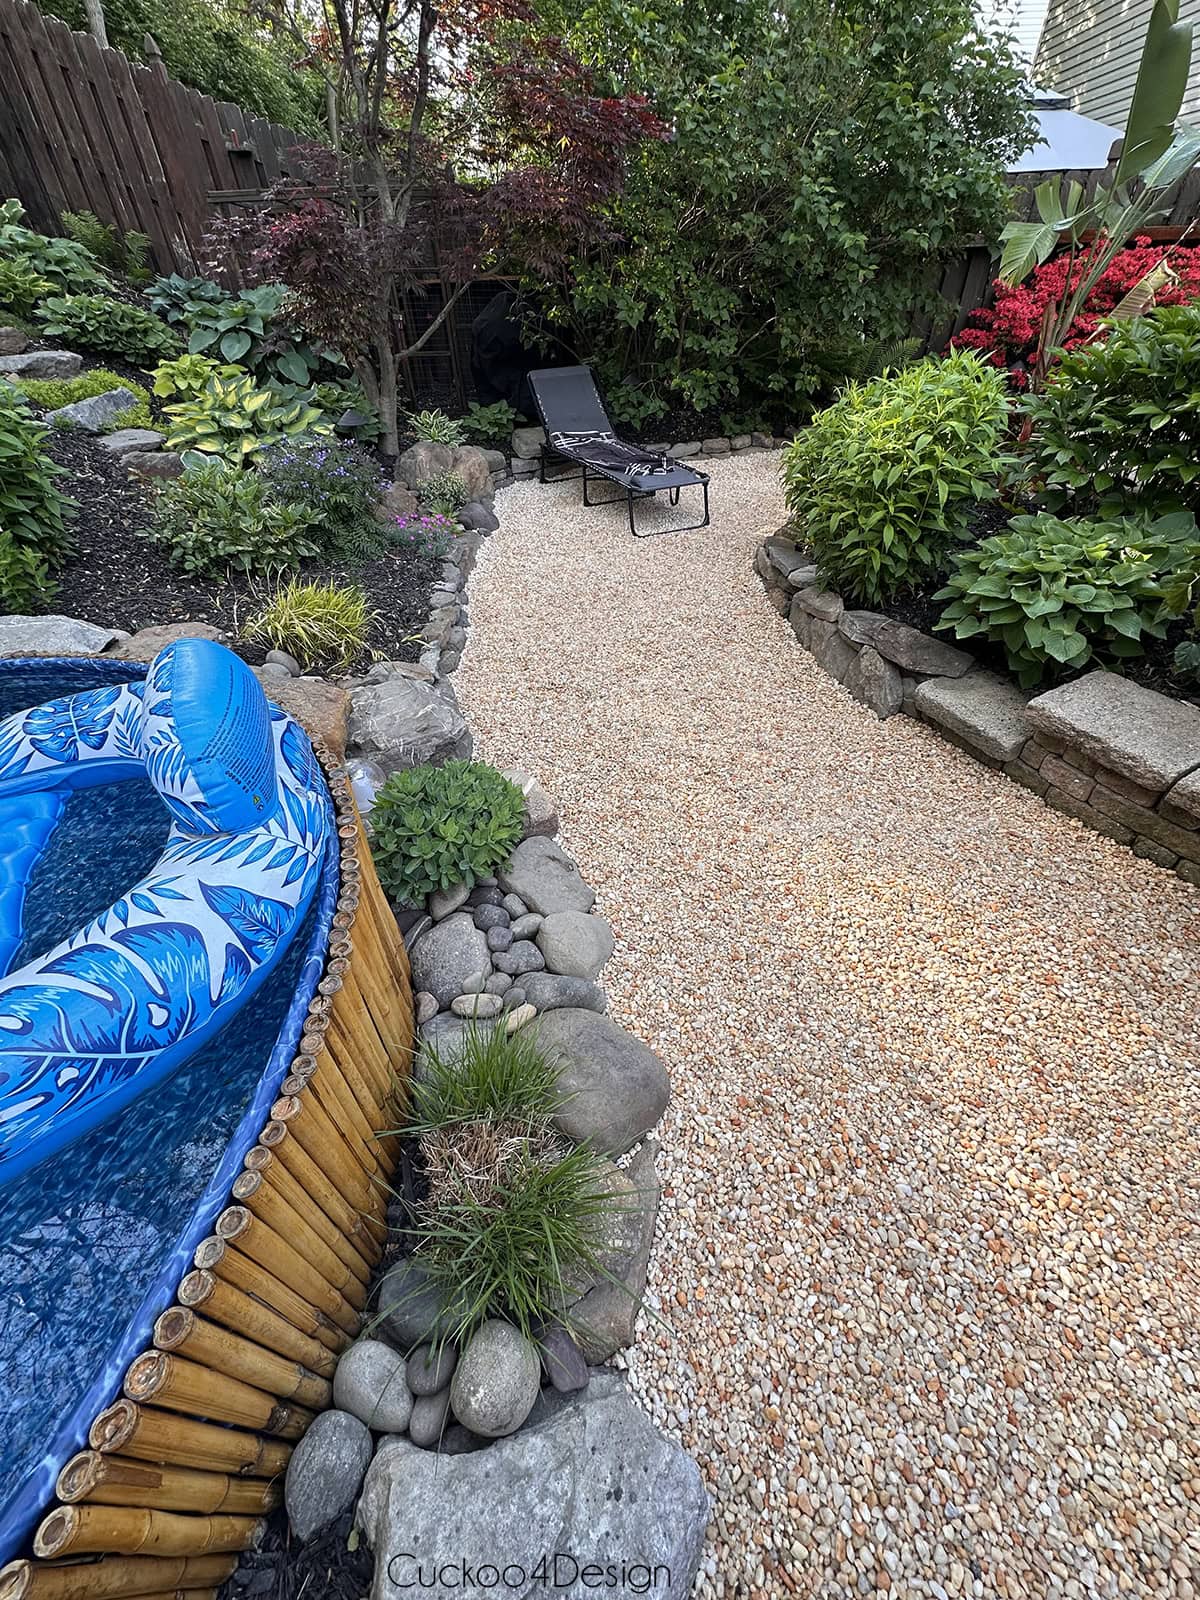
This is the bend going around to the stock tank pool.
And here you can see the pea gravel being spread over the gravel grid.
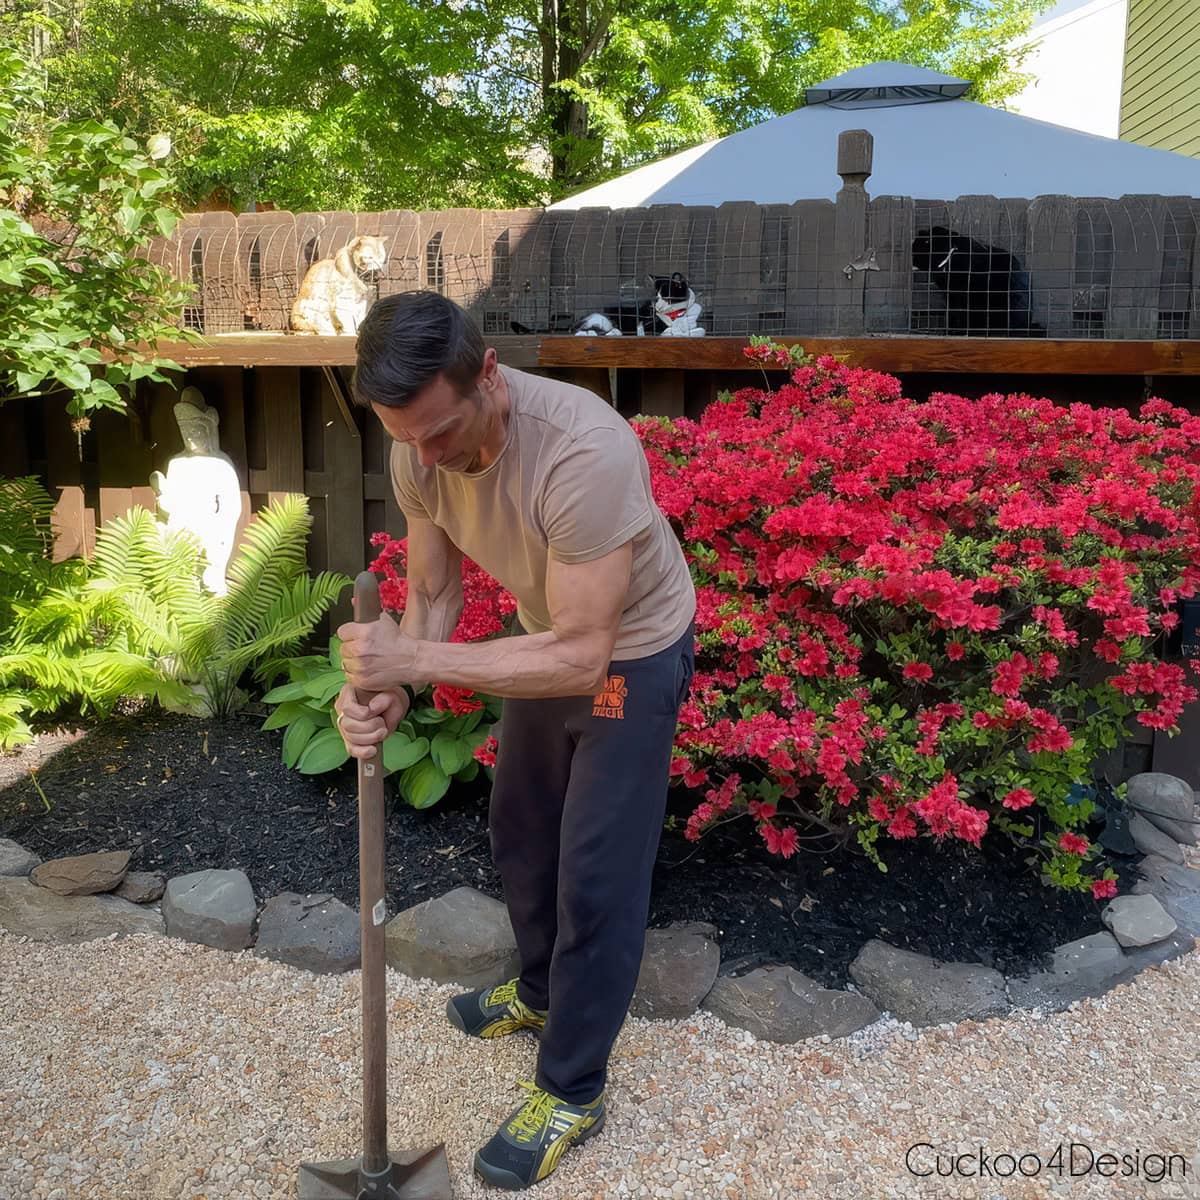
The best three supervisors are sitting in their outdoor cat tunnel watching Dad tamp down the pea gravel. I think we will do this every now and then again.
And that’s it regarding what we did to replace the grass with gravel. Let’s get to the next satisfying part, which are photos of the results.
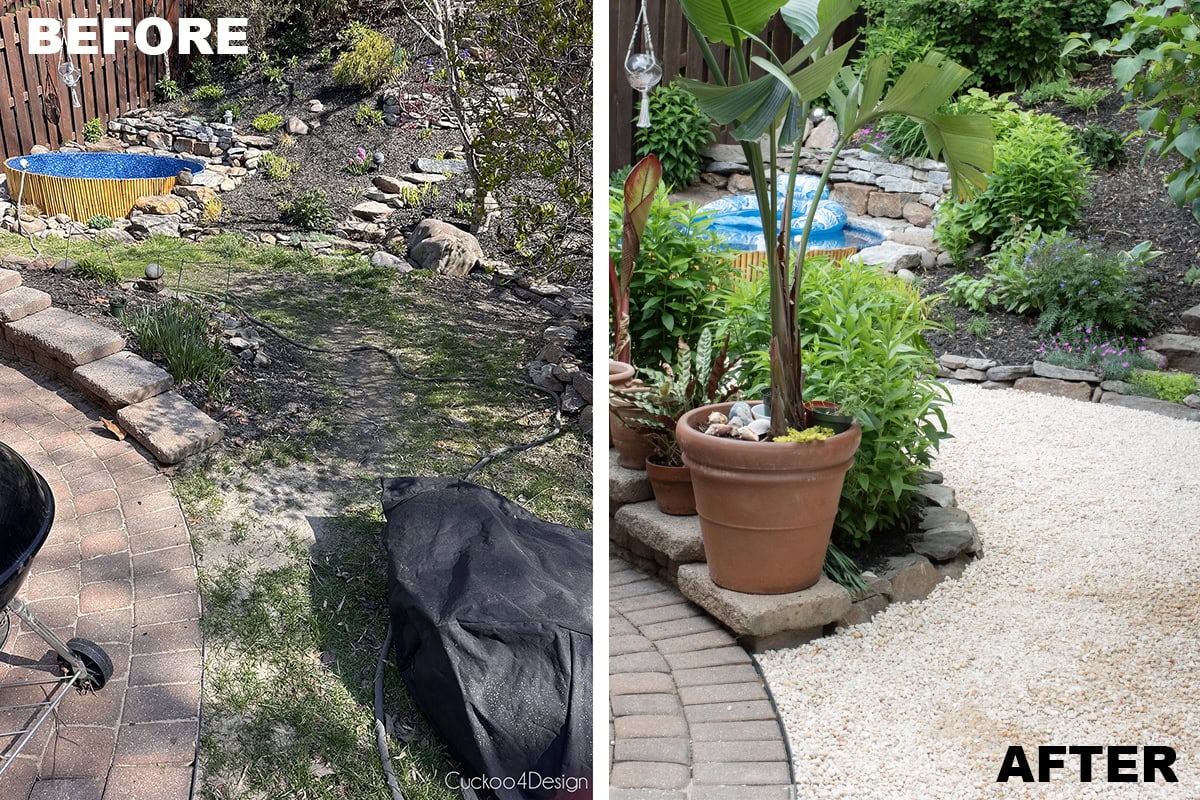
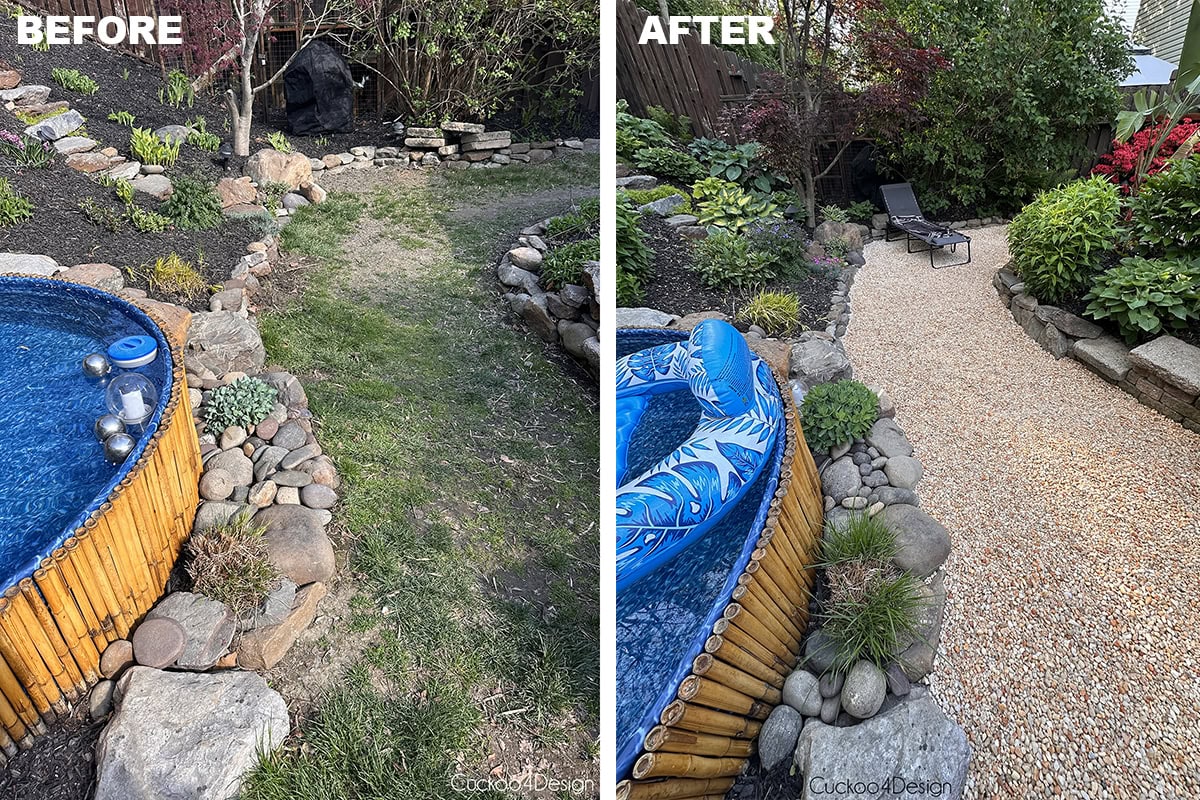
Before and after photos
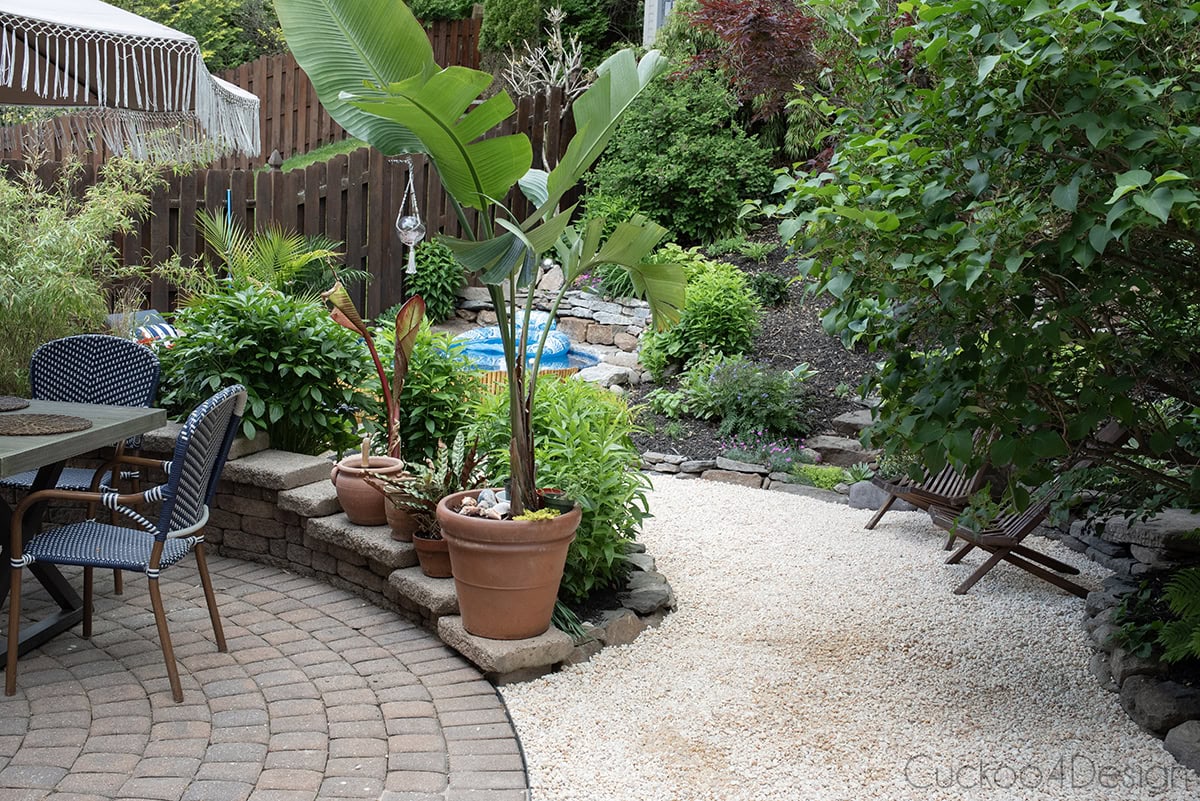
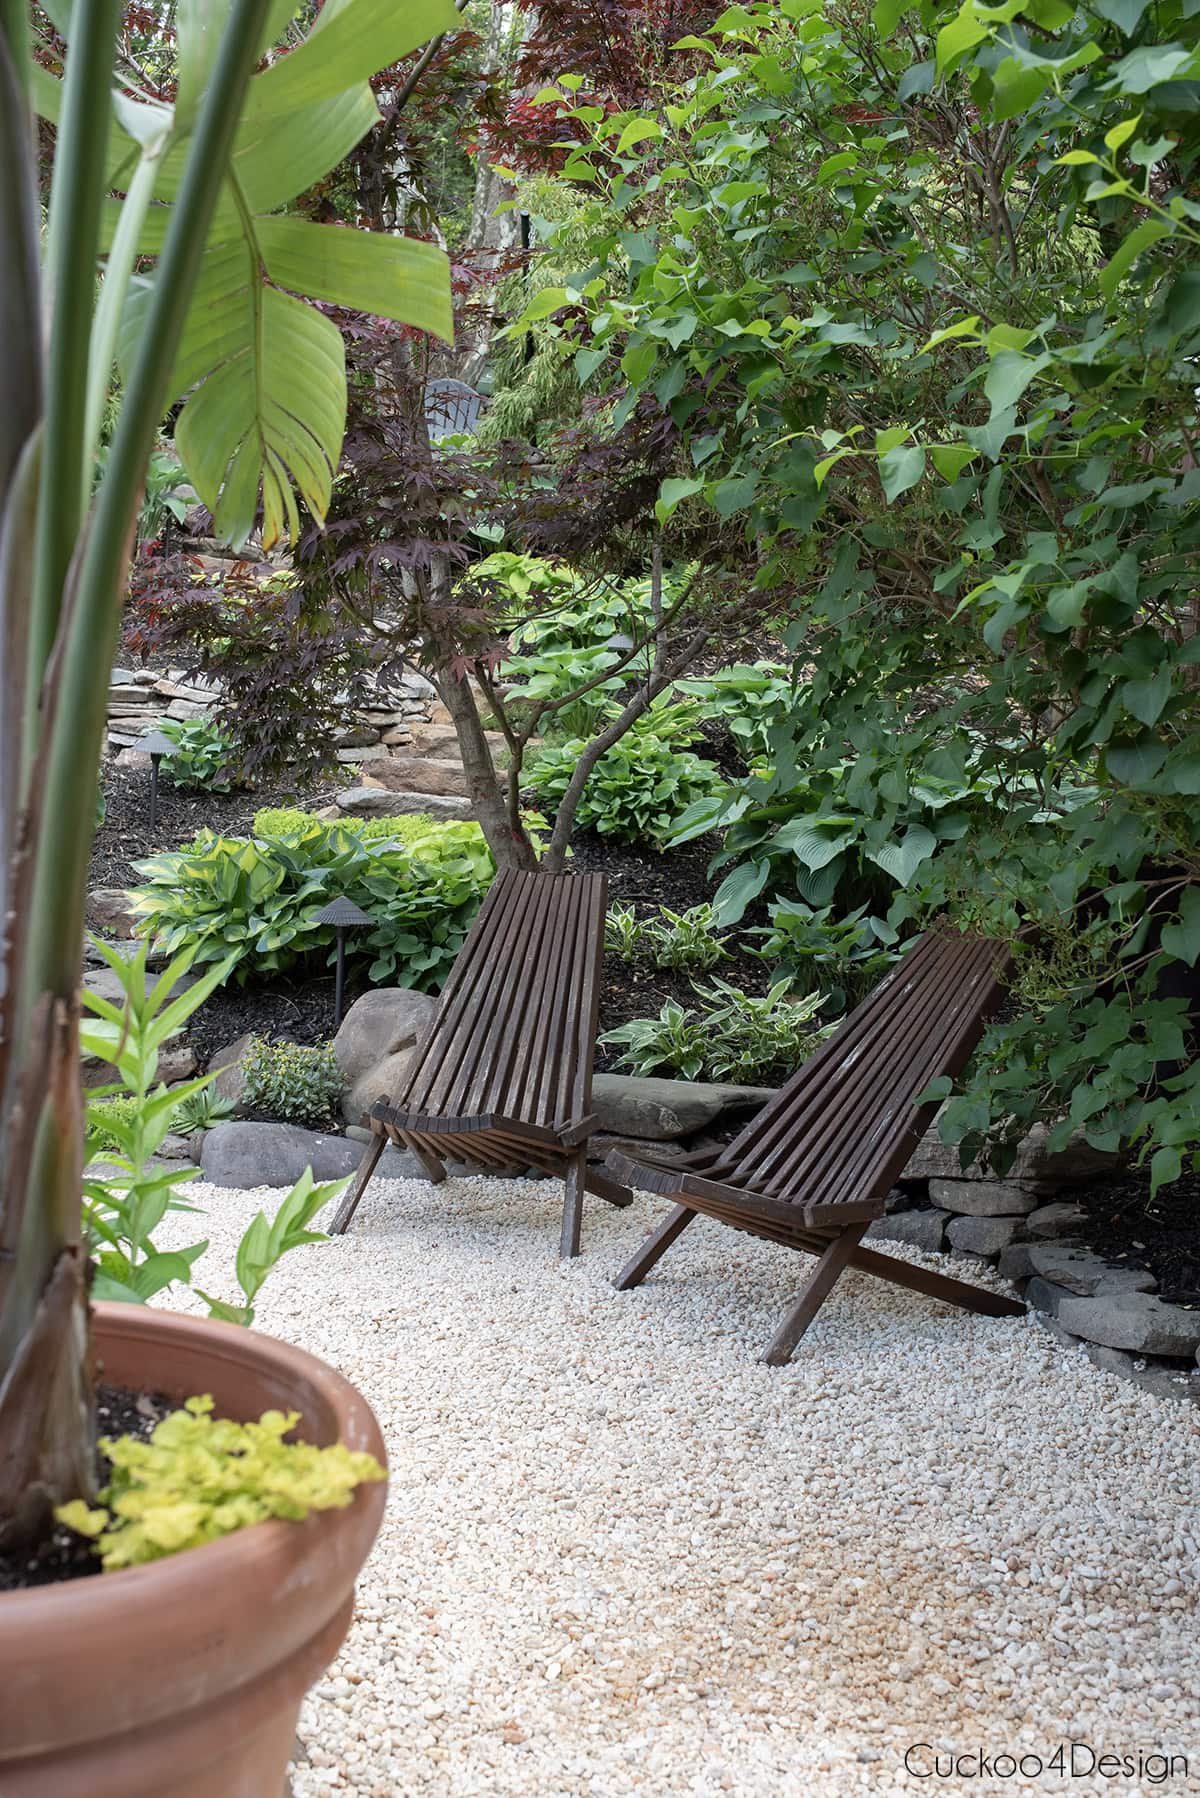
Of course, having the plants grown in more again now in the middle of May helps with how everything looks, too, but if you focus on the ground, then you can see that the Maryland pea gravel clearly makes a huge difference.
I can’t wait to see what it looks like when the tropical plants, like the two bananas, elephant ears, and all the canna lilies in the flower beds, are grown. We stuff a lot of plants into such a small yard. (Check out my small yard landscaping ideas)
The really late frost this spring caused some real issues. Our trumpet vine is still trying to recover. We originally thought it was dead, but it finally has some shoots coming up again after the last ones all died.
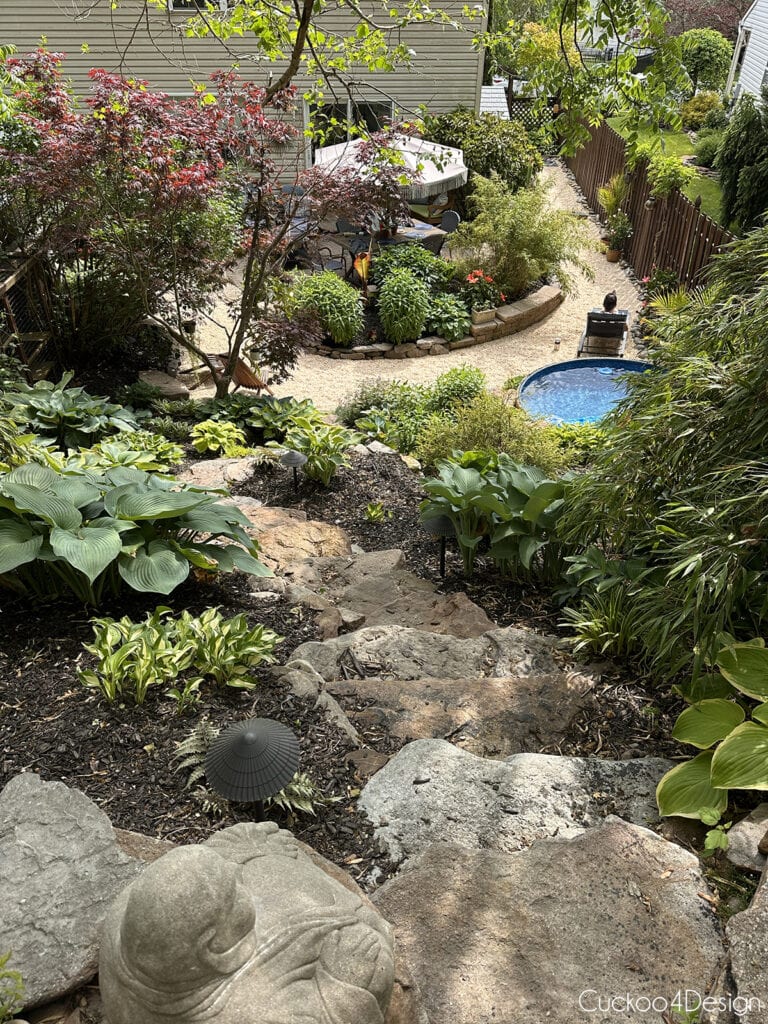
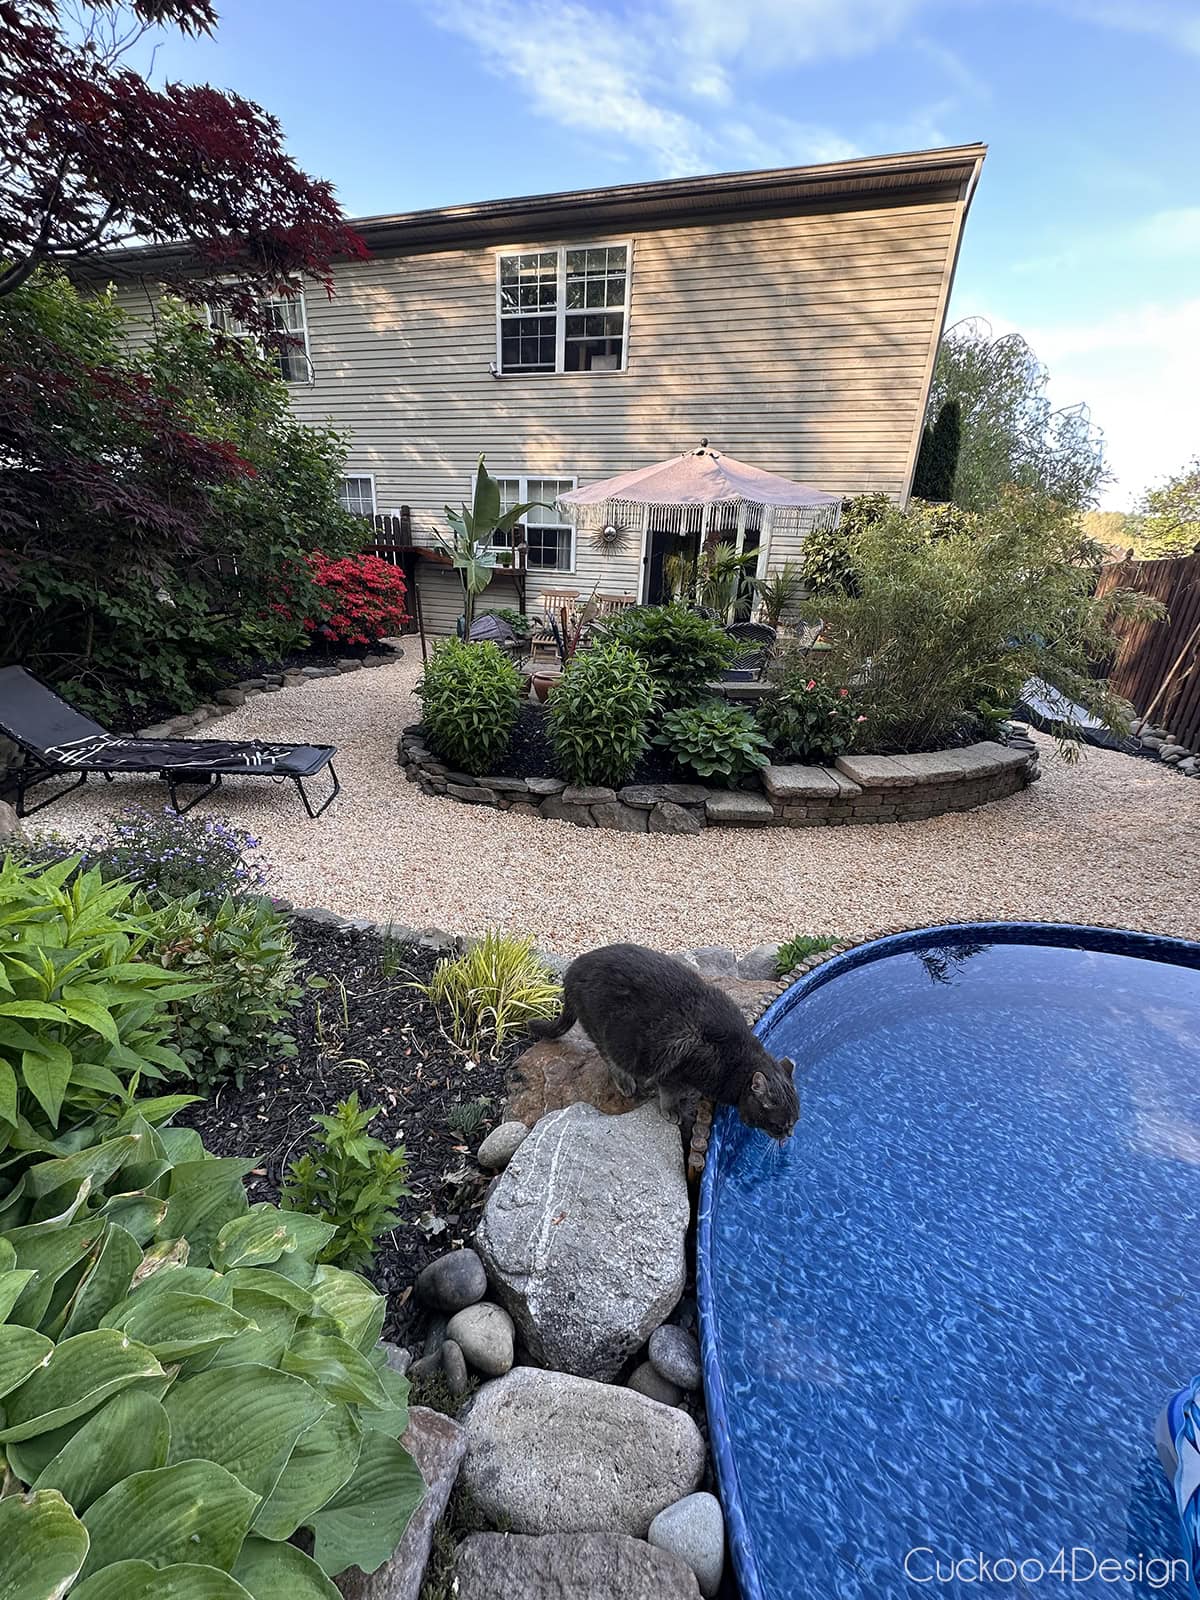
Here is a view of the landscaped hill:
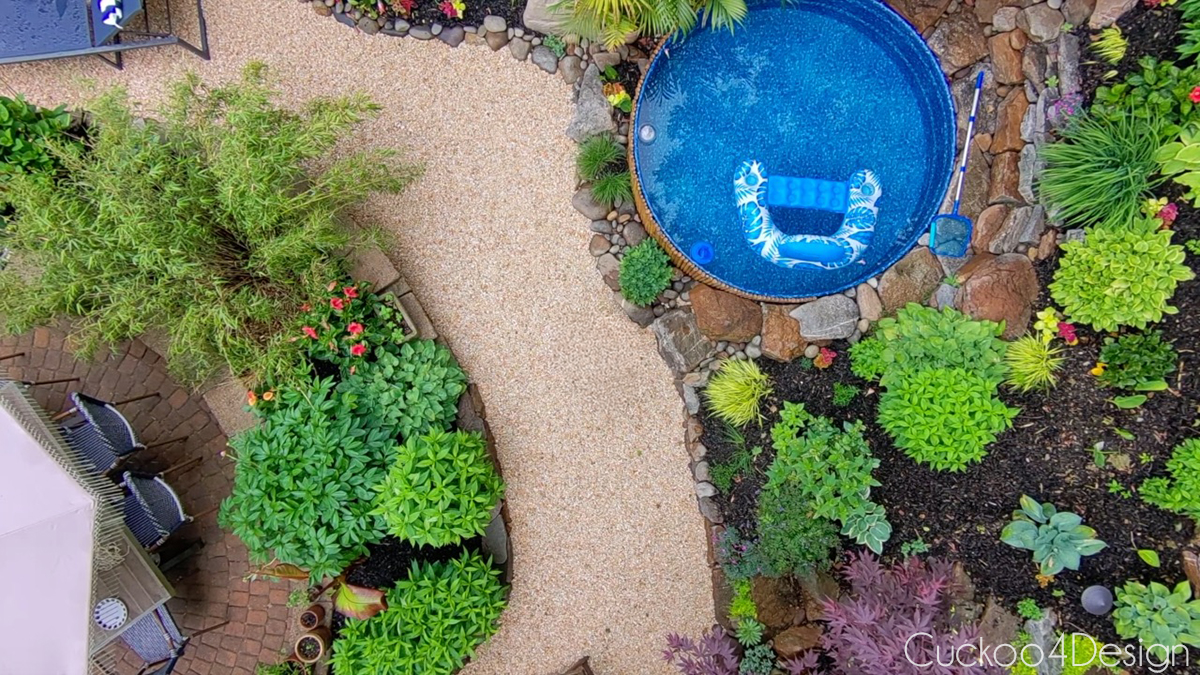
And here is a view from the top of the landscaped hill and upper patio onto the lower area of our yard:
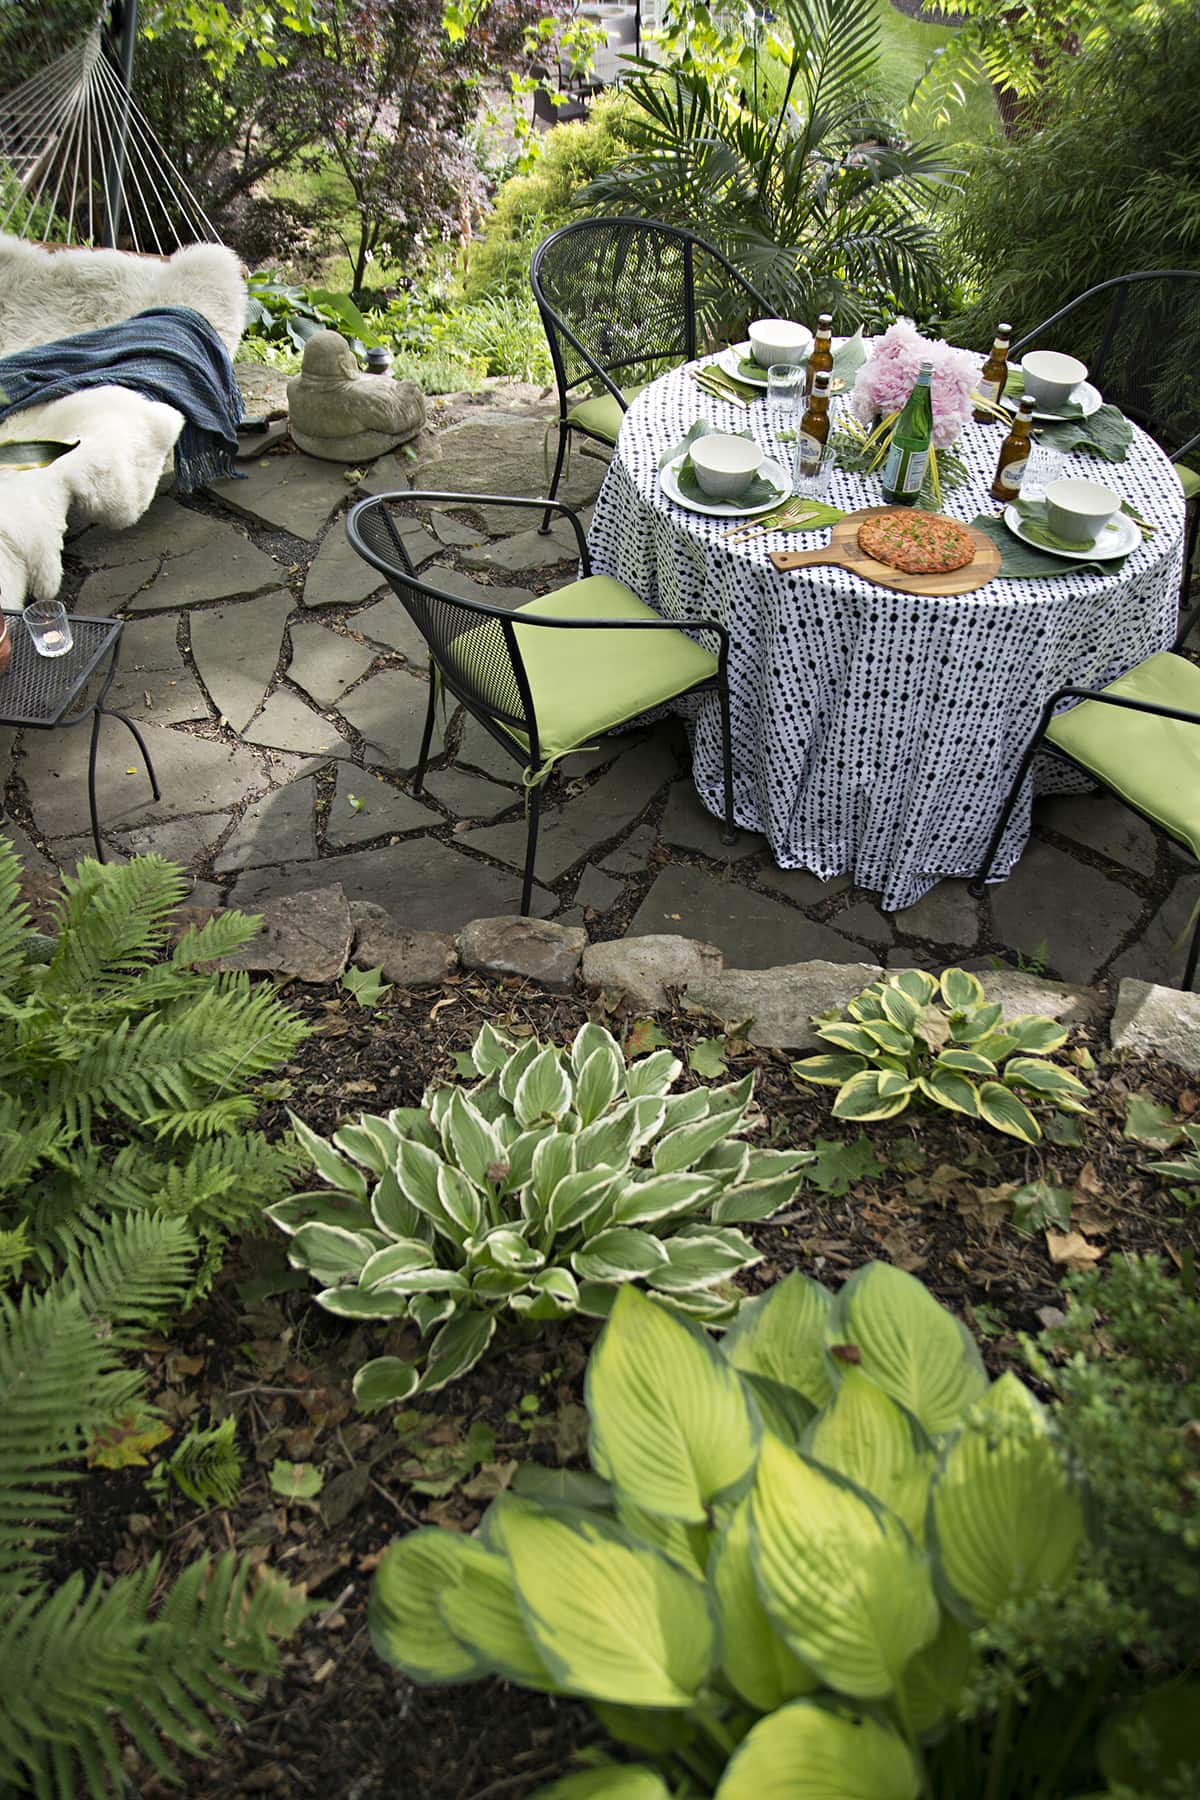
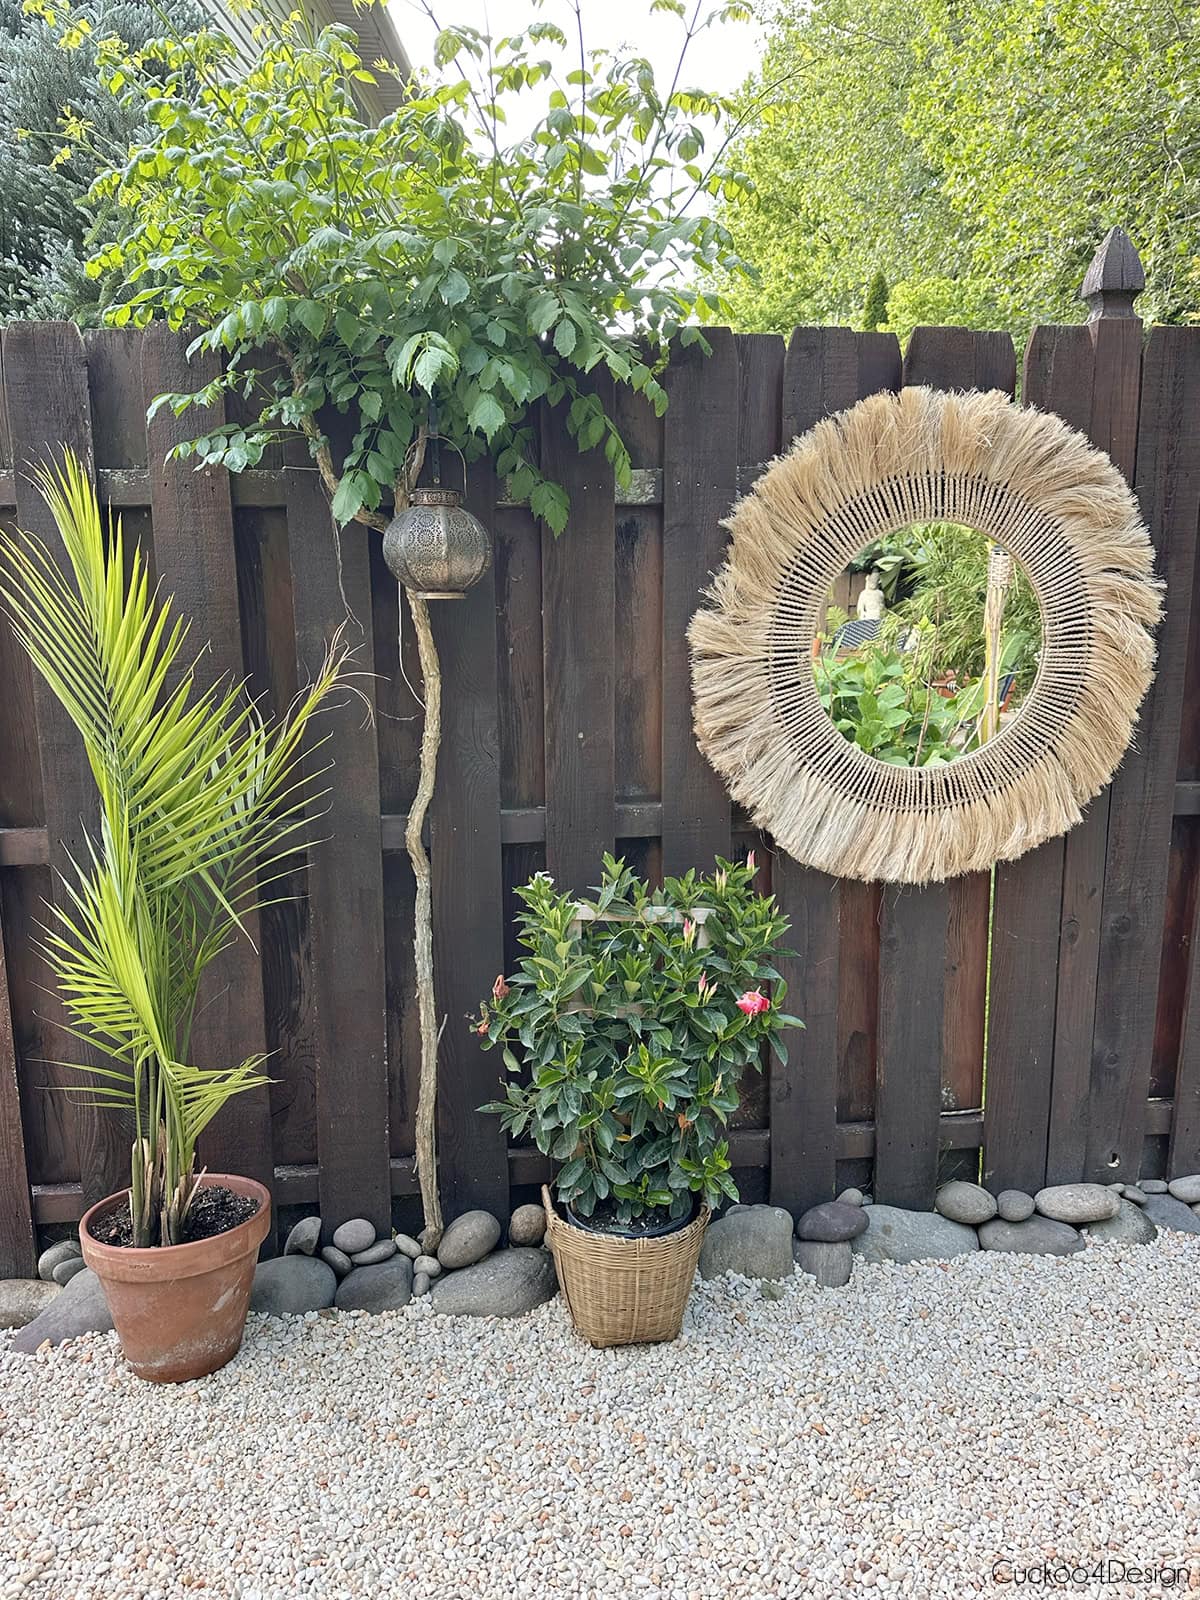
And as a reminder the upper patio:
We trained three trumpet vines along the fence to be like trees. They are so pretty in the summer when they bloom and attract a lot of hummingbirds.
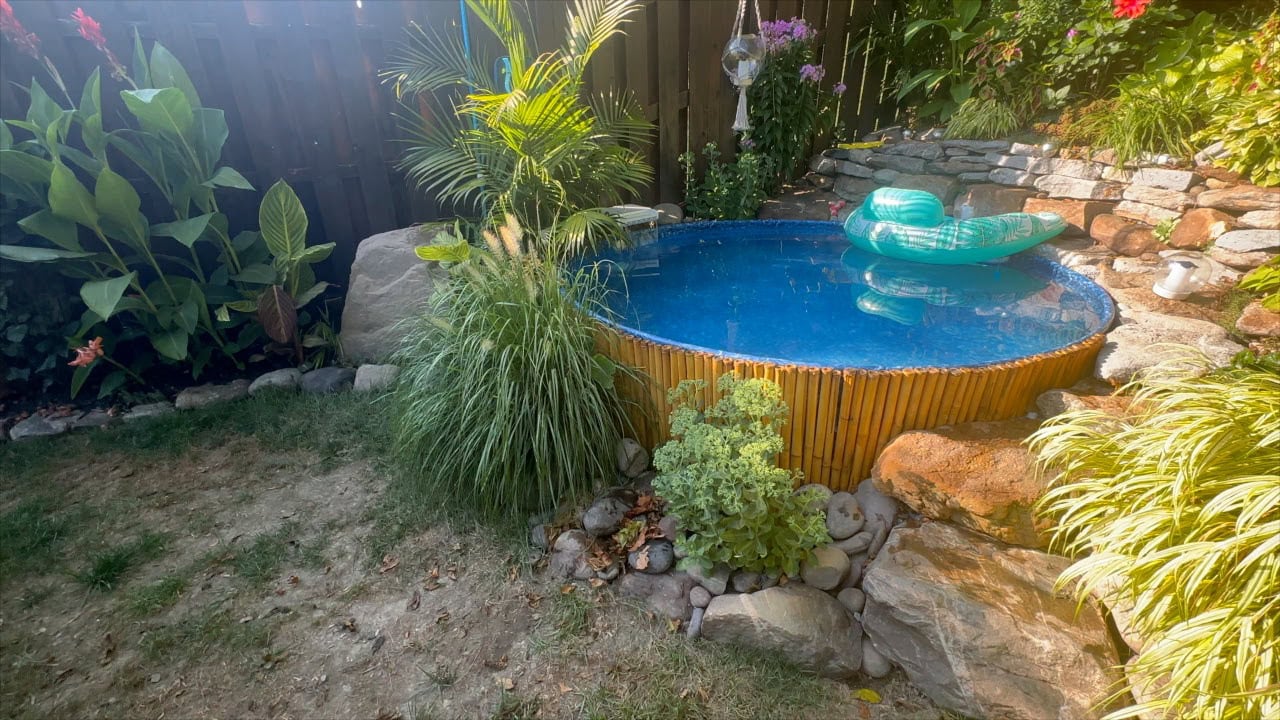
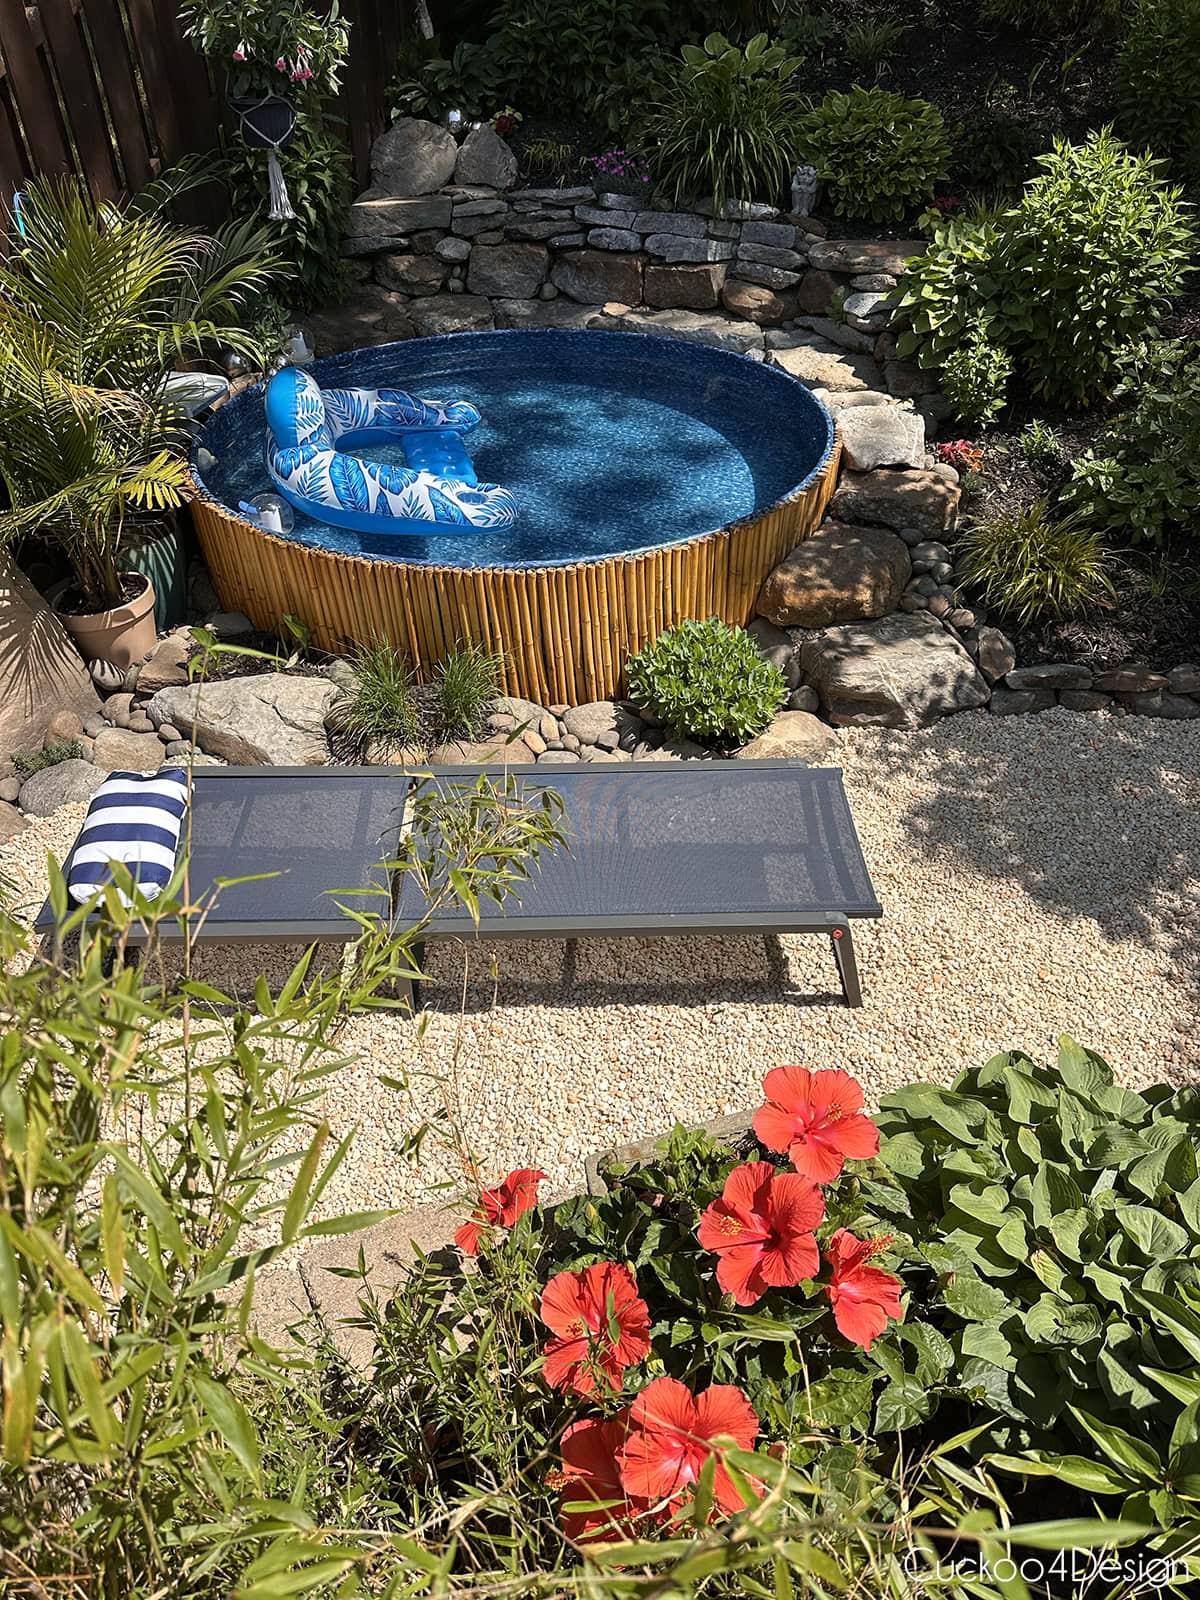
Check out our full stock tank pool tutorial and set-up, where we used a pool liner. We’ve had it since 2019 and use it daily in the summer.

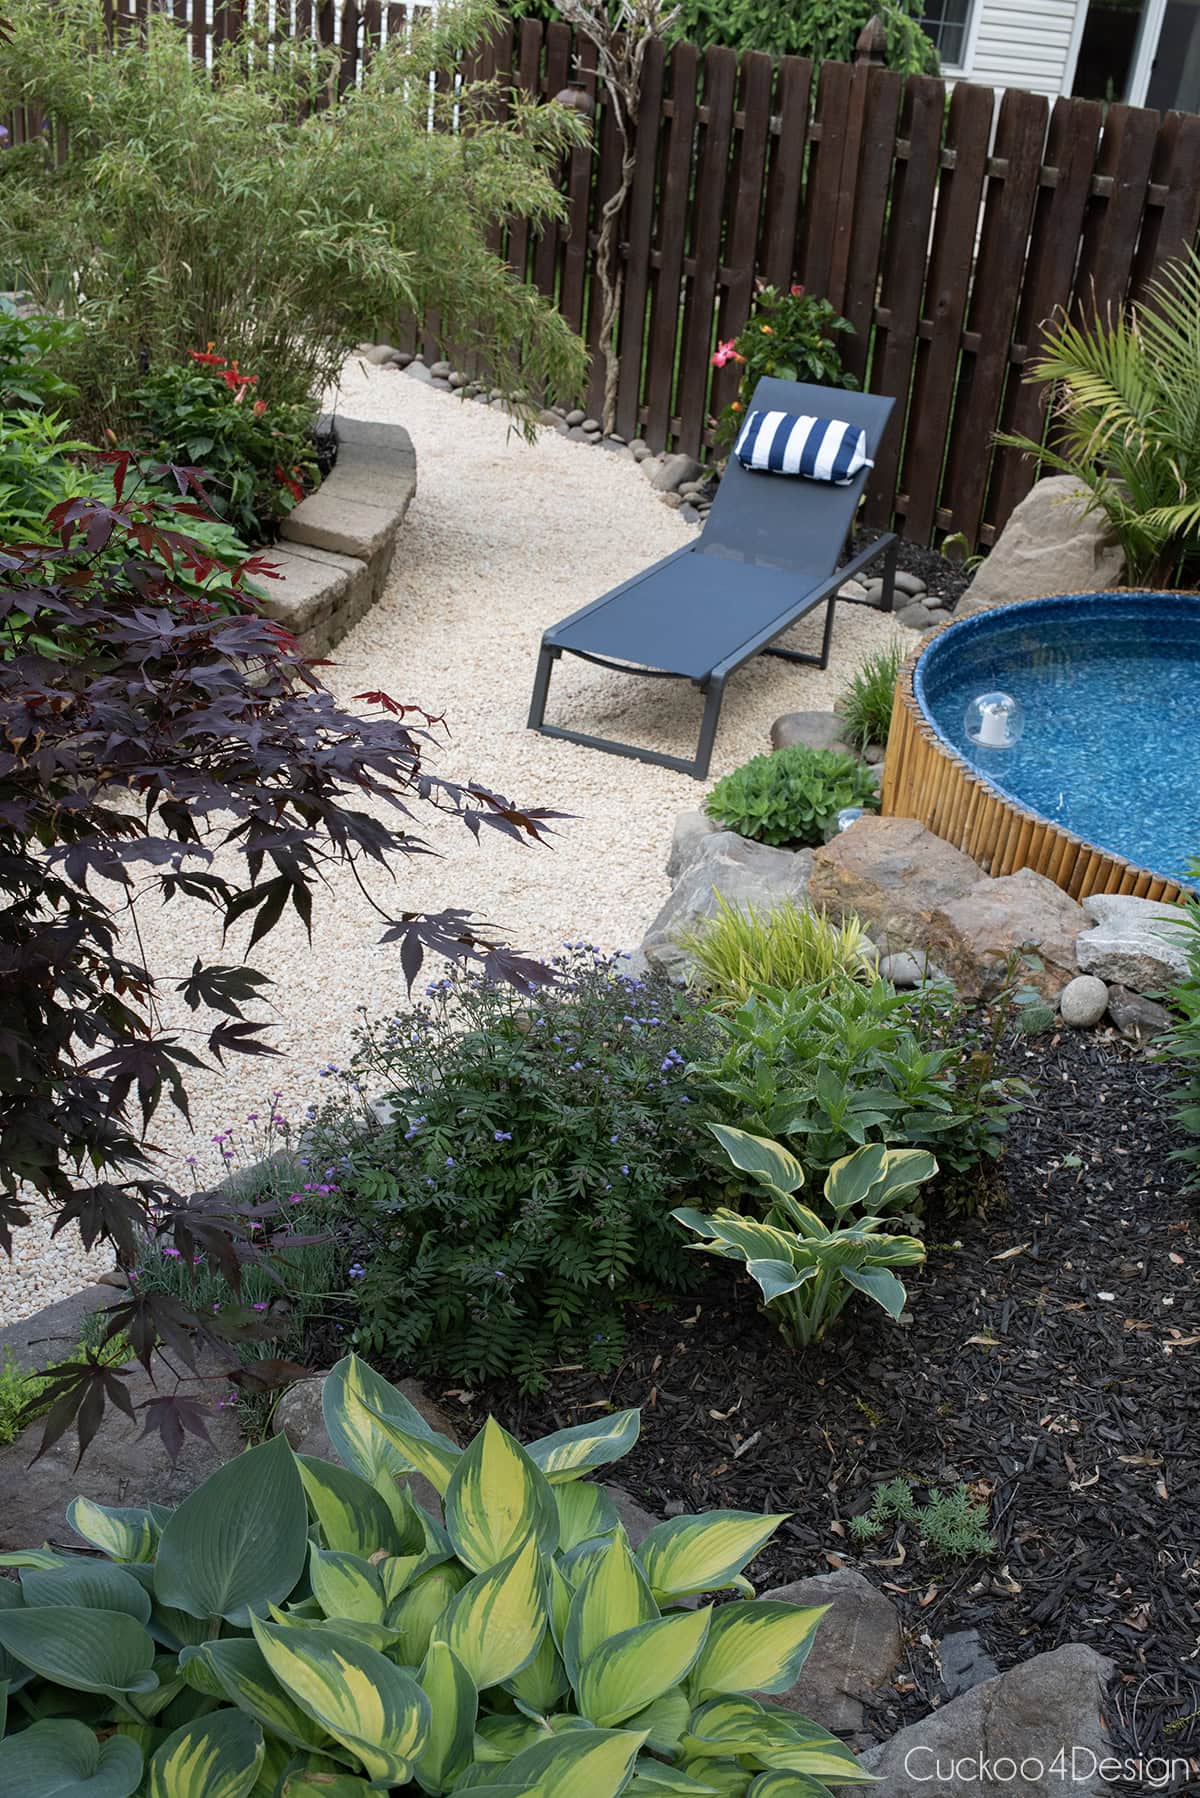
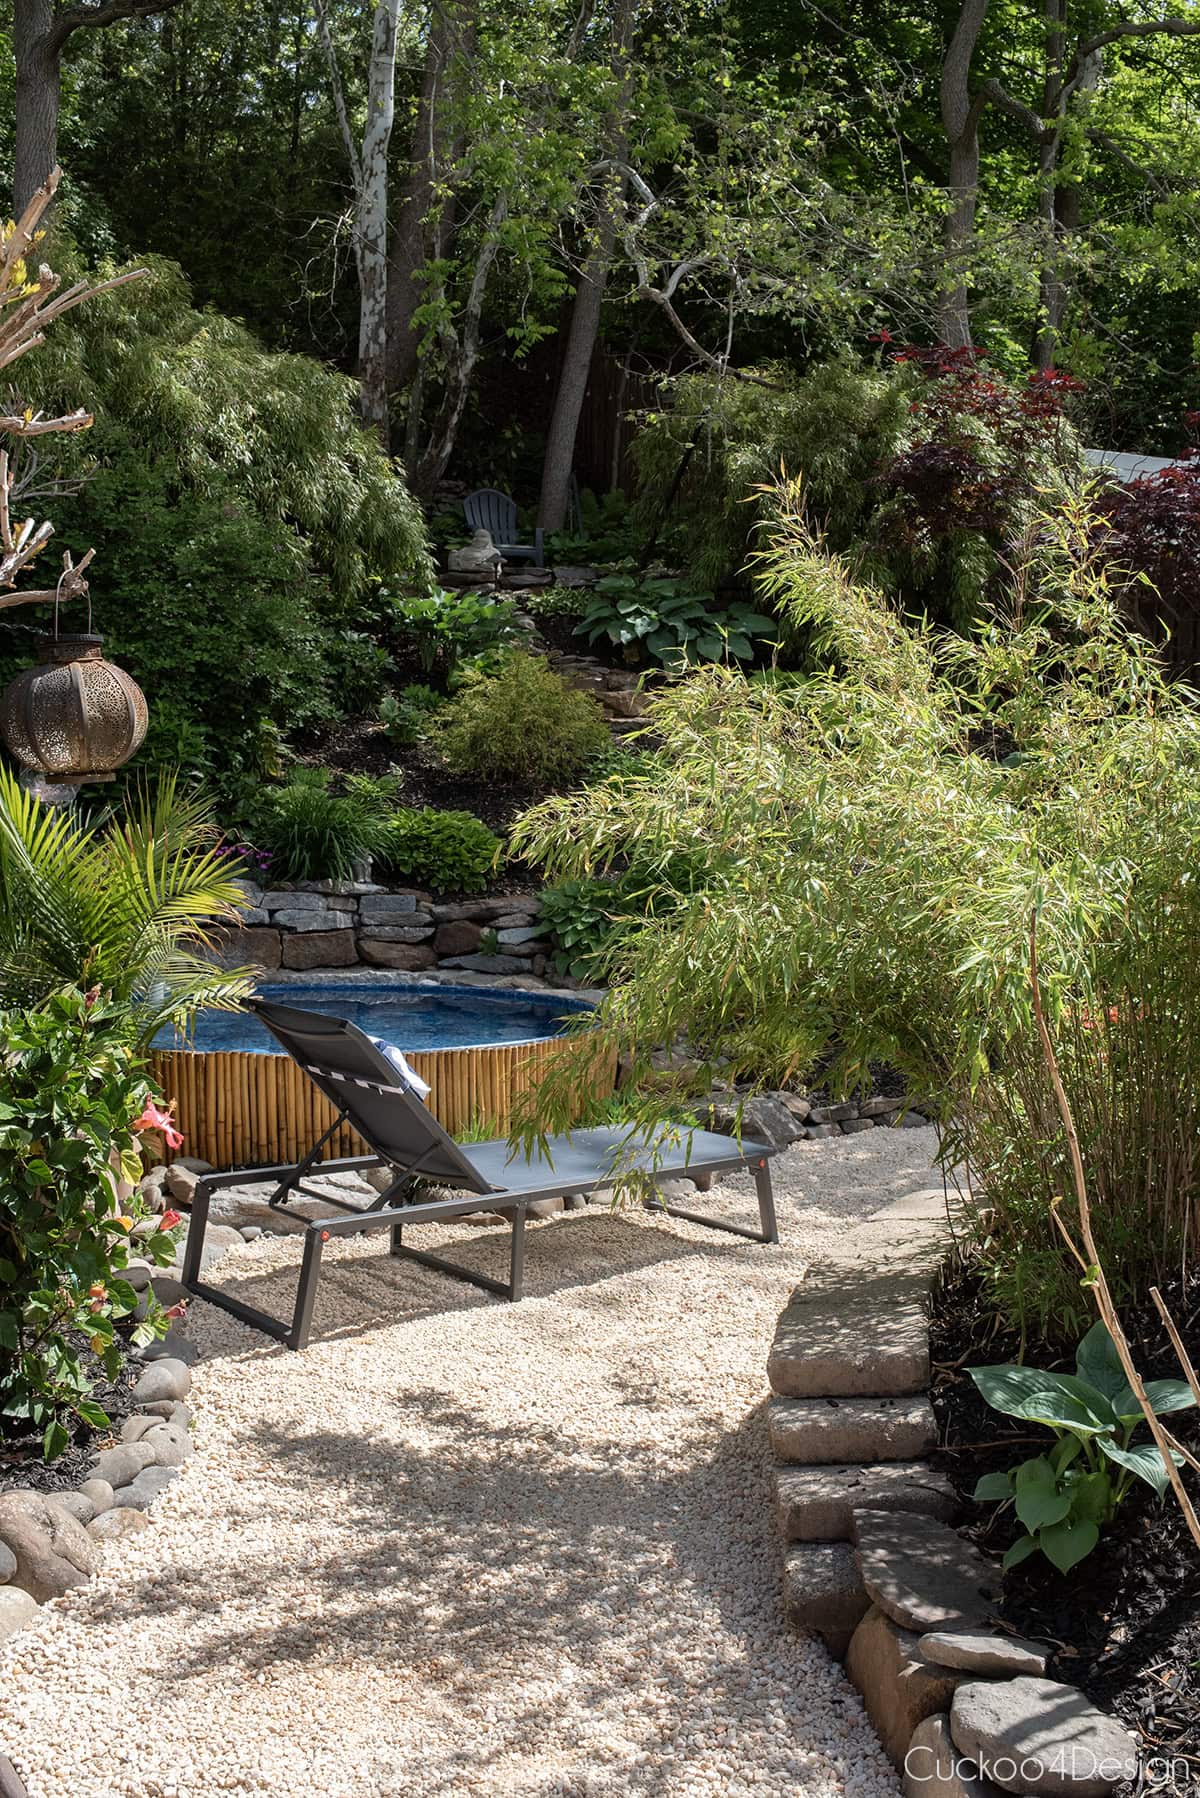
Here you can see the old lounge chair we had, which is more of a camping lounge chair, but it did the trick.
One of the number one questions we already get is whether the pea gravel ends up on the paver patio a lot, and so far, I can report that it is not an issue. I asked about possibly using gravel glue/mulch glue at the landscaping place, but I don’t like the fact that it makes the gravel look shiny and wet which looks fake. So you’d definitely have to make sure you apply it everywhere so it doesn’t look patchy.
The plants now pop more than ever.
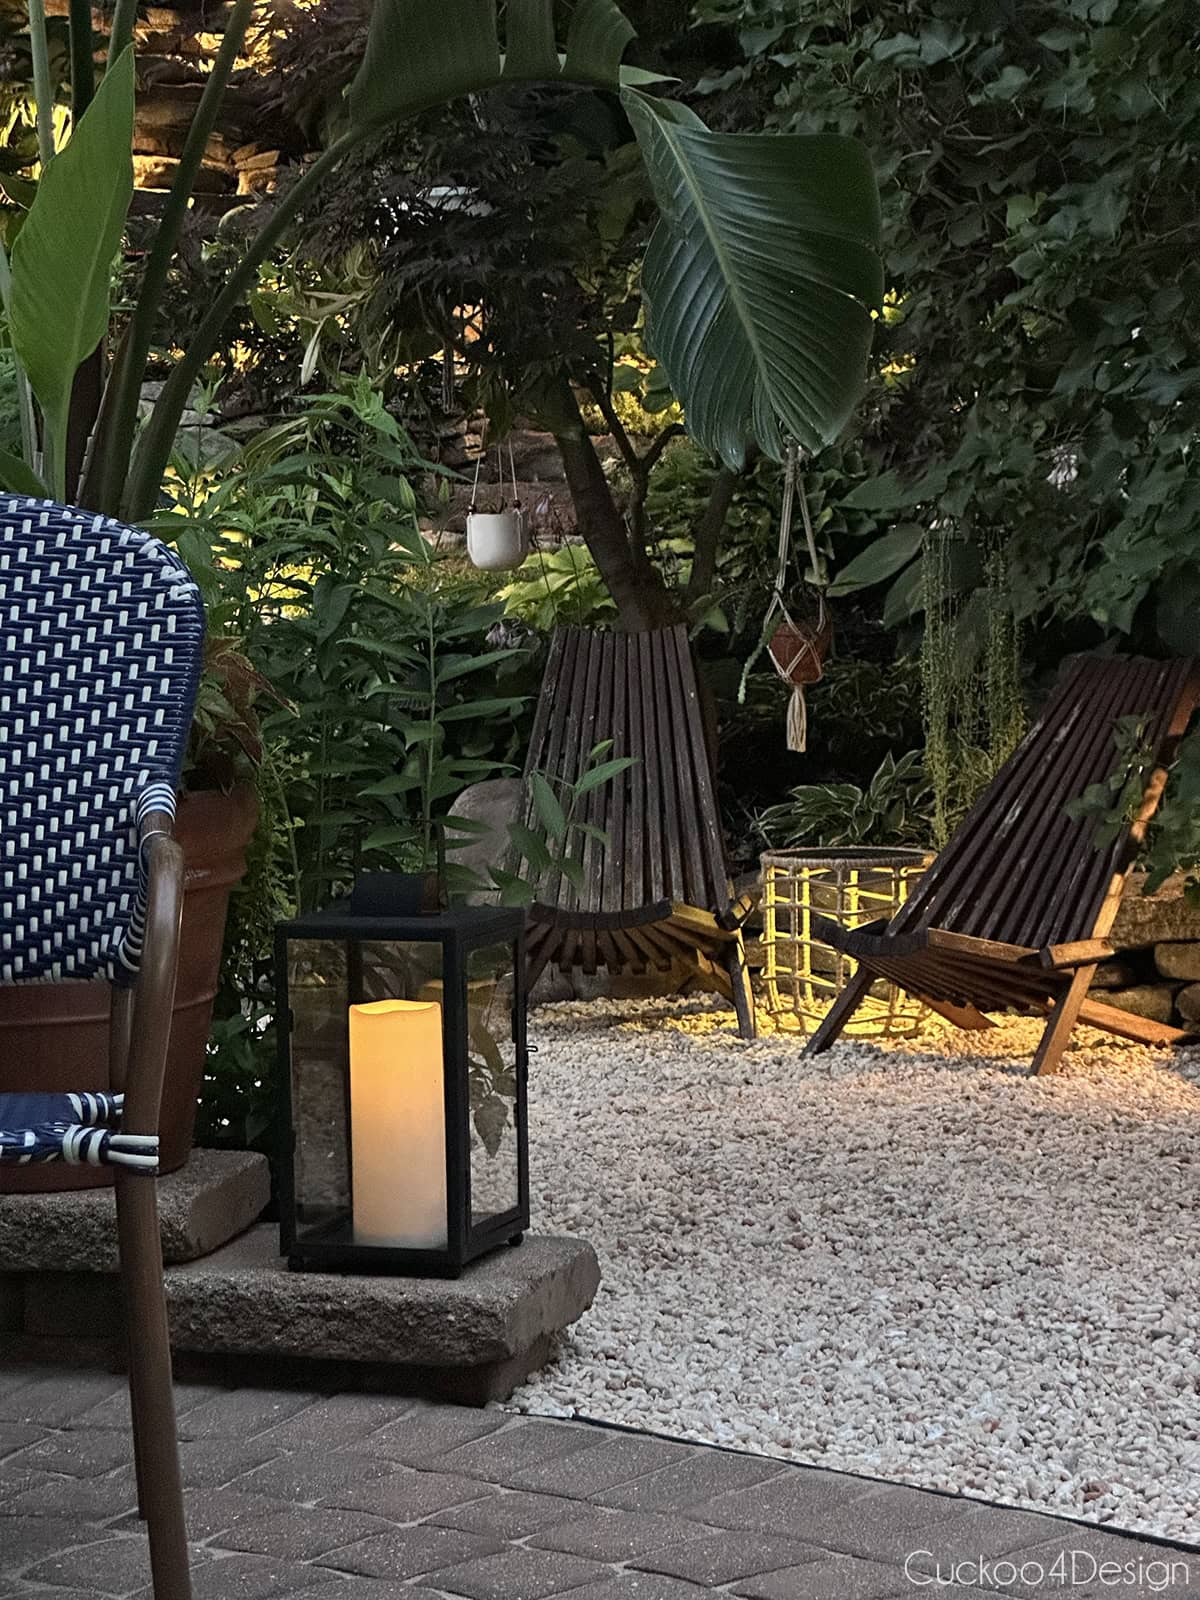
And another update, I recently added a large Buddha head to this seating area.


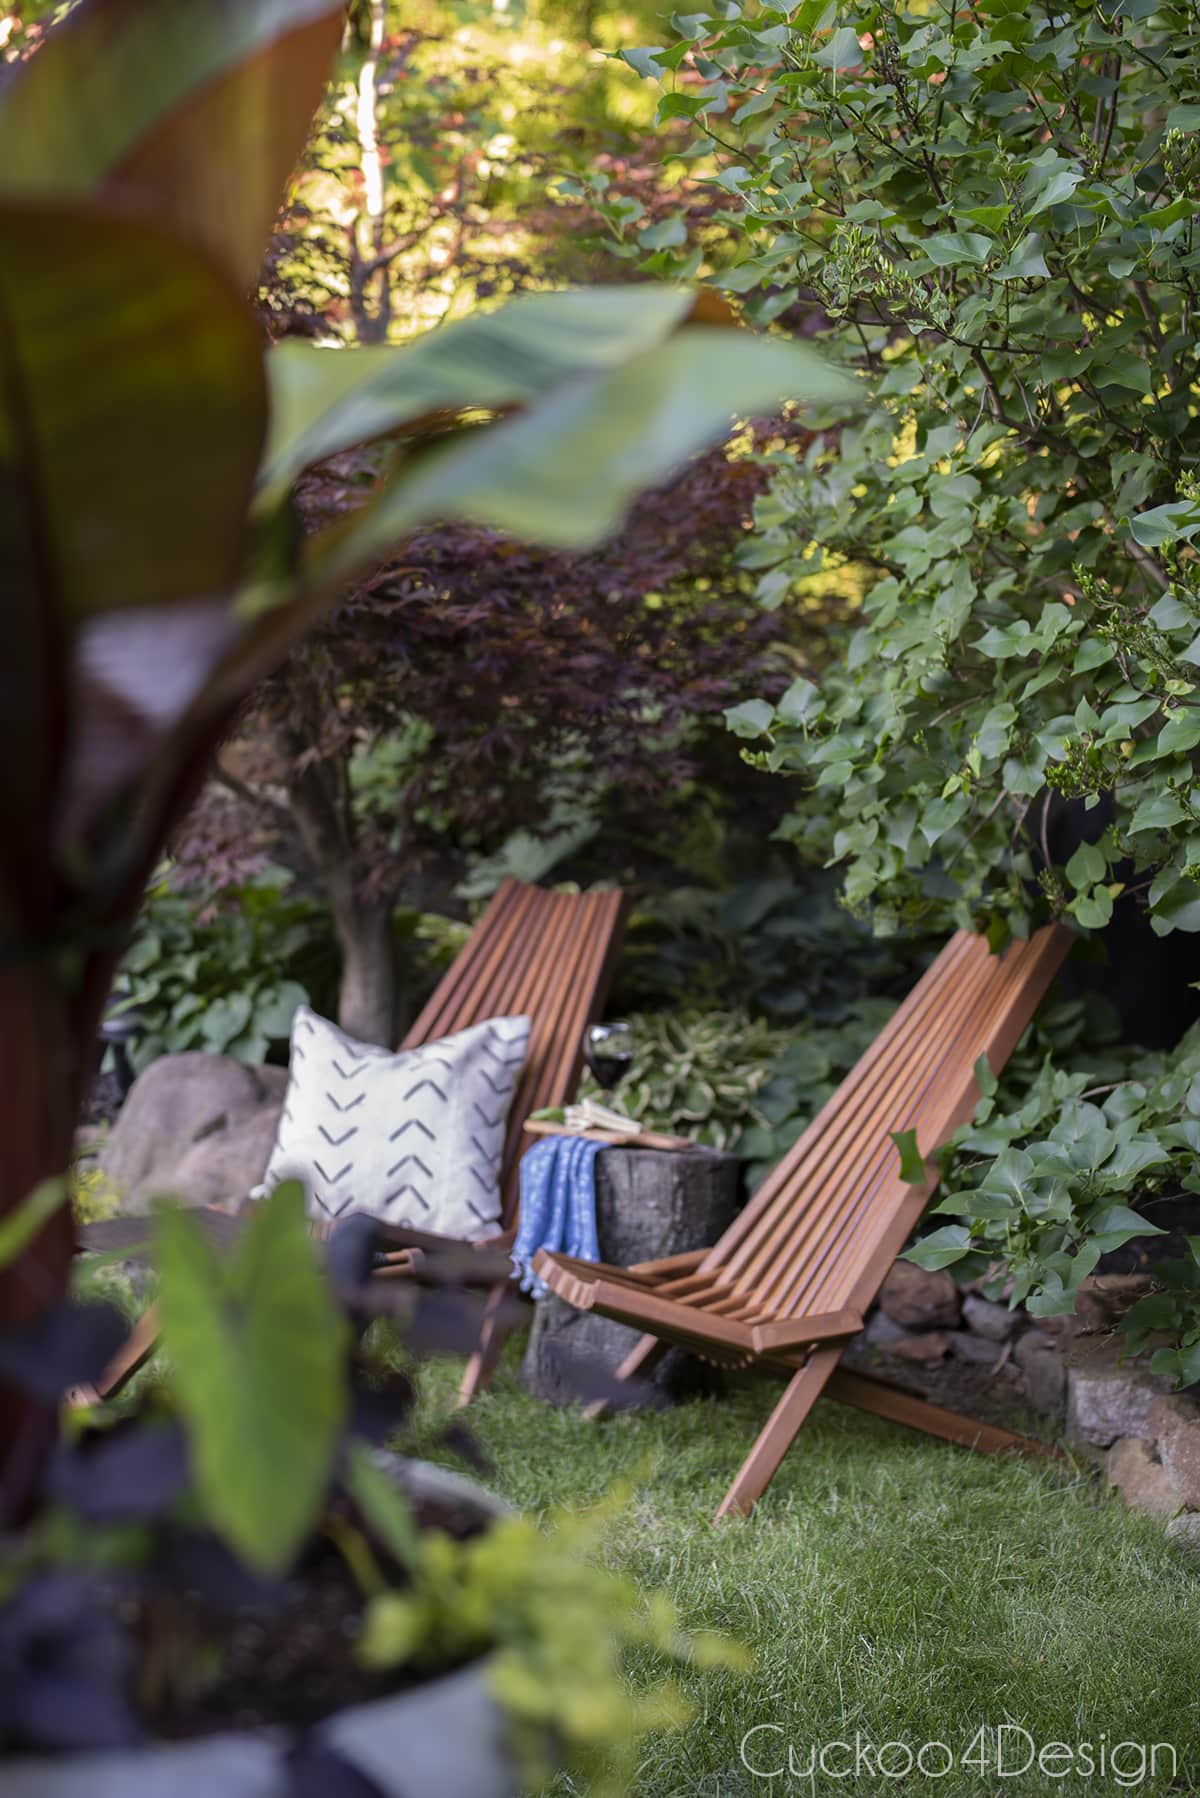
Below you can see a similar angle in the yard, once upon a time, when we had grass growing, and the chairs were new. I guess I should try to make them look new again, like I did with my lounge chairs. (Check out how to restore teak outdoor furniture)

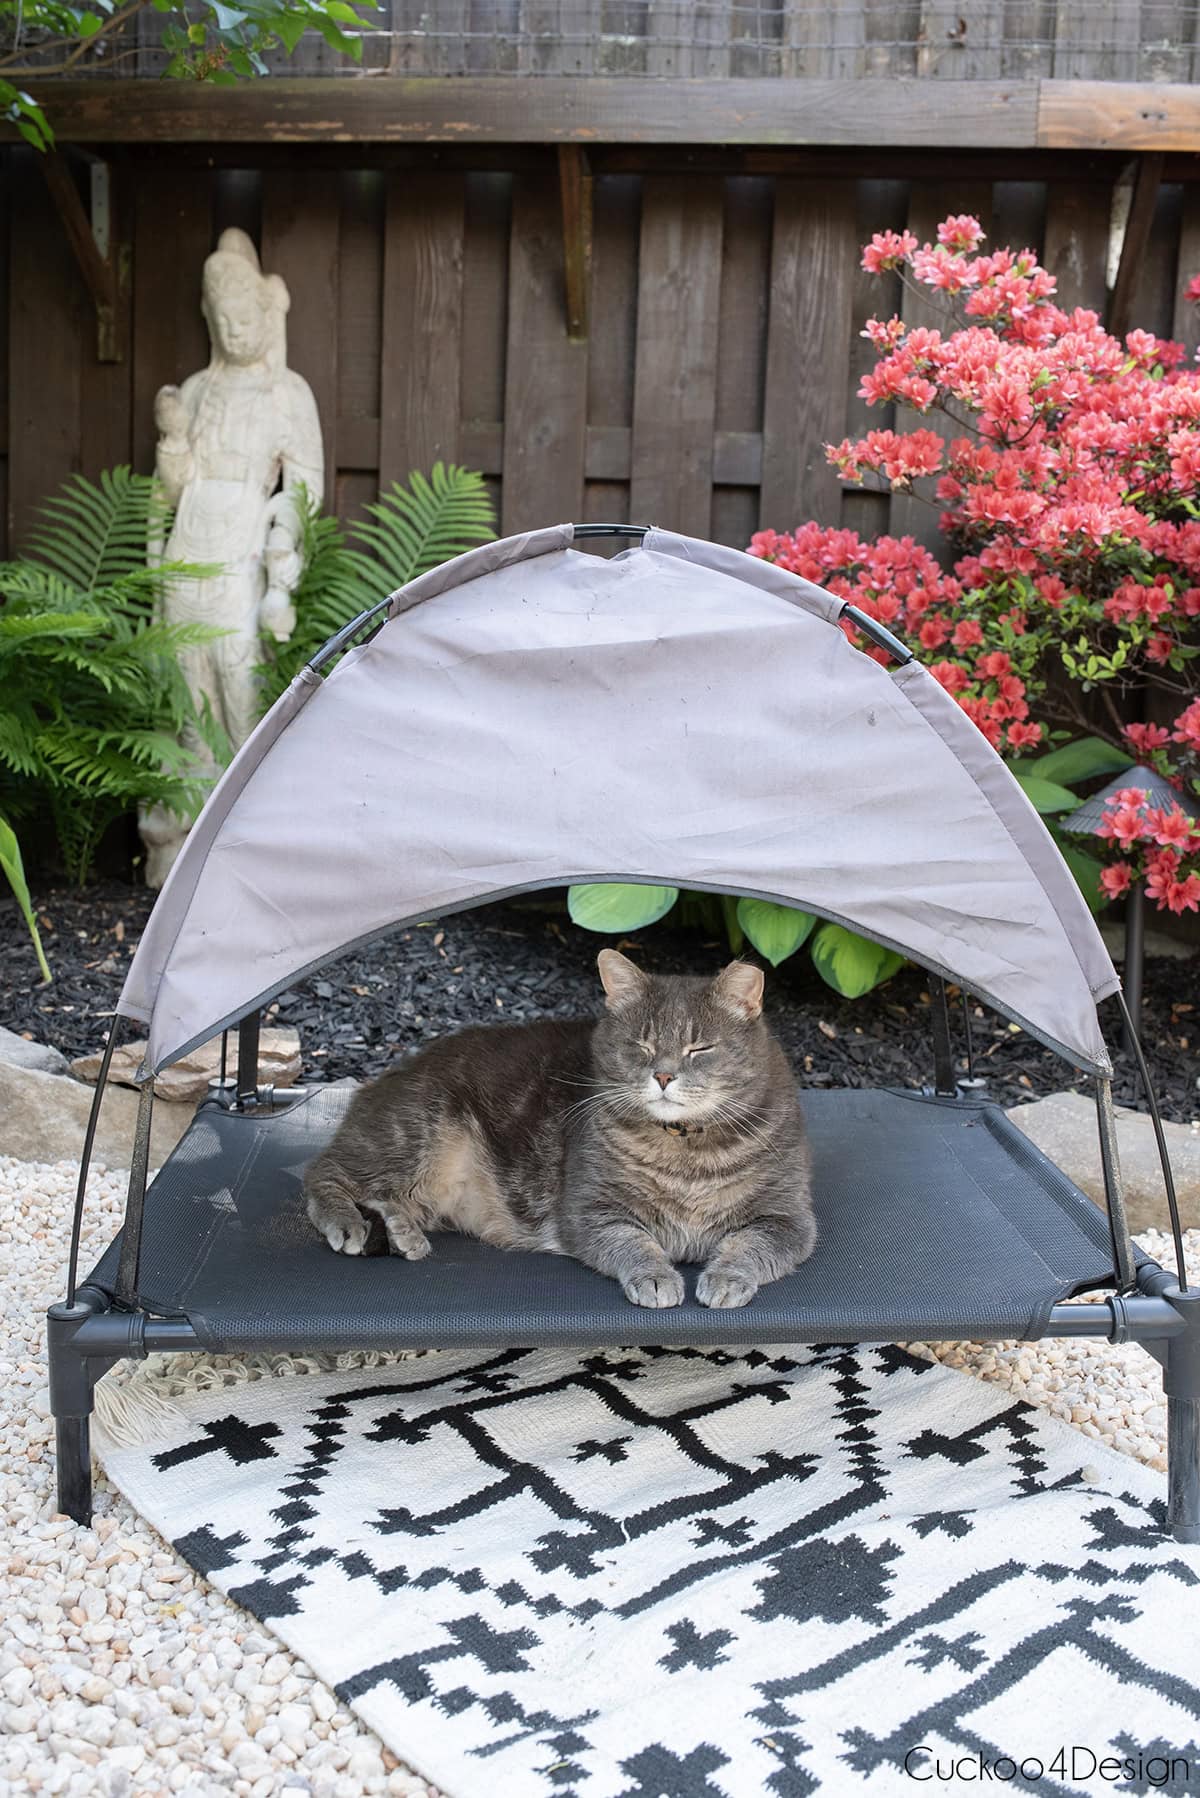
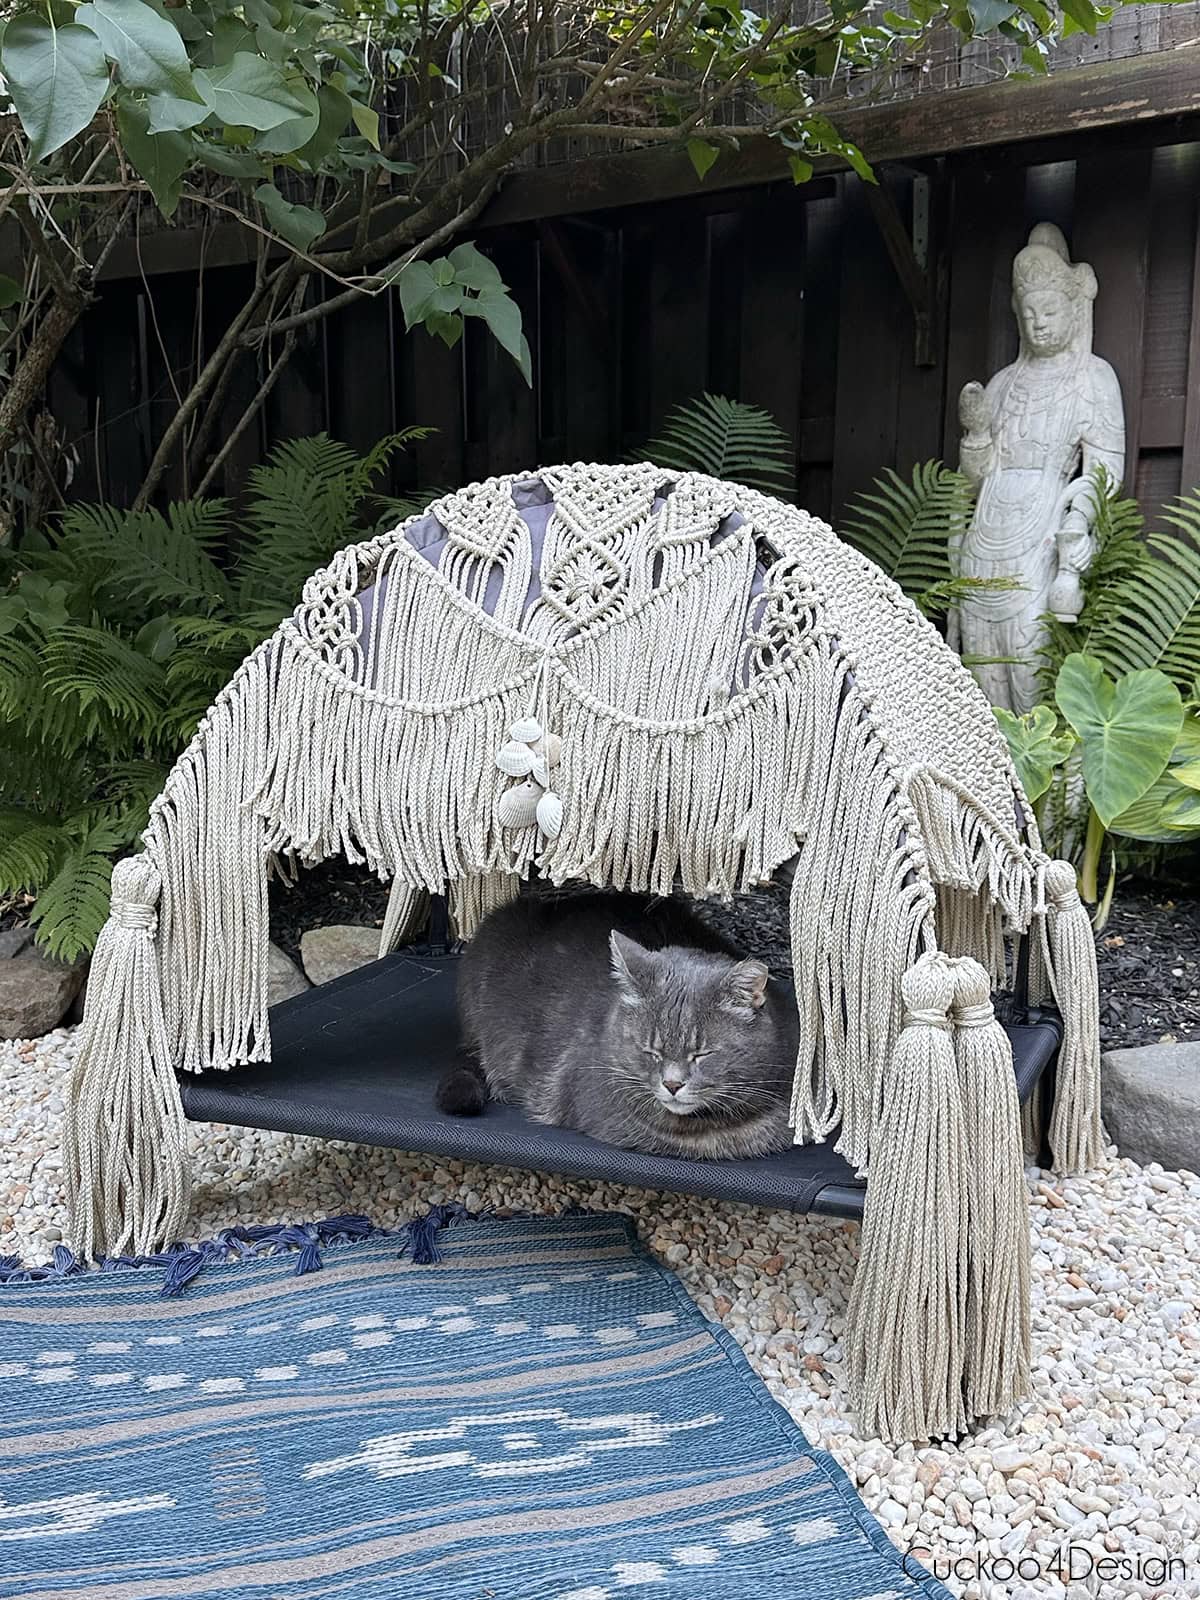
Frank absolutely hates the gravel. I added an area rug in front of his royal shade tent so he can get into it without stepping on the gravel. He’s so spoiled. And to top things off, I am currently giving the tent a macrame makeover since it’s faded and has holes.
UPDATE: I finished the makeover:
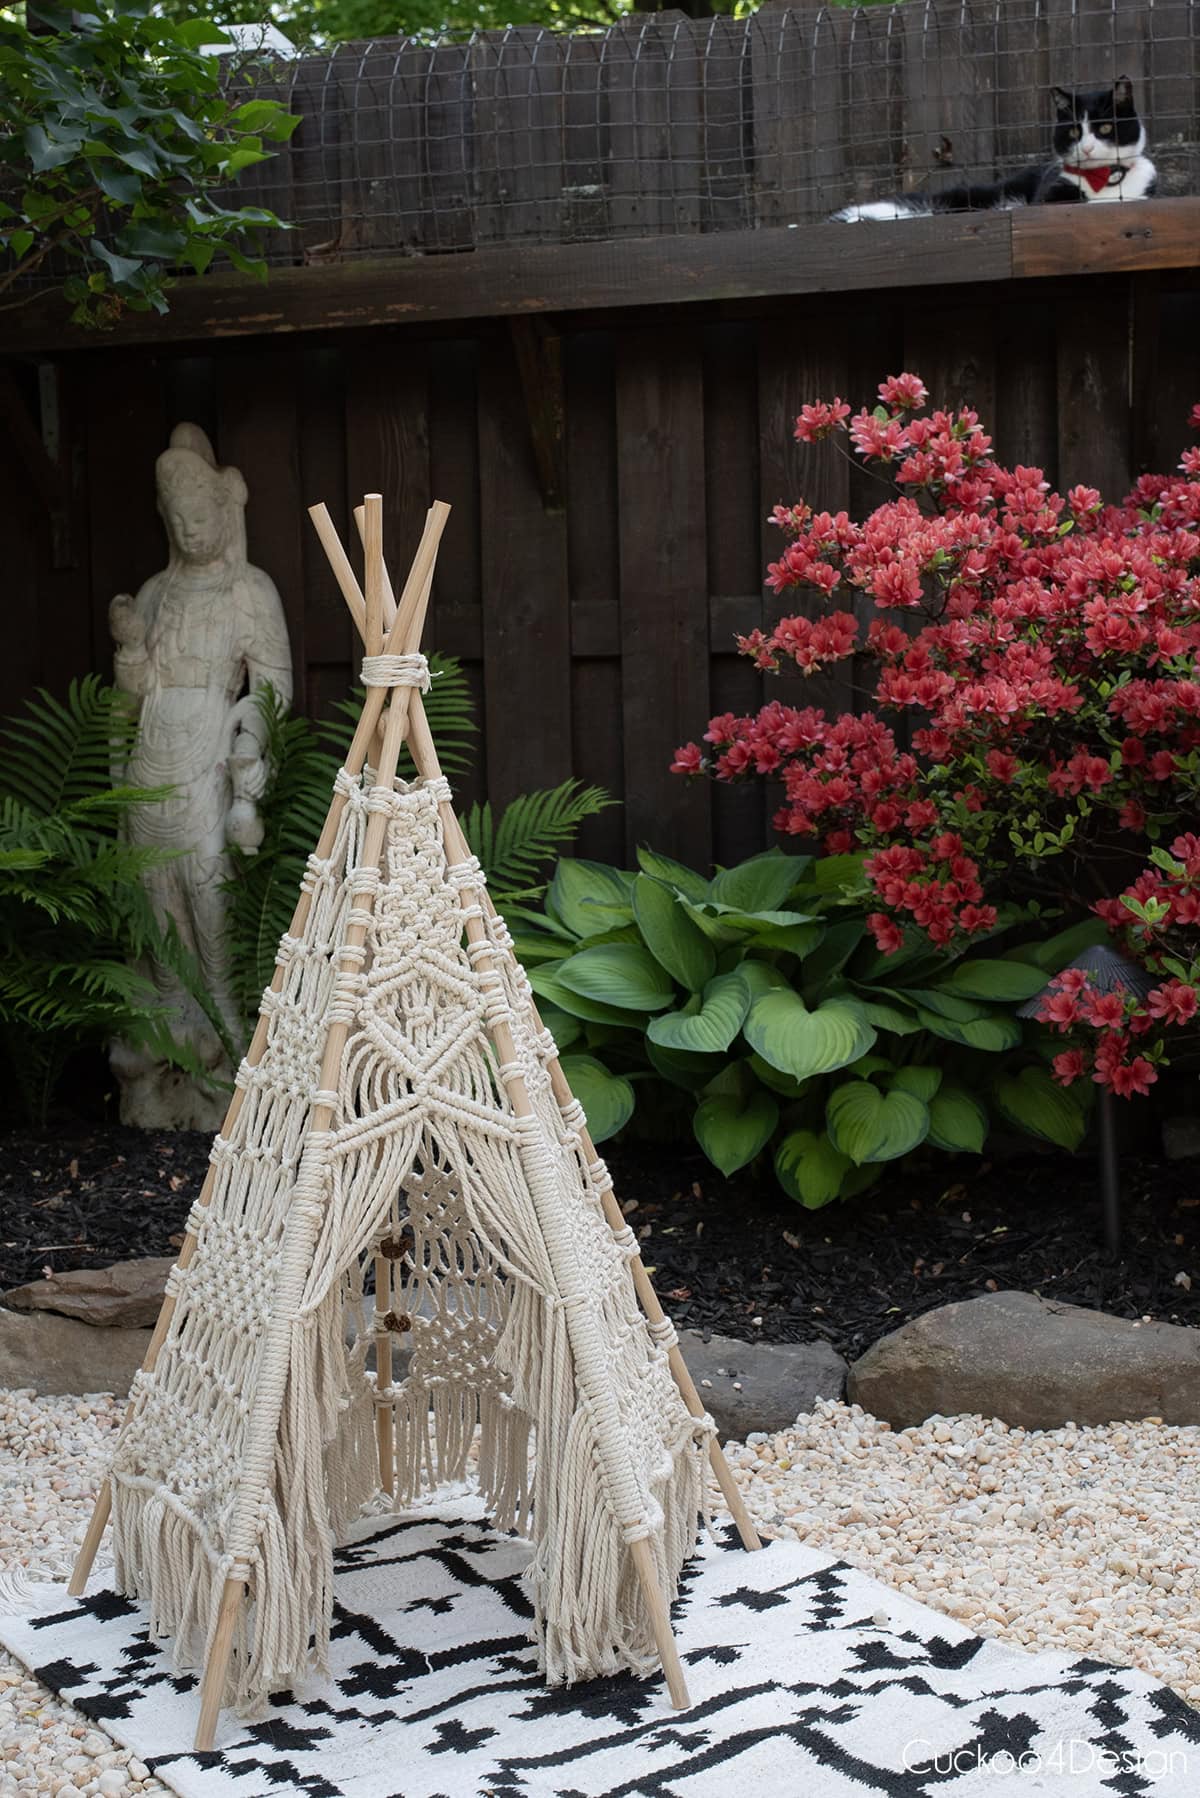
I also had to photograph the macrame teepee I just made again on the gravel. I think Willy wants to have it back inside.
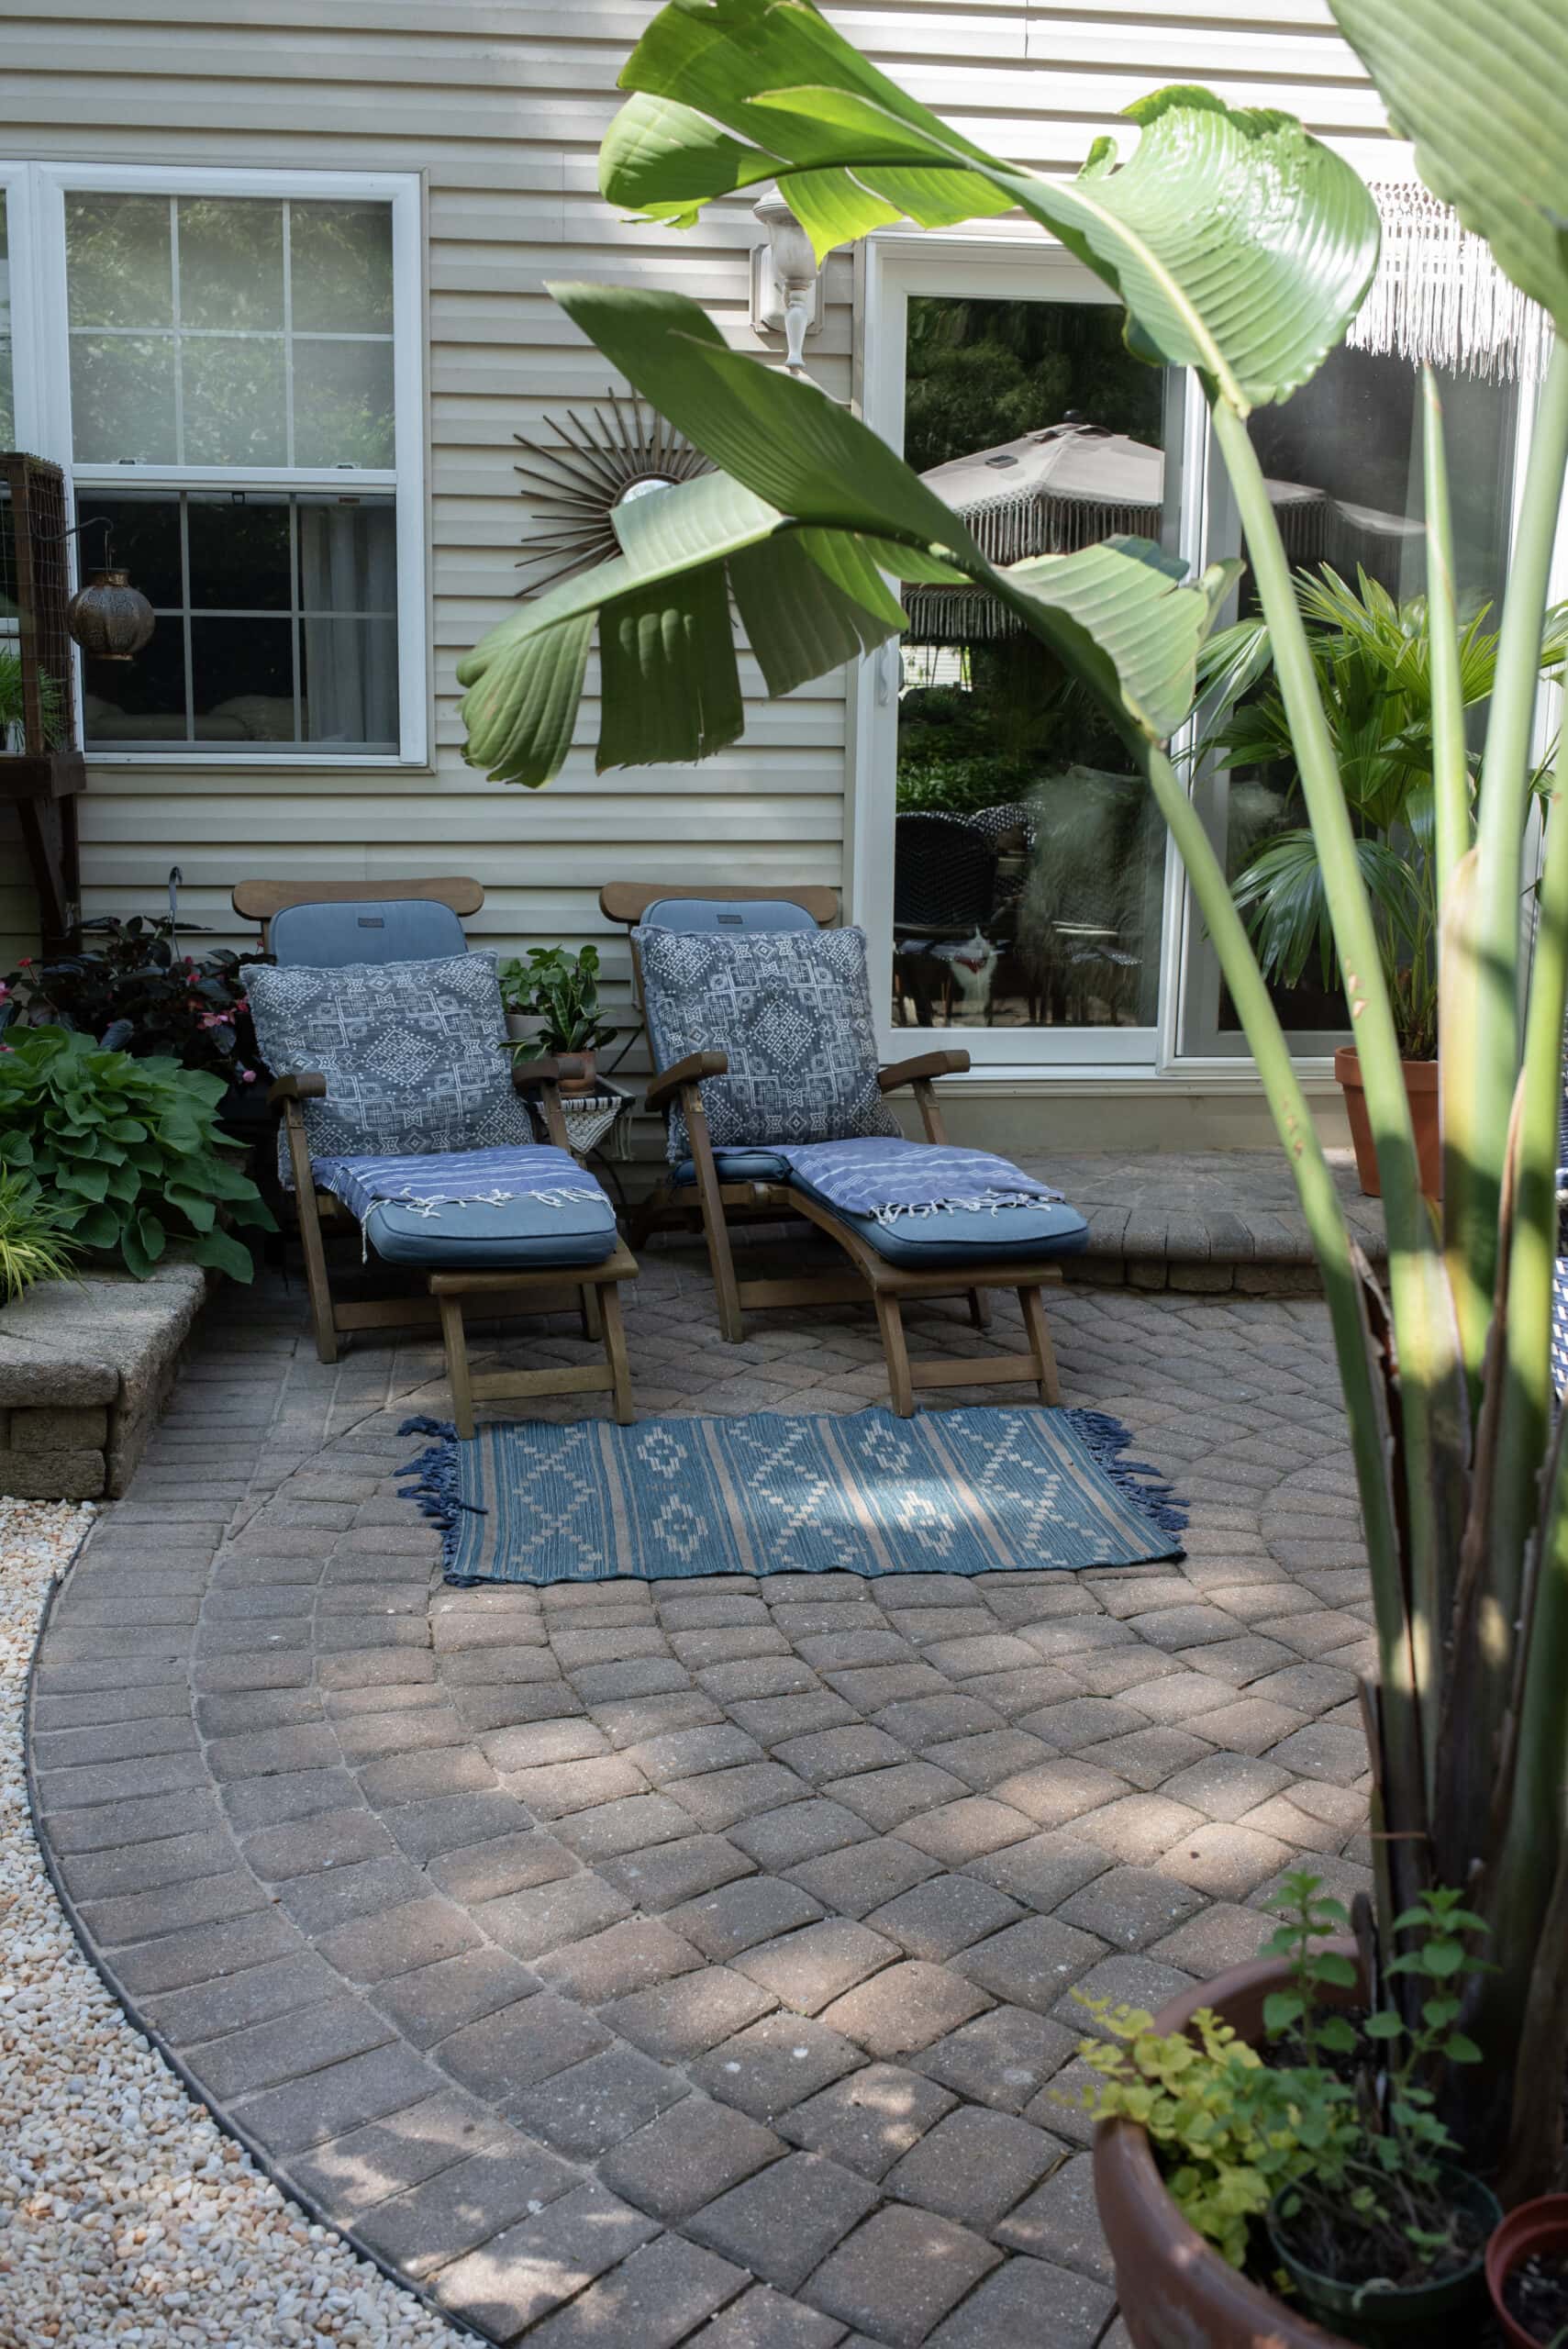
We had friends over last weekend, and they said that they truly felt like they were on vacation in our backyard, and that’s the best compliment. Honestly, that’s how I feel every day when I walk outside, too. I’m currently sitting here typing this blog post on my lounge chair (pictured below), and I feel blessed while being glad this project is finished.
What to know about maintenance
I am not going to tell you pea gravel is maintenance-free because it is not. We have trees, and they drop debris, and that debris lands on the gravel just like it landed on the grass before. You can see it in our before photos, actually, all the leaves and twigs sitting on the muddy, patchy grass. And we will have to find a way to keep it somewhat clean.
The landscaping fabric does a lot of the heavy lifting when it comes to weeds, but things will eventually poke through, too. Especially when debris falls into the gravel and decays, and then seeds germinate in that decayed debris. We are planning to try using a propane torch for the weeding when that happens. I have seen someone do this successfully on YouTube. This is something I will update this post about once we have actually tried it. The one important thing to mention is that you obviously cannot use a torch near your house siding or a wooden fence, so those border areas will need a different approach. Plus, we will use our leaf blower more than ever, too since we can’t just run the lawn mower over the leaves anymore to mulch them.
Would we replace our grass with gravel again?
For now, without hesitation, YES, but I will, of course, keep you updated in the years to come. As I said earlier, Frank and his girlfriend, Pretty, are the only ones in this household who have ongoing objections. They refuse to walk on the gravel and have claimed the stone edging as their personal elevated highway.
He also left a mouse at the entrance to the yard during construction, which we are choosing to interpret as a bribe to stop the gravel madness and not as a threat, LOL. I’ll spare you the visual even though I took a photo.
What the yard looked like when we moved in
It is always fun to show what our yard actually looked like when we moved here in 2000. We never thought that we would stay here as long as we have, but we certainly made the most of it. And this is missing the before photo from when we didn’t even have grass.
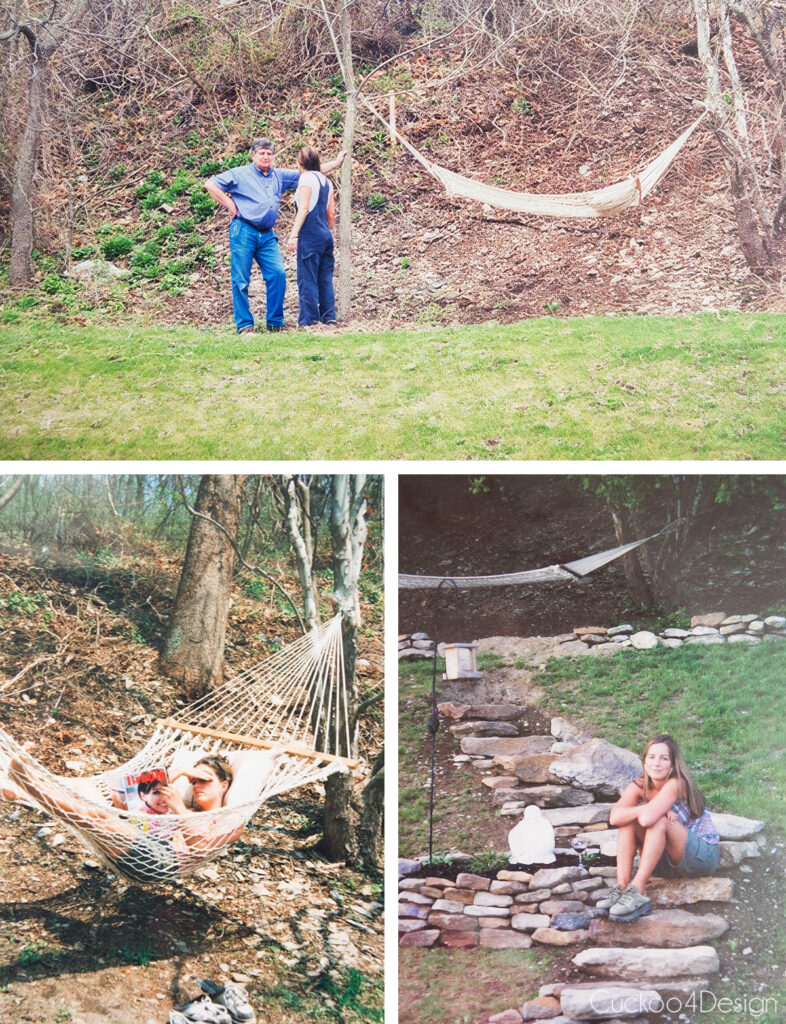
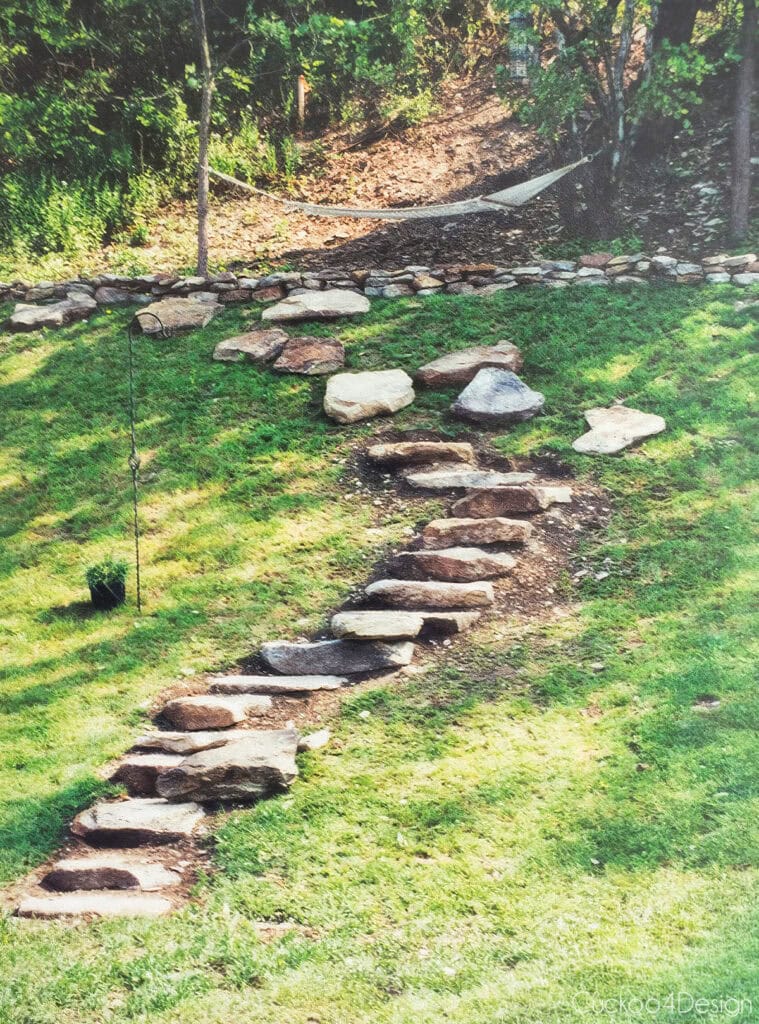
I love seeing how far we have come.
Tschüß,

I think it looks great — so peaceful and NOT muddy/patchy! Yay for you! Sorry for the cat, but he’ll get used to it? Hopefully?
Thanks so much, Stacy! His girlfriend hates it too. I hope they can both get over it. They definitely miss the grass
Absolutely love the new space. The cats are living their best lives. Wunderbar !
Thanks, Lisa. Frankie is the one who has the best of both worlds, living partially indoors and having the run of the yard. The others are jealous for sure.
Wow! The pea gravel walkway looks great and will be so much easier to maintain than having to cut grass or deal with mud. Enjoy!!!
Hi Diane! When fall comes around, we are hoping the leaf blower will be able to keep it clean. And thanks so much! We need to catch up one day. It’s been way too long.
Looks great! Congrats on the project!
Thanks so much Meryl, I hope you are doing well.
Looks absolutely amazing! Our gravel is easy to maintain with a blower, too. Enjoy!
Oh that’s so good to know! THanks Debbie
Wow, your yard looks so amazing with the pea gravel! Thanks for giving such a great tutorial on how you did it. I’m sure it will be easier to maintain than trying to keep grass growing.
Thanks Jeanine, we are hoping it will be.