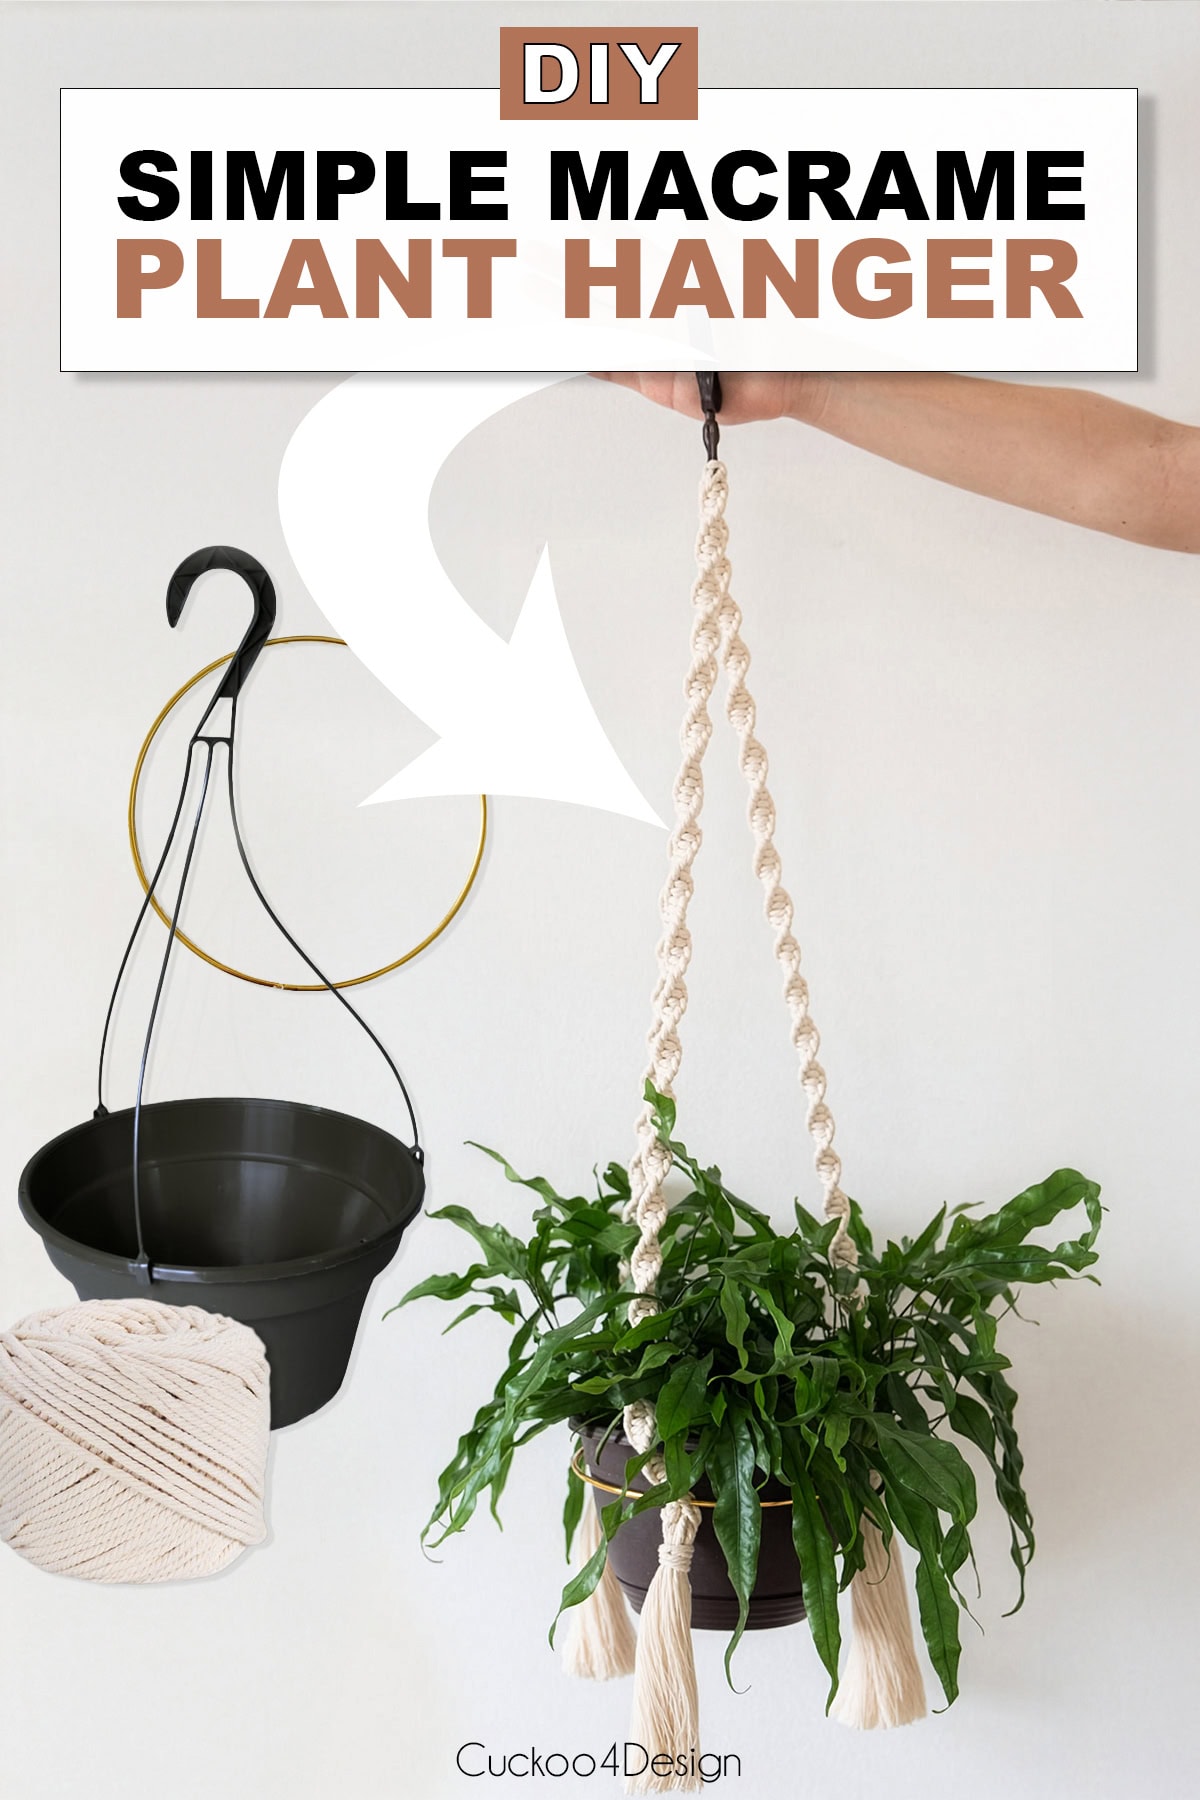
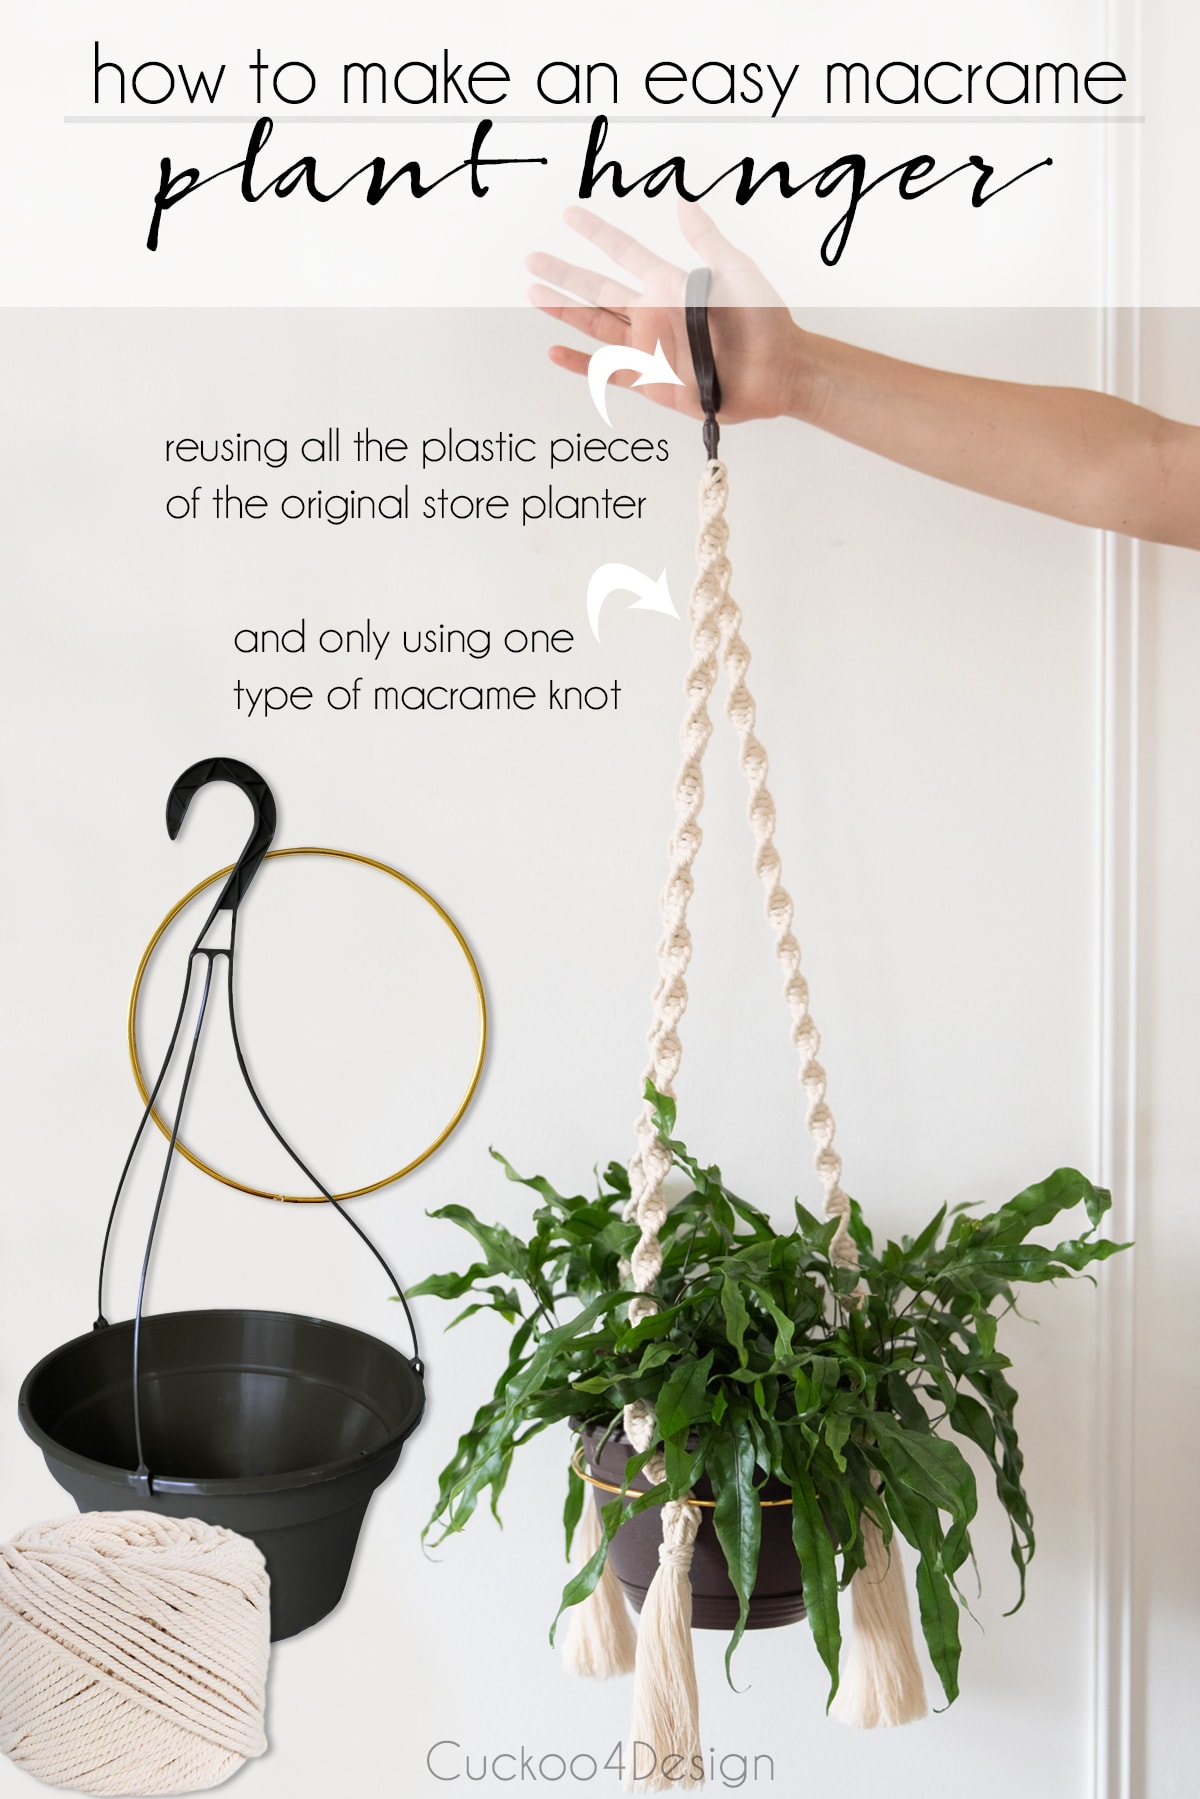
This simple macrame plant hanger takes about 45 minutes to make and uses only one knot, the Spiral Knot, also called a Half Square Knot or Twisting Knot. I made mine by reusing the hook and ring from an old plastic store-bought planter, but you can just as easily start with a small metal ring or hook if you’re starting from scratch. I’ve previously shown you how to make a macrame basket, a macrame cat hammock, and a macrame lantern, and this plant hanger uses the same beginner-friendly approach.
Step-by-step tutorial on how to make a simple macramé plant hanger
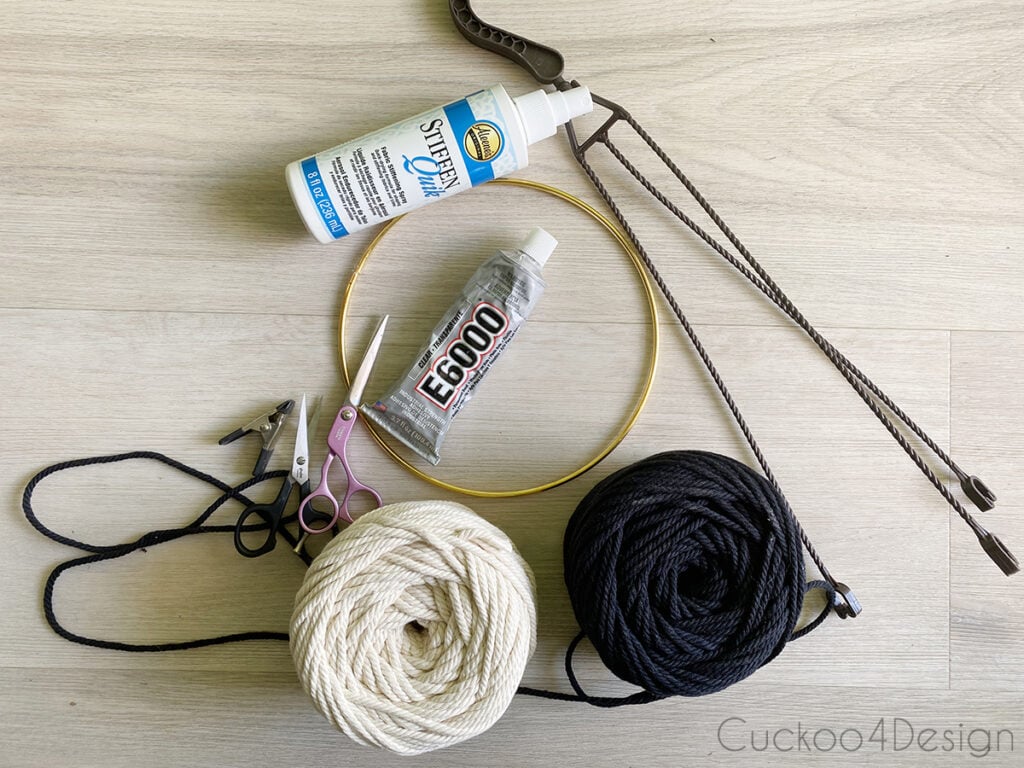
This tutorial works whether you’re starting from scratch with a metal ring and hook, or reusing the hook and ring from an old plastic store-bought planter, the way I did. If you’re using a new ring, make sure it fits over your plant pot before you start. An 8-inch ring was the perfect size for mine. You can also add wooden beads to the hanger if you want a different look.
I had all the other items needed already. The metal ring was a leftover from a multi-package of rings, where I had used one of them for my macrame wreath tutorial.
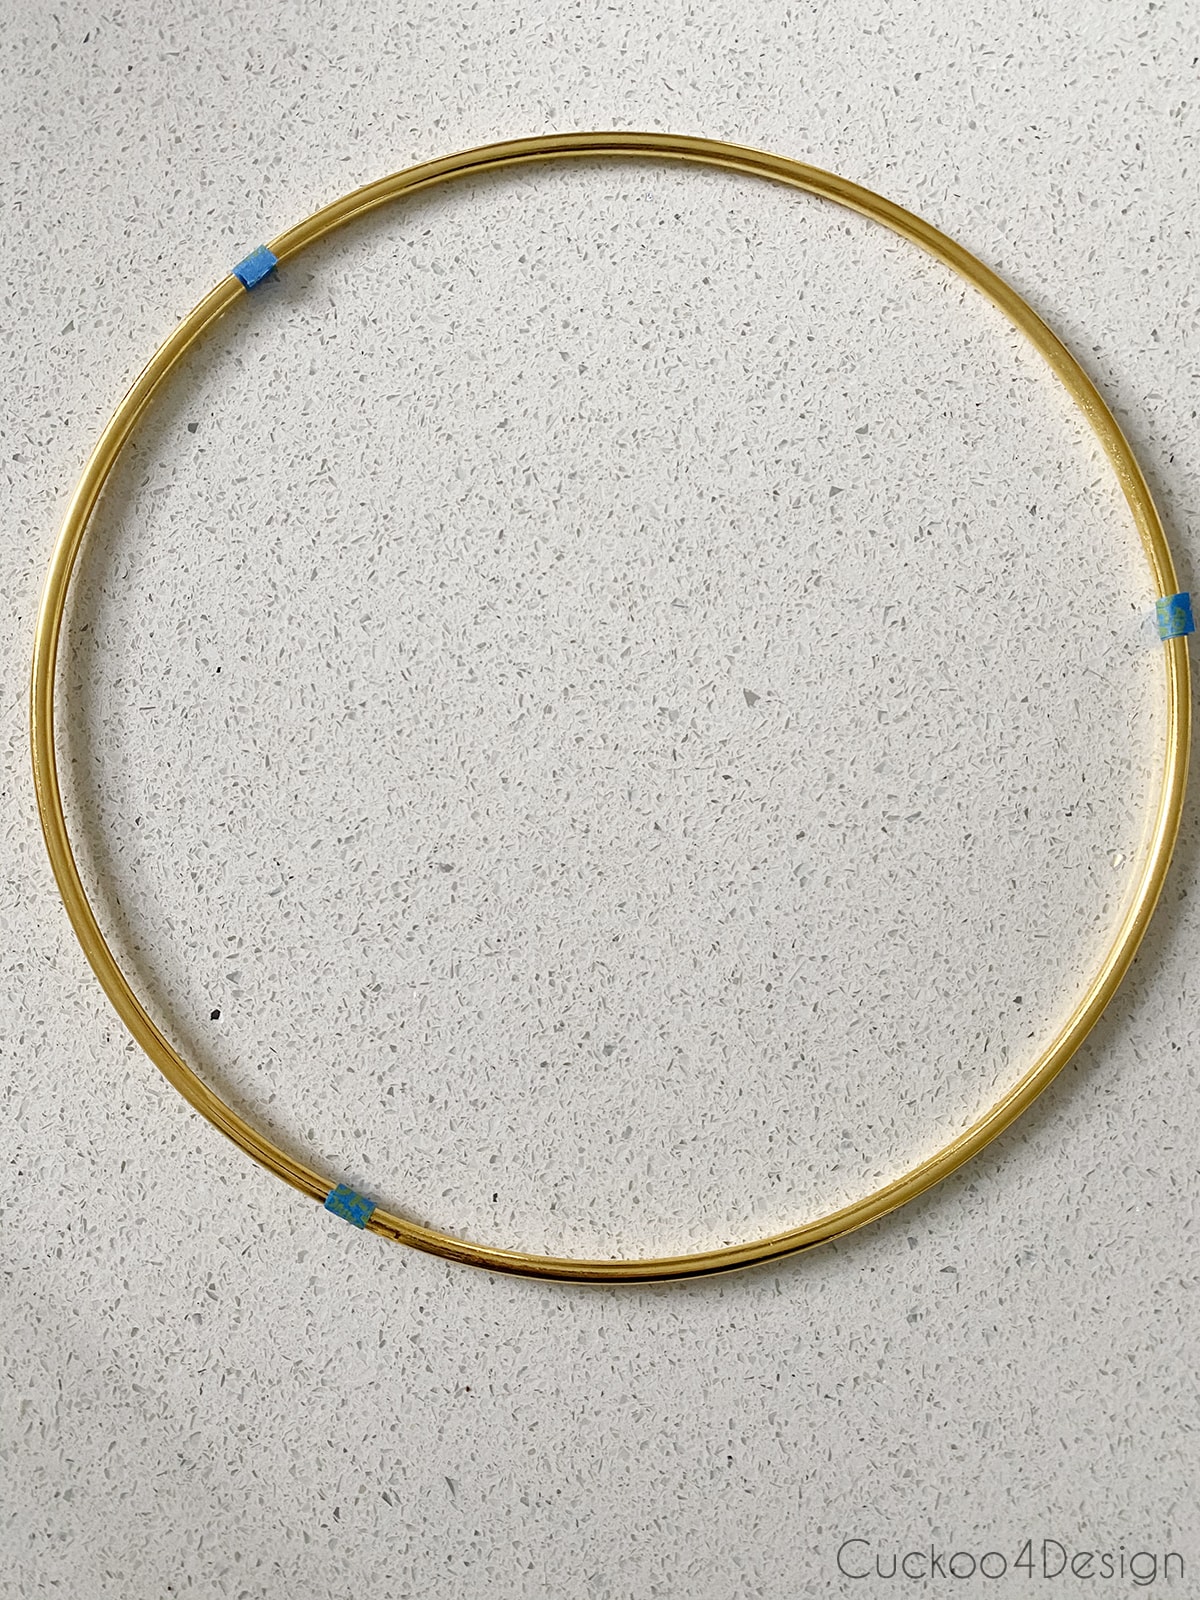
Step 1: Mark measurements on the metal ring
I used the plastic part strands from the store-bought hanger to just eyeball the area where the macrame strands will get tied to later.
For my 8-inch ring, it was about 7ish inches distance between marks which you can measure too if you just use a hook or ring.
I marked the spots with some painter’s tape but you could also use a permanent marker. Then put the ring aside for later.
Step 2: Determine how you want to start your macrame plant hanger
Securely hang your hook or wooden ring to something like a doorknob, clothing rack, or horizontally placed broomstick. Whatever works for you.
I don’t have a photo of how I held this project in place. The above photo is how I started my macrame lantern, which I mentioned earlier, and which is a very similar project. You can start the top of this project the same way.
Step 3: Cut the macrame cord
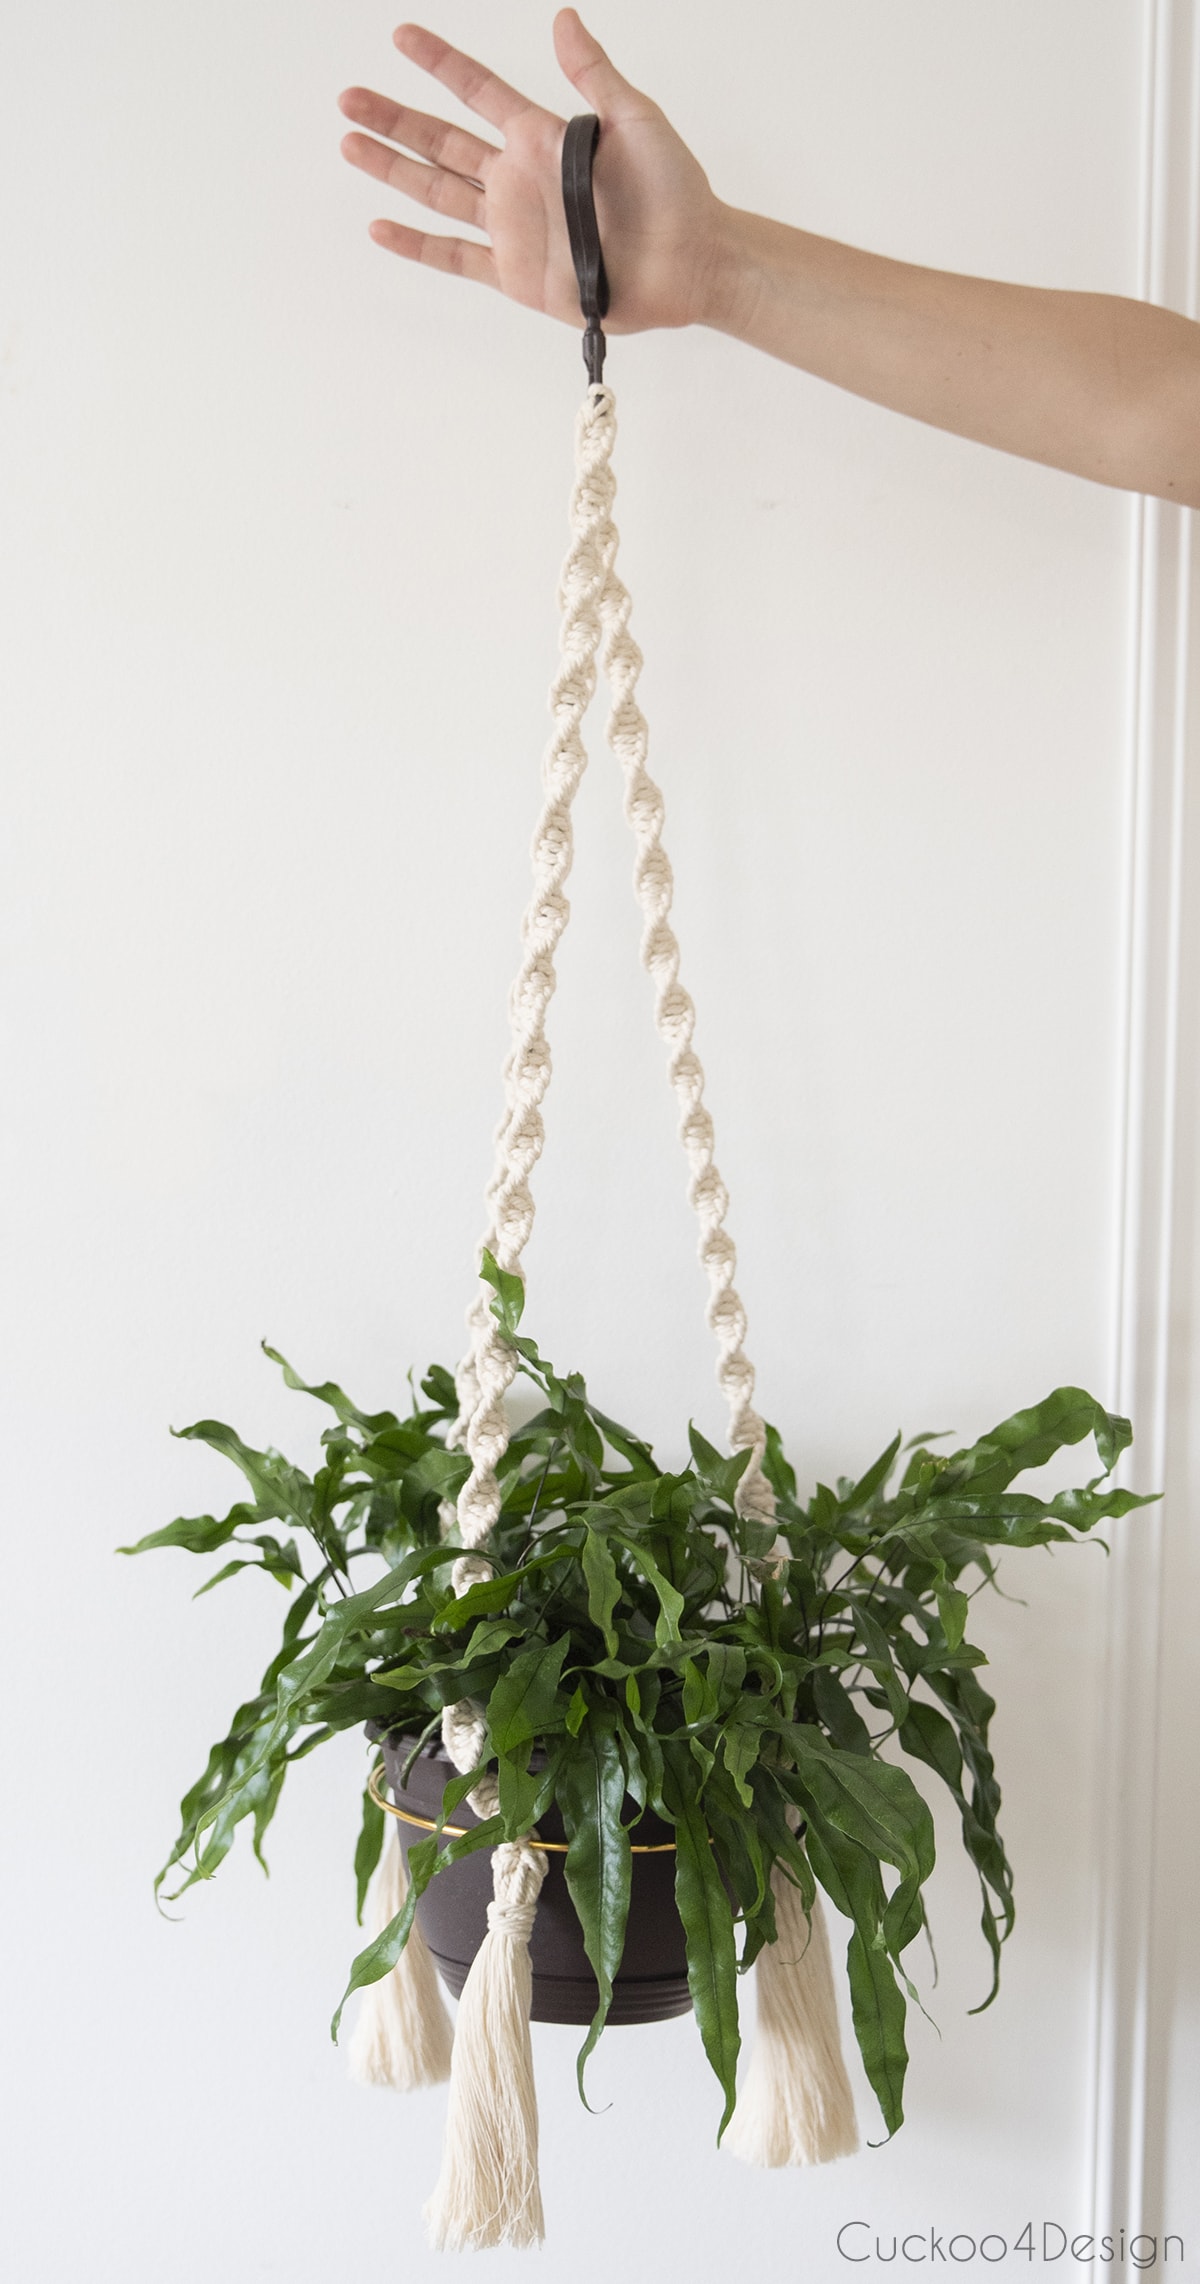
How much cord and the desired length of the strings used are determined by how low you want the planter to hang. Mine hangs down about 31 inches from the rod. You also need some extra length to be able to tie the tassels at the end.
I cut my pieces of cord five times as long as I wanted the planter to hang. You need two strings for each arm. Folded in half, which actually makes 4 strings hanging down for each arm.
Note: The center cords of the Spiral Knots stay in place while the outside cords are used for the knotting. That means you will have plenty of leftover yarn at the end, which I used for the tassels. You can, however, cut those center cords shorter. They only need to be slightly longer than the desired hanging strand length!(I prefer not to overthink a project and just have leftovers at the end)
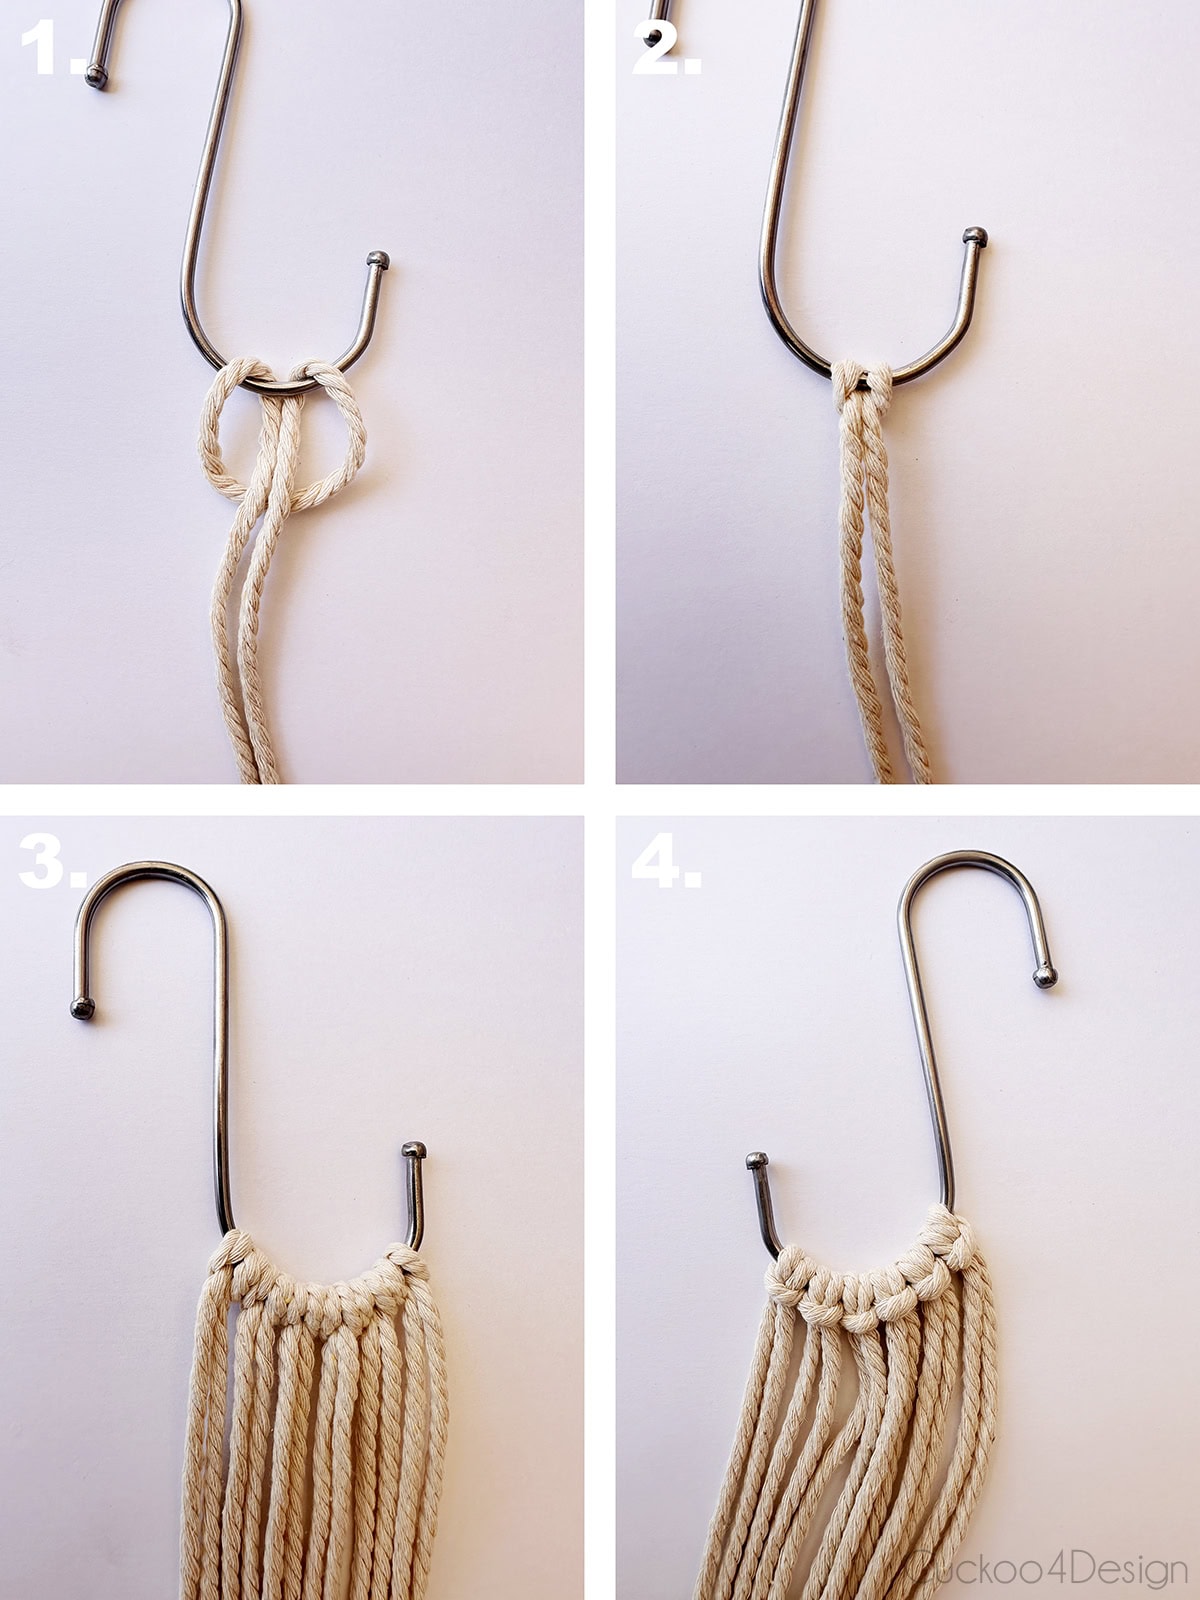
Step 4: Attach the macrame cord to your hook
Attach the macrame yarn to the hook with basic knots called Lark’s Head knots by folding the string in half, laying it over the hook or ring, then pulling the ends through the loop and tightening everything. You can also see this in the Spiral Knot video in Step 5.
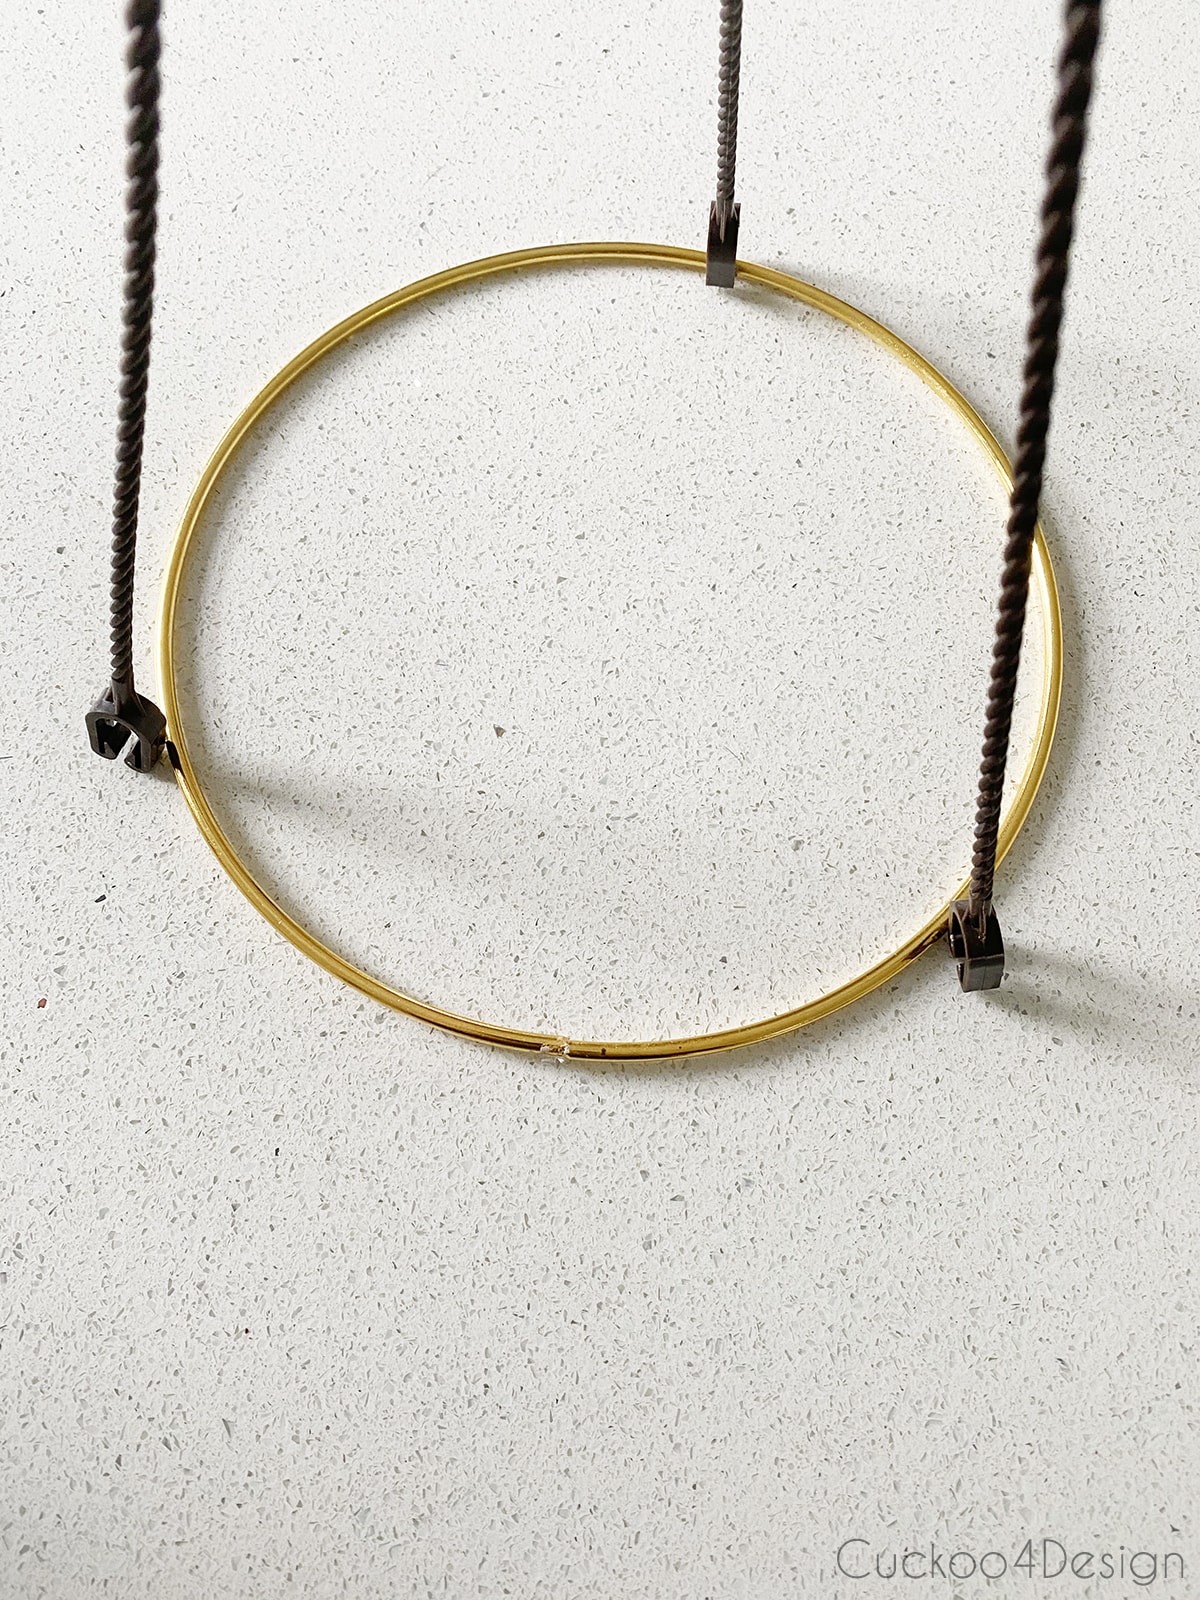
I opted to keep the long plastic arms that attach to the store-bought plastic pot. You definitely do not have to do that! I wanted to because it keeps the top structured and stiff when I take the plant off to water it. Just personal preference. And you don’t see the pieces because they are hidden inside the row of knots with the center cords. You can just cut the plastic arms/sticks off right after the hoop and use the hook like the wooden ring to make the planter.
I looped them onto the old plastic swivel hook the same way.
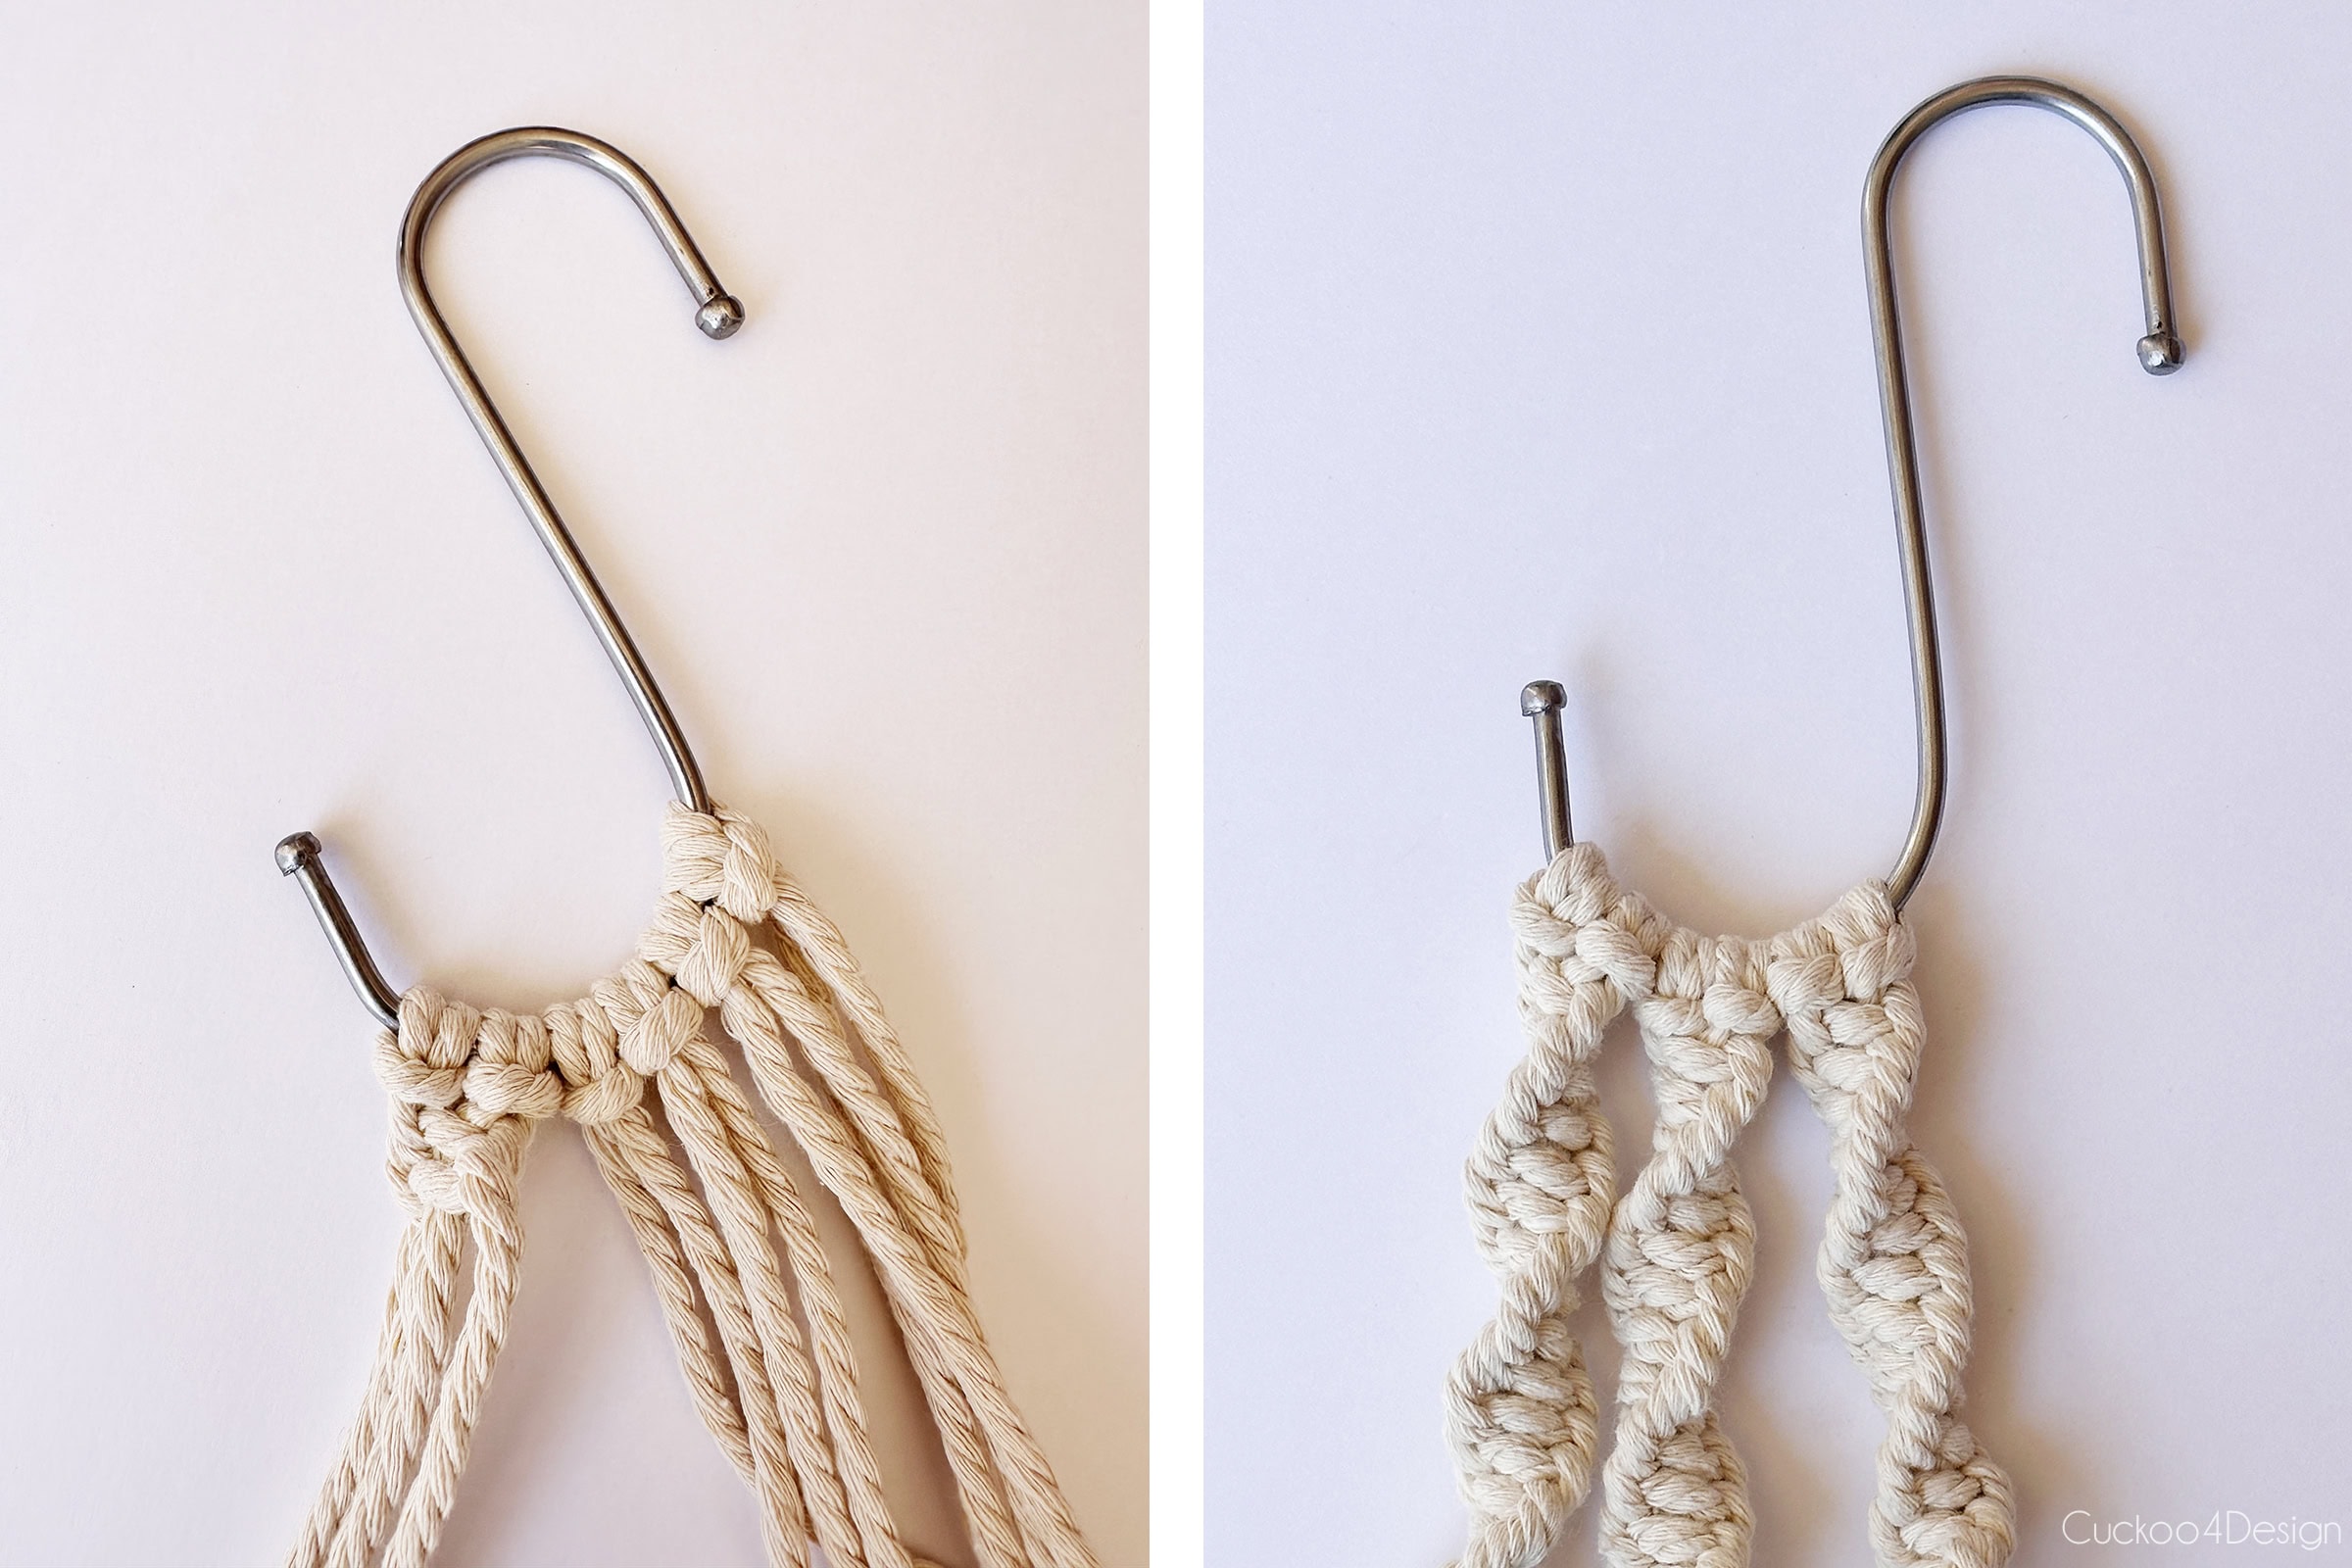
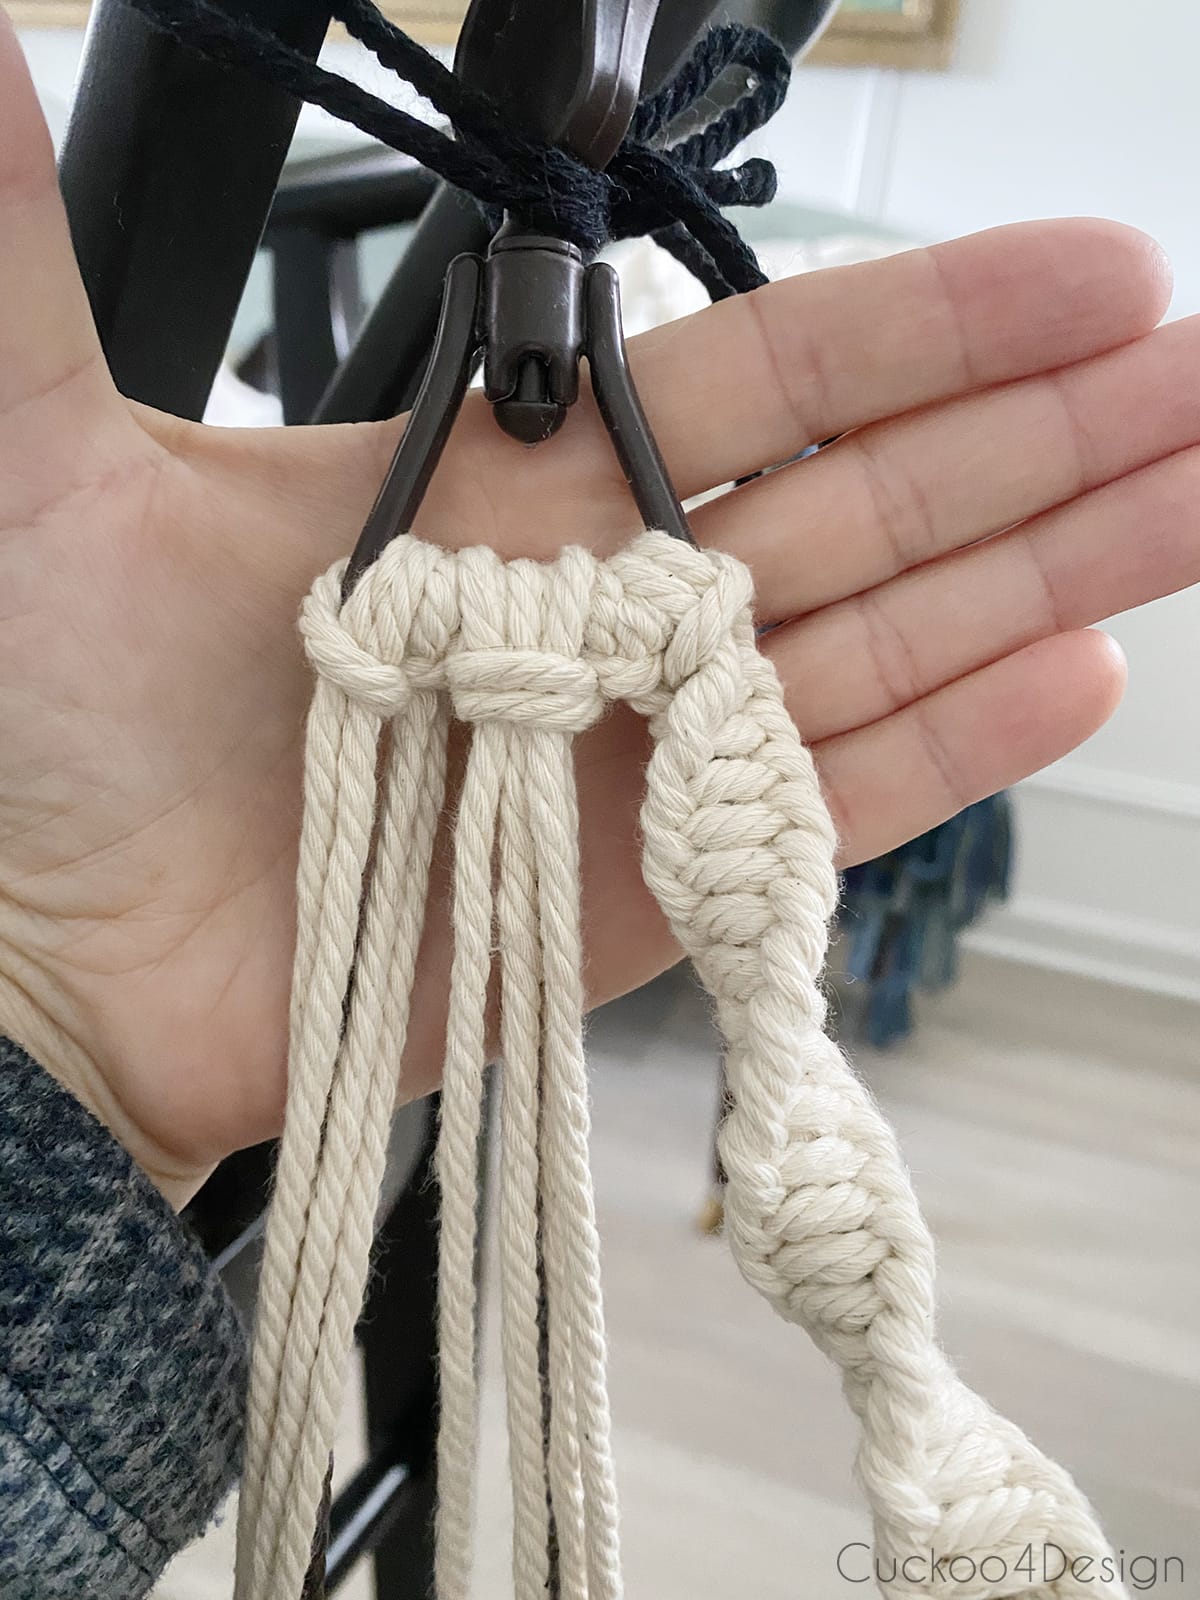
Step 5: Knot three strands of Spiral Knots
This post may contain affiliate links from which I will earn a commission at no extra cost to you. View my full disclosure policy.
Divide the cords into sections of three with 4 cords each. Tie the Spiral Knots on all three strands and make them all the same length.
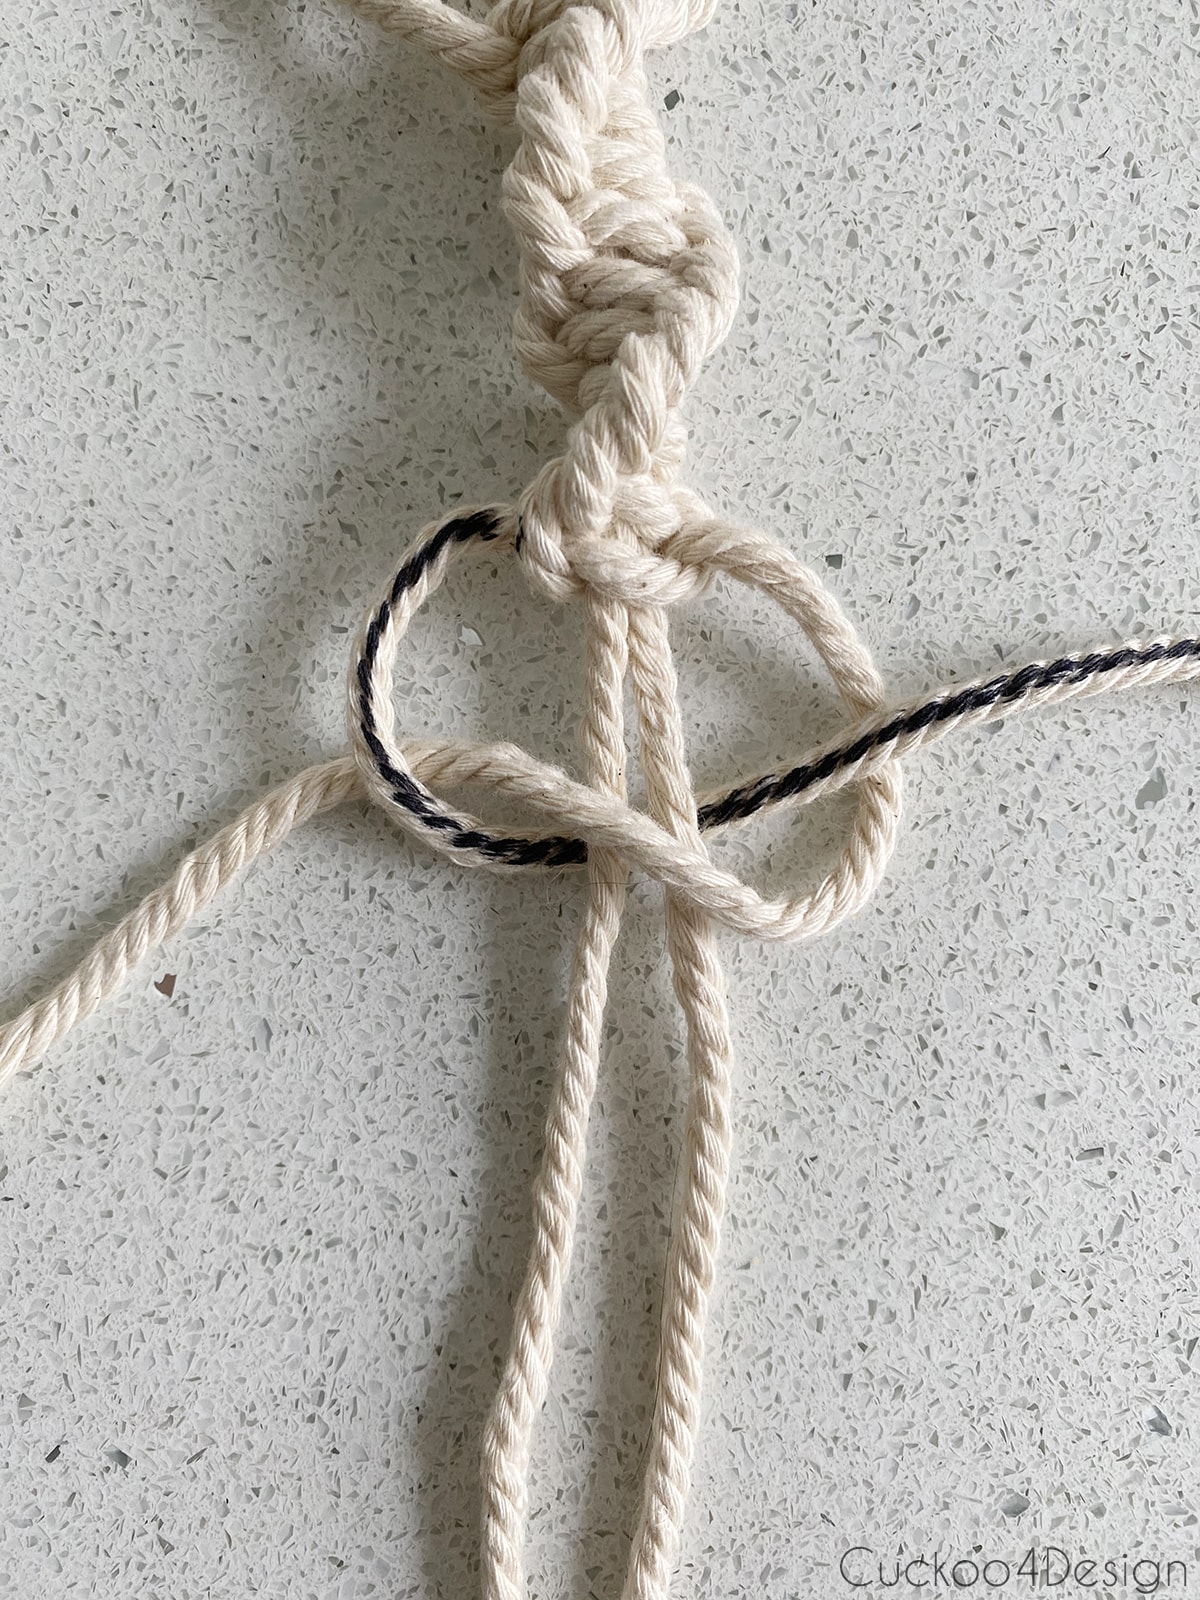
All you have to do is lay the right cord over the 2 center cords, then lay the left cord over the right and thread the left cord behind the 2 center cords through the loop of the right cord, and pull tight (picture below). Now repeat the same thing over and over, and it will naturally twist into a spiral. The important thing is to always use the same cord over the center cords.
Make sure to watch the video to see how easy it is to tie the spiral knots!
Watch the video below to see exactly how the Spiral Knot is tied. I also show the Square Knot at the beginning since they’re so similar. You can use Square Knots instead if you prefer a flat pattern. (You can also watch the video on my YouTube Channel)
Tie the spiral knots on all three strands and make them all the same length.
Tip: For my planter, I gathered my two center strings and included the plastic strand in that bunch. At the end, snip the plastic connector that attaches to the pot when you reach it, and just keep going. You won’t notice where it ended.
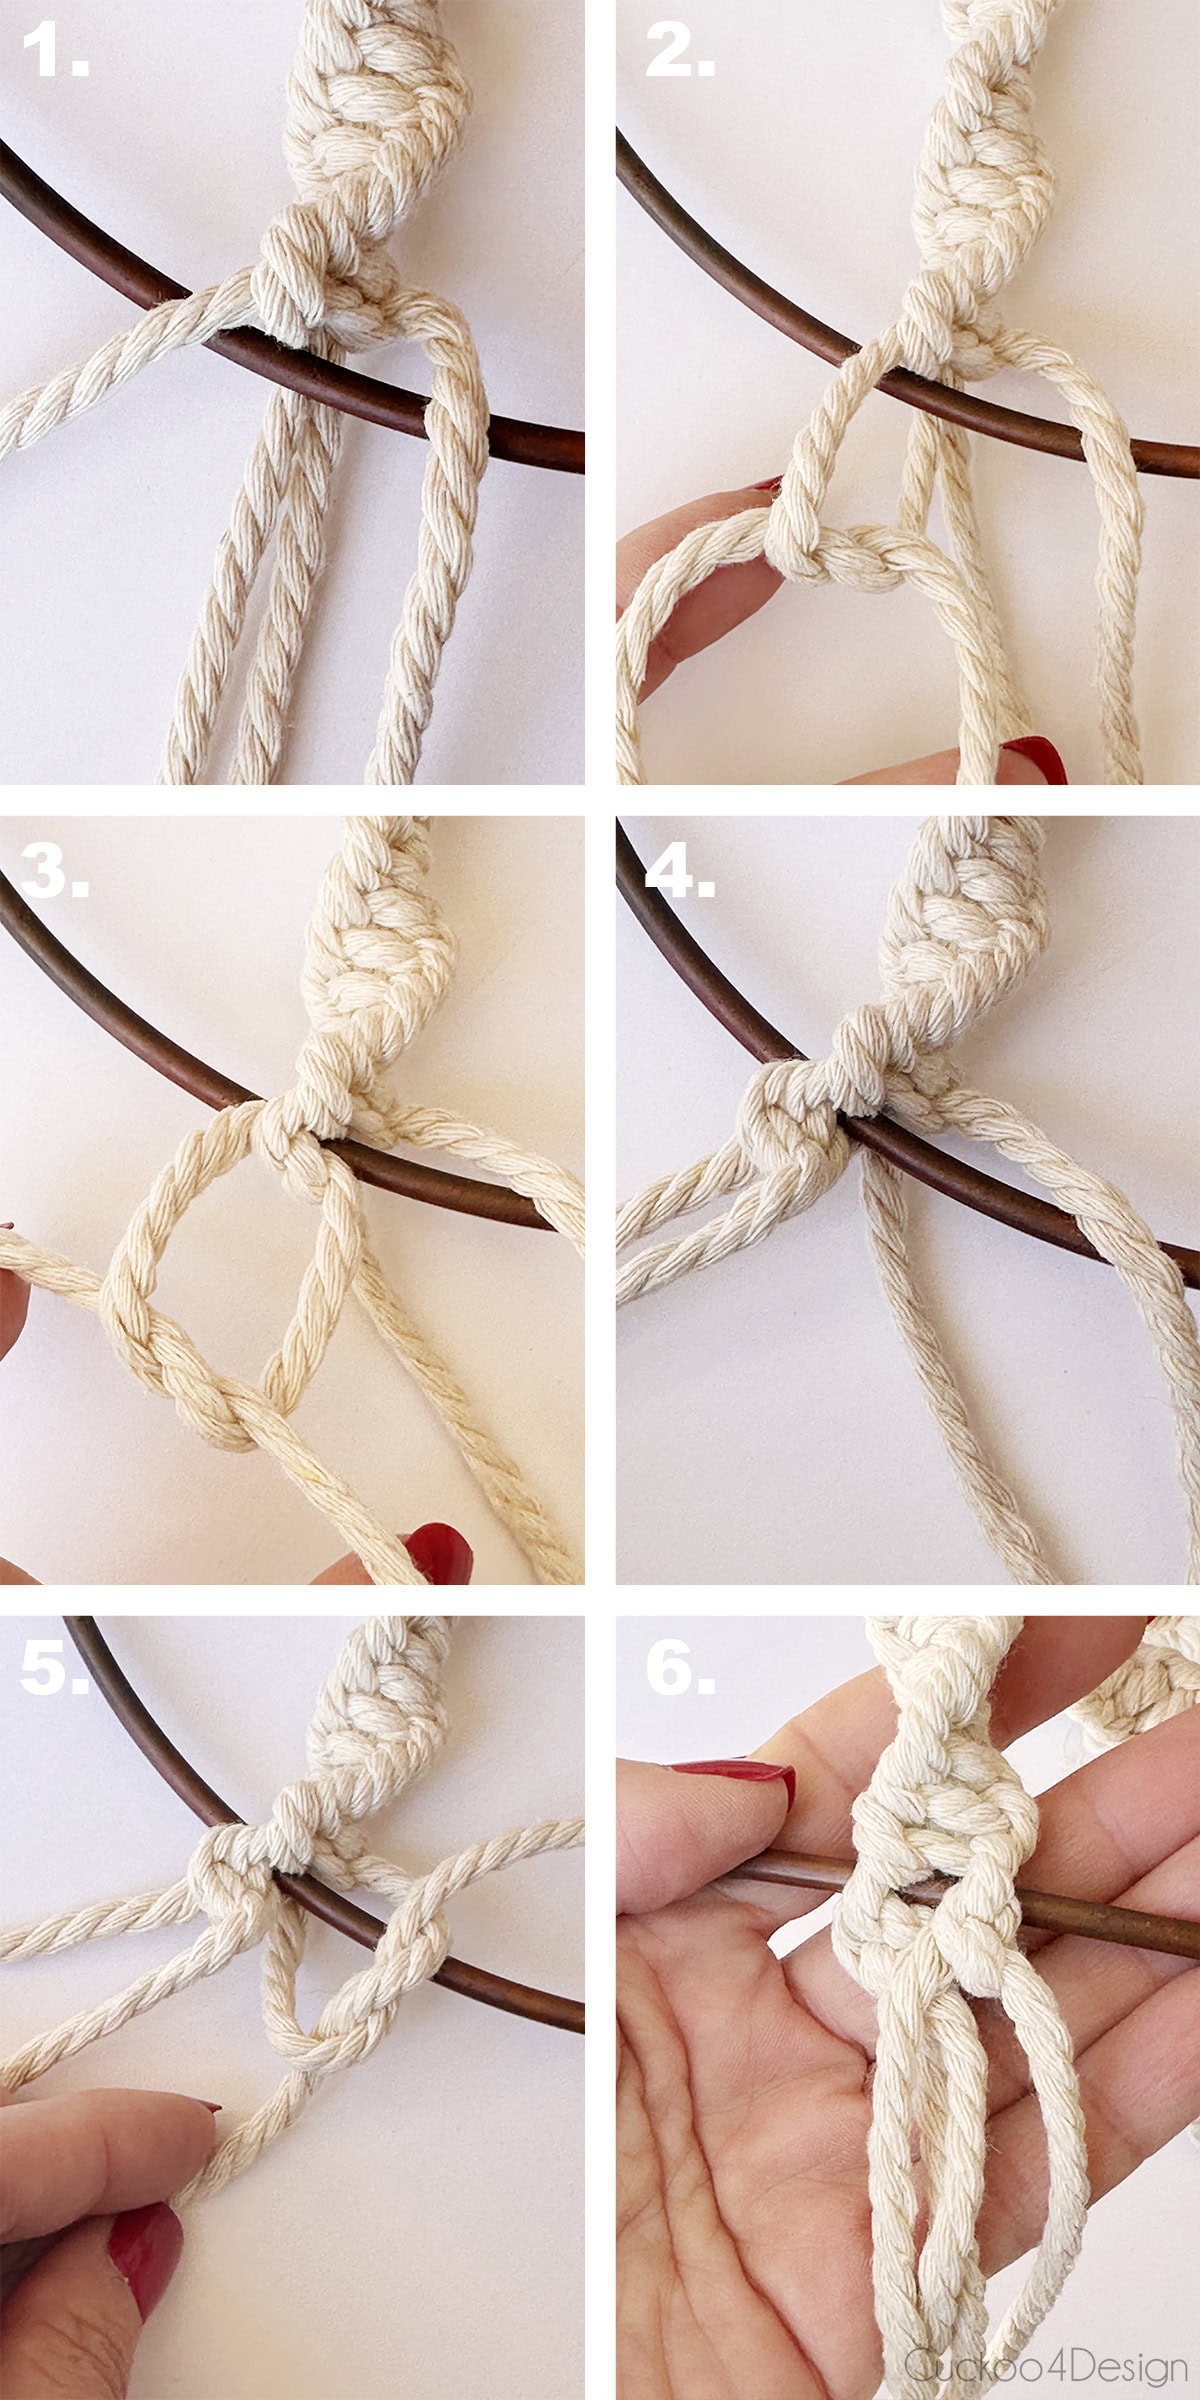
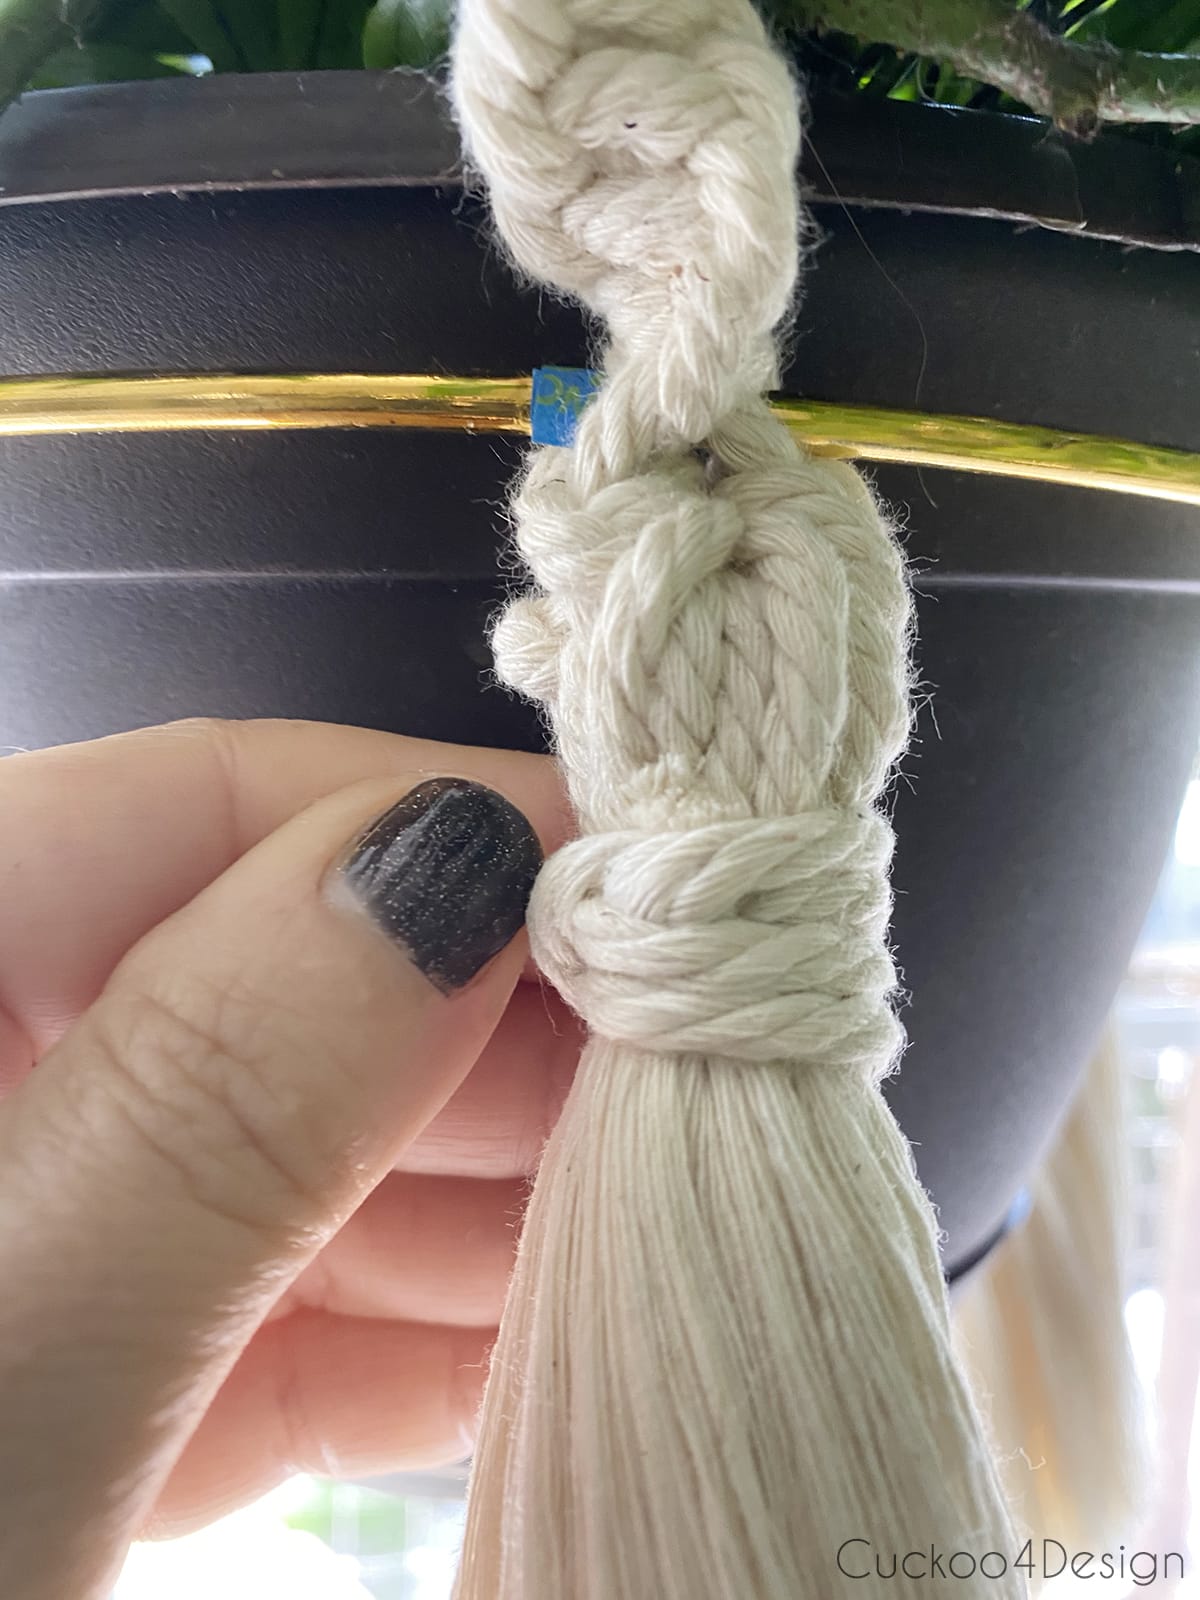
Step 6: Attach Spiral Knot strands to the metal ring
Now it is time to tie the last knots of the spirals to the metal ring which is as simple as using a standard overhand knot on each strand to all three marked spots. This is where you could add the craft glue to the metal ring to make sure the ends of the cord stay in place. I actually chose not to.
This is also the point where I added the planter to the hanger to make sure everything is hanging straight and even.
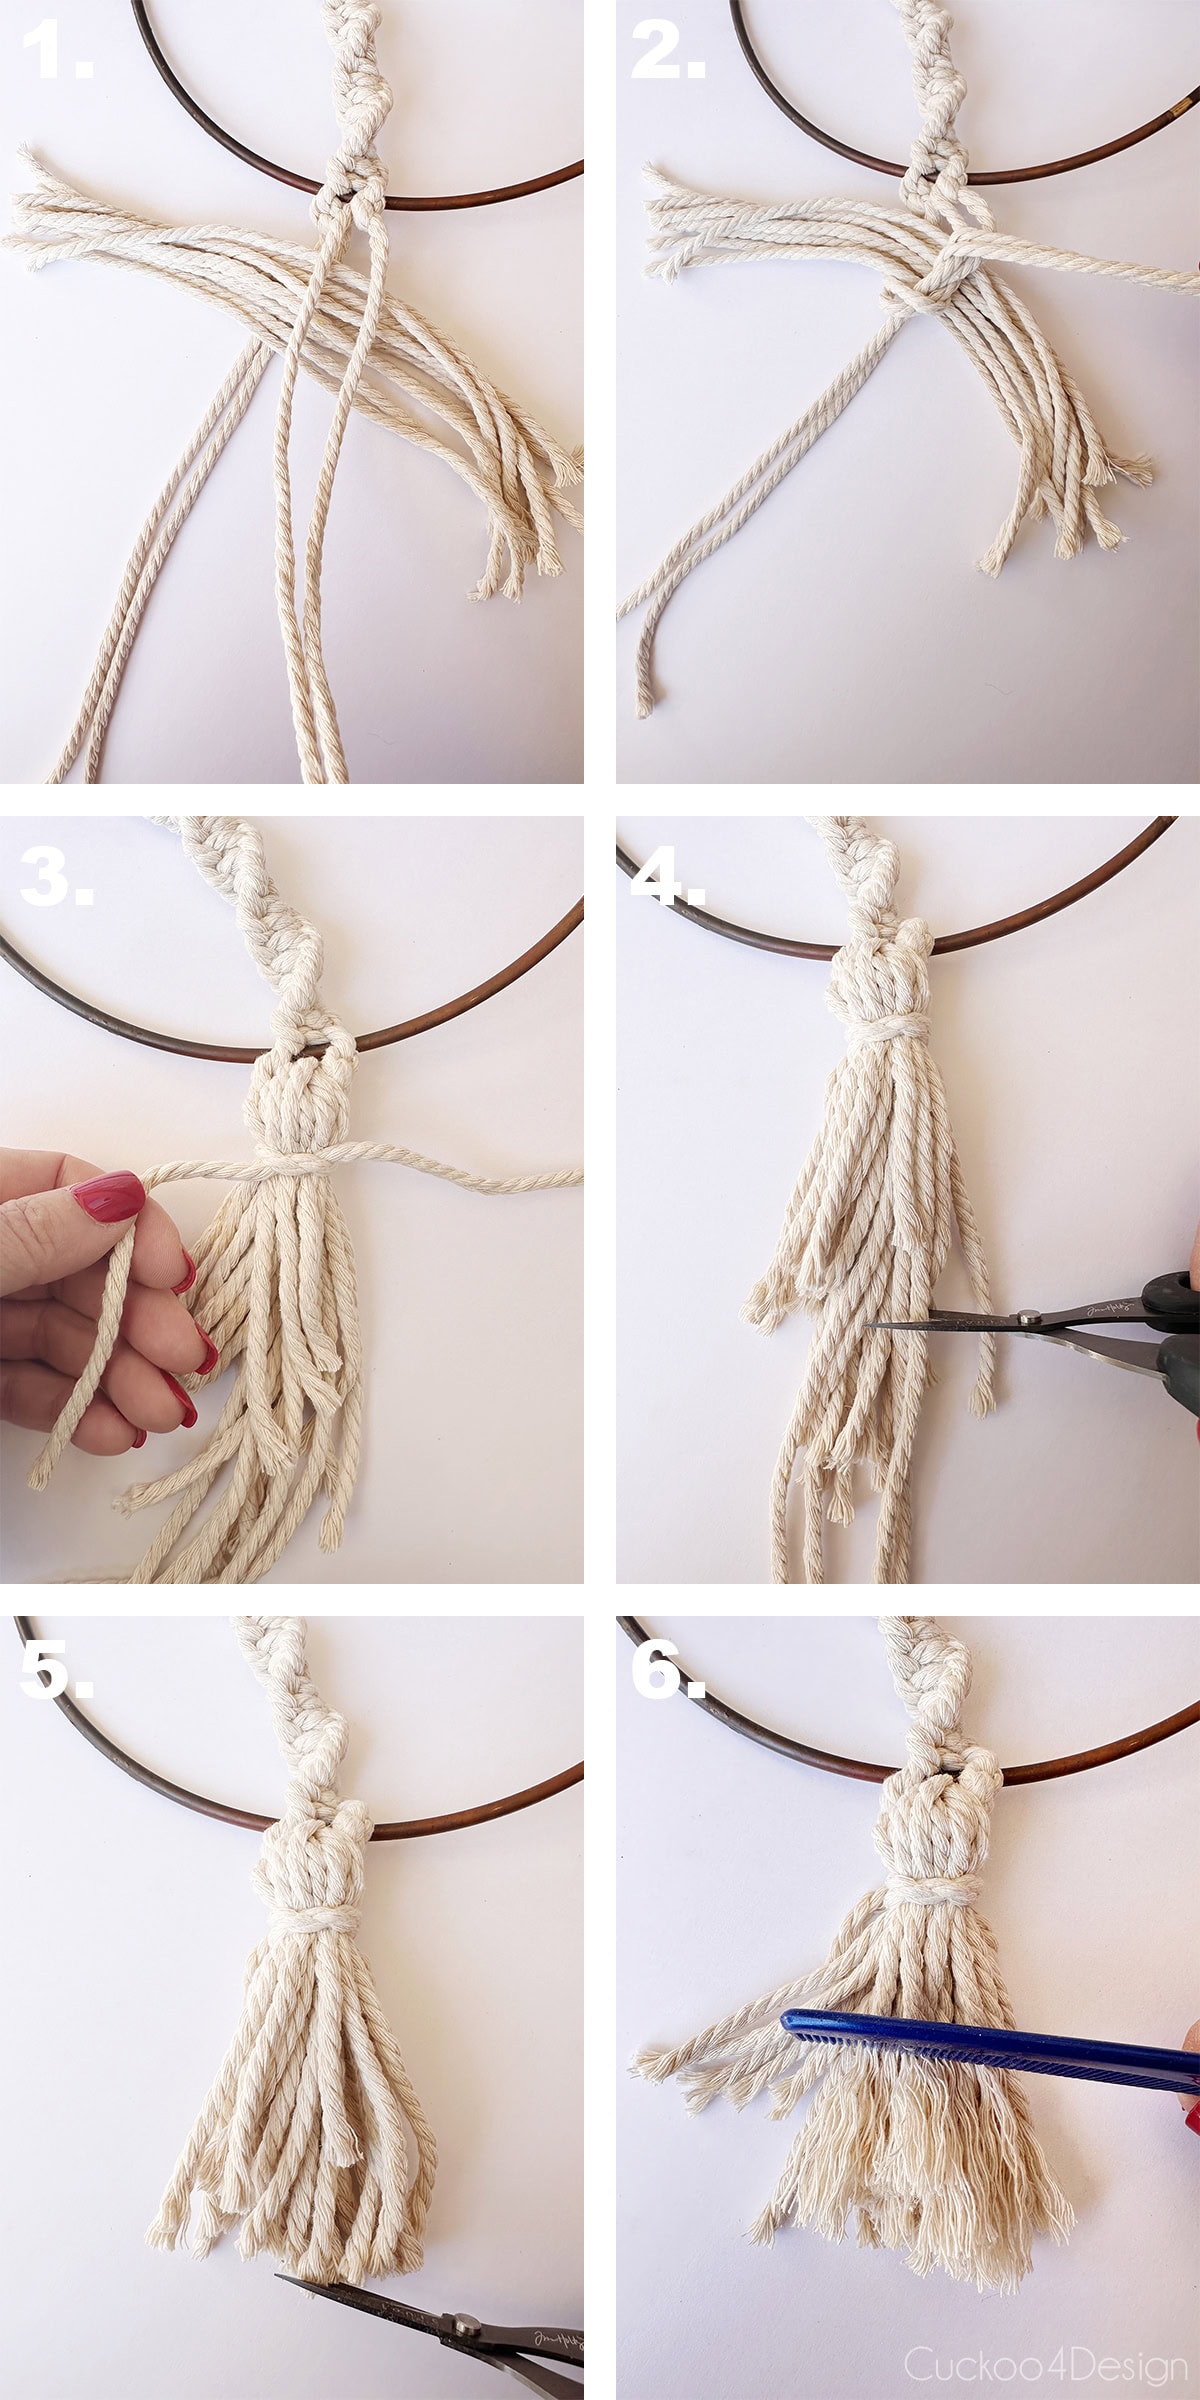
Step 7: Add Macrame tassels
Having tassels on your macrame hanging planter is, of course, optional, but they are a great way of ending the strings that remain hanging down. And you all know how much I love tassels.
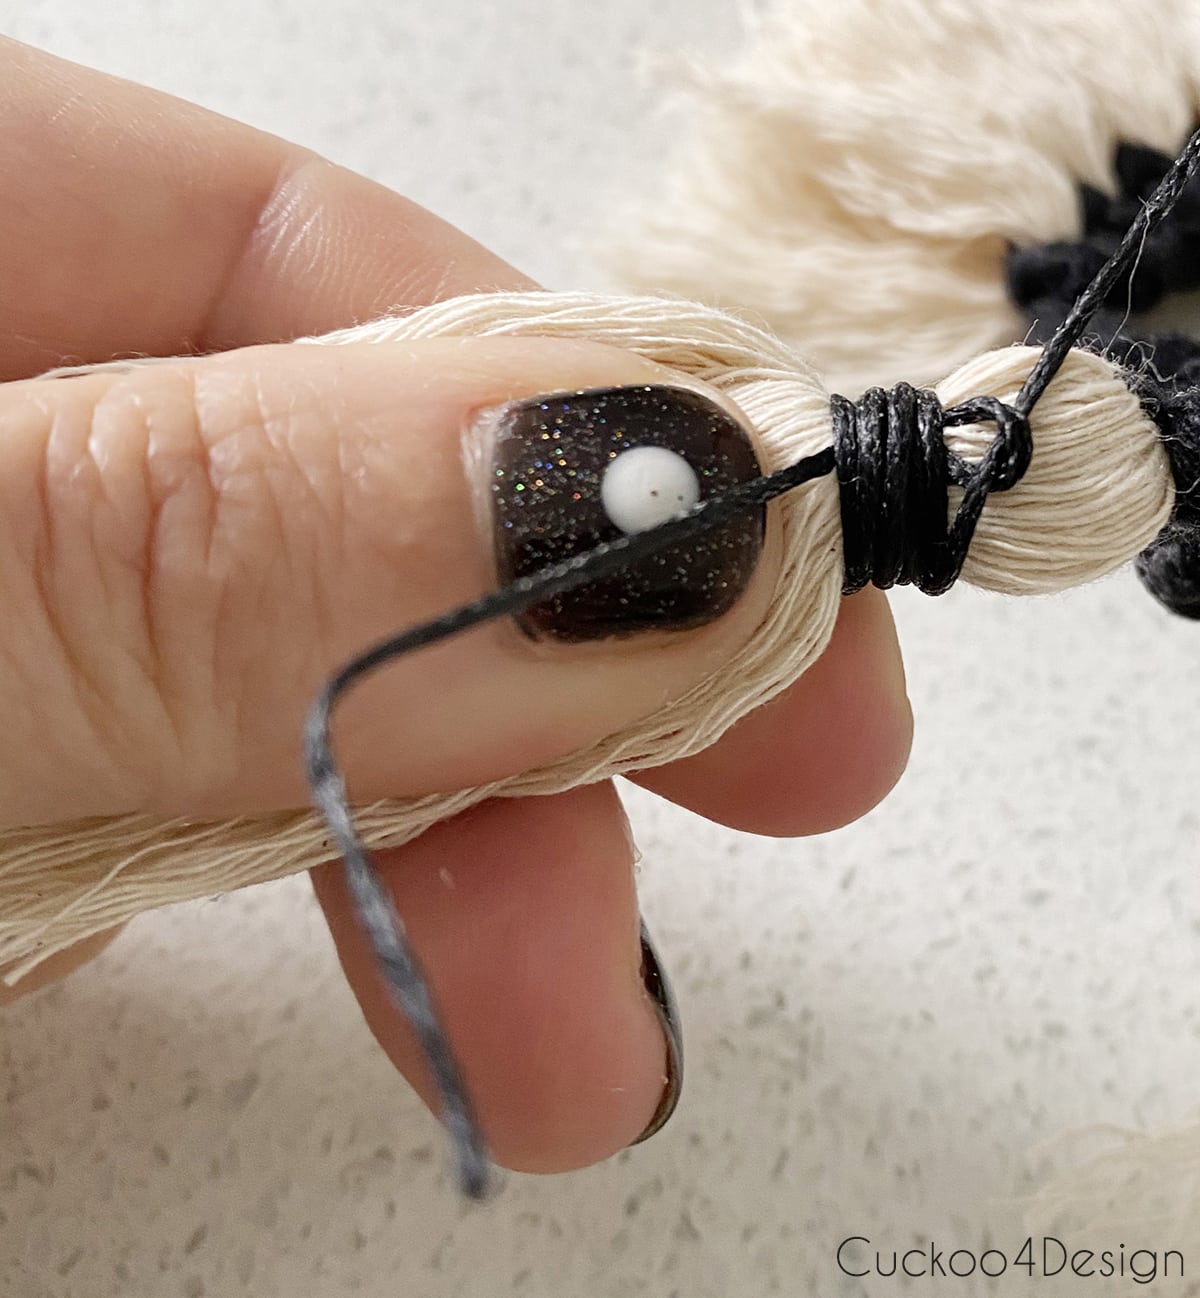
You can simply knot the tassel head with a standard knot or use a Gathering Knot. I’m showing how to tie one in a contrasting color in my macrame bracelet tutorial (pictured below).
My tassels are made from 15-inch-long cords folded in half and tied off with the Gathering Knot. I unraveled, combed, and trimmed the tassels neatly. Also, make sure to trim the three tassels all to the same length, and you are done.
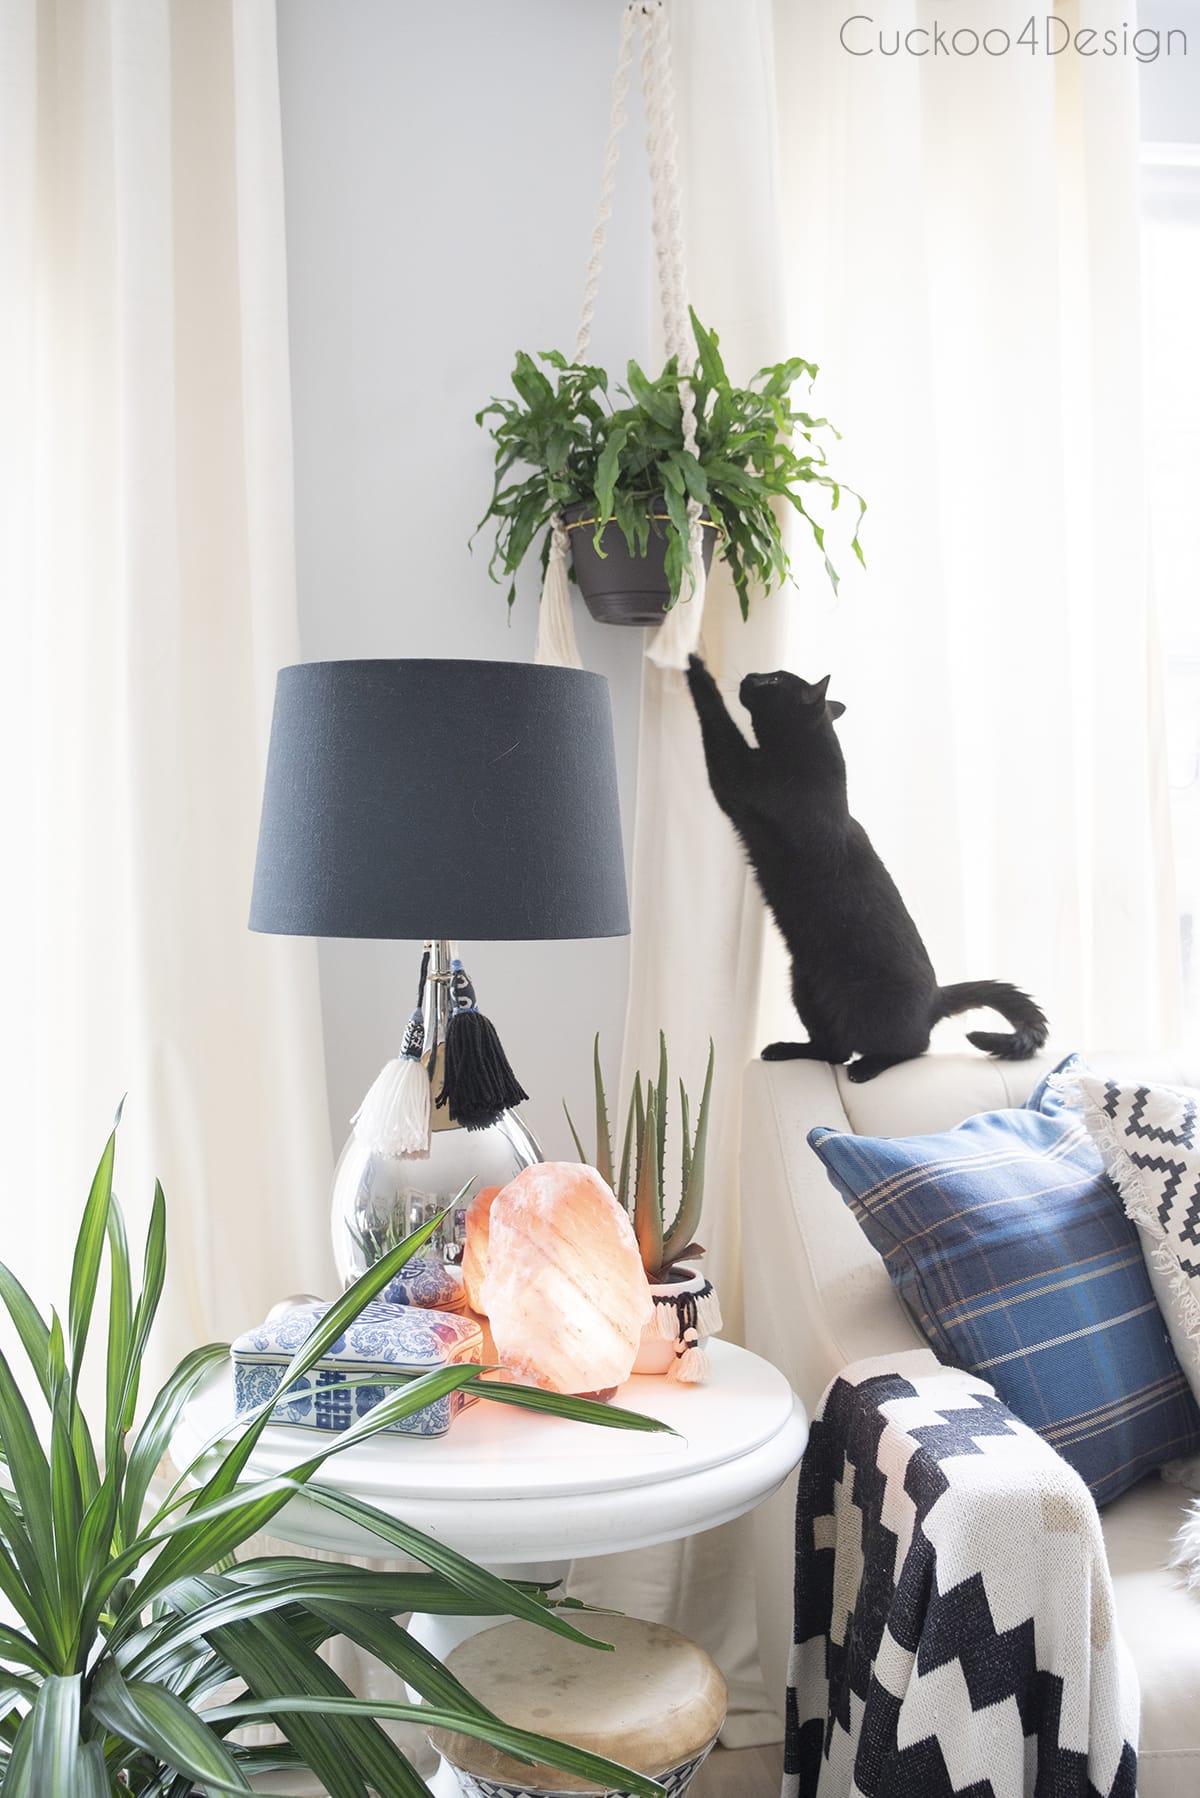
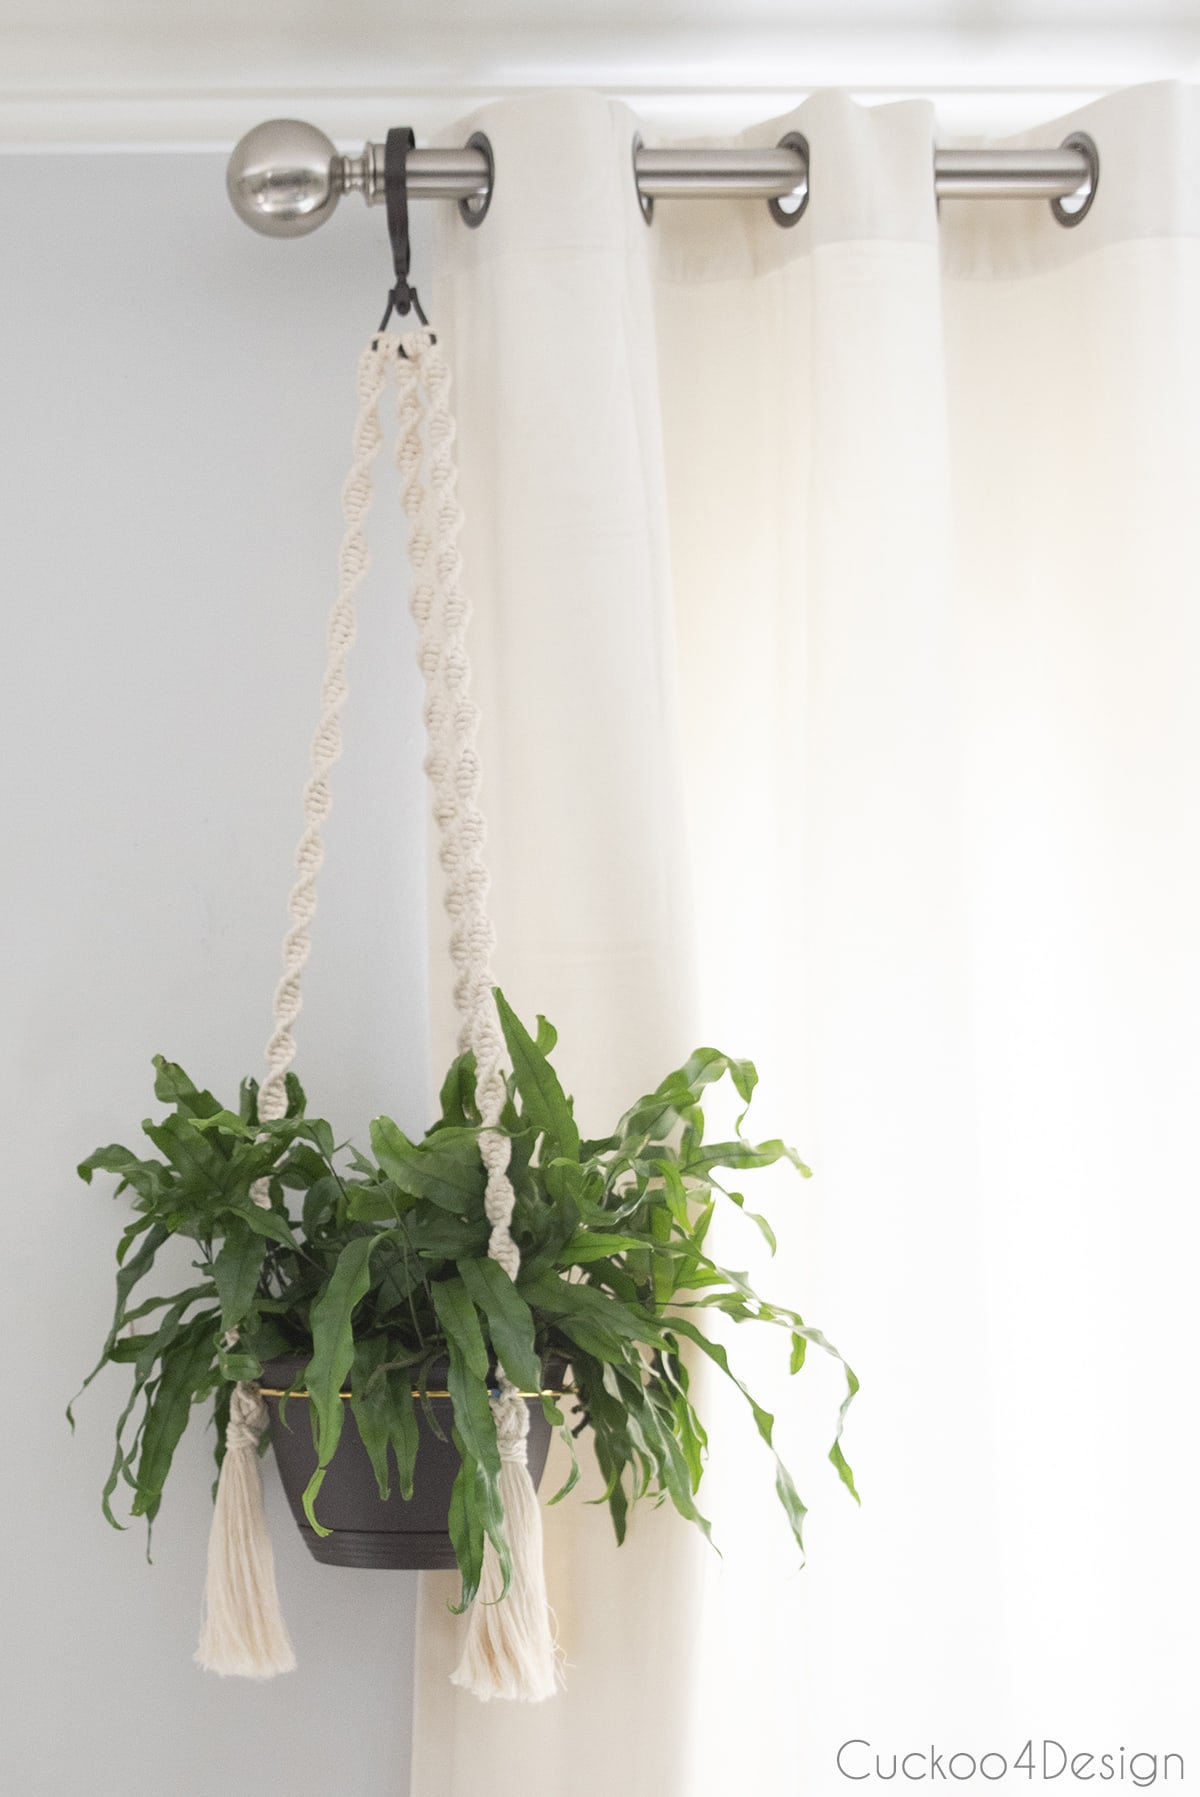
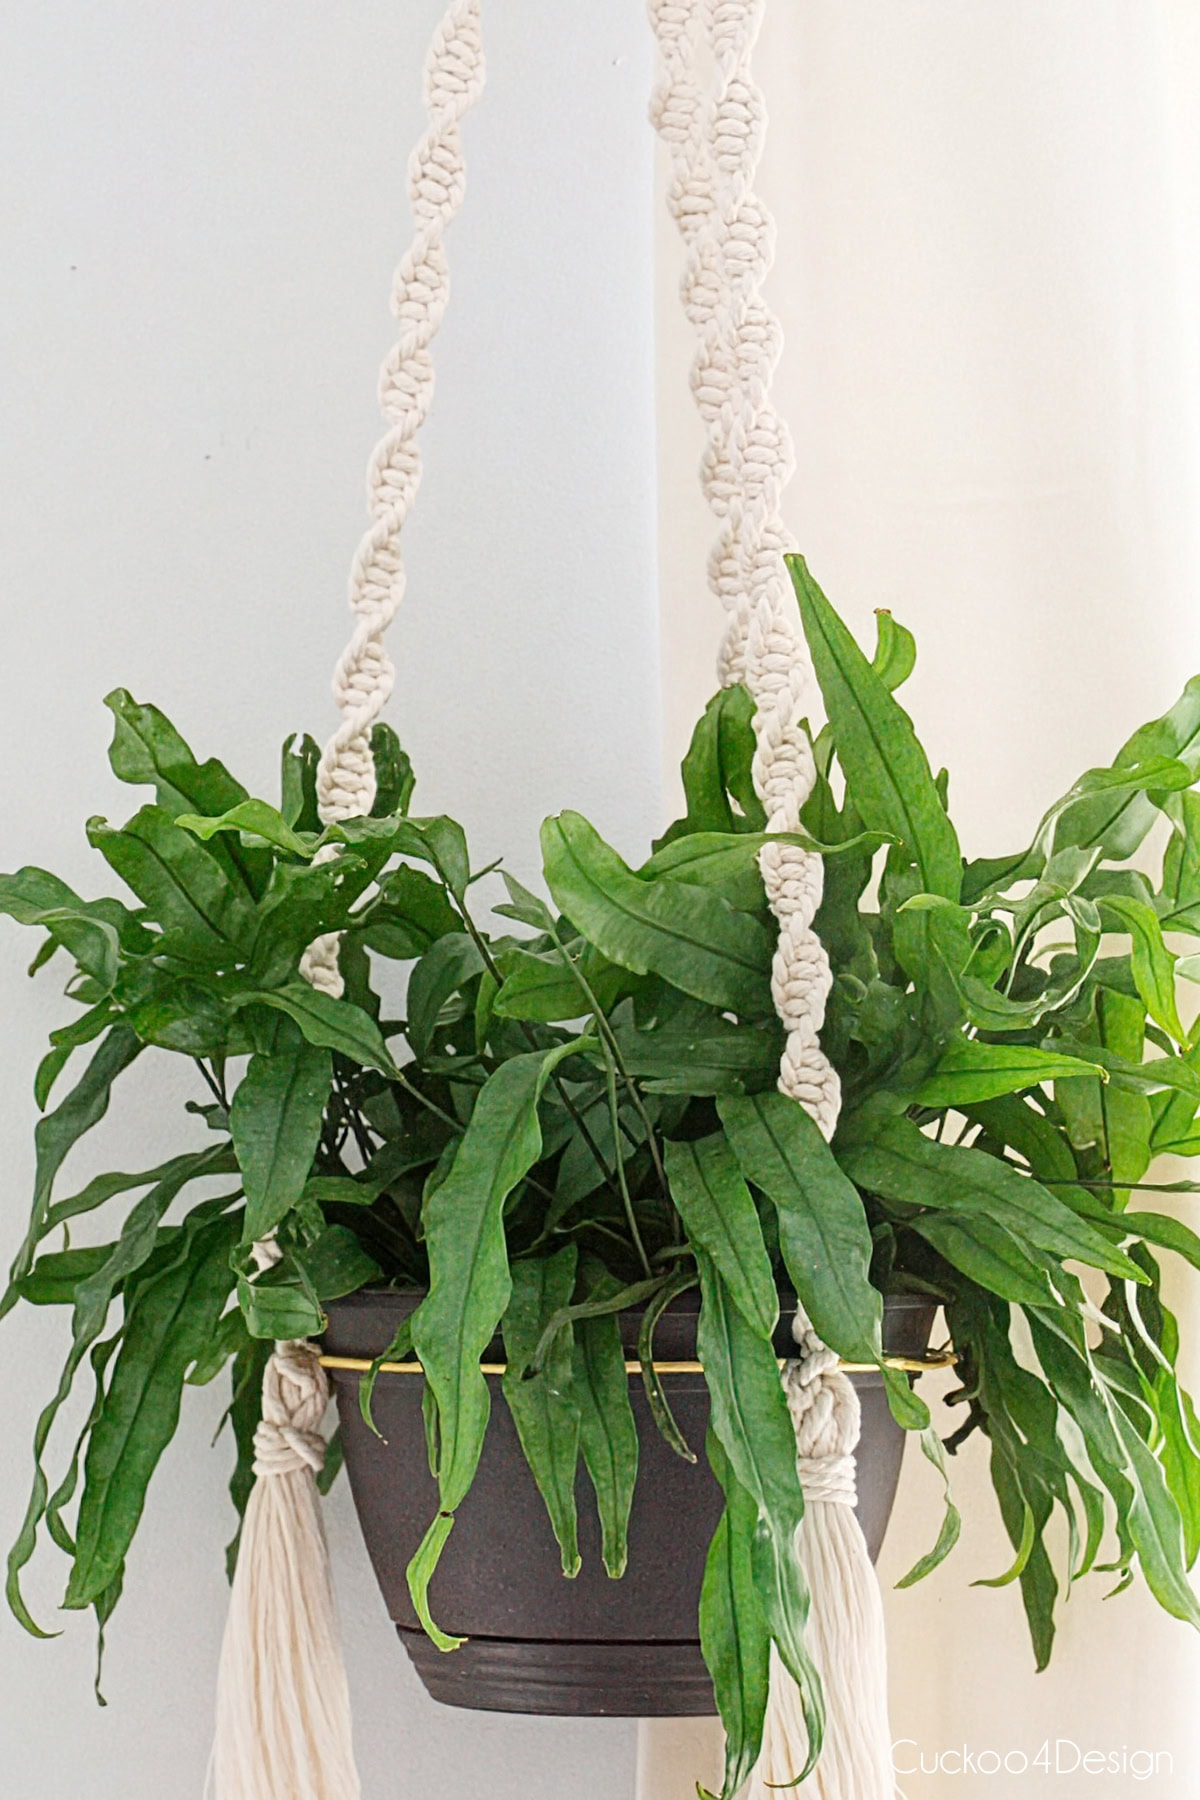
Photos of my finished simple macrame plant hanger
In case you are wondering if the cats are messing with my macrame hanging planter…
Yes, Walter occasionally bats it around but hasn’t done any damage, and hanging it from the curtain rod keeps it just high enough.
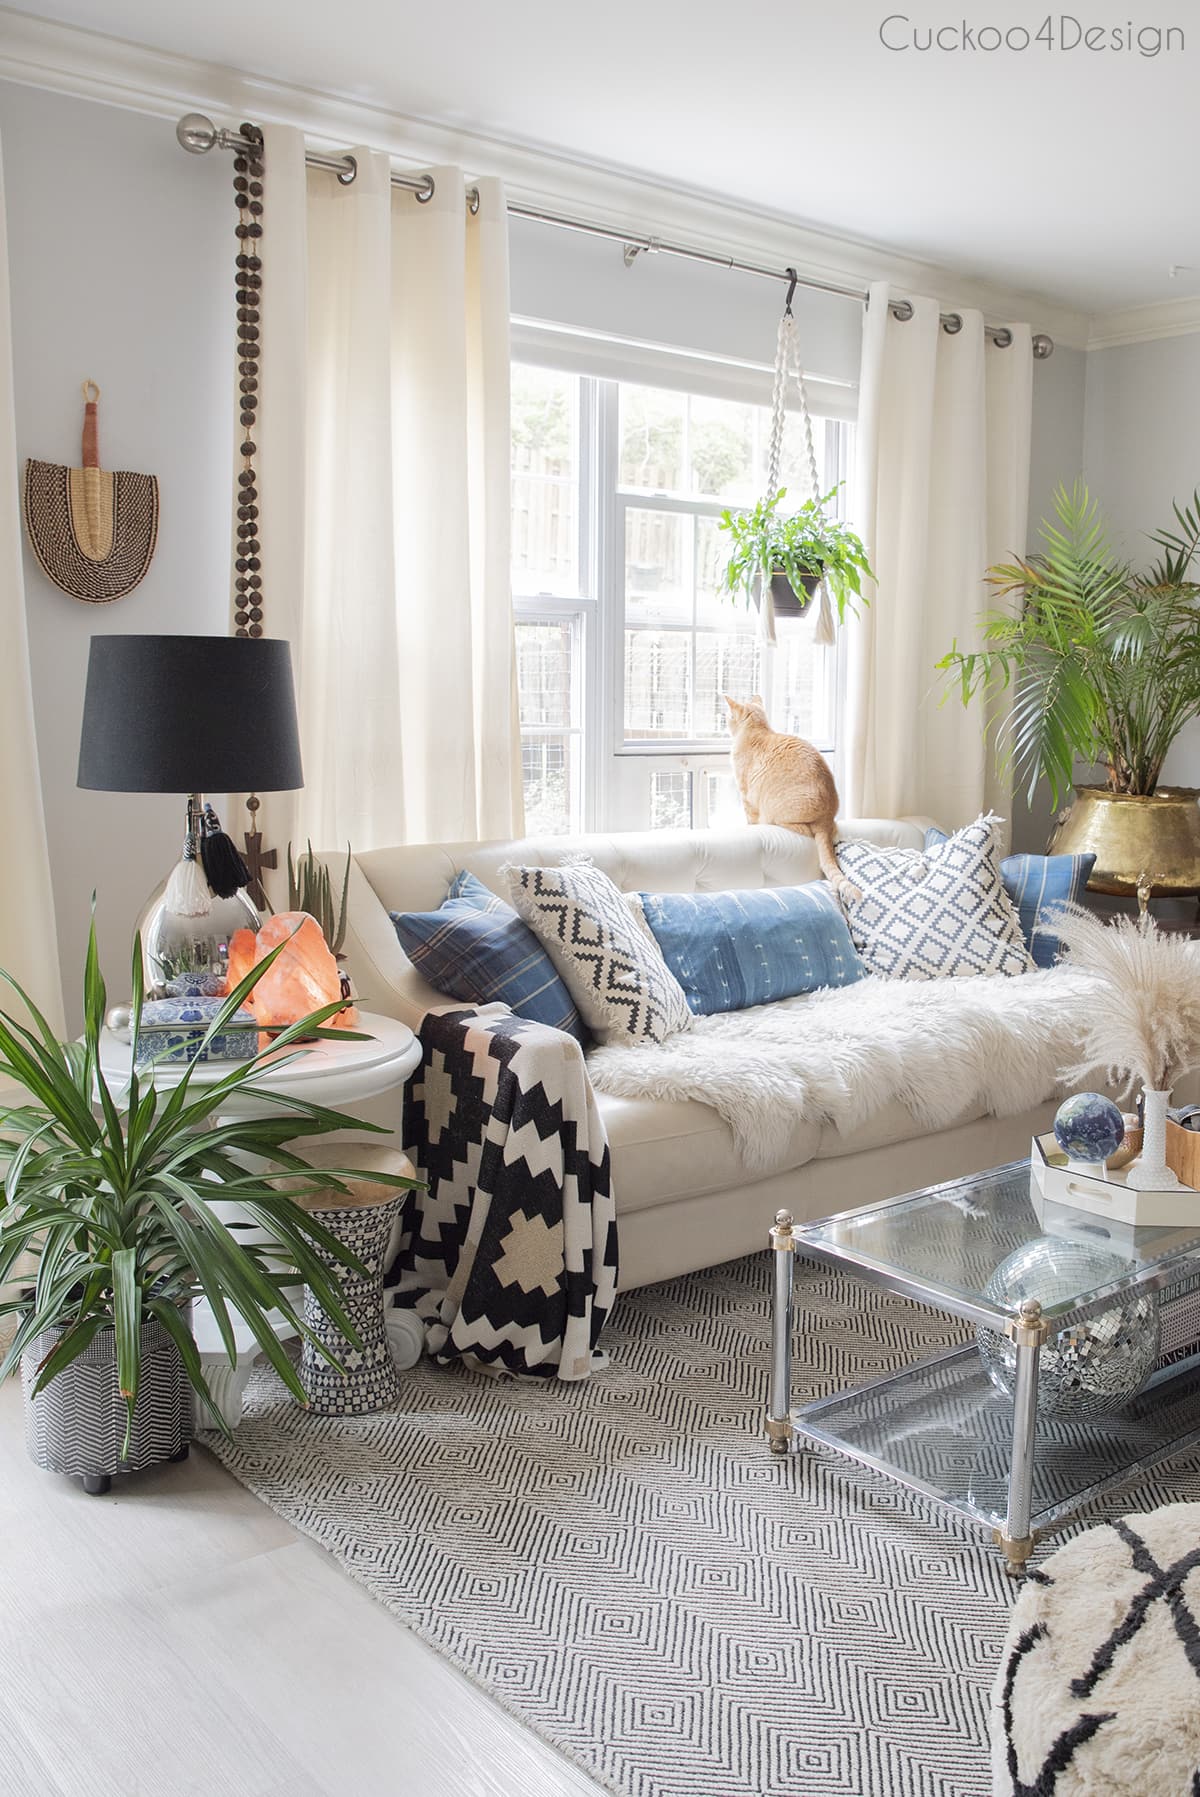
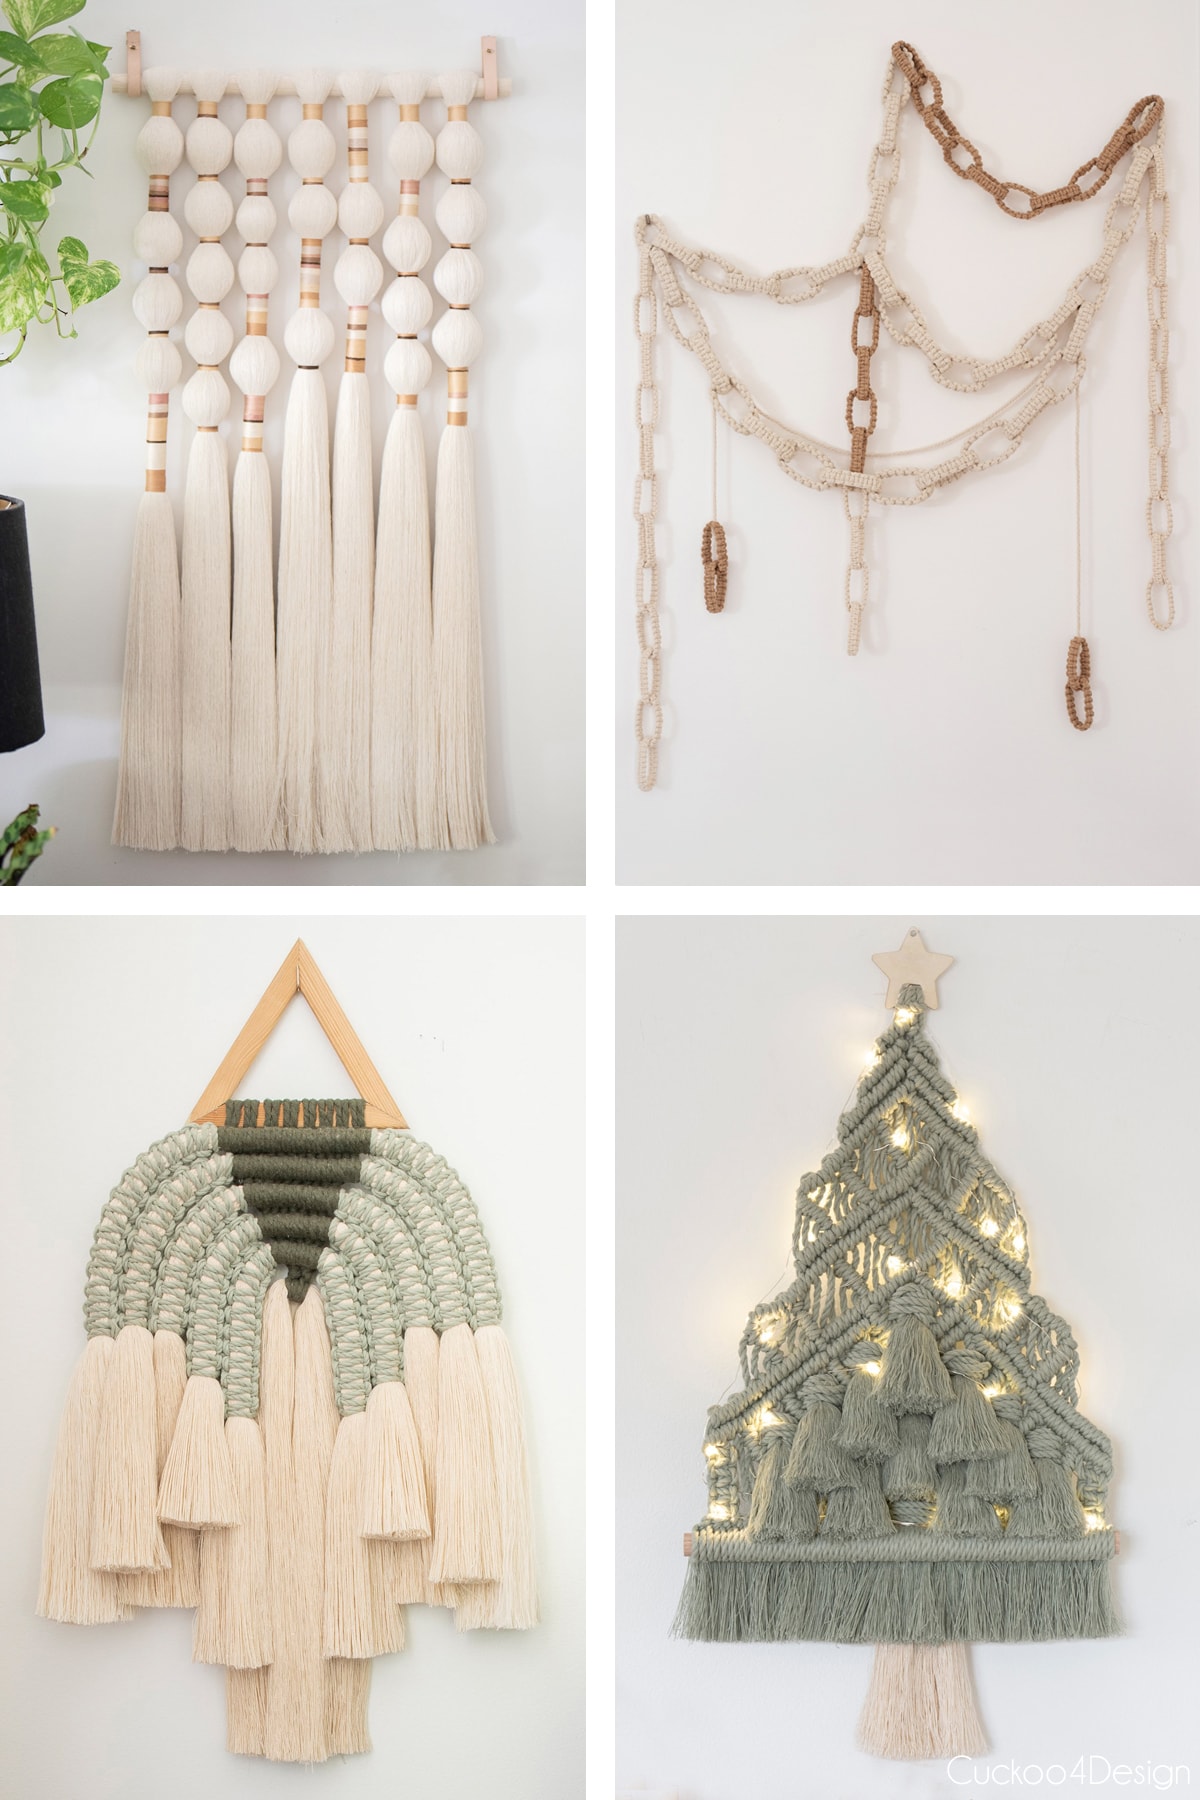
Check out all my other macrame projects as well for more free macrame pattern ideas. Below you can see my 4 favorite macrame wall hangings I have made over the years for a modern boho vibe.
These simple macrame plant hangers have become a staple in our home, and I still love how they look hanging in the living room window and on my front porch. If you make one, I’d love to see it!
Tschüß,
How to Make a Simple Macrame Plant Hanger
Yield: 1 plant hanger
Active Time: 45 minutes
Total Time: 45 minutes
Difficulty: easy
Estimated Cost: $0-$15
Learn how to make a simple macrame plant hanger in about 45 minutes using easy Spiral Knots. Free beginner tutorial with step-by-step photos.
Materials
3mm or 4mm macrame yarn, or you could use any cotton cord, synthetic cord for the outdoors
8-inch brass/metal ring
potted plant
marker or tape
fabric stiffener
craft glue (optional)
wooden ring, metal ring, or hook (or plastic plant hanger)
Tools
scissors
measuring tape
Instructions
Mark measurements on the metal ring Measure and mark 3 evenly spaced spots on your 8-inch metal ring where the macrame strands will be tied. For an 8-inch ring, about 7 inches between marks works well. Mark with painter's tape or a permanent marker, then set the ring aside.
Set up your hook or ring Securely hang your hook or wooden ring from a doorknob, clothing rack, or broomstick placed horizontally between two stools so you can work on the strands freely.
Cut the macrame cord Decide how low you want the planter to hang and cut your cord five times that length. You need two strings per arm, folded in half, giving you 4 strands per arm. My planter hangs about 31 inches from the rod. Cut extra length for the tassels at the end.
Attach the macrame cord to your hook Fold each string in half and attach to your hook or ring using Lark's Head Knots by laying the folded cord over the hook or ring and pulling the ends through the loop. You can see this demonstrated in the Spiral Knot video in Step 5.
Knot three strands of Spiral Knots Divide cords into three groups of 4. Lay the right cord over the 2 center cords, then lay the left cord over the right and thread it behind the center cords through the loop, and pull tight. Always use the same side cord to create the spiral. Repeat until all three strands are the same length.
Attach Spiral Knot strands to the metal ring Tie each spiral knot strand to the marked spots on the metal ring using a standard overhand knot. Add the planter at this point to make sure everything hangs straight and even. Add craft glue if desired to secure the knots.
Add tassels Cut six 15-inch strands per tassel, fold in half, and tie to the dangling strands at the bottom. Finish with a gathering knot and trim all tassels to the same length. Unravel and comb the tassel yarn for a fluffy look.
Notes
The center cords stay in place while the outside cords do the knotting, so you'll have plenty of leftover yarn at the end, which you can use for the tassels. You can cut the center cords shorter if you prefer, because they only need to be slightly longer than your desired hanging length.
If you're using a plastic store-bought planter, include the plastic arm strand in your center cords. Snip the plastic connector when you reach it and keep going. You won't notice where it ended.
You can use Square Knots instead of Spiral Knots if you prefer a flat pattern. The technique is the same, but you alternate which side cord goes over the center cords instead of always using the same one.
6 Comments
i am going to have to try this! it’s so cool and easy enough for me.
Hi there Sarah, mine actually hangs down 31 inches which is pretty long. I usually measure 5-6 times that length when cutting the cord. The two center cords don’t really get used, so can be much shorter but if you are unsure then you can leave them long too.
I don’t know what I did wrong. I wanted it to hang 30” so I measured six strands to 150”, folded those in half so I had roughly 12 strands that were 75” in length like directions said. Now I have a planter that only hangs 15” from bottom of the top ring to the ring that is holding the pot. It’s beautiful but no where near as long as I needed.


i am going to have to try this! it’s so cool and easy enough for me.
So how long is your planter? I cut cords about 6 ft long so I am guessing my 3 feet of cord is too short for a planter
Hi there Sarah, mine actually hangs down 31 inches which is pretty long. I usually measure 5-6 times that length when cutting the cord. The two center cords don’t really get used, so can be much shorter but if you are unsure then you can leave them long too.
I meant 5-6 times longer for square and spiral knots. Measuring length for other knots is different.
I don’t know what I did wrong. I wanted it to hang 30” so I measured six strands to 150”, folded those in half so I had roughly 12 strands that were 75” in length like directions said. Now I have a planter that only hangs 15” from bottom of the top ring to the ring that is holding the pot. It’s beautiful but no where near as long as I needed.
Oh that’s a bummer! You can maybe make more strands to make it hang longer.