

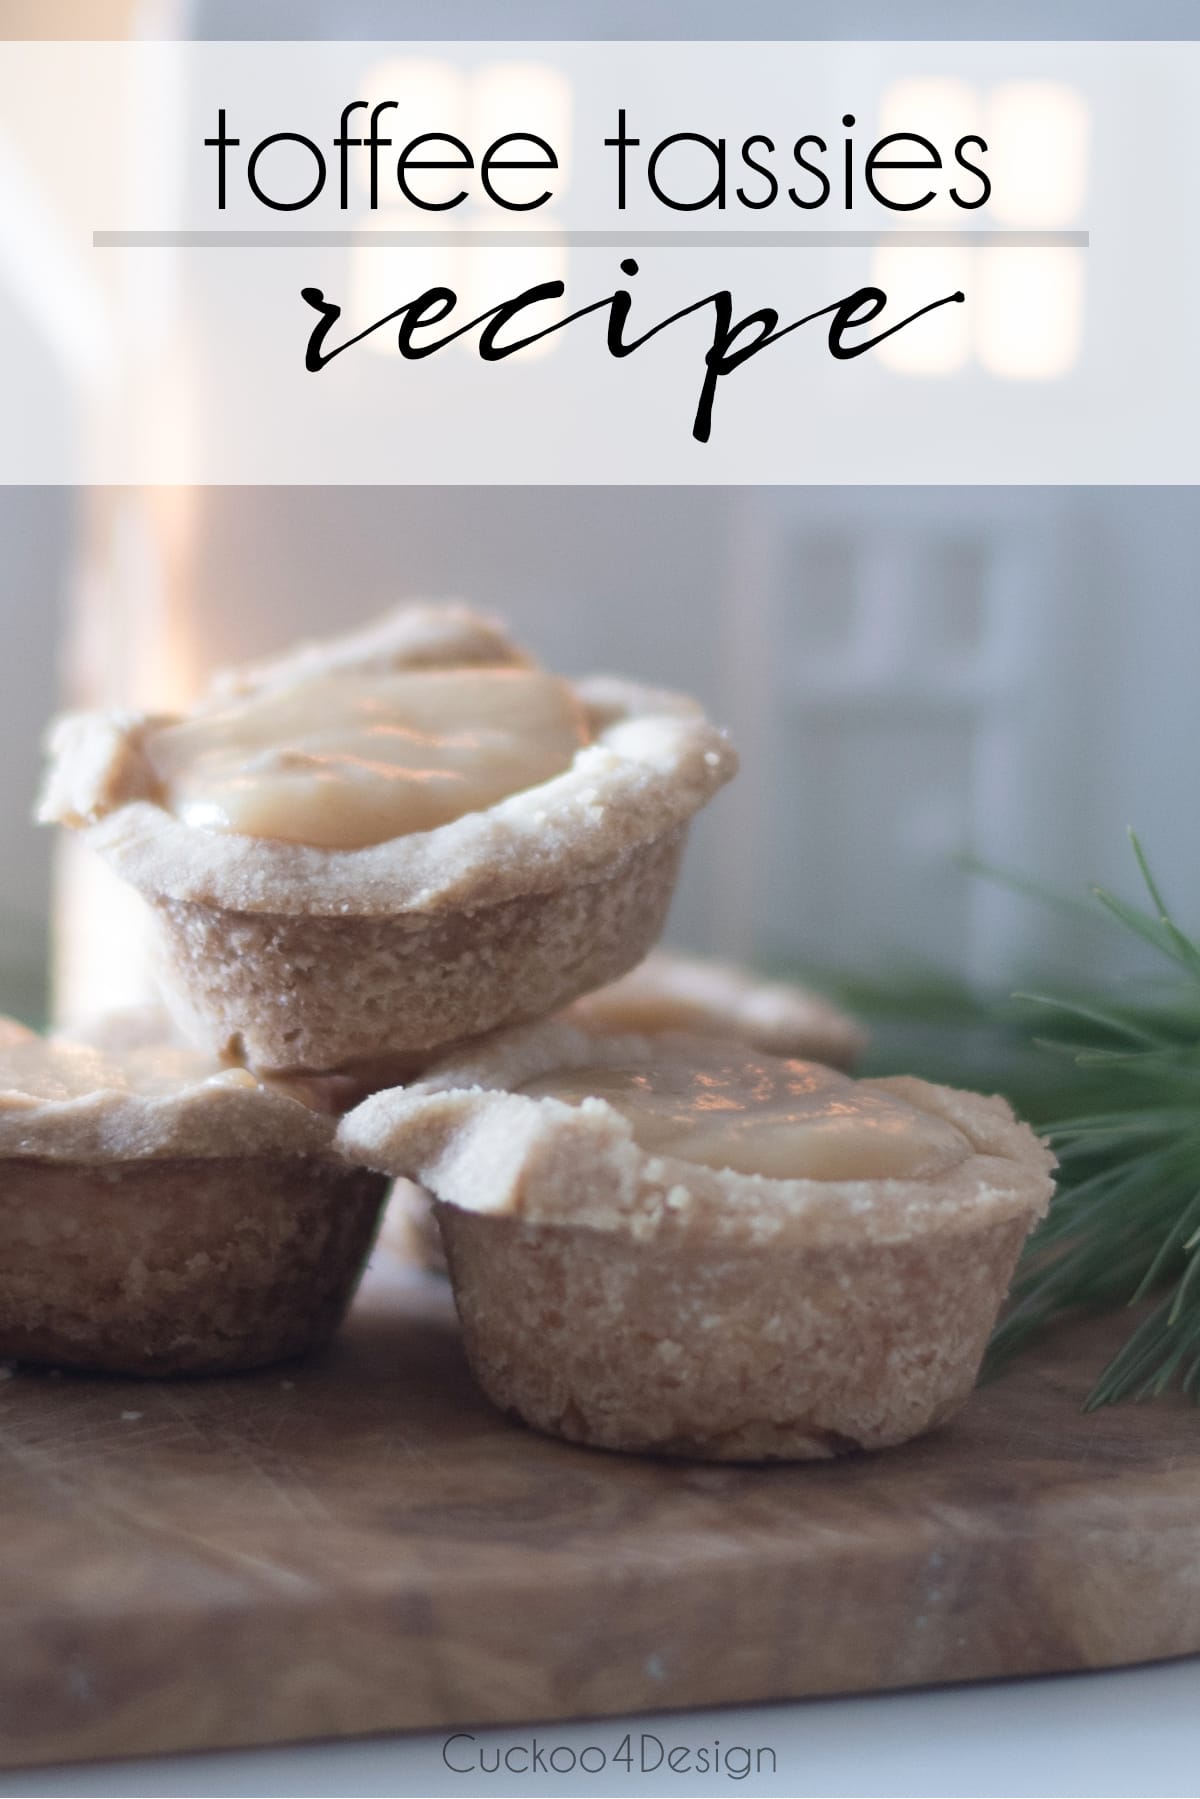
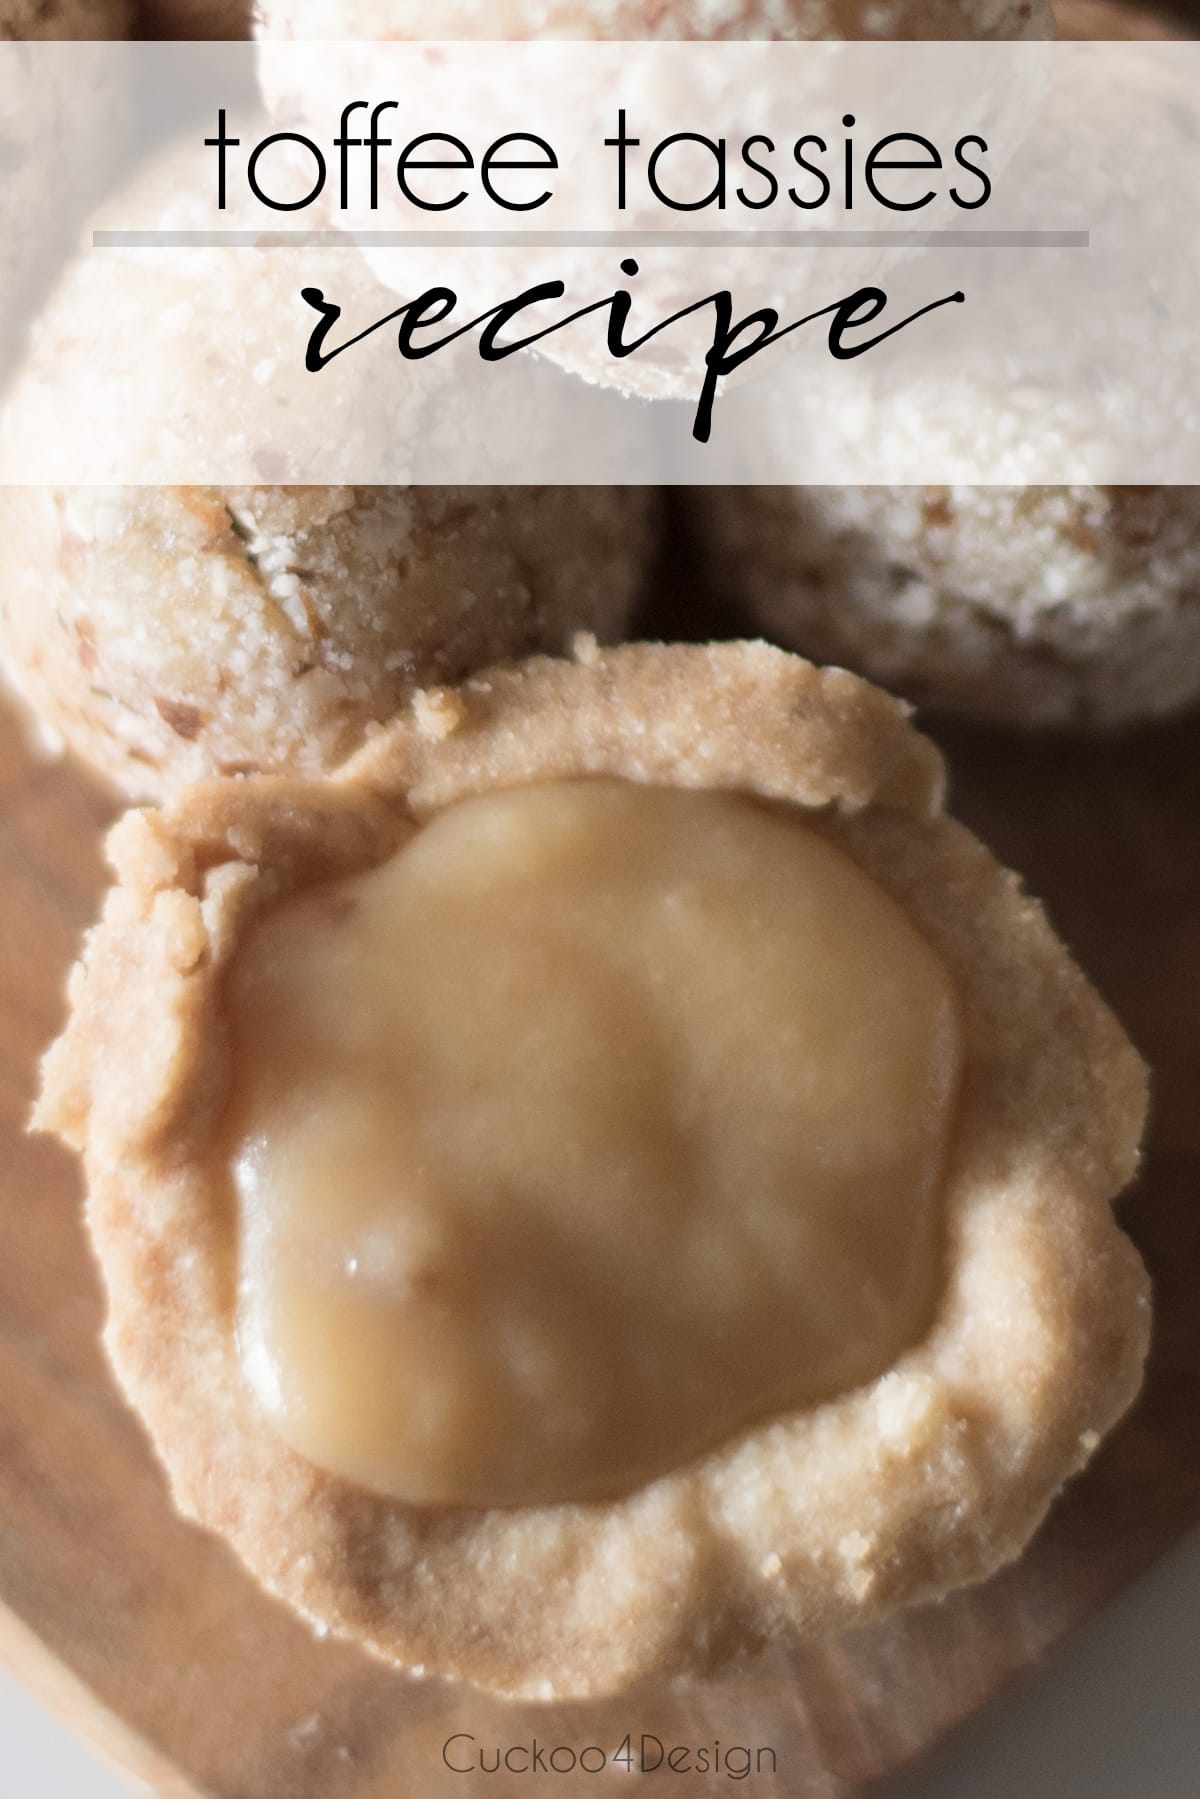
Toffee Tassies Recipe
I know we are a little late with the Christmas cookie baking this year. I’m part of Room For Tuesday’s Holiday Cookie Recipe Blog Hop today where 6 of us share their cookie favorites. I have been begging for my husband to turn his Boston Banoffee Pie into a cookie version and when I saw nut tassies, I knew that we could use the same concept for a toffee tassies recipe. I shared the recipe before but I know that it is amazing enough to share again.
Trust me when I say that his pie version gets people obsessed when he makes it. It’s unbelievably good and YOU MUST TRY IT. Please trust me on this one and let me know what you think. It’s a really thick and rich pie and one slice of it can be a tad bit too filling so these little cookies who are like miniature pies are the perfect little decadent treat.
Welcome to everyone coming from the Grit and Polish. Since I’m from Germany, I appreciate the German sour cream twists even more and I hope you do too.
toffee tassies recipe
This post may contain affiliate links from which I will earn a commission at no extra cost to you. View my full disclosure policy.
For this recipe, you need to double the pie crust recipe because otherwise there isn’t enough dough for two trays of cookies.
We used miniature cupcake baking trays (HERE) to make the toffee tassies.
ingredients for toffee tassies recipe
crust:
- 2 1/2 cups of flour
- 1 cup of room temperature butter
- 1/2 cup of caster (or regular sugar)
filling:
- 14 oz can sweetened condensed milk
- 2/3 cup light brown sugar
- 2 TBSP golden syrup
- 1/2 cup of butter
cooking instructions
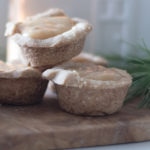
When the tassies are done baking, you simply pour the yummy mixture which just finished boiling gently into the pie crust and refrigerate. The toffee tassies should cool completely before serving.
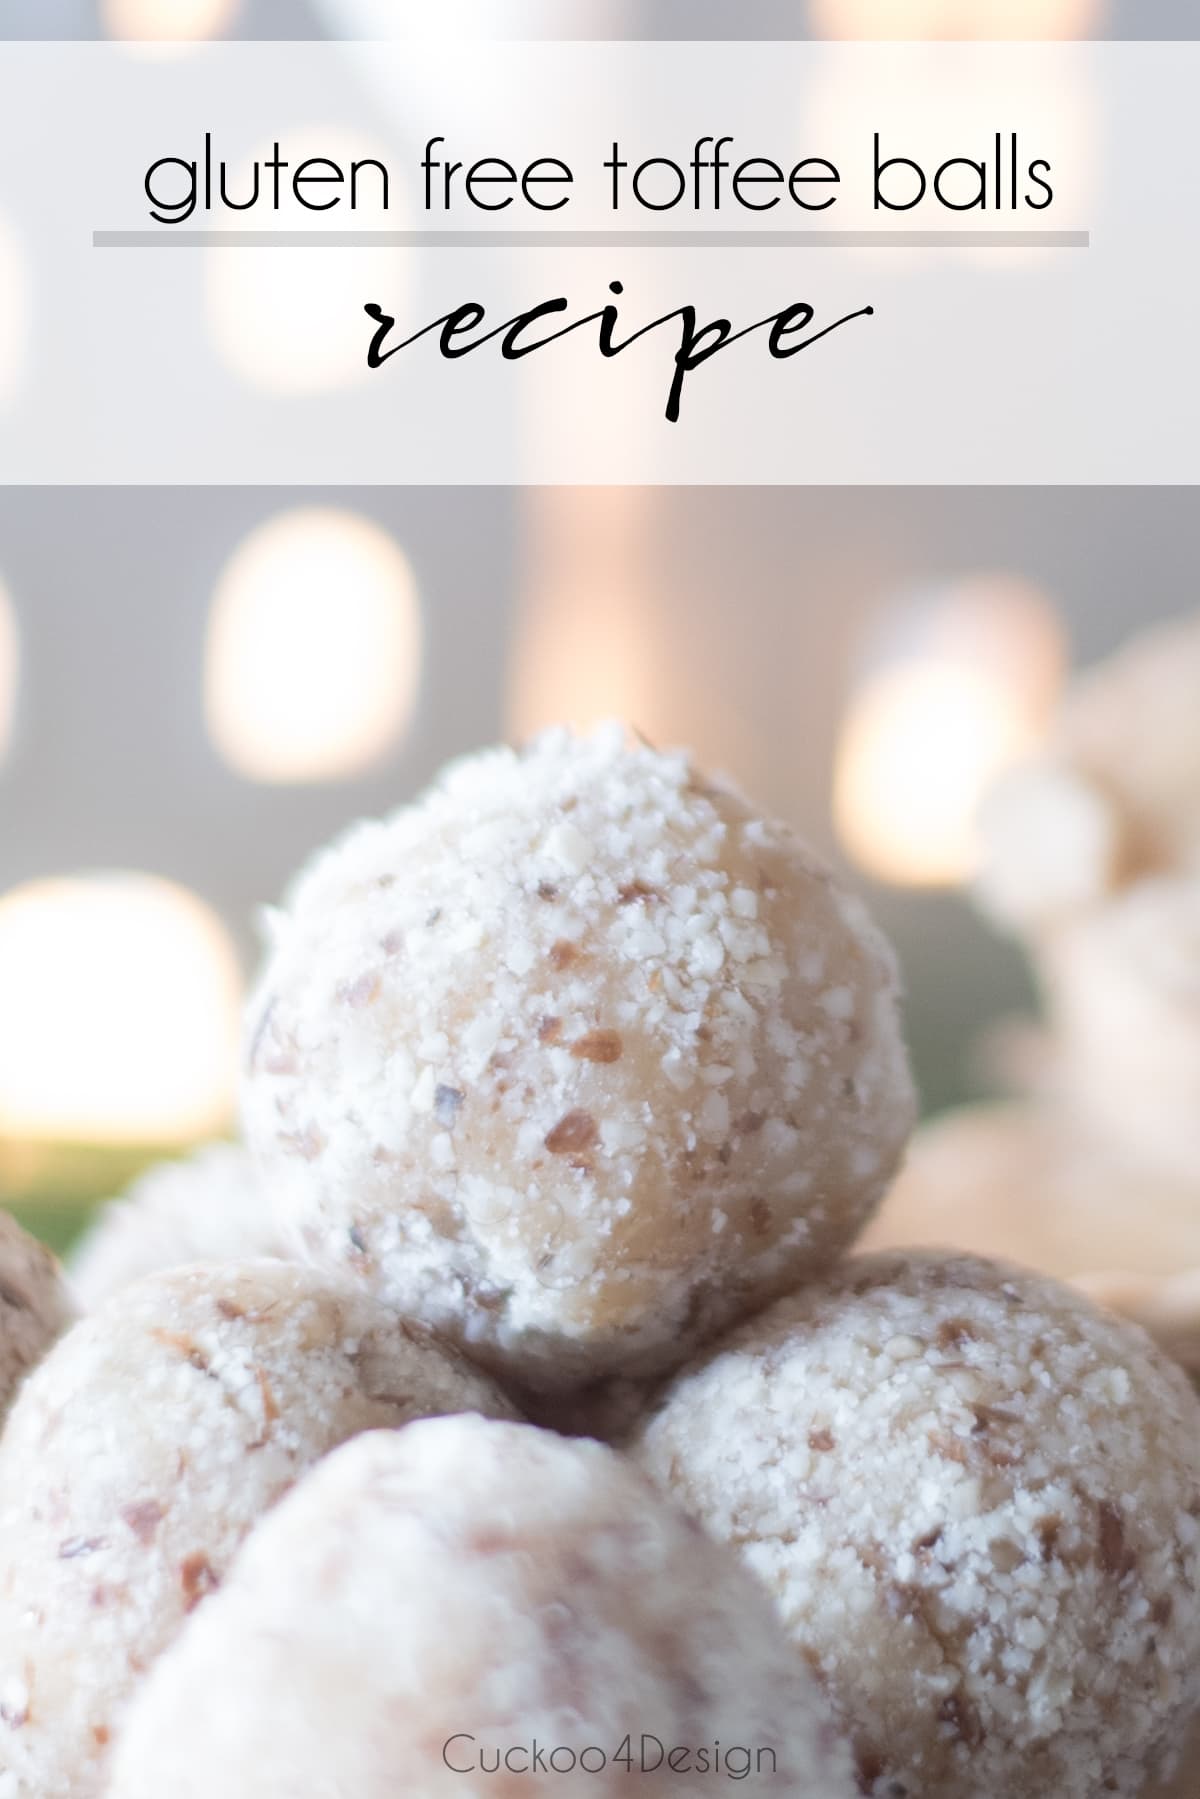
Gluten-Free Toffee Balls Version
Since our daughter is gluten-free we decided to make a ball version of the filling for her. I used to make rum balls and this makes me think of the rum ball making process. Instead of coconut flakes, I used almond meal.
And Eagle Brand Sweetened Condensed Milk is verified “gluten-free”!
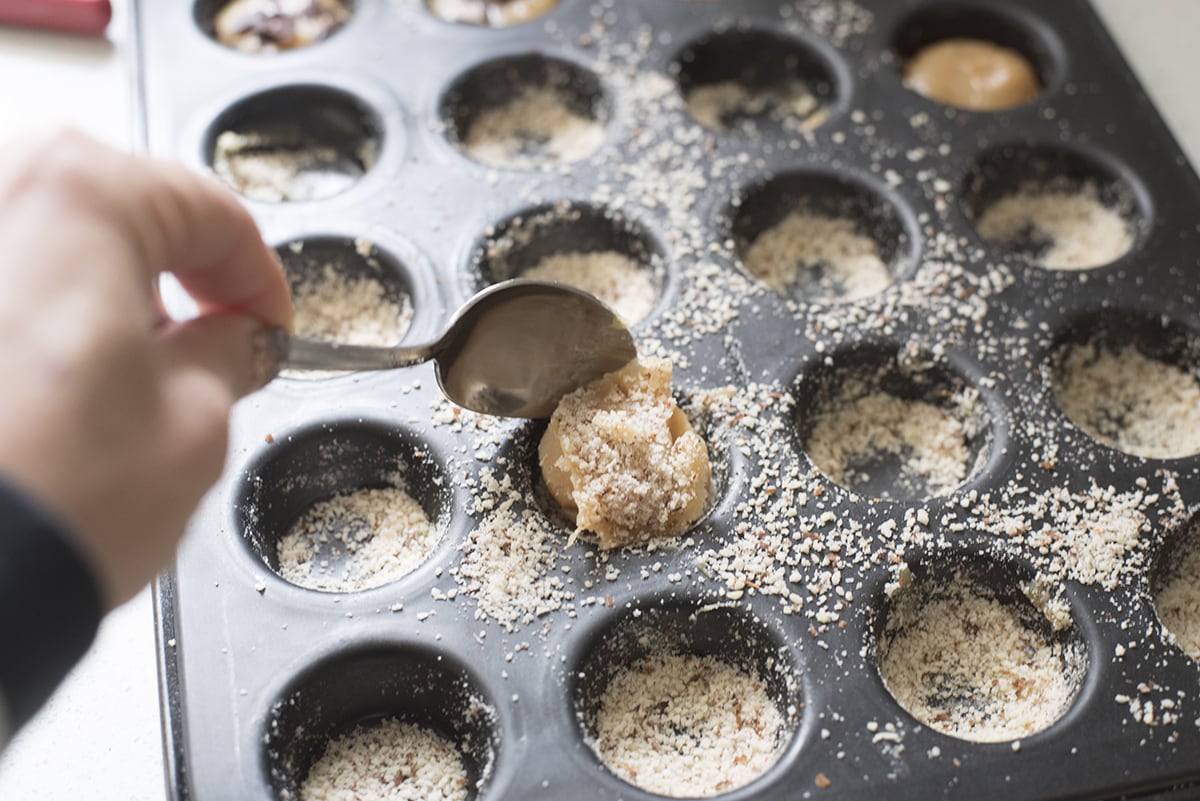
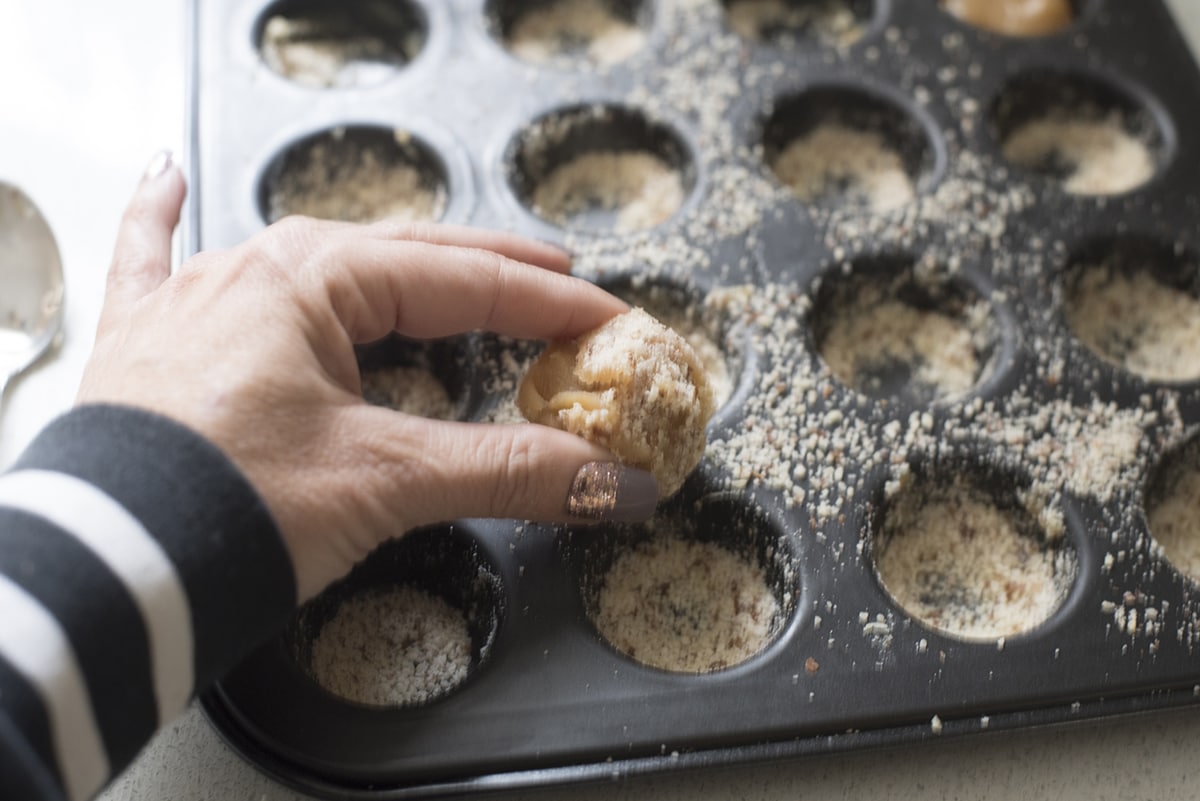
I added almond meal to each little cupcake dish and added the filling when it was still warm and runny with a spoon. This way you can remove it easier when it is refrigerator chilled.
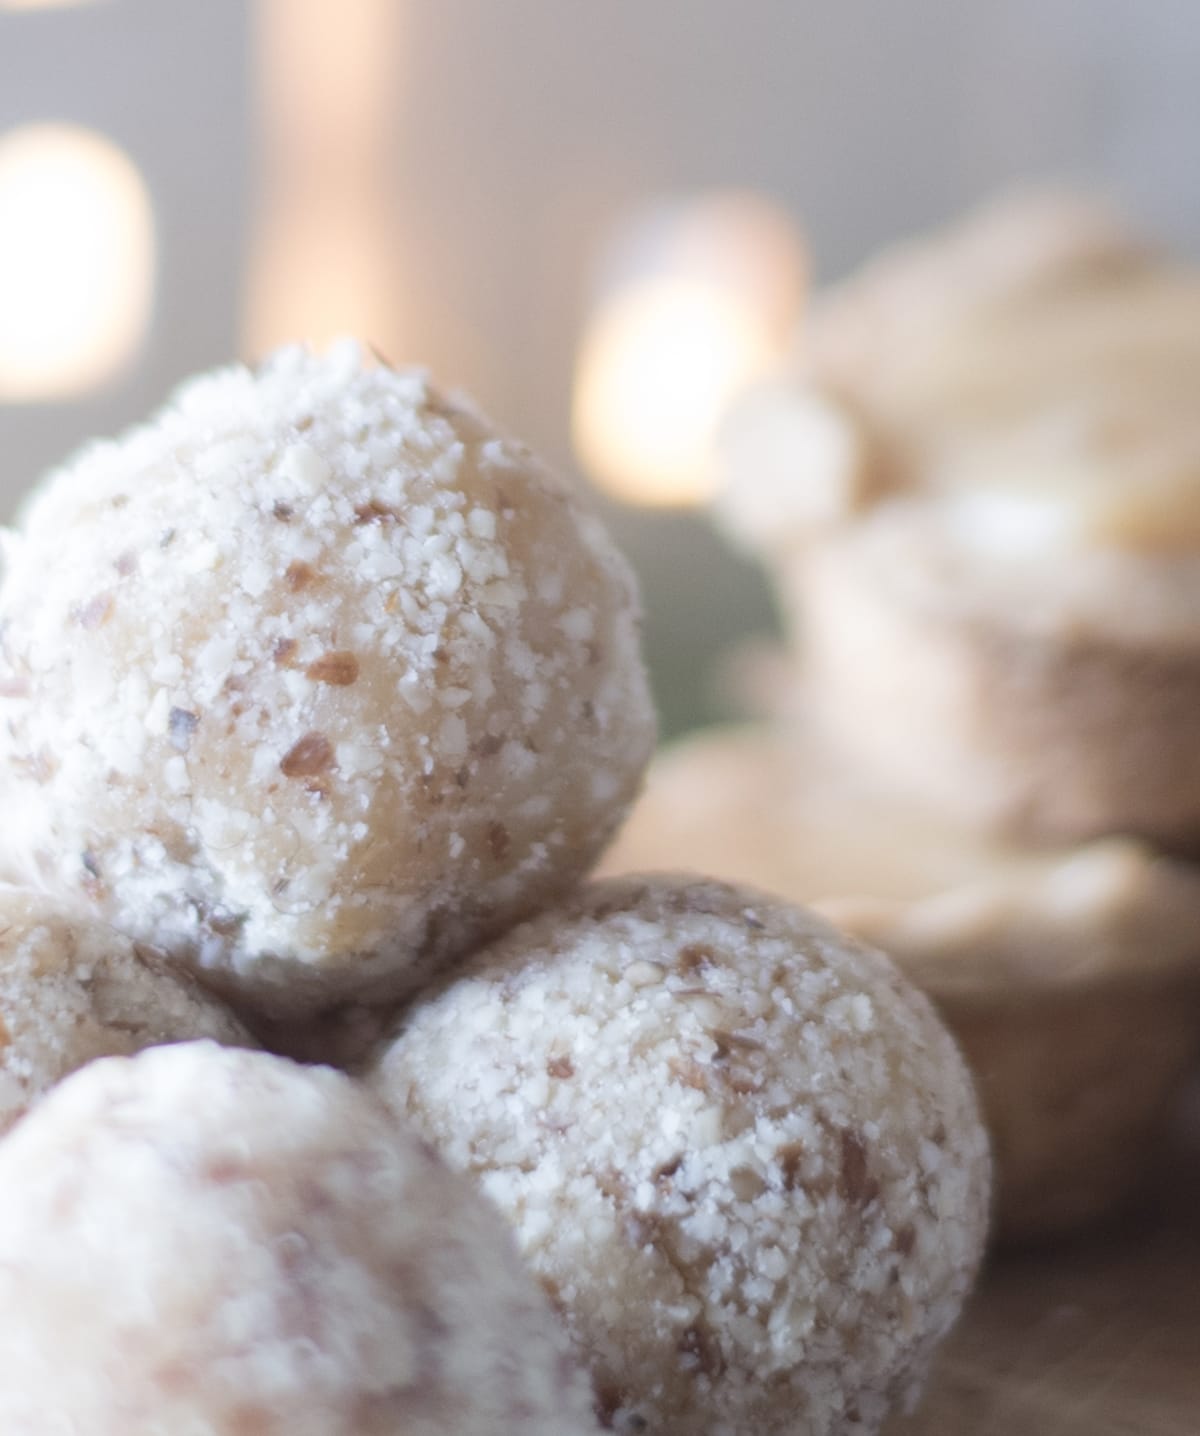
Then all you have to do is take them out of the cups and roll them in more almond meal to a ball.
My daughter actually likes adding either some dark chocolate to the inside of the ball or a pecan. Yum!!! So so good.
My husband makes the above crust in a gluten-free version as well but it gets really flakey and I felt like it would be a good solution to substitute the crust for almond meal and make balls instead.
Recipe Card for easy printing:
toffee tassies recipe
Very yummy toffee tassies cookie recipe for the holidays that is easy to make and will make your guests ask for more.
Ingredients
Filling
- 1 can sweetened condensed milk (14 oz)
- 2/3 cup light brown sugar
- 2 tbsp golden syrup
- 1/2 cup butter
Crust
- 2 1/2 cups flour
- 1 cup room temperature butter
- 1/2 cup caster sugar (or regular sugar)
Instructions
Crust dough instructions
-
Preheat the oven to 325 degrees.
-
Mix together 2 1/2 cups of flour, 1 cup of room temperature butter, and 1/2 cup of regular or caster sugar. Squeeze the mixture together with your hands until it forms a ball of dough. Grease your miniature cupcake pans and form little balls of dough for each cupcake section. Then press the dough firmly into the sections as if you are making tiny little pie crusts. Bake just the crust in the oven for 25 minutes until it starts to turn light brown.
Filling cooking instructions
-
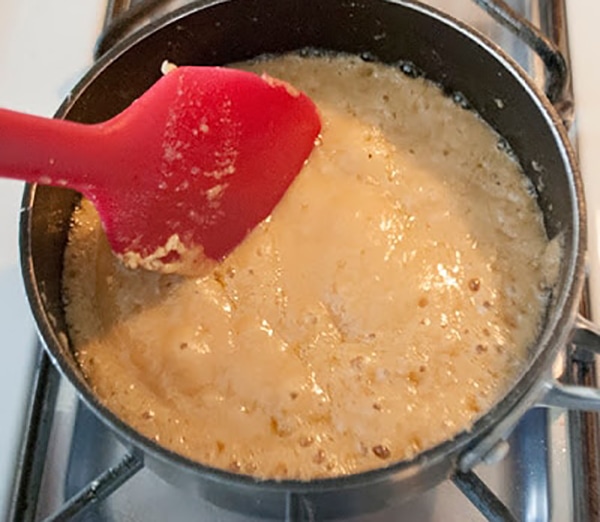
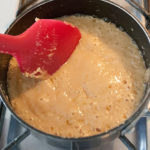
While the dough is in the oven, you slow cook the rest of the ingredients in a medium stick free saucepan. Make sure you choose one that doesn’t stick. Mix the sweetened condensed milk, 1/2 cup butter, brown sugar, and syrup over medium heat and stir almost continuously. Bring it to a gentle boil which take upwards of 10 minutes to get it to a gentle boil and cook at a gentle boil for approximately 7 minutes, stirring continuously. If you don’t stir continuously, it will burn on the bottom. I use a rubber spatula to stir it, it seems to work the best. It will turn a light caramel color and smell wonderful at this stage. After 7 minutes you can remove it from heat.
When the tassies are done baking, you simply pour the yummy mixture which just finished boiling gently into the pie crust and refrigerate. The toffee tassies should cool completely before serving.

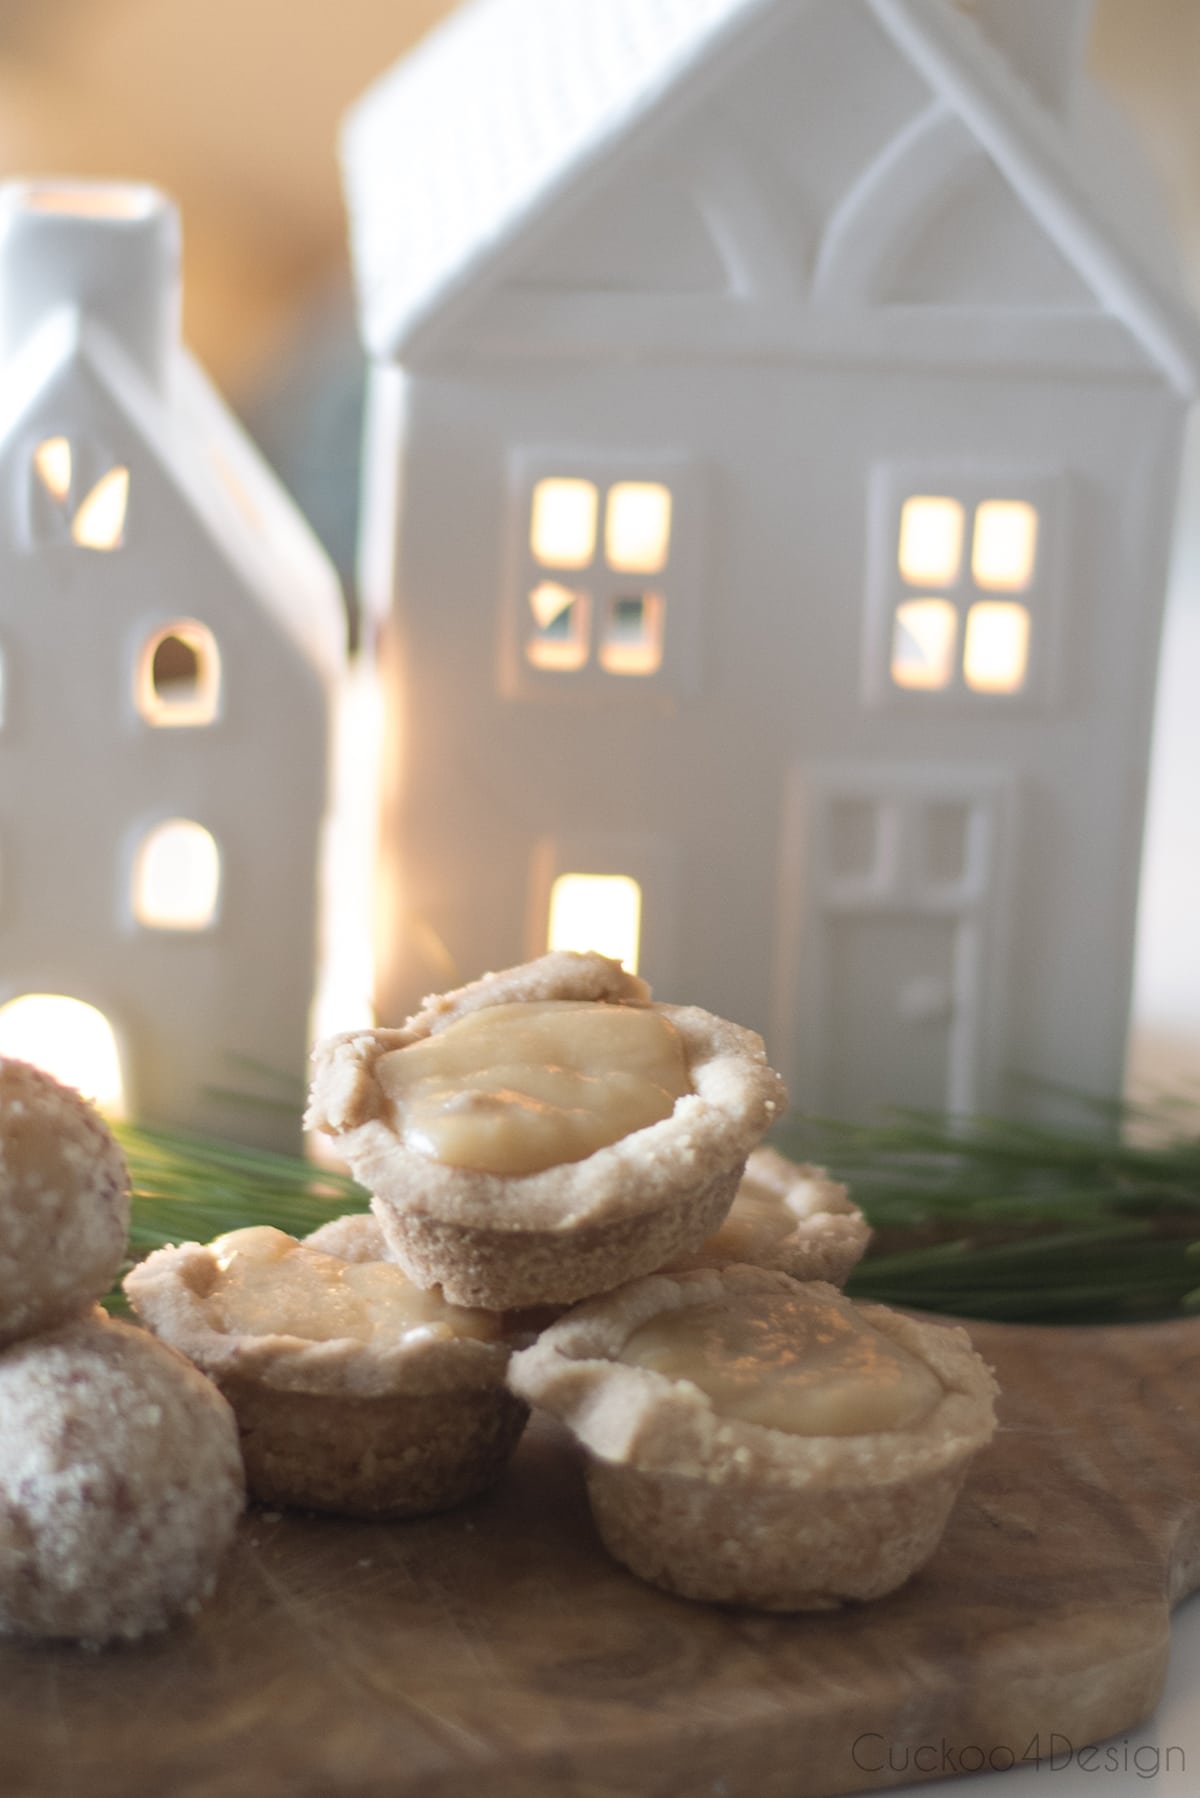
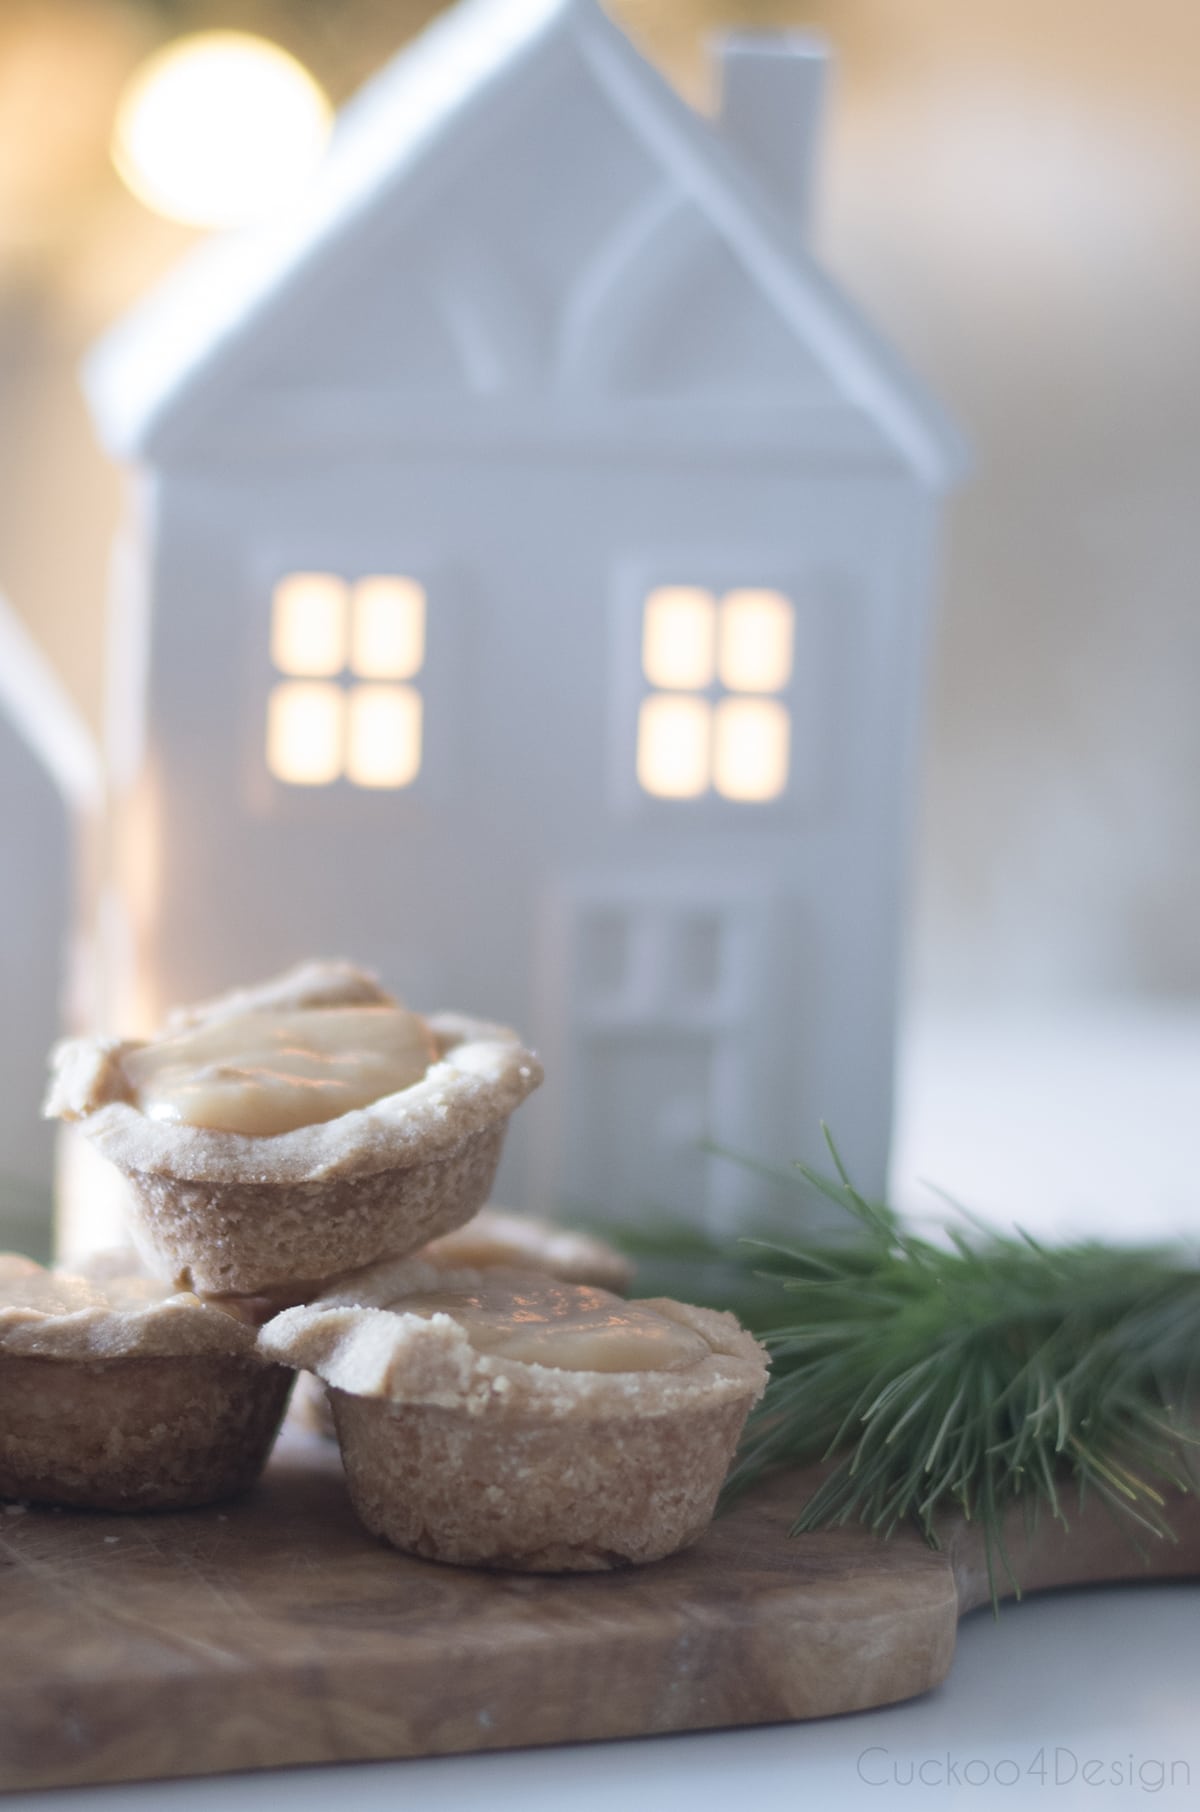
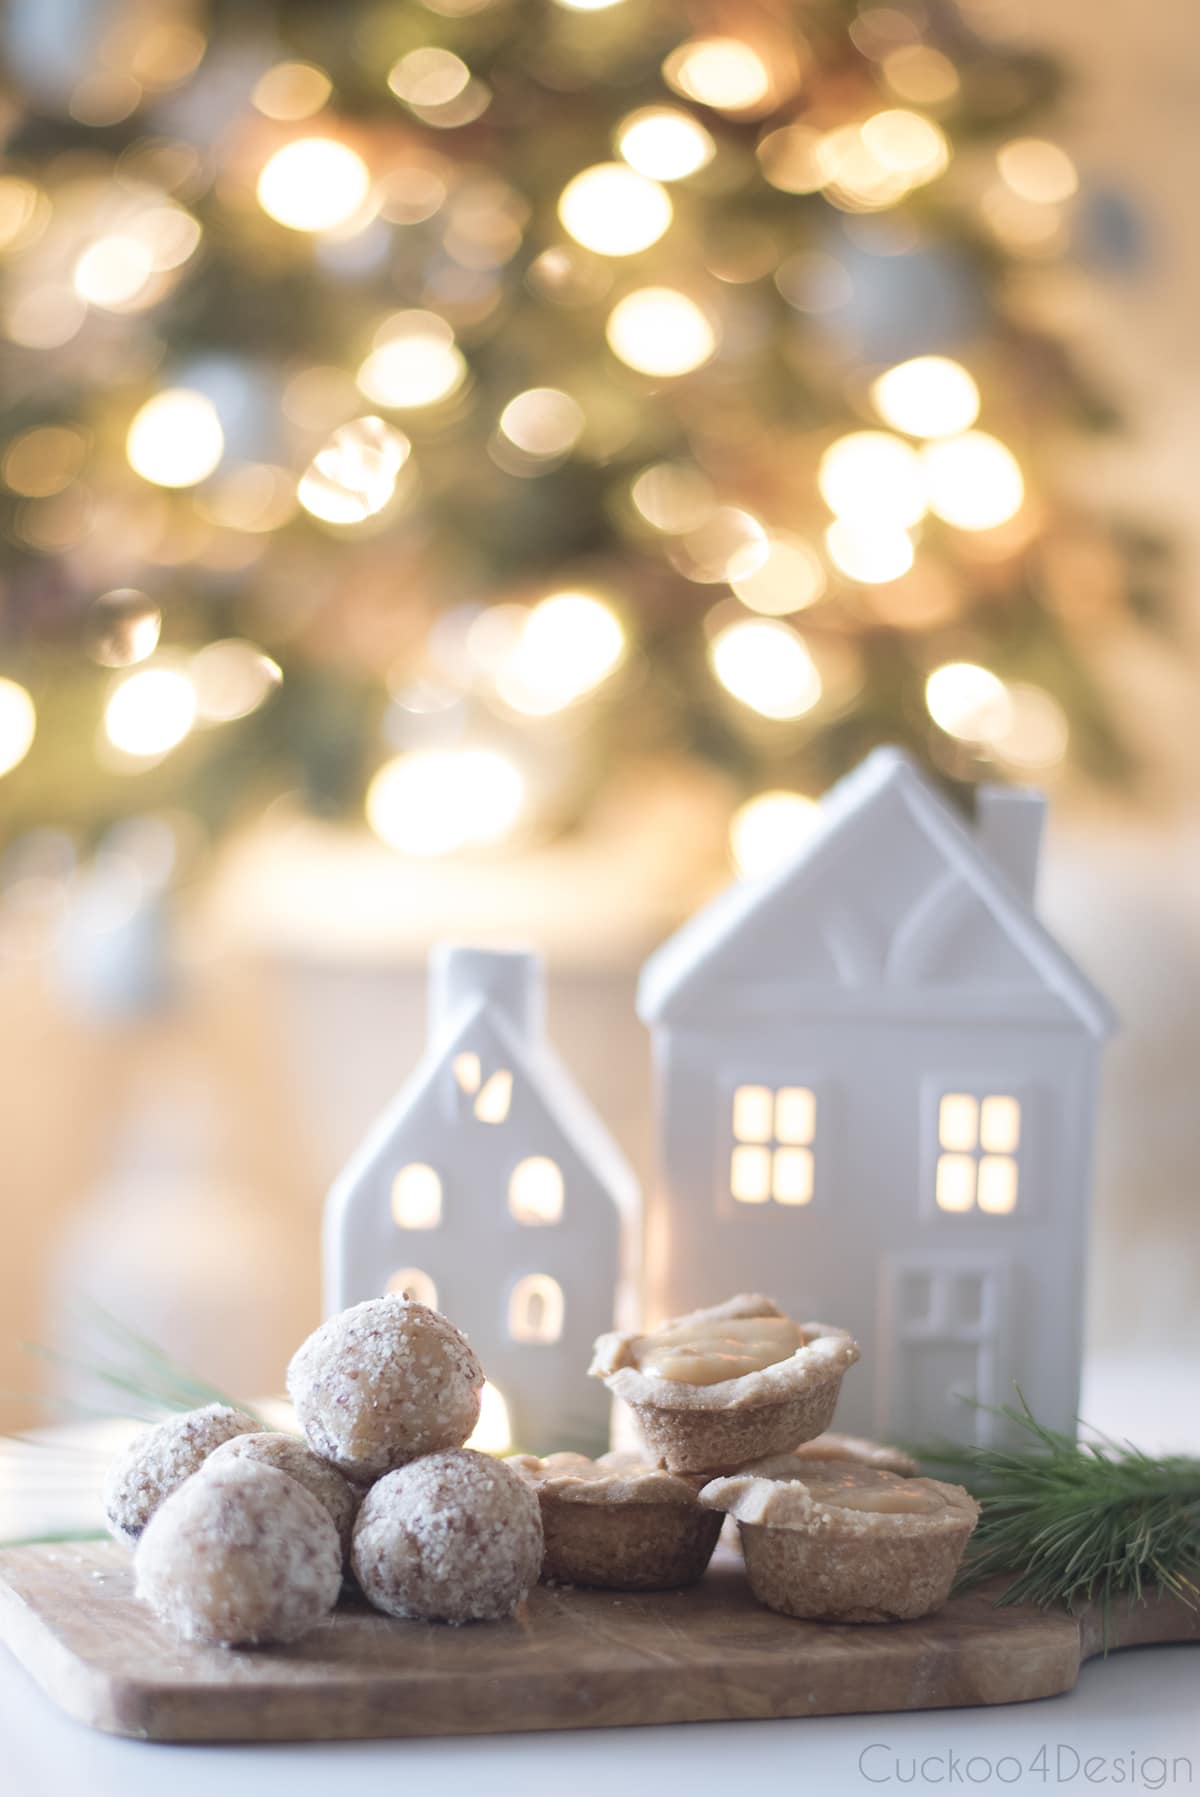
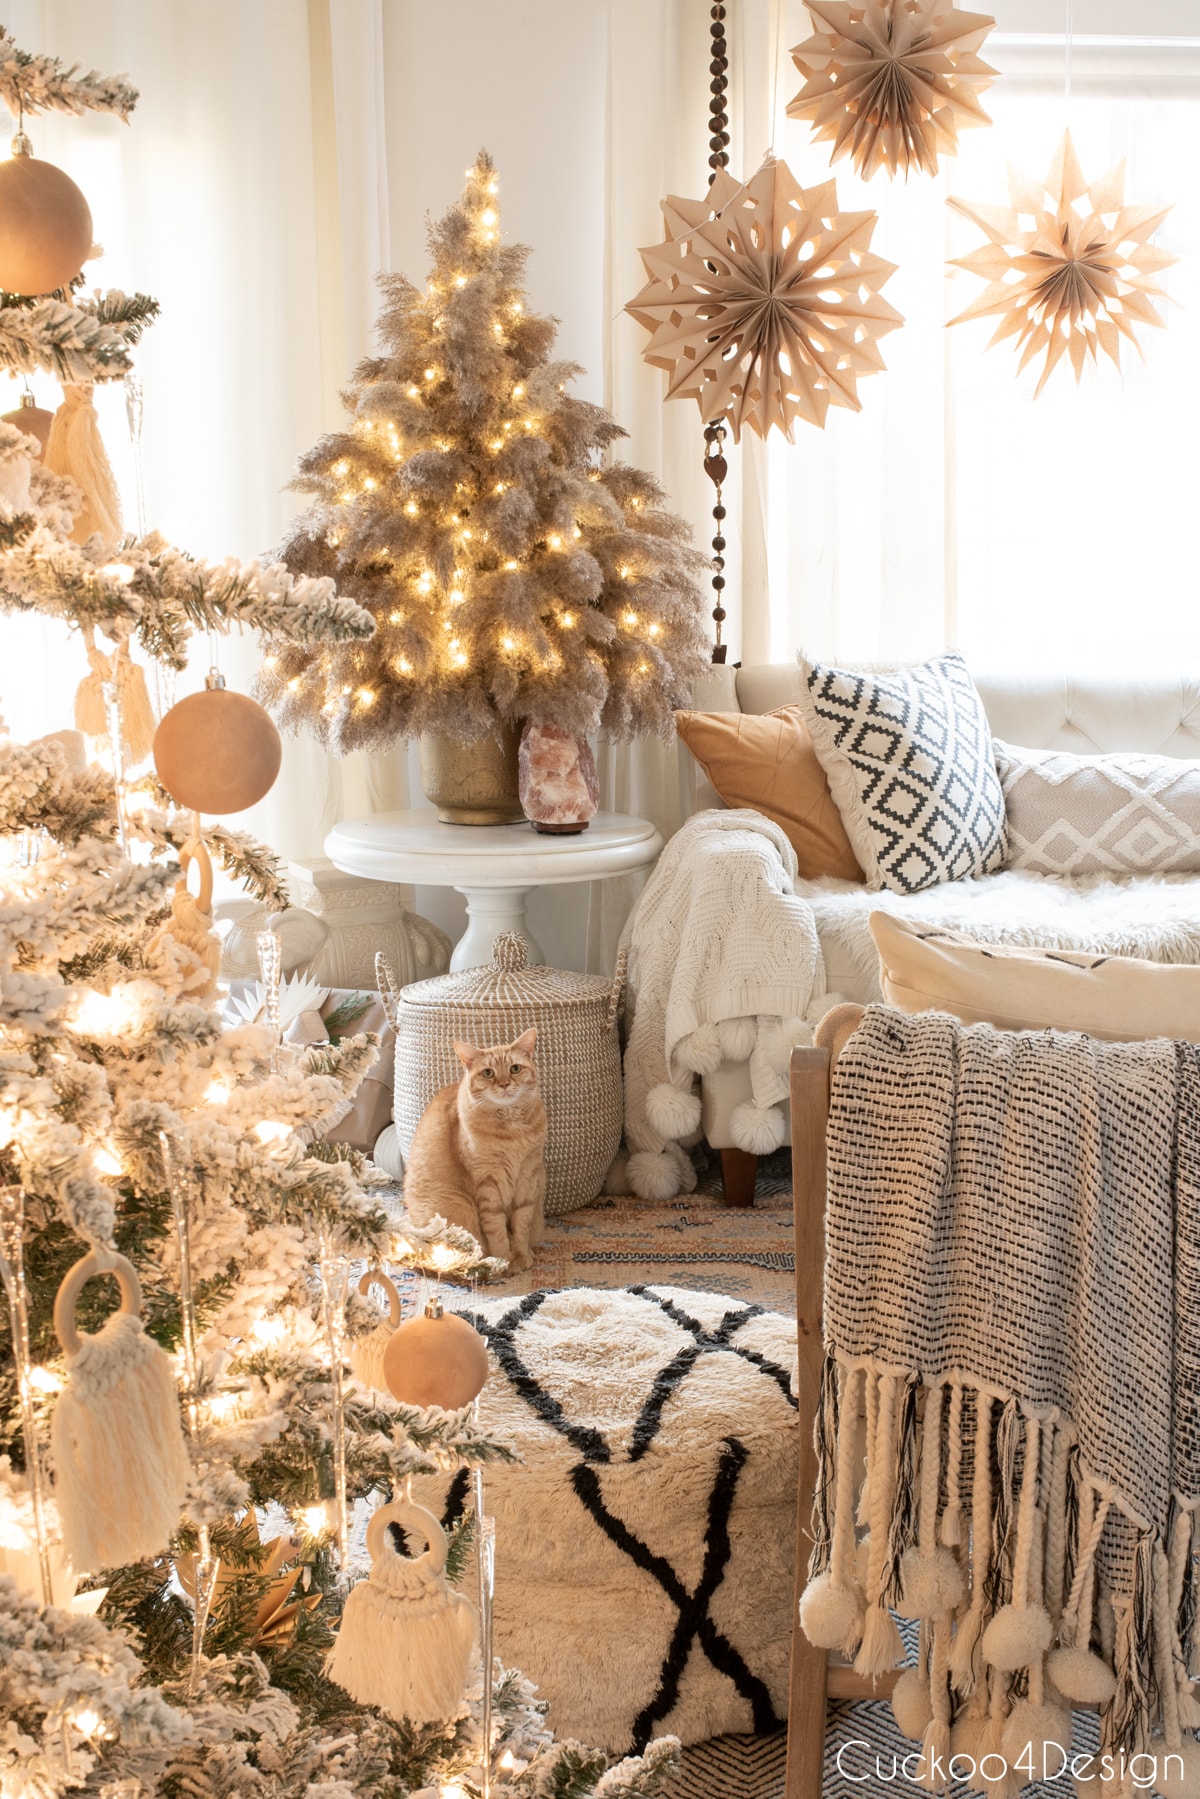
Come on, don’t they look so delicious?!?!
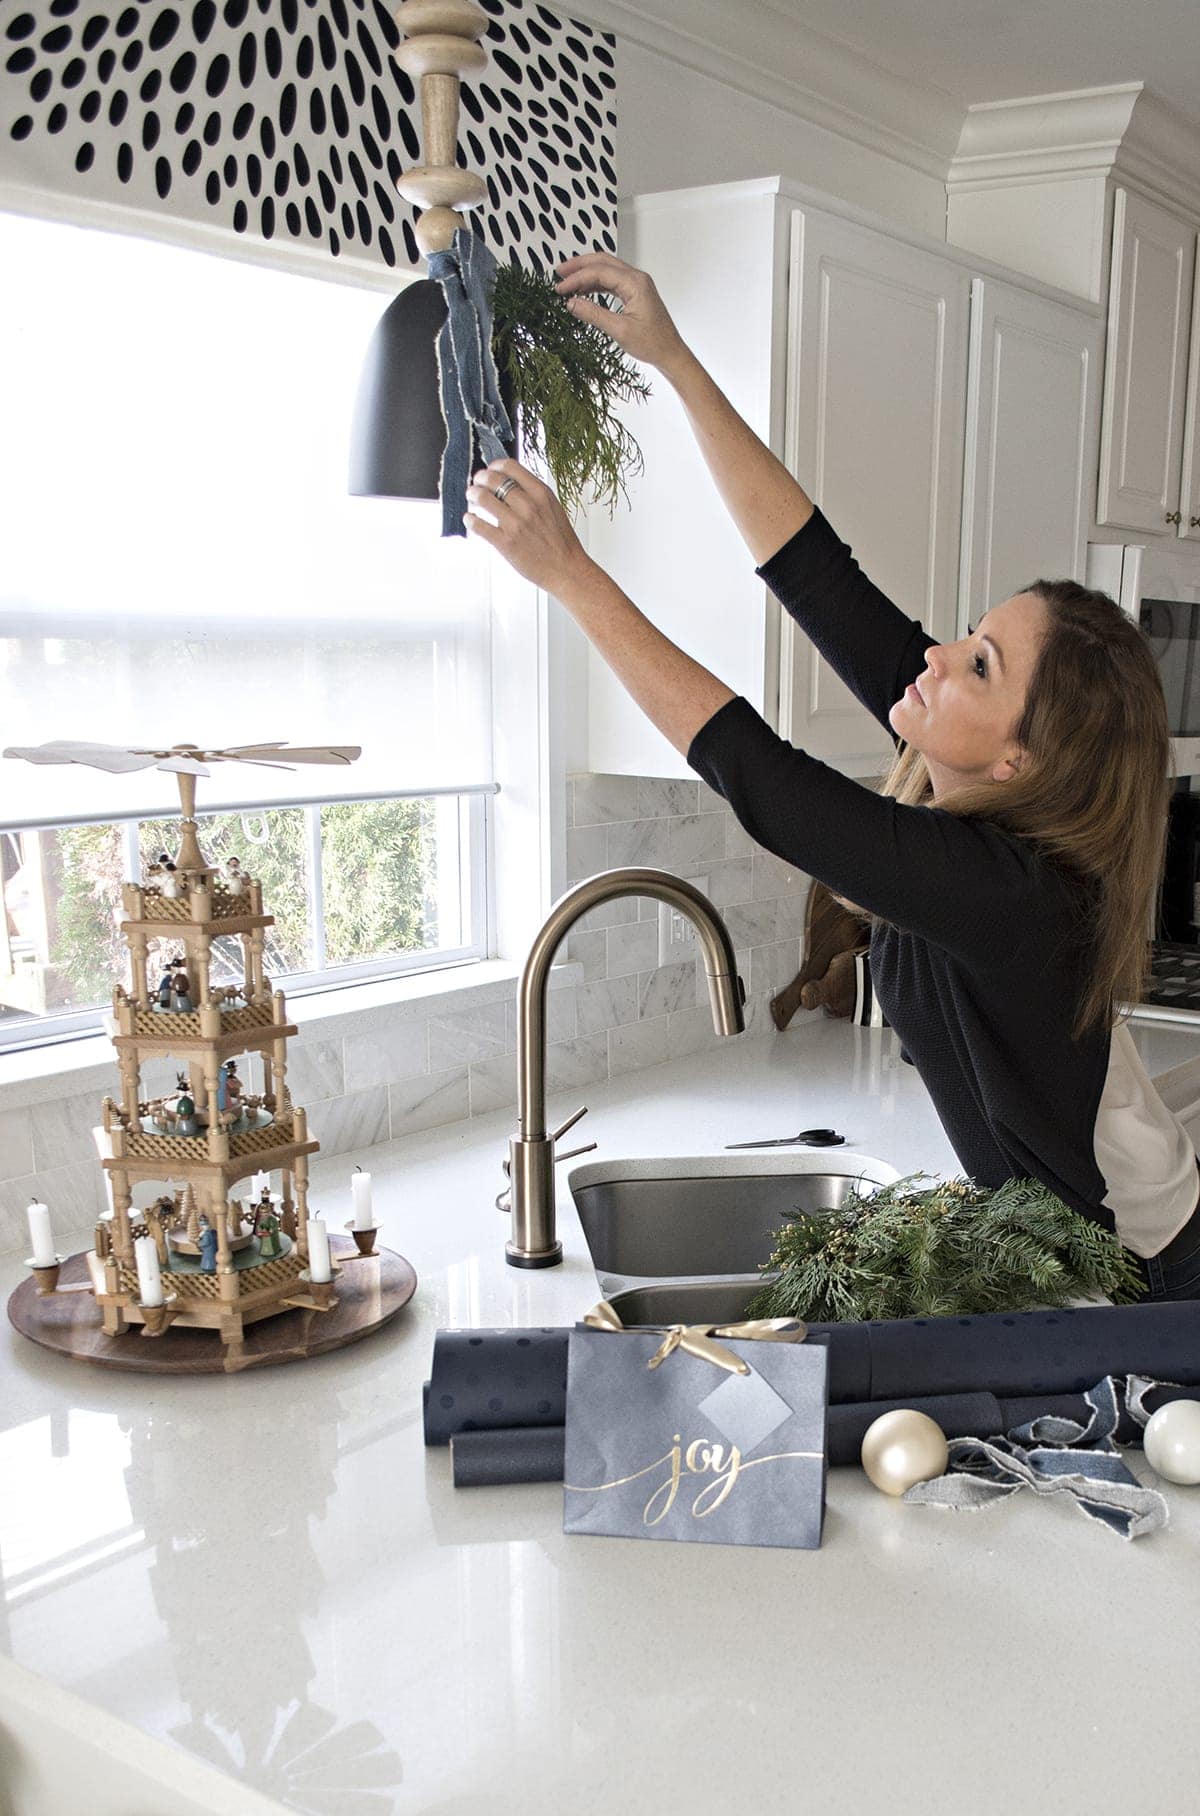
Even the colors and mood in my home this year is all about caramel colors. Check out the pampas grass Christmas tree I just made.
Next on the list is my friend Bre of BrePurposed with her Dutch Stroopwafels. They are one of my favorites and the caramel inside is very similar to my cookie filling. I’m obsessed with anything caramel. It’s so so good.
Make sure you also check out the other cookie recipes:
Room For Tuesday – Classic Gingerbread Cookies
Boxwood Avenue – Hot Chocolate Cookies
The Grit And Polish – German Sour Cream Twists
Cuckoo 4 Design – Toffee Tassies
BrePurposed – Dutch Stroopwafels
House Of Hipsters – Lemon Cherry Holiday Bars

Merry Christmas and happy new year,

Check out my husband’s other baking recipes:
[pt_view id=”143069082h”]
Thanks for sharing! These look delicious. Your Grandmother’s torte reminds me of all the wonderful baked goods I enjoyed when living in Germany! Merry Christmas to you and your family.
Thank you Jen and merry Christmas to you and your loved ones too.
Thanks Jen, it is one of my favorites for sure
Sounds De-lish!
Thanks Carol, they are so so good
please stop the pop up I am sick of seeing your stuff
Hi Caren, I’m assuming you mean my crafting videos? There is an x in the right corner by the video where you can make it disappear. These videos are one of the sources that contribute a small income to pay for blog hosting and other fees I have to pay to keep my blog running. I create free content for others that doesn’t make me rich and the money has to come from somewhere. I already have to switch hosts this month because I couldn’t afford my old hosting. There just are certain things that I have to keep doing in order to make some money to be able to keep my website up. Sorry that you are sick of seeing my stuff.
Merry Christmas!
these look so delicious!!!
Thanks my friend
These look AMAZING!! So glad I found your blog! One question, is golden syrup the same as maple syrup? I’ve never heard of it before. Thanks and Merry Christmas!
Hi Sandra, yes it is, I shouldn’t have let my husband write the recipe LOL
And Merry Christmas to you too.
I found you on Pinterst and have been hooked on you since! I have champagne taste and beer pocket so I have been decorating off of Craigslist and ebay also but you are much more creative than I. I learn so much on your blog. THANK you so much for such an informative blog and posts. Your is so motivating. I am so many DIY projects now from reading your posts! I LOVE them!! Can you please tell me what size wood beads were used for your kitchen pendants? THANK YOU!
Thanks so much MJ, the beds are between 4 to 5 inches.
Hi Julia,
Thank you for the bead information! I am wondering, did you use a hardwire conversion kit or did you turn the plug in light into a hardwire?
I have been doing all of your DIY projects since I discovered you. Made numerous tassels, AND I ordered pair of jean rag rugs to make my own throw pillows like the ones in your living room but because they are 24 by 36″ rugs, they come out strange rectangular shape. What size insert did you use for your pillows? THANK YOU!
Hi MJ, I actually have a can light in the kitchen and used a screw in conversion kit in combination with the Target light. There are many different ways you can do this but in my case I had to convert my can light.
Also my pillows were stuffed with a 20×20 insert even though the pillows are slightly rectangular. It worked.
THANK YOU so much! I can’t believe you personally reply to all of the comments. I’ve learned so much from your blog. You are truly inspiring to those who can’t afford expensive home accessories and furniture. Please don’t change!! Ill let you know how my jean rag pillows turn out!
Can you please post some links where I can find those decorative boxes you use for your etagere and the bottom of the coffee table? I would also like to know where you got the blue oriental canister, jar. It is so cute!
I would also like to learn how to
These look incredible! I can’t wait to try your recipe, Julia! Merry Christmas 🙂
Thank you so much Sarah! Hope you had a wonderful Christmas!