

How to fix chipped tile that looks like wood
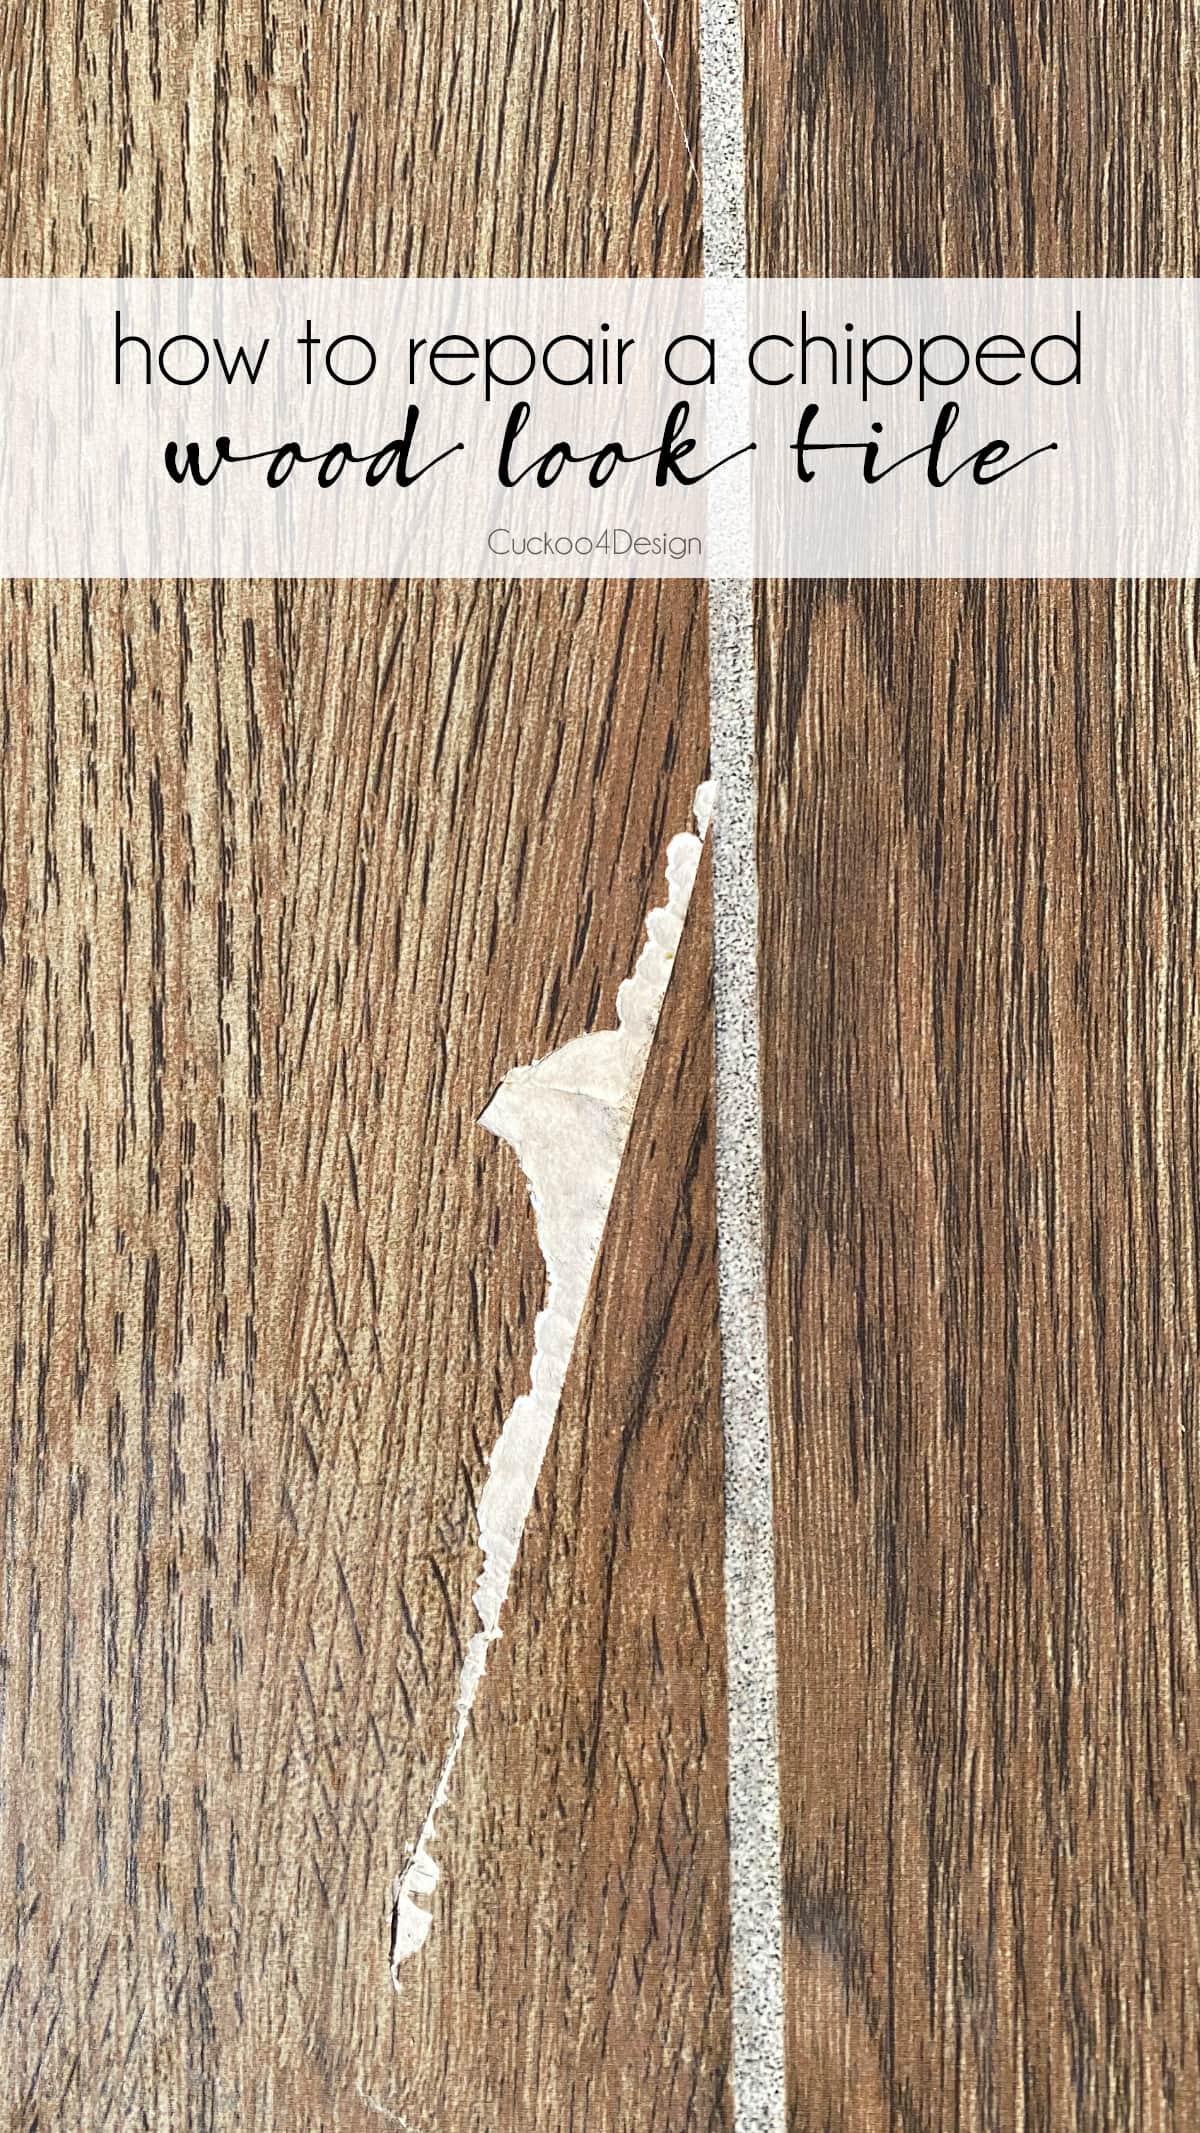
Last year, I bought a beautiful new patio table that looks like a wood plank top but is actually made of durable wood-look tile. Unfortunately, over the winter, a layer of ice built up on it before we could add a table cover. While I was out running errands, my husband and son tried to scrape the ice off, and the result was a large chip in one of the tiles. I was devastated because I love this table, but instead of replacing it, I decided to learn how to fix chipped tile myself.
In today’s post, I’ll walk you through exactly how to fix chipped tile in wood-look porcelain or ceramic tile step-by-step, including how to match the grain pattern so the repair looks natural rather than patched.
Materials needed to fix chipped tiles
I wasn’t really sure what I needed for the table. Especially because our crack was pretty deep, and I read that the hardener that comes with the tile fix can shrink and isn’t really made for deep cracks.
I would definitely not have needed an extra big can of Bondo all-purpose putty, but I was happy I had it on hand because the putty that came with the Tile Fix was a bit dried out.
- TileFix (includes a spreader, mixer, brush, wooden stick, Q-tip, putty, tinting colors, sealer, mixing chart, and tray)
- bondo all-purpose putty
- plastic spreaders
- fine artist paint brushes
- paper towels
- fine grid sandpaper

Chipped tile repair video tutorial
I definitely recommend that you watch my video so you can see exactly how I mixed the colors and spread the mixture into the crack. It’s always better to see what the hands are doing in a video.
(Use the triangle on the image to turn on the video. If you are on a cellphone or other device, turn it horizontally for better viewing. If it doesn’t load for some reason, then you can watch the video on my YouTube channel instead.)
Step-by-step wood-look tile chip repair
This post may contain affiliate links from which I will earn a commission at no extra cost to you. View my full disclosure policy.
Before I started with this project, I watched a couple of YouTube videos to see how other folks attempted to fix their chipped tiles. Our tile was certainly different since it looks like wood, which means you have to match not just the color but the grain pattern. Most tutorials start with the lightest color and stack darker colors on top to blend everything in. I took a different approach entirely, treating the chip like a natural wood knot because real wood has imperfections, and yours can too.
Below you can see a close-up of the size of the main part of the crack. It was pretty deep, too. There was also a fine hairline crack leading further along the table.


- The TileFix comes with a handy mixing chart. This helps you determine which color you want to go with and how to mix it.
- I mixed my color and hardener in an old Chinese food container. The one that came with the kit was too small for my large crack
- I loosely spread the mixture into the crack with the provided wooden stick.
- Then used one of the larger plastic spreaders that I purchased to evenly spread the mixture into the crack.
- A dampened paper towel helped me to wipe off excess filler around the tile crack.
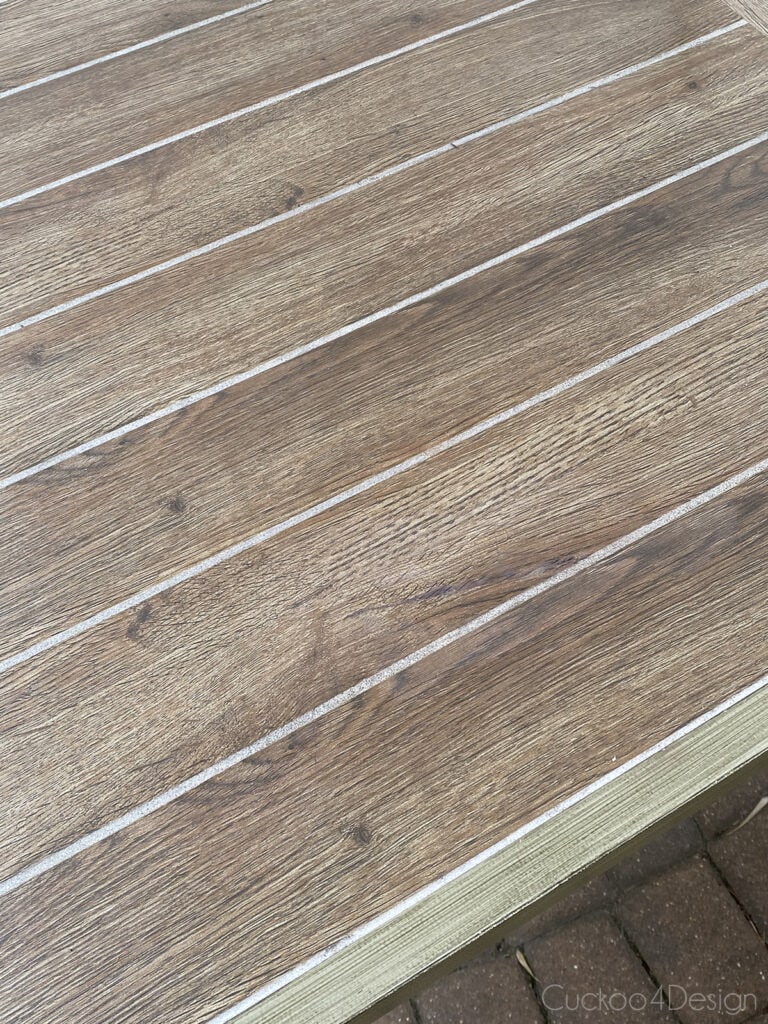
- When everything dried, I used fine-grit sandpaper to lightly sand the filled crack. This is when I noticed that I had to repeat filling the crack two more times because it didn’t fill evenly. I also decided to use a slightly lighter color, followed by a darker color, as you can see in the video.
- The next coats of filler didn’t dry before I used a fine artist’s brush to paint in the black wooden veins. I figured it was easier to add the color that way, but I’m not sure if that is actually true.
- Lastly, when everything was completely dry, I added drops of the provided sealer. I used another wider artist brush to smooth out the sealer evenly.
And voila, below you can see the result. It is still visible and definitely not perfect. I think my strategy of making it look like an imperfection in the wood was the right choice, though. Don’t you think so?

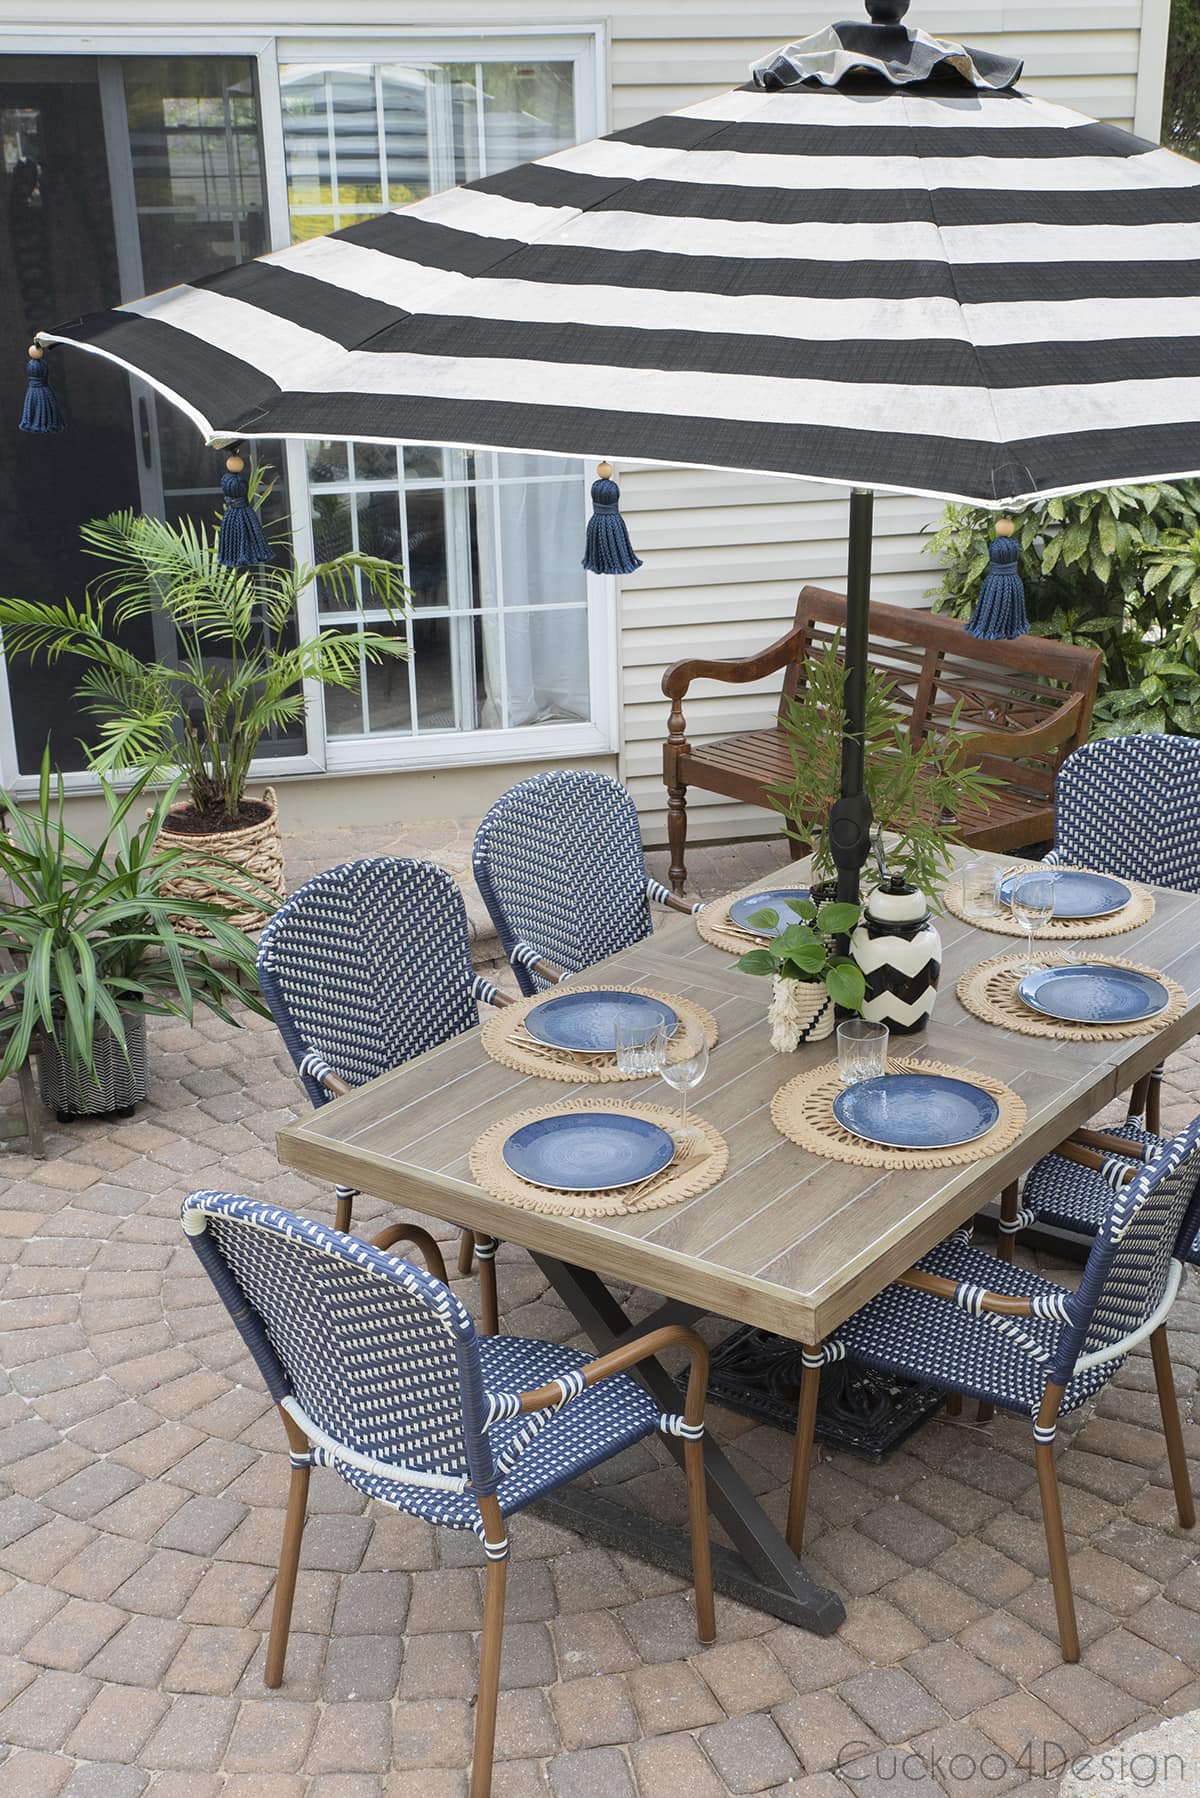
By the way, the farmhouse trestle table is still available, but the exact chairs are not. Below are some very similar ones that are still available if you are interested. We love the combo of the table with the chairs.


Check out my blog post about how to mix and match patio furniture.
Photos of our fixed wood-look tile table

On the other side of the patio, we have teak wood lounge chairs, and I wrote a blog post about how to restore teak wood.

Want to see more of our backyard, from the stock tank pool to the full yard layout? Explore my small yard landscaping ideas for inspiration.

Tschüß,

Great fix, Julia!
WOW, that is so impressive! You’d never know!
Amazing job of turning a negative into a positive. <3
Wow! It turned out great! Thank you for the video, too!