How to building a window cornice
Last week I posted about my painted window cornice (click here) and some of you asked me to explain how I originally built it. I will try to explain it to you today.
It’s actually super simple. Easy peasy!
How to building a window cornice
This post may contain affiliate links from which I will earn a commission at no extra cost to you. View my full disclosure policy.
What you need:
- MDF board (HERE)
- liquid nails (HERE)
- counter sink drill bit (HERE)
- wood screws (HERE)
- screw drill bit (HERE)
- batting (HERE)
- fabric
- stapler (HERE)
- hardware to hang the valance (HERE)
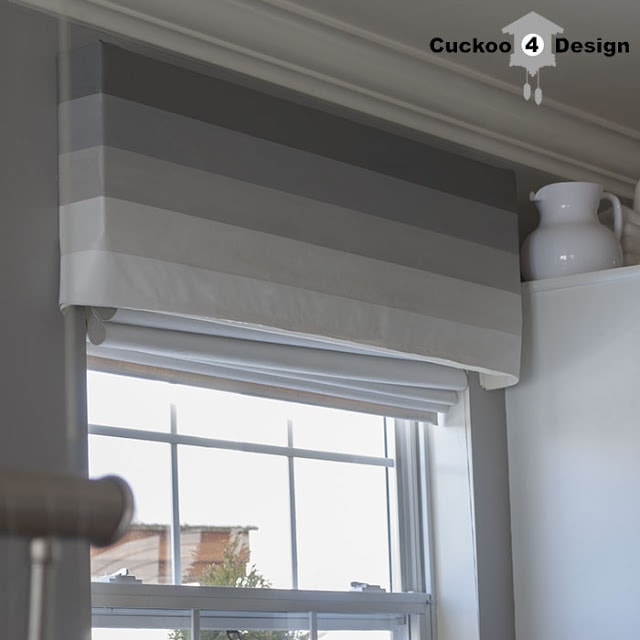
All I did was cut MDF into my desired size. I have the cornice 1.5 inches longer on each side than the window and 3 inches sticking out from the wall. My roman shades are inside mount, if you have an outside mount shade you need to adjust that accordingly.
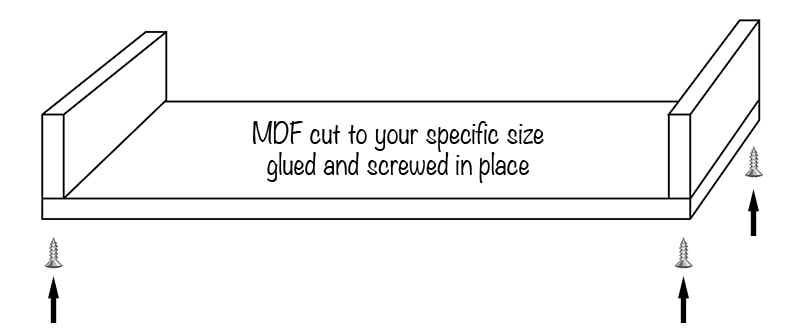
You can see in the below photo how I screwed the pieces together. I also used some liquid nail glue to make the connection even stronger.
Don’t forget to pre-drill your holes with the countersink drill bit, so the screws sink in flush with the MDF board.
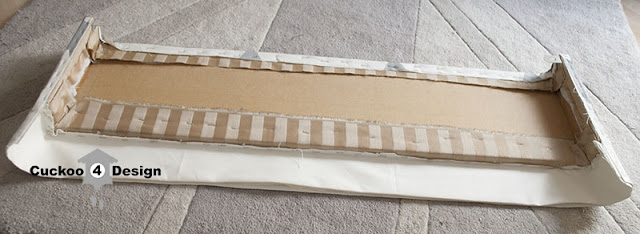
All you have to do after that is attach your batting with a stapler and then stapling your fabric over that.
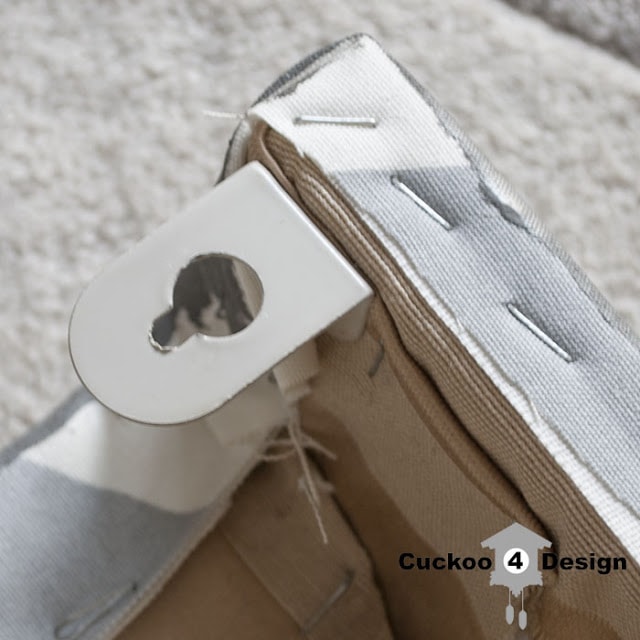
I ended up letting some of the fabric hang over the actual cornice when I stapled fabric to it the second time. In the above photo you can see what I’m talking about. I was actually too lazy to remove my first fabric and just stapled right over it with the next one. Thankfully you can’t see it from the outside of the window. That would be a no-no.
I have no clue where I originally got the hardware from to hang the window cornice. I found it in one of my toolboxes but they work great. I have them on both sides and I can take them off or hang them very easily.
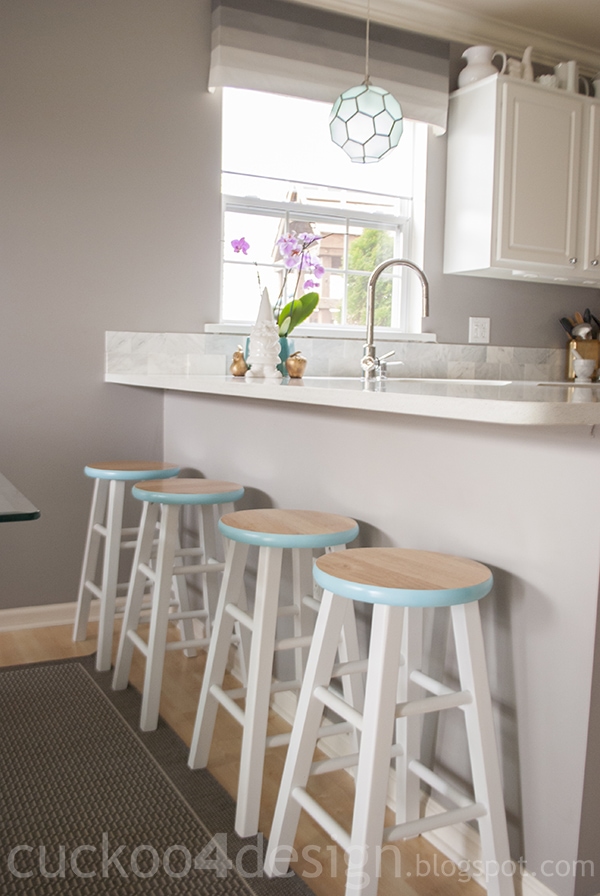
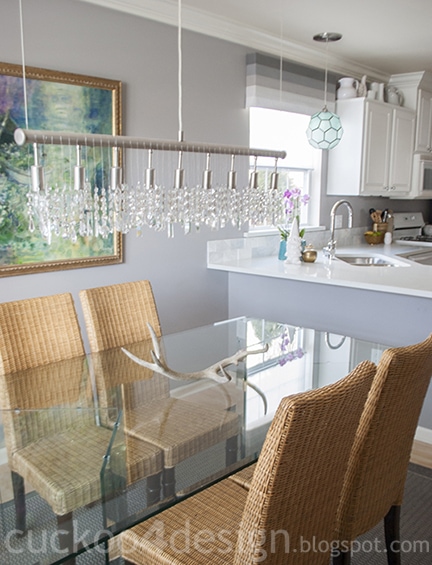
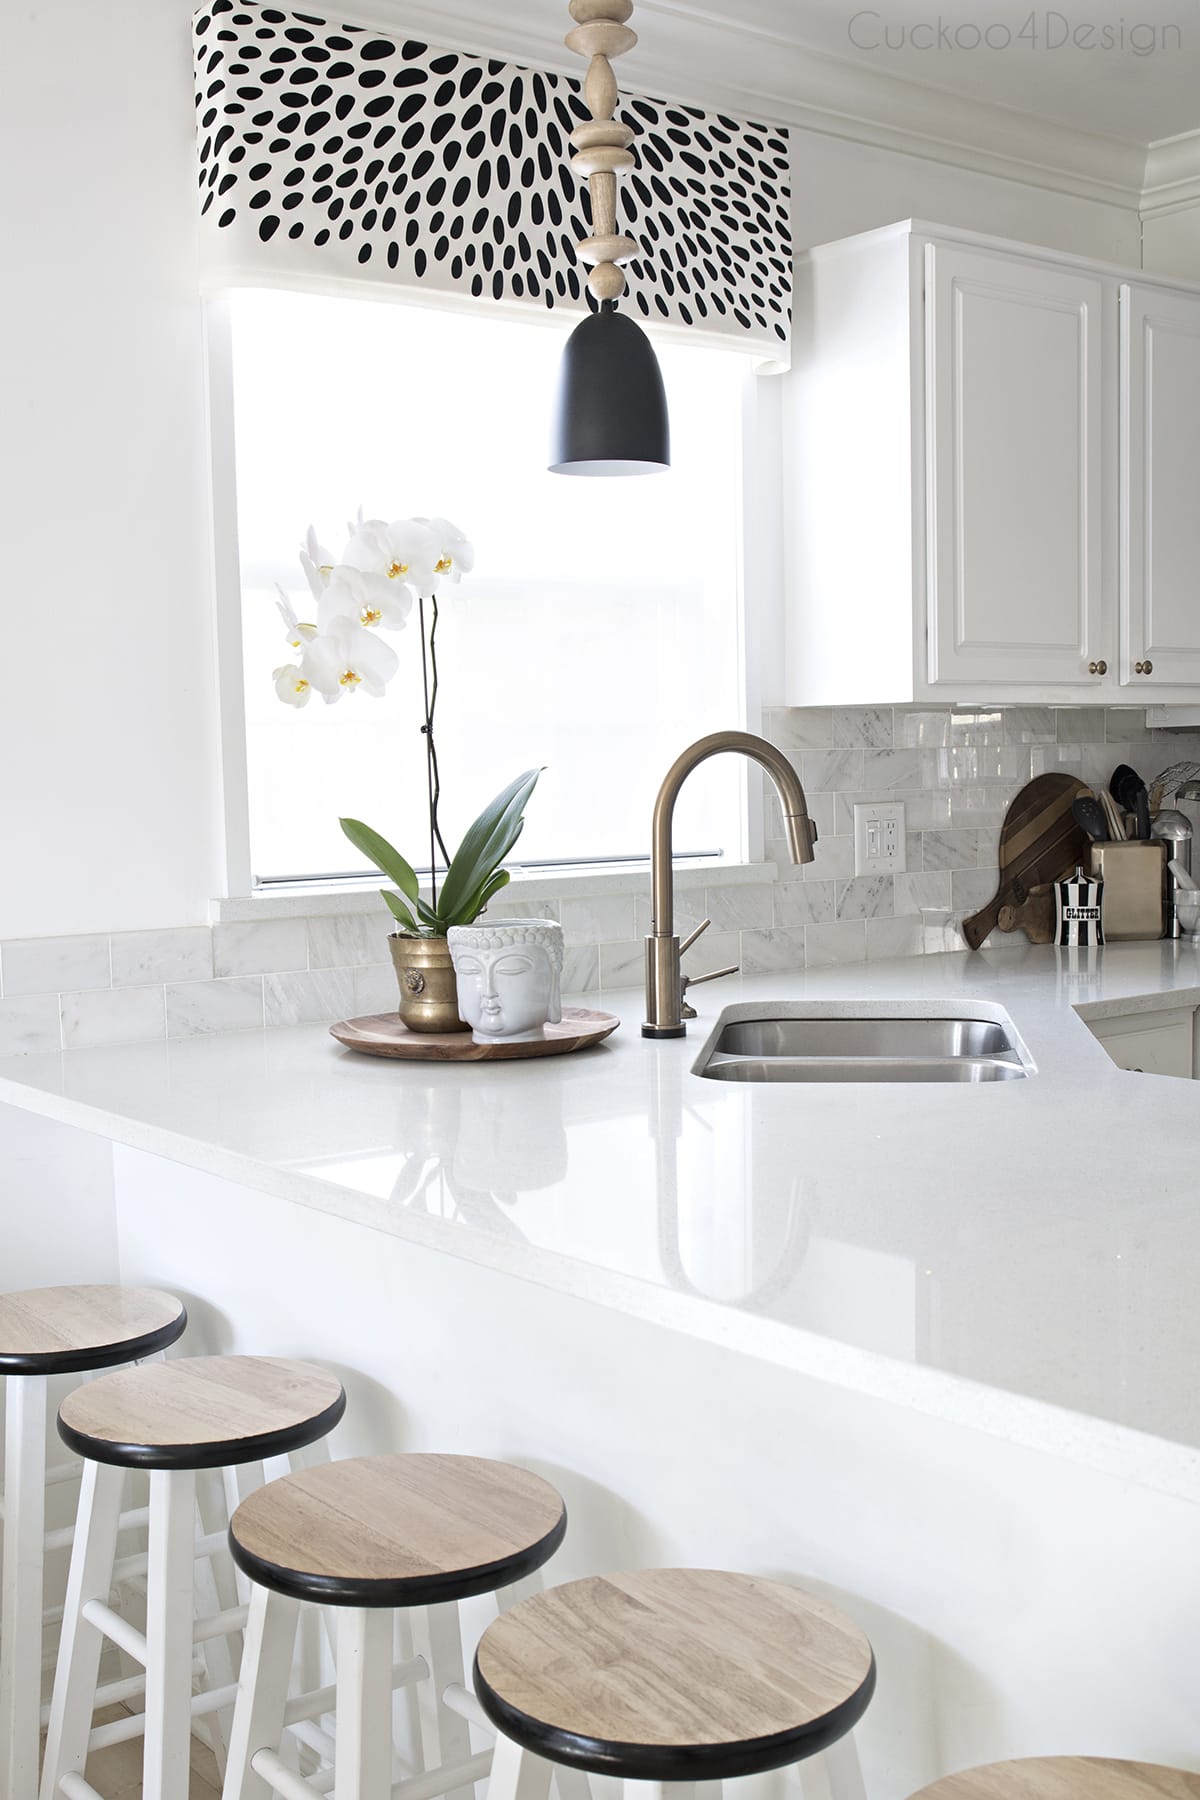
Below is a recent photo of my kitchen with another new fabric on the valance. (click HERE to see the post)
The dotted fabric is from Ikea and you can read some more about it HERE.
So that’s it. Not very exciting isn’t it? Ugh, actually very boring.
It’ll be more exciting to work on my powder room. Let me tell you the sanding of all those diamond lines is horrible.
Talk to you on Friday.
Tschüß

(Youleeya)


Apparently he confused your creativity for crazy. I am so glad I found your blog and love all your designs. So anytime you want to bring your accent and your crazy to Minnesota, you can come design my rooms!
Aww, thank you so much, that is so sweet of you!
That turned out great! You make it look so easy 🙂
xo
brittanykytecreated.blogspot.com
Haha, yeah I wish!
Hahaha, I laughed out loud at the whole “asking if you had a speech impediment” thing. When you grow up in a more rural area (like me!), people from other countries aren’t too common. I can’t imagine trying to speak german though…I’d probably just give up and resort to hand gestures lol
The thing is that there are plenty foreigners in our area!
I’m sure you could try to talk German, it’s not that hard.
Thanks for stopping by my blog and for your sweet comment. I love your blog and I love the title. I can’t believe the things some people say. Even if you did have a speech impediment it is weird that question would even be asked. People can be so silly at times! 🙂
Yes, they can. I actually talked to her about it afterwards and we laughed. It’s all good 😉
And you are right it would be more than awkward if I’d actually had a speech impediment.
I love this idea. I think it may be the perfect solution for my guest room I’m working on. Don’t you just love how children have absolutely no filter! Love your blog. It’s one of my daily reads.
Oops, missed your comment. Yes kids are the best and so funny!
Love your blog Julia. I am always telling everyone about your fabulous kitty kat enclosure. It is my dream to have a sililar one, but will take me awhile.
Aww thanks Sheryll for spreading the word. I really hope that you’ll get your own cat enclosure one day.