Black, white, pink and lime green girl’s room
{UPDATE: you can see my daughter’s new bedroom by clicking HERE}
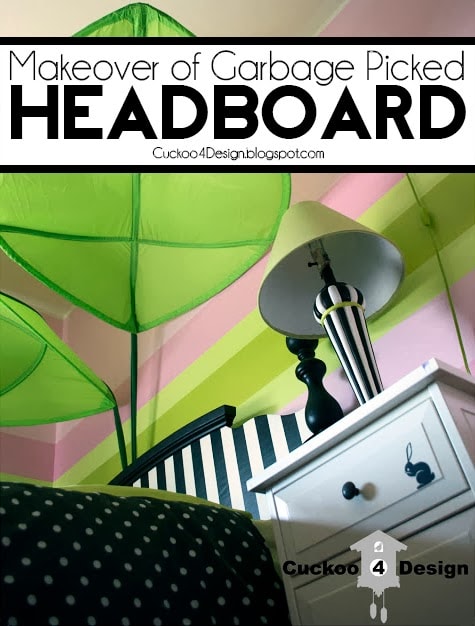
Like I mentioned in my last post, I received an email from HGTV and as I browsed through the links of inspiration, as they call it, I ended up clicking on “Best of Rate My Space: 25 Colorful Rooms” … picture 18 is my dear daughter’s room. I had uploaded some pictures of her room in November of 2009.
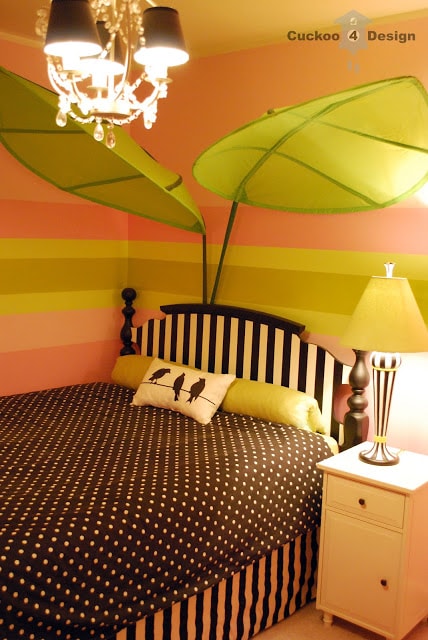 |
I always knew that I wanted black and white in my daughter’s room. I just love black and white accents. If I ever get sick of the pink walls I could just paint them any color and the rest would still look great.
I started to look for a cheap headboard when my baby girl outgrew her crib and we decided to move our Queen bed into her room. She was a horrible sleeper and I couldn’t have survived the nights without it.
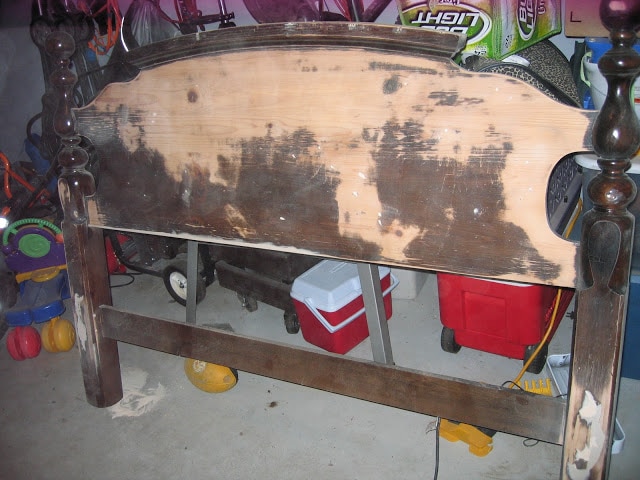
The headboard that I finally ended up with is NOT the headboard I envisioned at all but the one she has now just kind of forced itself on me when I walked through my neighborhood and somebody had put it out for the trash. Yes, I picked a neighbor’s trash. They must think I’m nuts. I’ve never talked to them and they don’t know what the piece of garbage turned into. They probably only refer to me as the crazy lady from down the street that dragged their garbage up the road. But like I’ve mentioned before… I’m used to it.
So this is what it looked like before. UGLY!
You can see some of the areas that I patched with would filler.
I actually wanted a taller headboard maybe with a carved frame that I could spray glossy white or black with a striped center. Kind of like this outrageously expensive headboard:

But I still haven’t found an affordable version on craigslist. I always get so annoyed when people on CL want to sell a set. Nobody is willing to sell a piece separately.
I might just have to elevate the one I have some day. I’m still waiting to find THE ONE.
But I knew for sure that I wanted to paint black and white stripes on it since I had the striped fabric that I made the bed skirt from. The fabric was from Ikea and I attached it to the box spring with velcro for easy removal. It looks really tailored and only required minor sewing. I’m not the best sewer and don’t really enjoy it either. My husband actually makes fun of me when I attempt to sew anything and how agitated I get while doing so. It’s usually better to have ear muffs on the kids during the process! I get fired up already when he jokes around calling me his little seamstress or tries to take pictures of me.
I would have to say that the duvet cover is the only real splurge in the room. It was from Pottery Barn Teen.
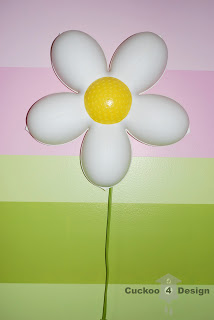
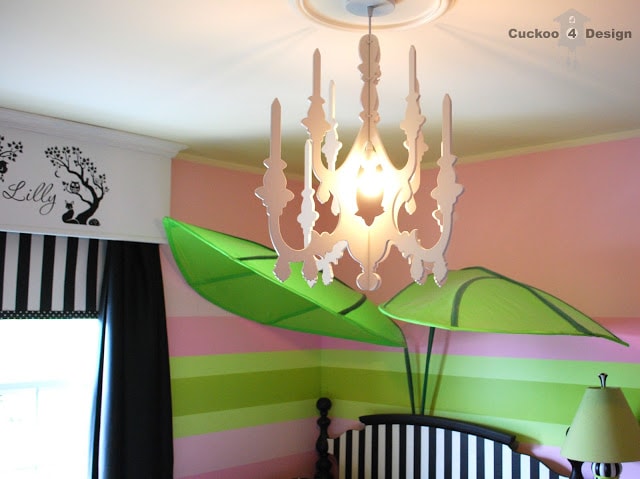
The Ikea leaves I had leftover from my son’s toddler room. The lamp was and old ugly thing from my attic that I repainted. I already had the Ikea nightstand but I had to purchase the two white Ikea Expedit bookshelves and the Ikea daisy flower lights which I spray painted in the center with yellow plastic spray paint.
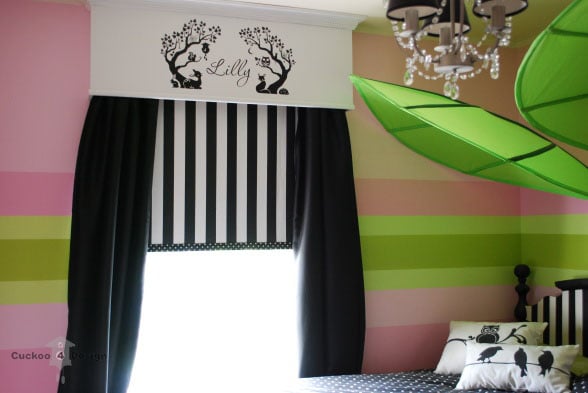
I built the window box out of MDF board and crown molding and hung the curtain rod in the inside. It was so long ago that I didn’t take any pictures along the building process to explain it step-by-step. I really regret that now. Never thought that I would blog about it. The vinyl wall decal on the window box is the personalized fairy forest scene from greywolfgraphics on etsy. I just love all the little animals on it and of course the little cuckoo clock too.
The roller shade is a painted IKEA Tuplur shade that I had. I used fabric paint (that’s before I figured out that you can make your own fabric paint from acrylic paint and textile medium). I basically used the same steps as I did with my painted curtain tutorial.
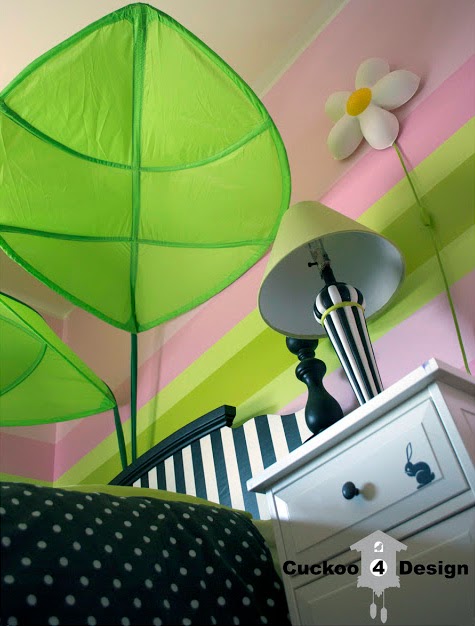
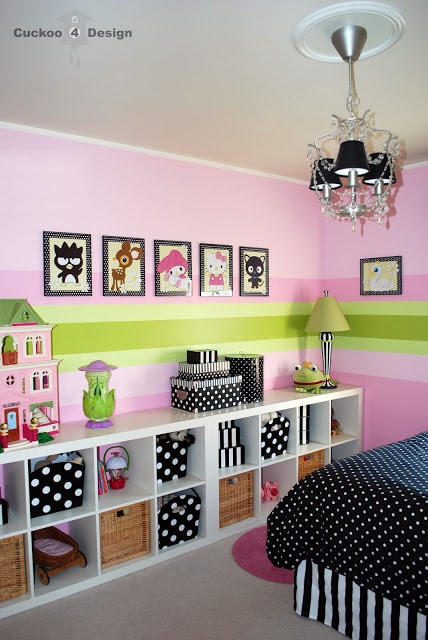
I added the urban outfitter faux chandelier which is not available anymore. But she wants the bling back. I, on the other hand, LOVE this fun light.
The baskets in this picture have by now been replaced with the Dröna pink and black Ikea cloth containers. Love them even more because they don’t scratch the shelves like the baskets do.
The polka dot and striped boxes were all from Ross and Homegoods.
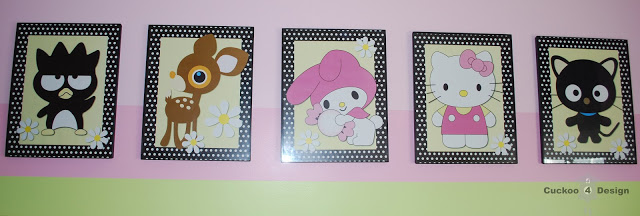
I made the pictures for her in Adobe Illustrator and had them printed at a copy shop, which only cost me $2 a print plus the cost for the plain black frames at $5 each. I only added these because she really, really wanted them. And if you have read part one to this post then you remember how much I’m against themes and characters in a room.
Like I said, all that matters is that my little treasure is happy.
Have you had to make compromises with your little ones?
I hope you like mine!
Guten Tag fellow webbers and thanks for stopping by!


That black striped lamp is so ridiculously awesome, and pairs so beautifully with your rooms design. Did you buy that or make it yourself?
-alma delia
Thanks 🙂 I painted the lamp and covered the lamp shade. Had it lying around in the attic. I have so many projects from before I started this blog but no pictures 🙁
Hey Julia! I know you did this room ages ago… but where did you get those cube furniture pieces? I’m looking for something like that for a project I’m working on.
Smiles!
Sammy ~ Renew Redo
ok never mind… I just went back and re-read. Ikea! : ) Hmmm they must not sell those anymore. ??
Smiles!
Sammy ~ Renew Redo
Hi Sammy, you mean the white cubes? They still sell them, they are the Expedit shelves.
Such a beautiful room. Any tips on doing the stripes? My kids want a blue wall with the green stripes like you have. My first time doing this 🙂
Hi Julia!
I sell similar chandeliers in my etsy shop! Check them out 🙂
NarWall.etsy.com
I did and I love them!
Where did you get the leaves from?
Hi Lyndsey, the leaves are from Ikea.
Hi, the light pink is Hopeful 690- A-2, the dark pink os Sweet Taffy 690 A-3 and the light green is Honeydew 410- A-3 and they are all by Behr in satin.
Thanks Julia! Do you know what the dark green color is?
No sorry, I mixed that one myself
Hi Julia, Do you happen to know/remember the name of the paints you used for your girl’s bedroom? My girl is wanting a green and pink room and I loved the colors you used. Thanks!
This is just adorable! I love black and white, it is so striking. It is so pretty the way you softened it up with the green and the polkadots. I do funky painted furniture for a gallery so you should check out my blog too. I really like what you have done with the room, it is such a smile maker. Wish I lived closer to my grand daughters! Great Job Julia!