Installing Pearl City Click Bamboo
Sorry for my lack of posting but there’s just been a lot going on. My dad has left after we spent two great weeks together. And I think he noticed how he can’t handle a busy family life anymore. When we visit Germany it’s a little different because we don’t have our daily chores and routines.
On the last day of his stay I decided to start ripping up the carpet in our master bedroom. I figured it was a good time to have a mountain of rotten carpet out by the curb on Monday morning 😉
Because as nice as it looks in that photo above, I showed you in last week’s post what the edges looked like. And I also shared why I picked Pearl City Click Bamboo from Lumber Liquidators (click HERE if you missed the post).
And this is what it looked like on the bottom! Are you ready? I’m embarrassed y’all. Should I even share this kind of stuff here?
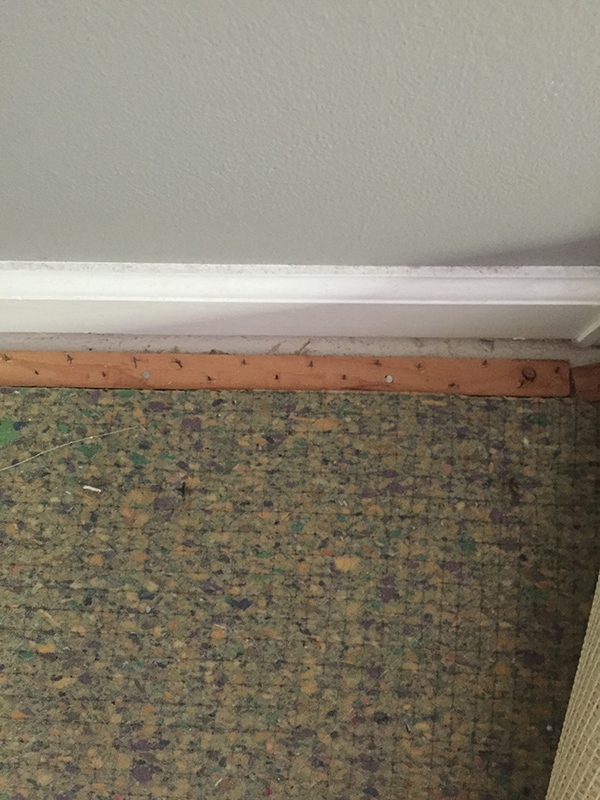
It was mountains of this stuff and I only got out the carpet from our bedroom and walk-in closets.
And it wasn’t actually that bad to remove all the staples, nails and tack strips.
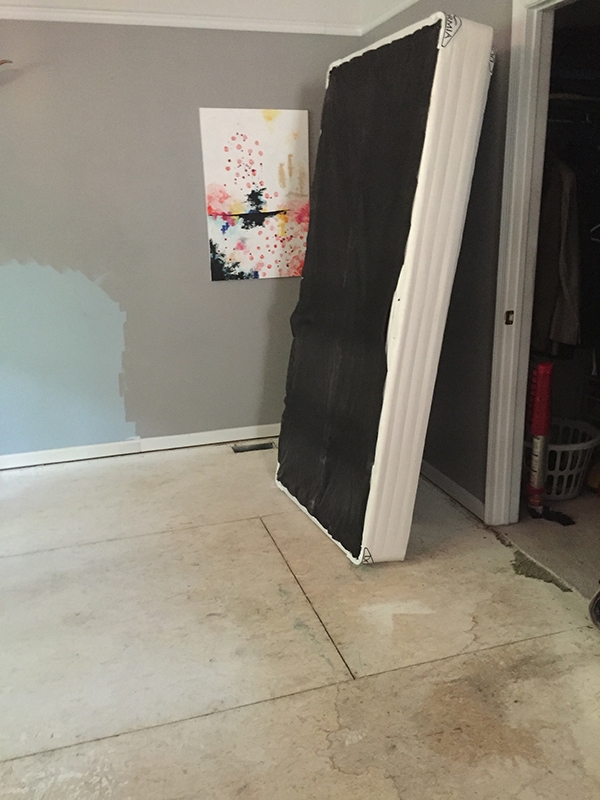
Yeah and I’m one of those people who couldn’t move her bed to paint behind it. Moving all the furniture was actually so far the hardest part.
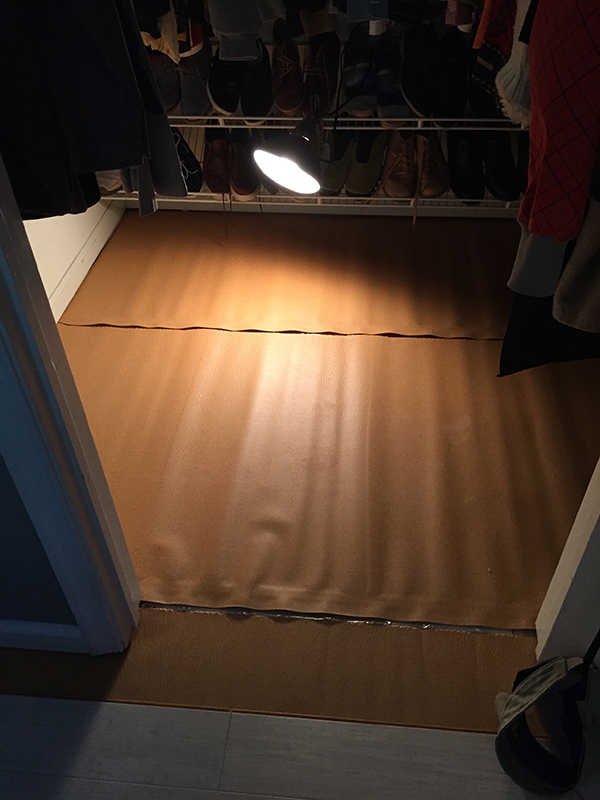
After I vacuum all the dust, dirt and staples, I laid down the underlayment for the floating floor. I chose the Eco Silent Sound Underlayment (also click HERE to read more) to minimize the sound when we are sitting in the living room and someone is walking around upstairs.
It was very easy to lay down and comes with a sticky strip that connects the next row of underlayment.
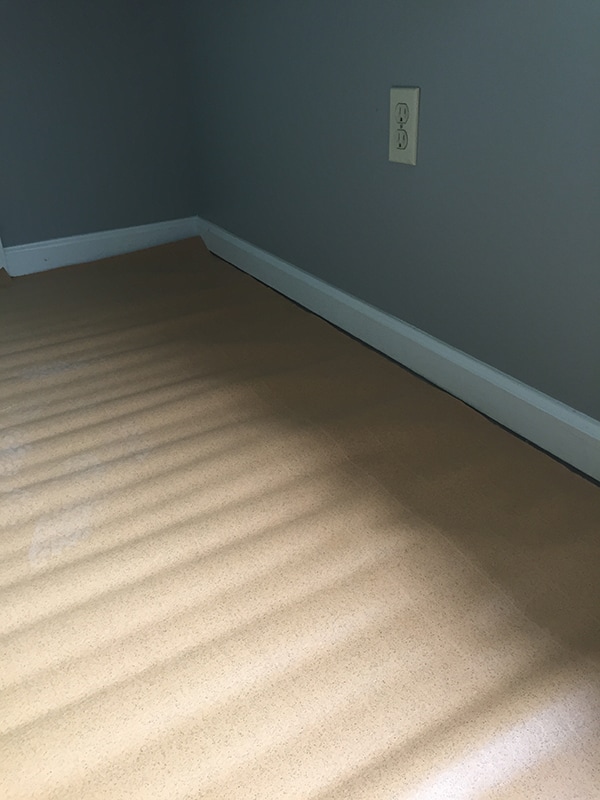
Did I mention I worked late?
And sorry for the cellphone photos but when you work alone it is definitely easier to have your cellphone in your pockets for the occasional photos. I was completely incapable of doing step-by-step instructions since I had to concentrate on what I was doing, haha.
I did follow the instructions that Lumber Liquidators has in this link HERE. It is very detailed. And I did bug my neighbor who was a flooring installer for some helpful tips.
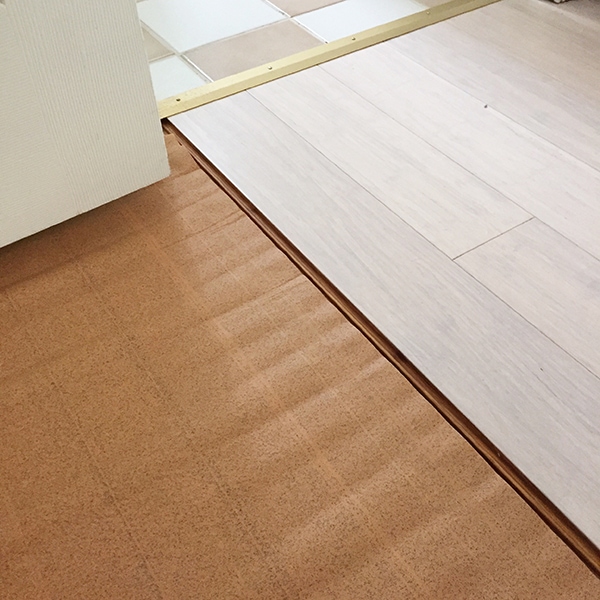
And although I don’t care for the look of transition strips too much, I followed the recommendation of using them. Especially since my neighbors have a floating bamboo floor that doesn’t have transition strips and is separating in several spots.
A good tip before you start is to determine which way your floor joists run so you can run the laminate or wood floor boards perpendicular to the floor joists rather than parallel which helps to keep everything sturdy. You can tell which way your joists run by seeing how the plywood was nailed down.
Also make sure that all your nails and staples were removed or hammered down and that the floor is level.
Also measure the width of the room and divide it by the width of a plank to determine how many rows you have and if you would end up with a thin sliver of wood at the end of the room. To avoid that you can shift the rows and start with a board that was cut by length.
Which tools did I use?:
I used a compound miter saw
pliers
chisel (to remove the clicking lip for some fits)
hammer and rubber mallet
table saw
undercut saw for the door frames
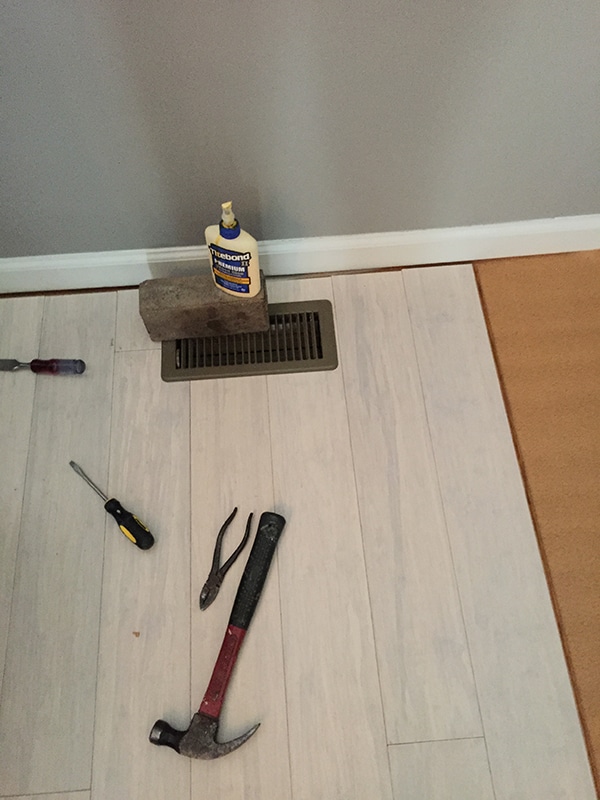
wood glue for certain short end pieces
measuring tape
drill
finishing nails
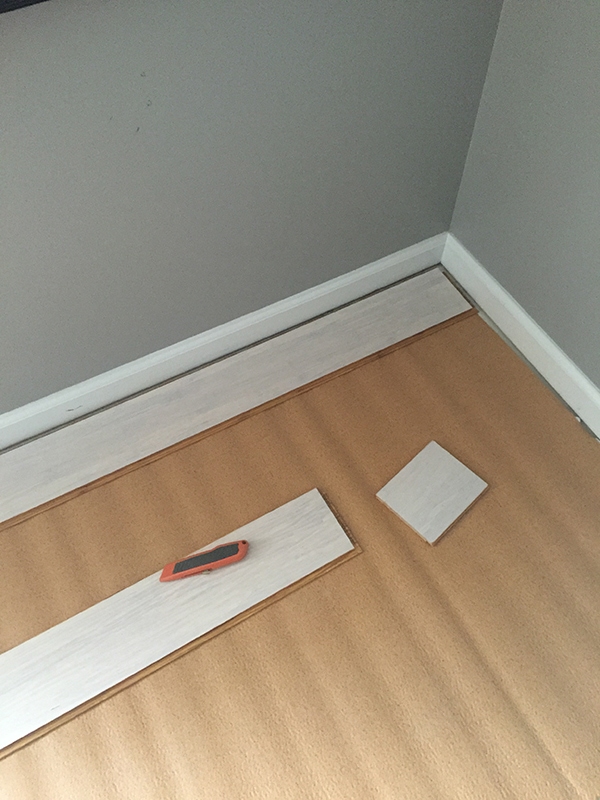
I made myself spacers out of wood to leave the required expansion gap at the edges of the wall, as you can see in the above and below photo. This is an important step.
The small pieces at edges or around air vents have do be glued with wood glue.
For my bathroom I used the old brass strip but I’m not sure if I will keep it that way or put down a wood strip. The bamboo strip sticks up so much higher.
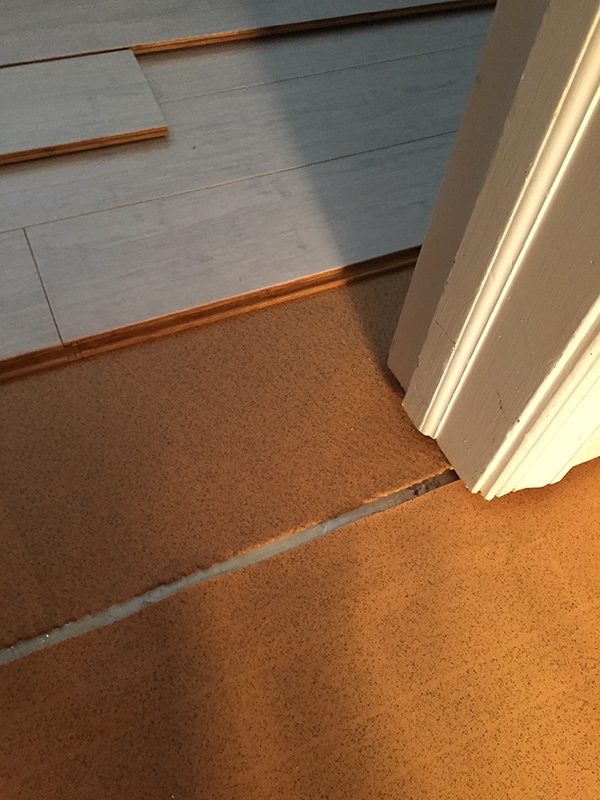
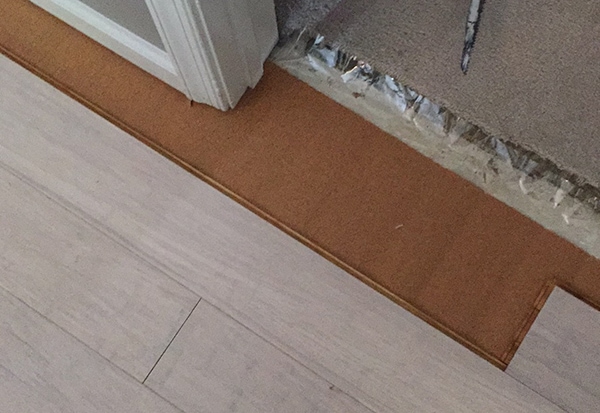
When you cut below the door jam use a scrap piece of flooring on top of the underlayment. Then place the undercut saw to cut out the space for the flooring to fit. Don’t forget to vacuum up the saw dust and pieces before fitting your floor under the door jamb.
Door frames are definitely NOT my favorite.
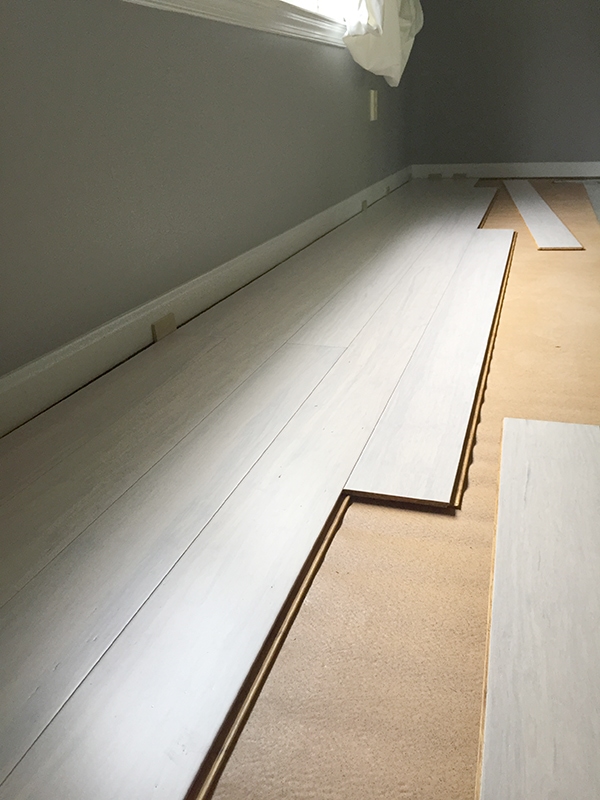
And here I am at the end of our bedroom. My son took this picture of me with my cellphone.
To finish the room off I attached 1/4 round molding but instead of using my nail gun, I predrilled the holes and manually hammered in the finishing nails. I read somewhere that it might be better that way and I actually prefer it. Also my nail gun is hocked up to an air compressor and I don’t want to traumatize the cats any further. Let me tell you they were already all stressed out by this change. They love the master bedroom but are not loving the carpet free environment. Our twenty year old Heidi even peed outside the litter box again, that’s how much this stressed her out. Lets hope it stops.
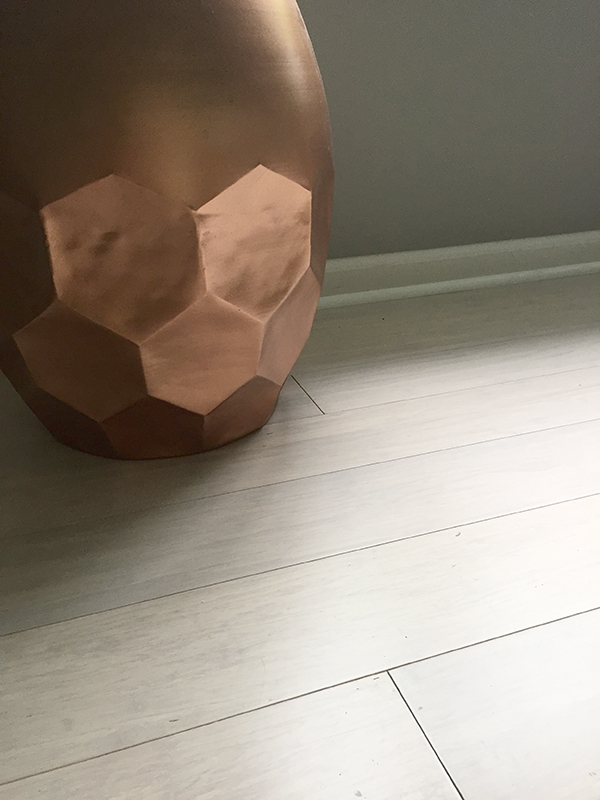
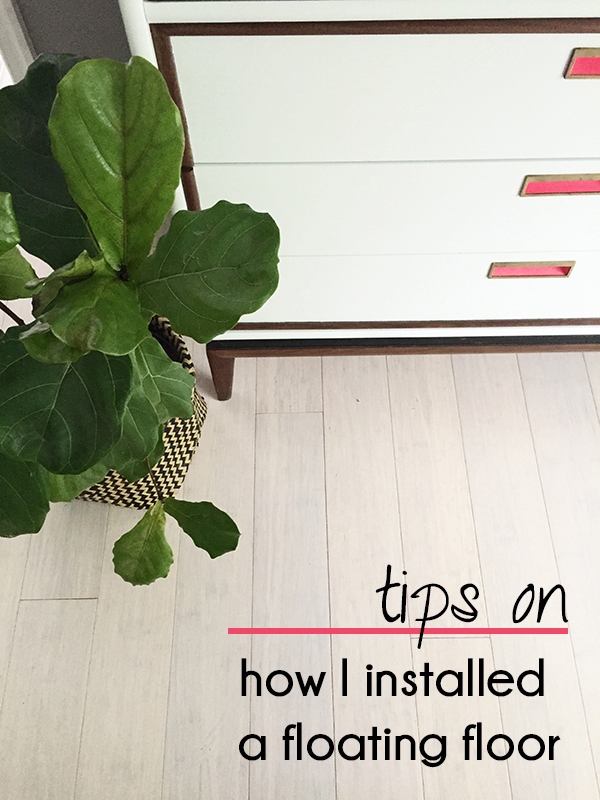
Here are some sneak peek shots from my cell phone.
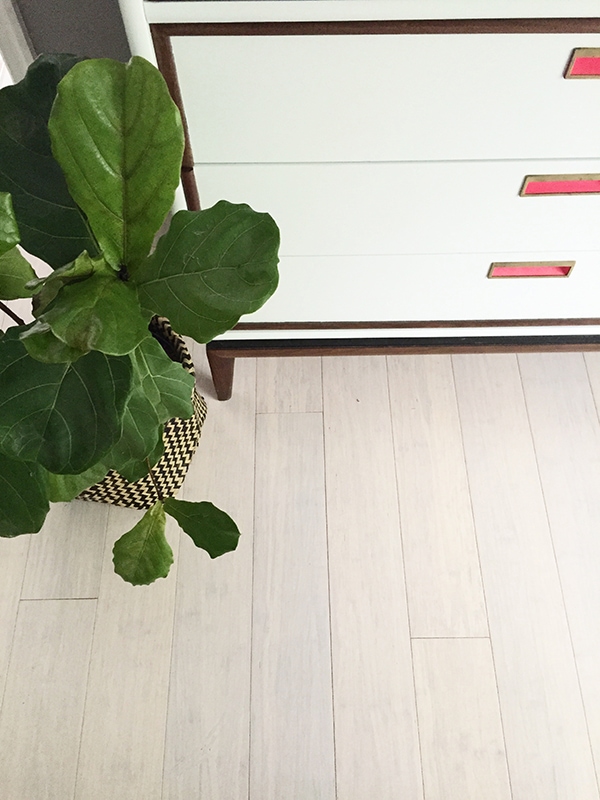
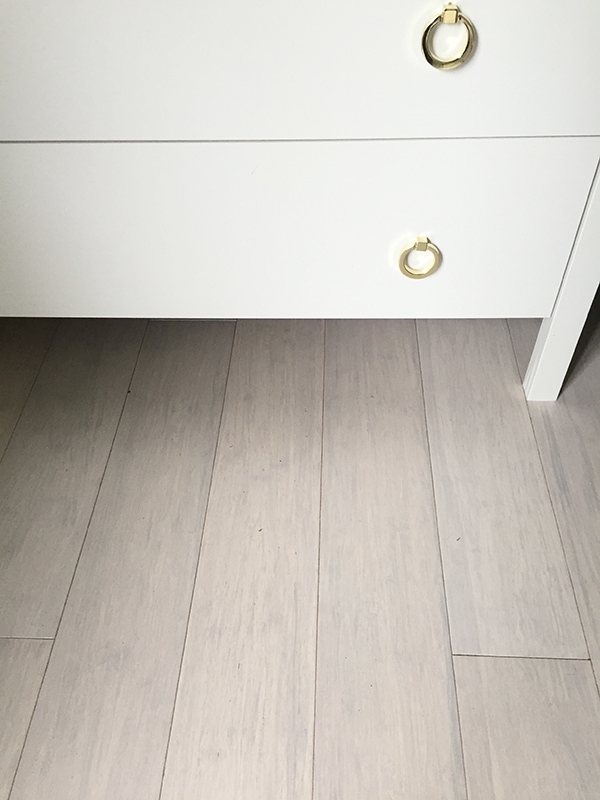
I’m planning on doing a full reveal when I am entirely done with the floor which will still take quite a while since I still have to do the hubby’s closet, our hallway (lots of doors, sniff sniff) and both kids’ rooms.
A LOT for sure. But first we are going away over Memorial Day. So it will all have to wait for bit.
Talk to you soon.
Tschüß

(Youleeya)




You’ve been busy! You’re making me think I can tackle a wood floor….or make Nate. :p Love your bamboo choice!
Thanks! And there is so much more to do and I won’t have time for blogging.
WOW this is a BIG job! It looks great and I can’t wait to see the full reveal!
Yes it is a big job. My knees and hands are all beat up and I’m taking an extended break over Memorial Day 😉 so the reveal will take a while.
it is SOOOOOO pretty! i can’t wait to see the room together!
That reveal will take a while. I’m all beat up now 😉
Wow…what an amazing job. Love your choice of bamboo flooring and the color is perfect! Can’t wait to see more!!
Thanks so much
Looking great! You are so inspiring 🙂
Thanks so so much
That is a ton of work by yourself. I hope your boys help you out. Just getting rid of my carpeting about gagged me out. Oh no, it was that rubber glued together padding that about did me in…… just to tie it together to get them to pick it up…. YIKES!
Thank you ever so much for this very informative post……. I don’t have the tools for the door places and I have a concrete slab home here in good old ‘no basemant’ Florida. I am scared … really scared. lol but really I am scared, but no worry, I don’t have the money yet anyway.
I believe it that the carpet made you gag. And don’t be scared 😉
A friend of mine put down similar flooring and talked her husband out of using the transition strips because she didn’t like how they looked. Her floor started to buckle within a few months! There’s a reason you need them!!
I’m glad your tack strips and staples came up easily. I think mine were so hard to pull out because they were stapled into oak hardwood flooring. (60 year old oak floor.) My staple puller arrived from Amazon, so I may give it a crack this weekend!
Good luck with your staples. And I hope my floor won’t buckle
It looks AMAZING! Can’t wait to see the full reveal. And you are a rockstar for doing it yourself!
Haha thanks, I don’t feel like a rock star now. My hands are full of splinters 😉
Oh my gosh, it is looking FABULOUS!
Thanks my friend
You did this all yourself????!!! Wow! It’s just what I wanted to do and was talked out of it…drat.
Fantastic job, Looking forward to the big room reveal. Thanks for sharing.
Sorry you got talked out of it. That stinks! And thanks so much
Wow!! What an upgrade! looks amazing Julia!
Thank you Sarah
It’s looking so great! I know it’s a ton of work, but it will be so worth it in the end 🙂
It totally is a ton of work and thanks so much
Yup it felt amazing, I even watch it getting thrown into the garbage truck.
Wow, you go girl!! It looks so awesome, your hard work will pay off big time!
Thanks Pam
It looks gorgeous Julia! I’m so impressed that you did this by yourself!
Thanks Bethany, it is kinda scary 😉
Holy cow, it looks so amazing! Super happy for you, friend!
Thank you
The floor is gorgeous. I love hte white color. Great tutorial and you go girl, this is amazing.
This looks great Julia!!! I am LOLing at the unpainted wall behind the bed. I definitely do that! xo
It looks SO good with your decor! You are too cool for getting all that done so fast!
Gah! You’re amazing!! Love the look of this in your home. I tip my hat to your DIY prowess. Extra cuddles for the kitties tonight – I find it funny that ours don’t seem to bat an eyelid with all the stuff that’s always going on around here but I reckon they are used to all the changes. I’m sure Heidi will settle into the new routine, bless her! xxx
I’m so impressed that you tackled this yourself! It looks amazing – I so want to replace our ding old carpeting too! I hadn’t even thought about how the cats might respond though… It’s so funny but true how much they dislike change! Can’t wait to see the full reveal!
Girl, you are a machine! I’d never have the guts to tackle laying a floor. You’re my hero!! Looks good!
Thank you! It feels good to accomplish this
Oh my gosh, you’ve got me totally sold on light wood flooring. Gah, its so GORGEOUS!! P.S. door frames are no joke, they’re probably the single most time consuming part of the whole process- so I feel your pain girl!! It’ll be totally worth it in the end though!
This looks amazing already Julia!!! And yes you should totally share the ugly crap on here bc thats reality and part of the process. Plus its the ugly stuff that prompted the project! I loooove your material choice. Its so fresh and so you.
Thank you, I love it more and more each day and I’m still getting severe allergy attacks ripping out all the remaining carpet. The other day I couldn’t barely do anything because I was sneezing non-stop and I finally made the hubby rip out some more. I’ll be so happy when it is all gone finally.