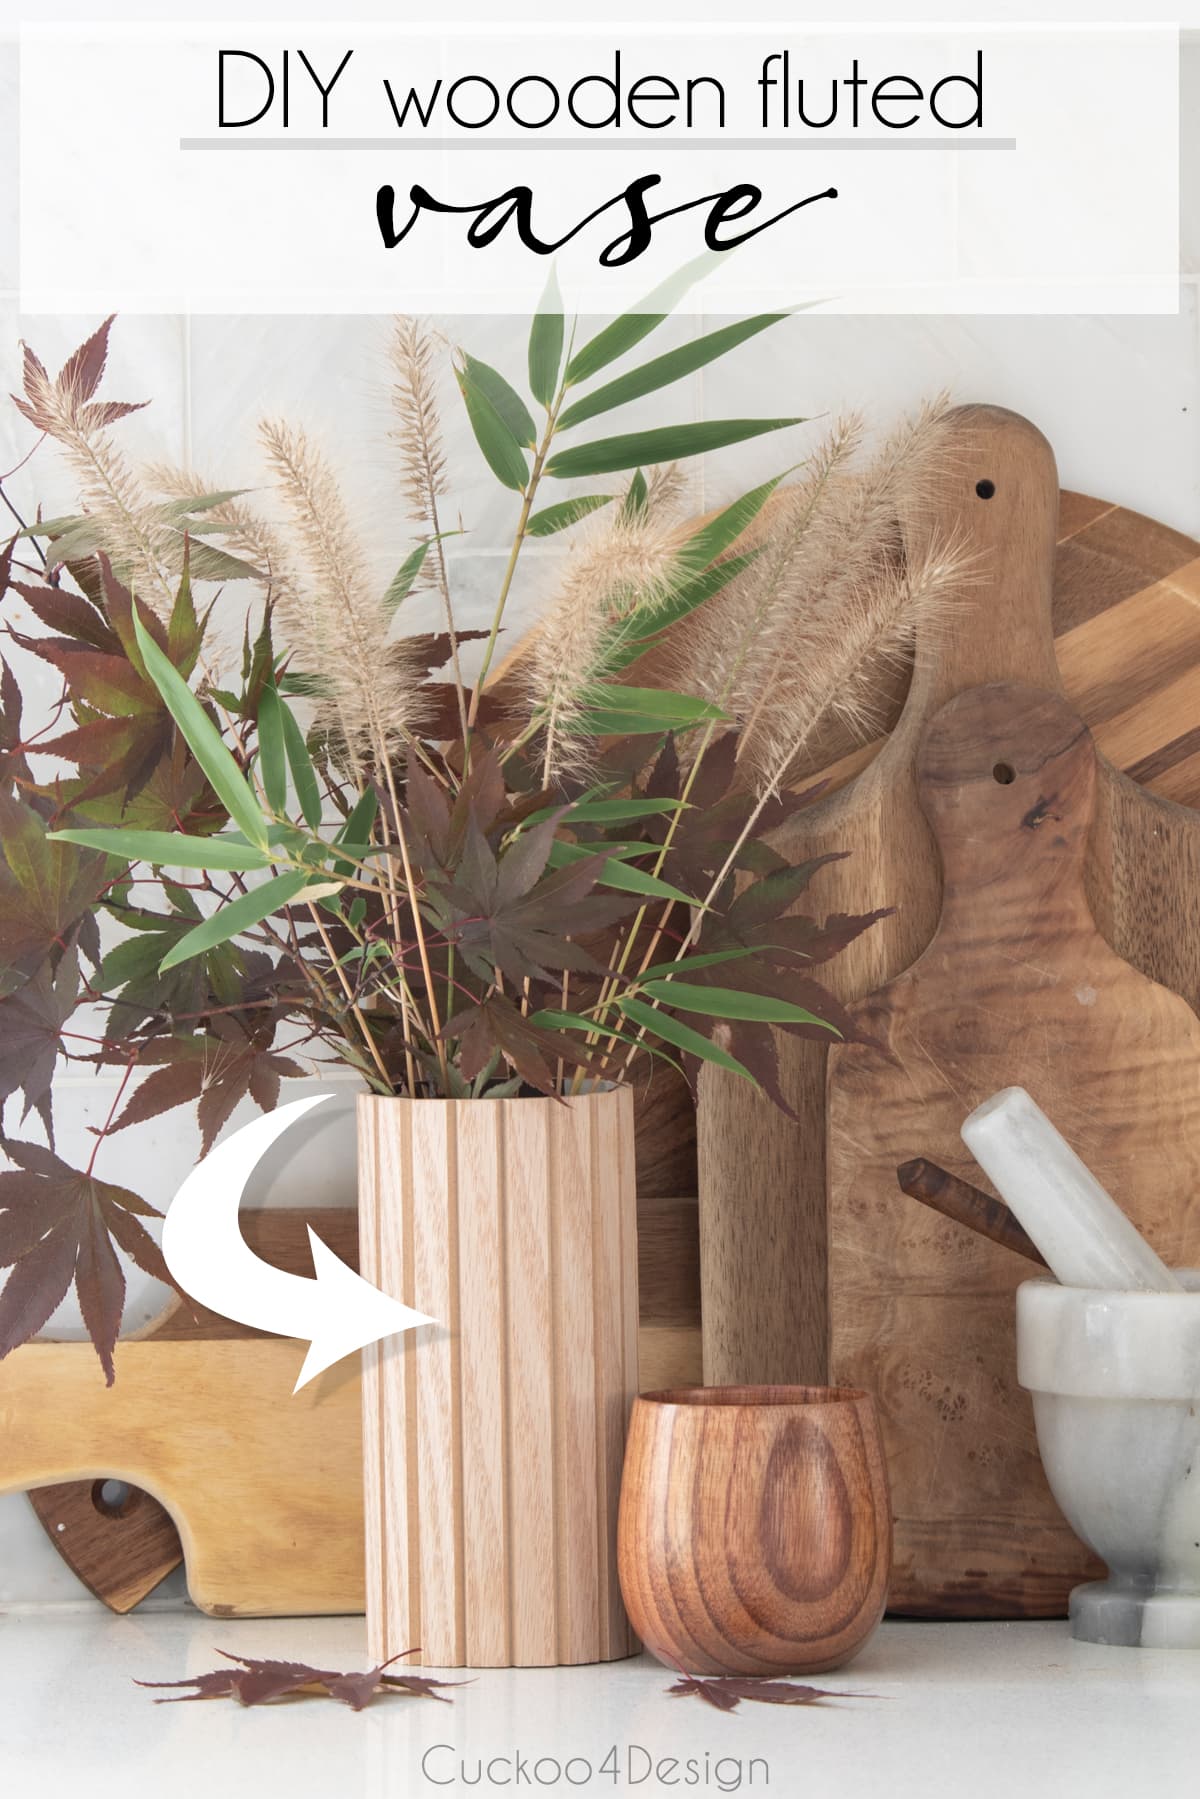
DIY wooden fluted planter sleeve and fluted vase
After finishing my fluted dresser last week, I decided that I wanted to use the leftover pole wrap to make a fluted vase and fluted planter sleeve. I’ve become a fan of planter sleeves ever since making my macrame planter sleeve version. You can use a tray or plate inside of it to catch access water at the bottom which I already do when I use baskets as planters. Some plants like sitting in water for an hour or two and this way you can let them sit with a timer and it still looks pretty.
DIY wooden fluted planter sleeve and fluted vase
This post may contain affiliate links from which I will earn a commission at no extra cost to you. View my full disclosure policy.
Materials needed:
- liquid nails or Loctite
- pole wrap
- pipe, can or glass (endless options depending on what size you want or need)
- miter saw, compound miter saw or table saw (80-Tooth miter saw blade if you are using a compound miter saw)
- wood clamps
- box cutter
- toothpicks
- sander
Fluted vase and fluted planter instructions
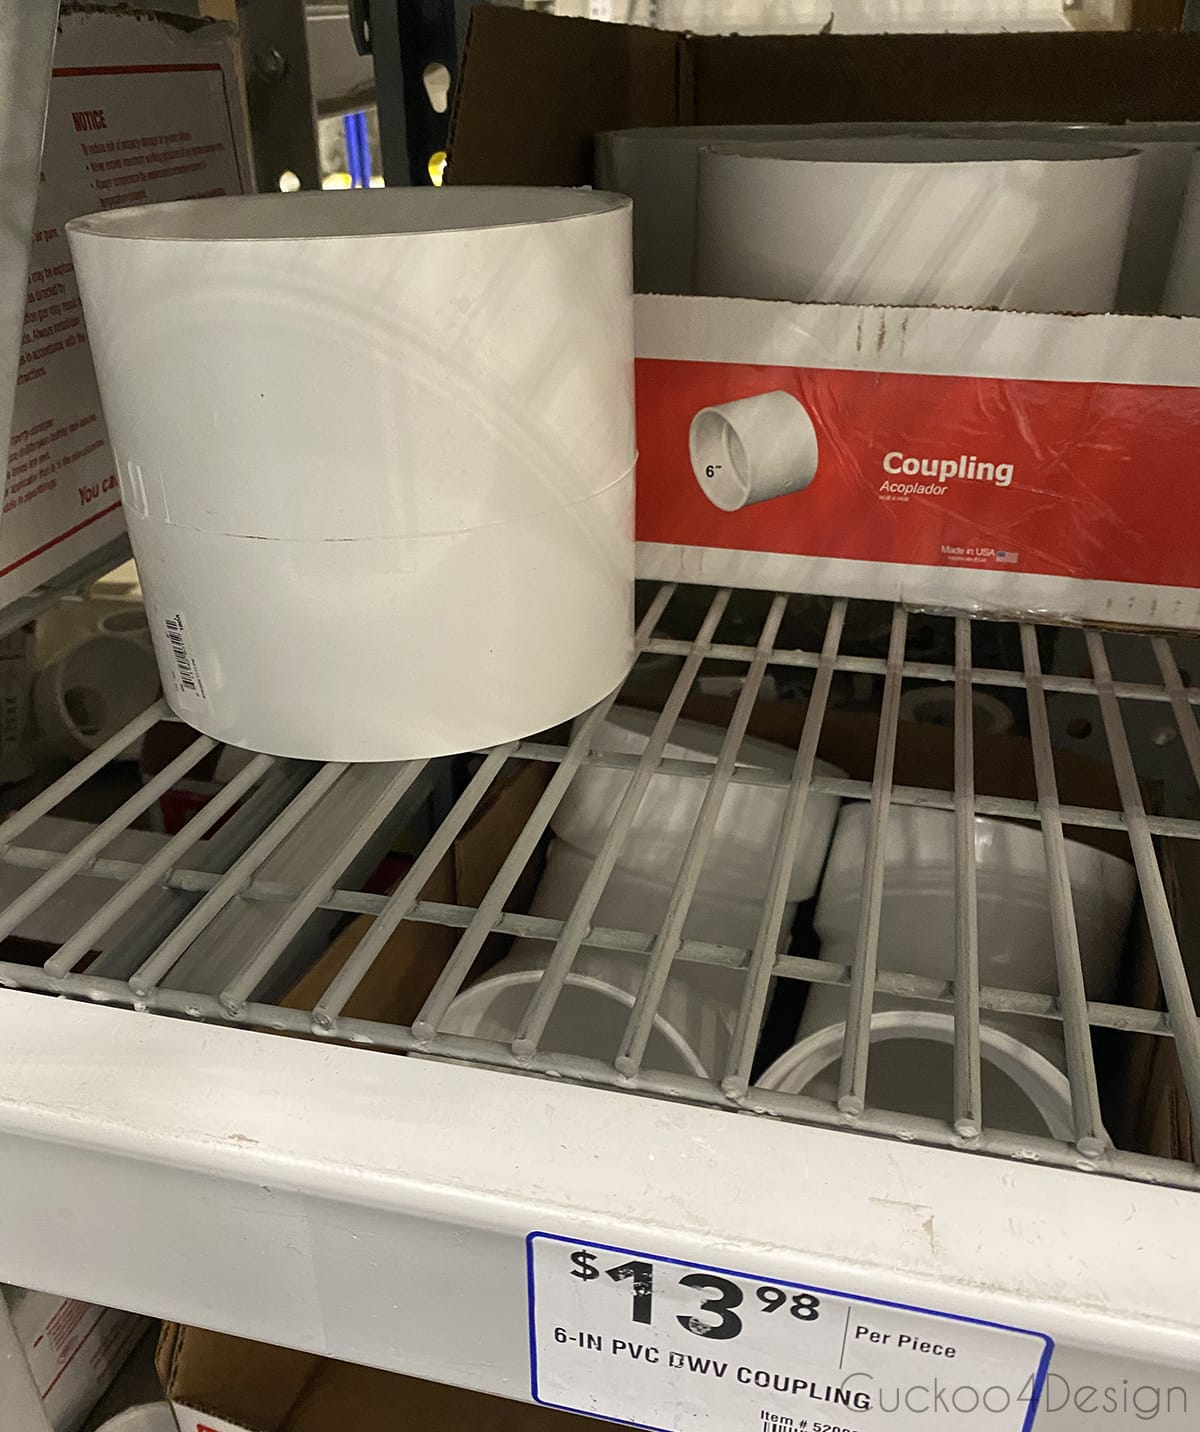
I went for a walk in the plumbing section to see if I could find some pipes that would work for what I had in mind and bingo… I found a large coupling that was the perfect size for a planter sleeve. I’m mentioning sleeve again since the bottom part is obviously open on a pipe which doesn’t bother me for planters.
If it does bother you, I’d suggest that you maybe use an old planter or pot. To make the fluted planter sleeve sturdy though I prefer something that isn’t tapered toways the bottom and has the same circumference at the top and bottom.
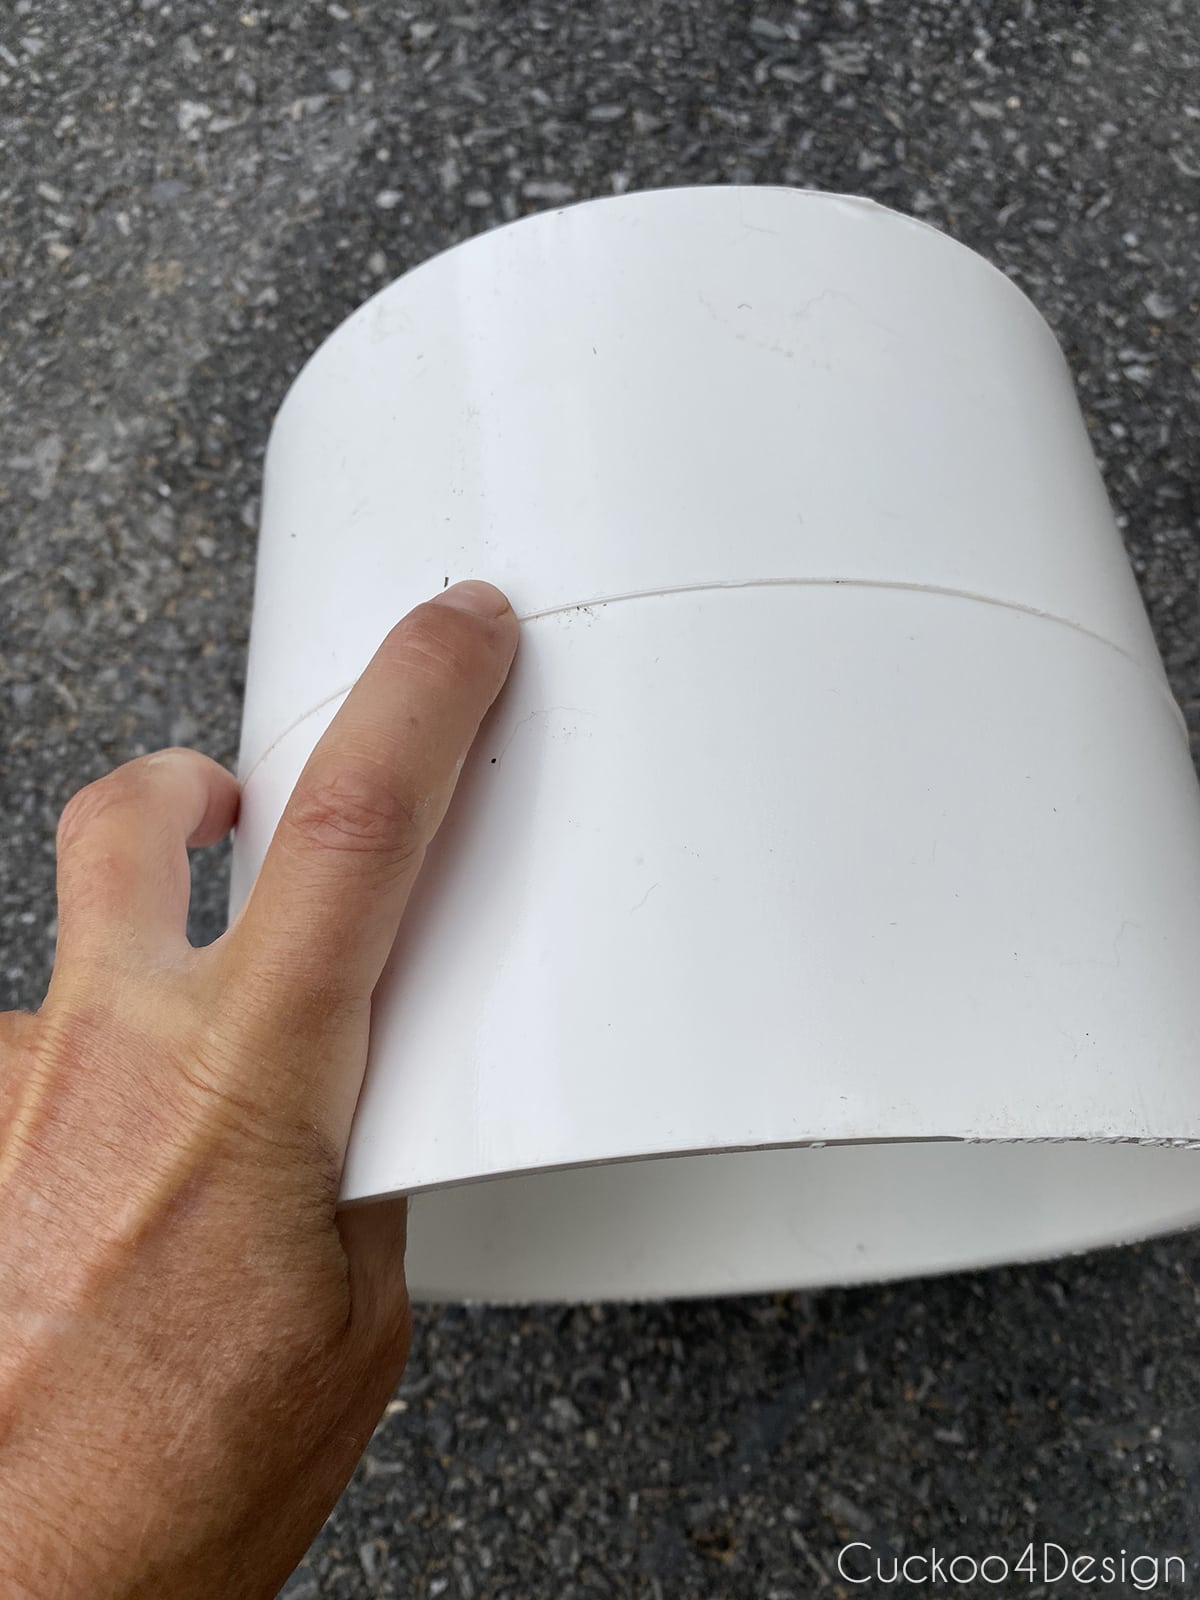
To be able to glue the pole wrap to the coupling, I noticed that the little raised part in the center had to get removed.
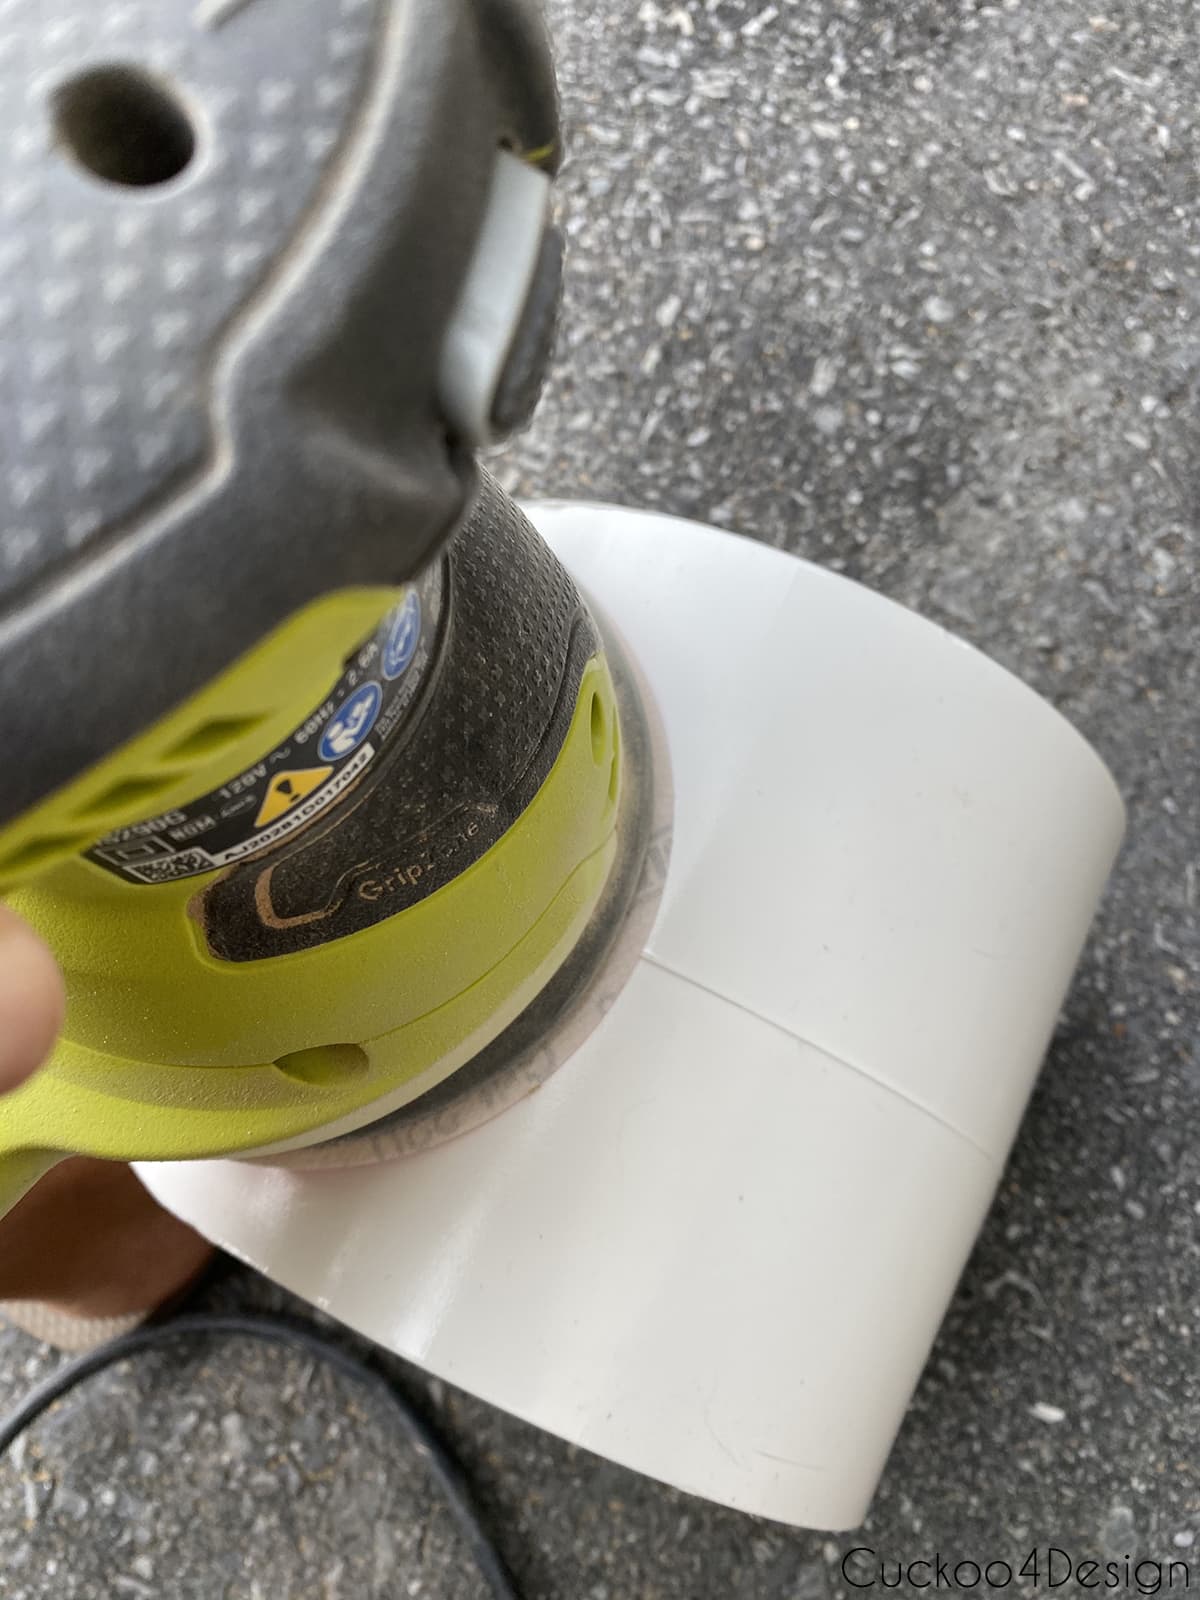
It was easily sanded down and removed with my orbital sander.
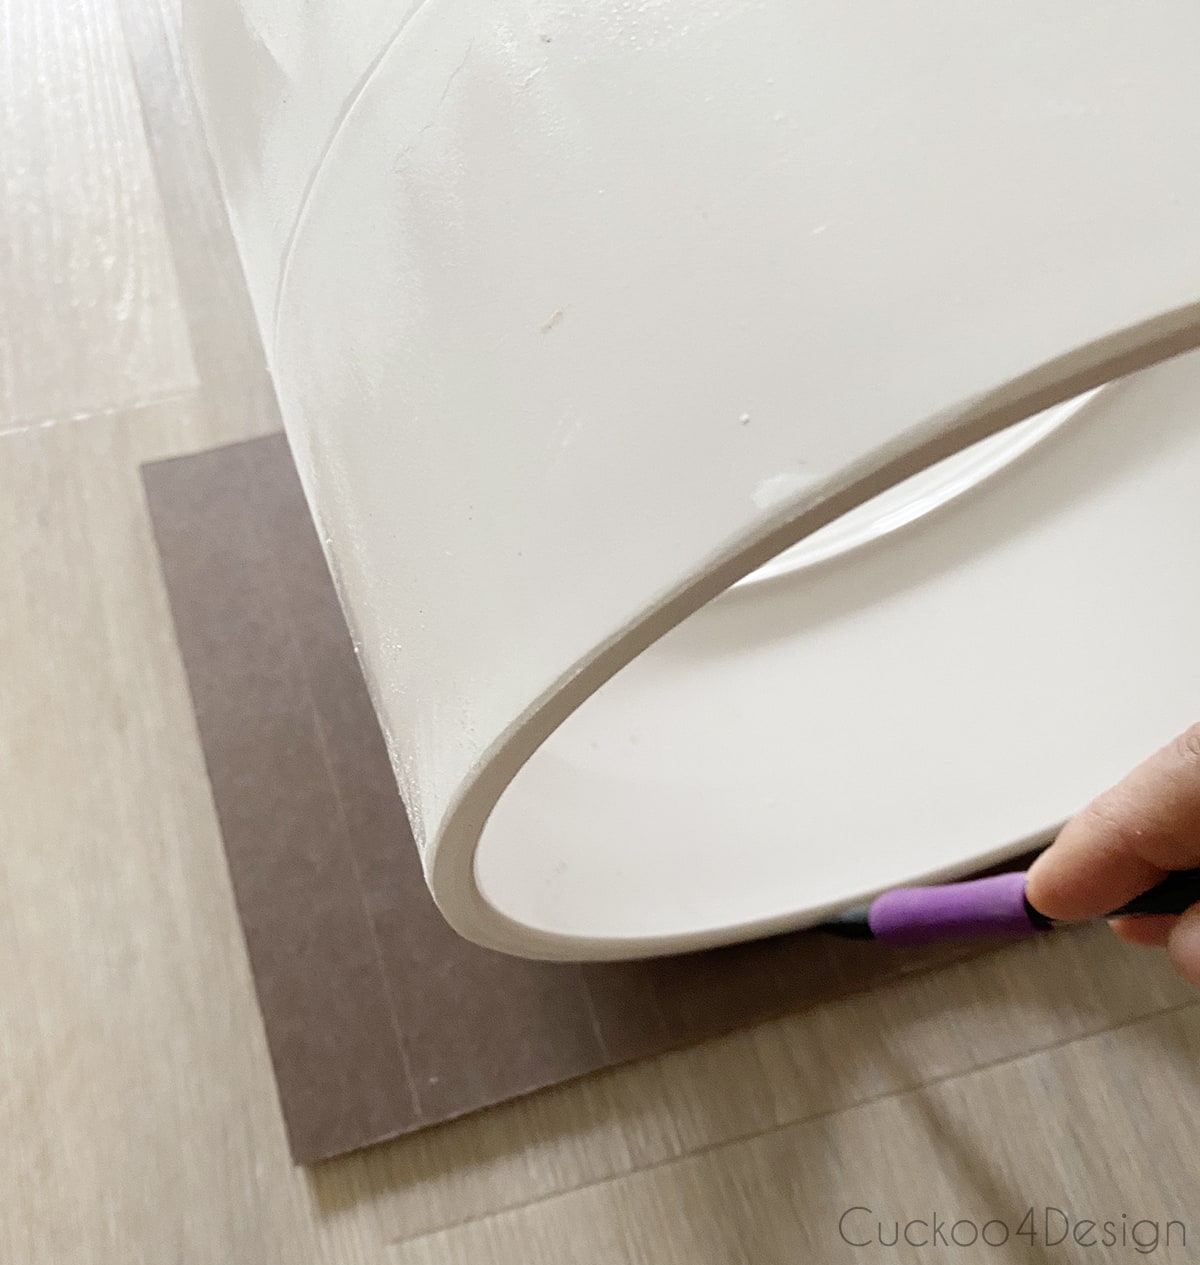
I used the coupling as a guide to see where I had to cut the pole wrap.
See below! Perfect height!
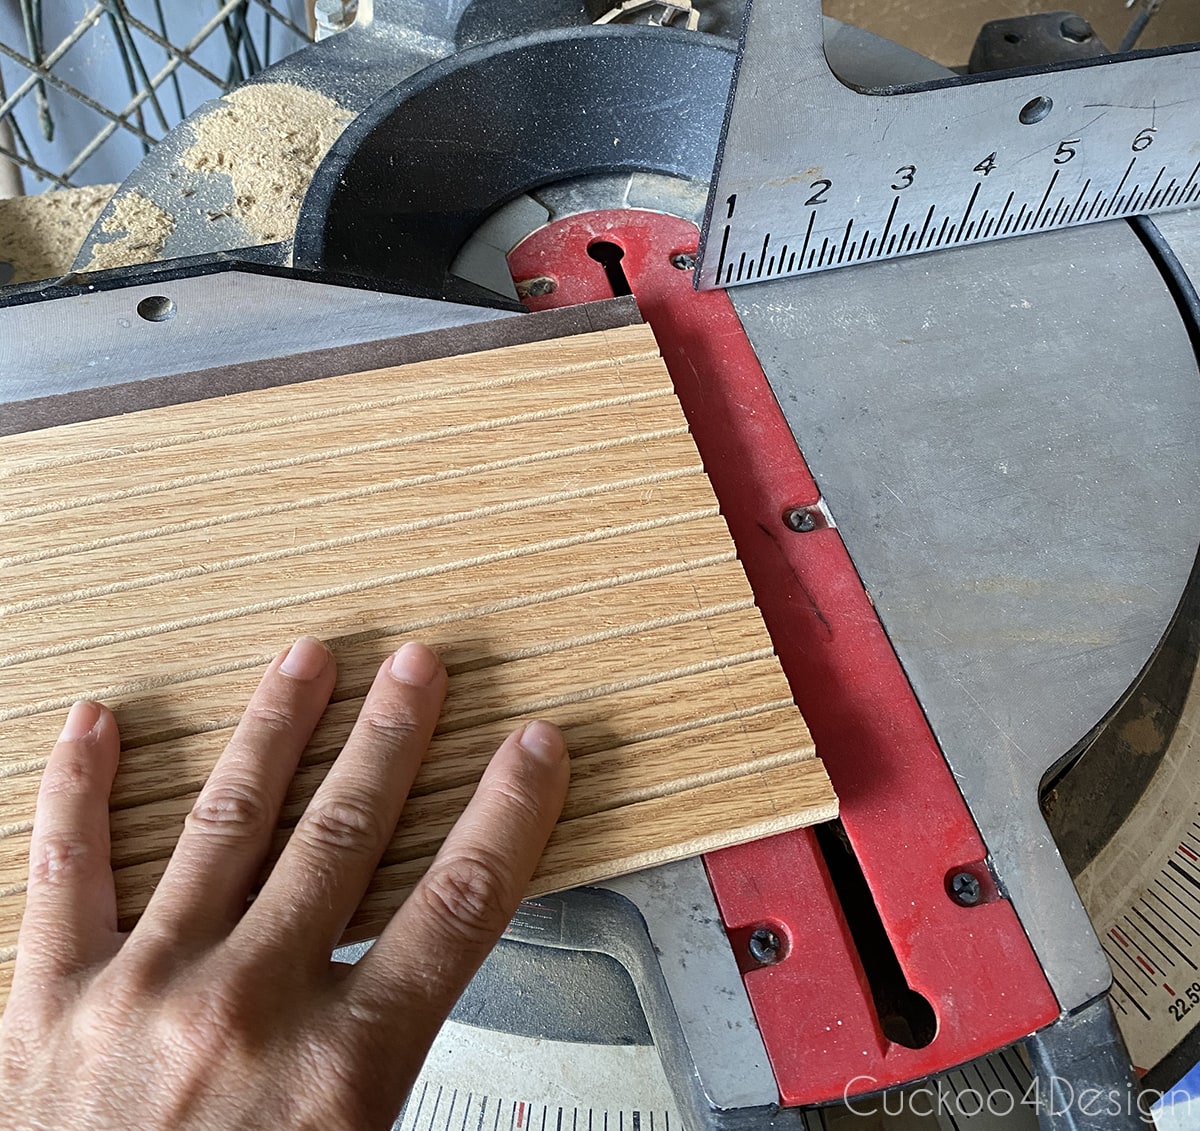
Once again, I used my compound miter saw to cut the pole wrap but I’m pretty sure you can use a standard miter saw as well and cut it by hand if the saw is nice and sharp with fine teeth.
Remeber for my fluted dresser, I used an 80TH saw blade.
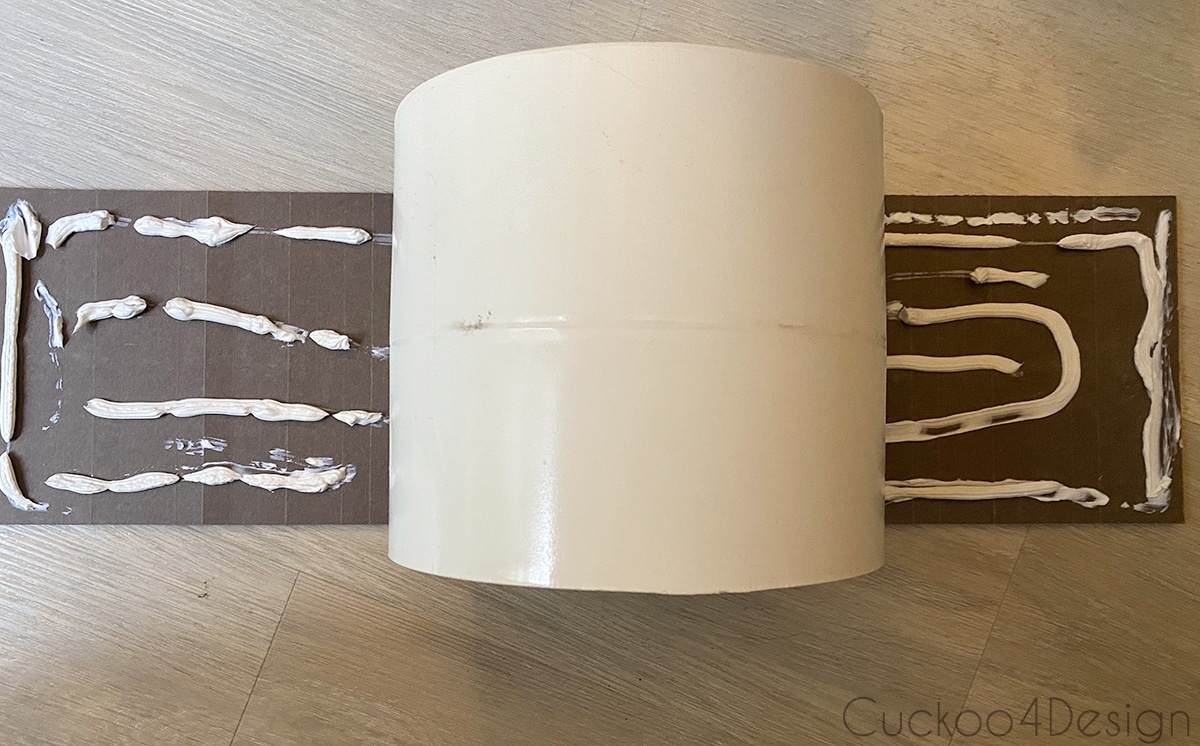
After that I spread some Loctite on the paper backing of the pole wrap…
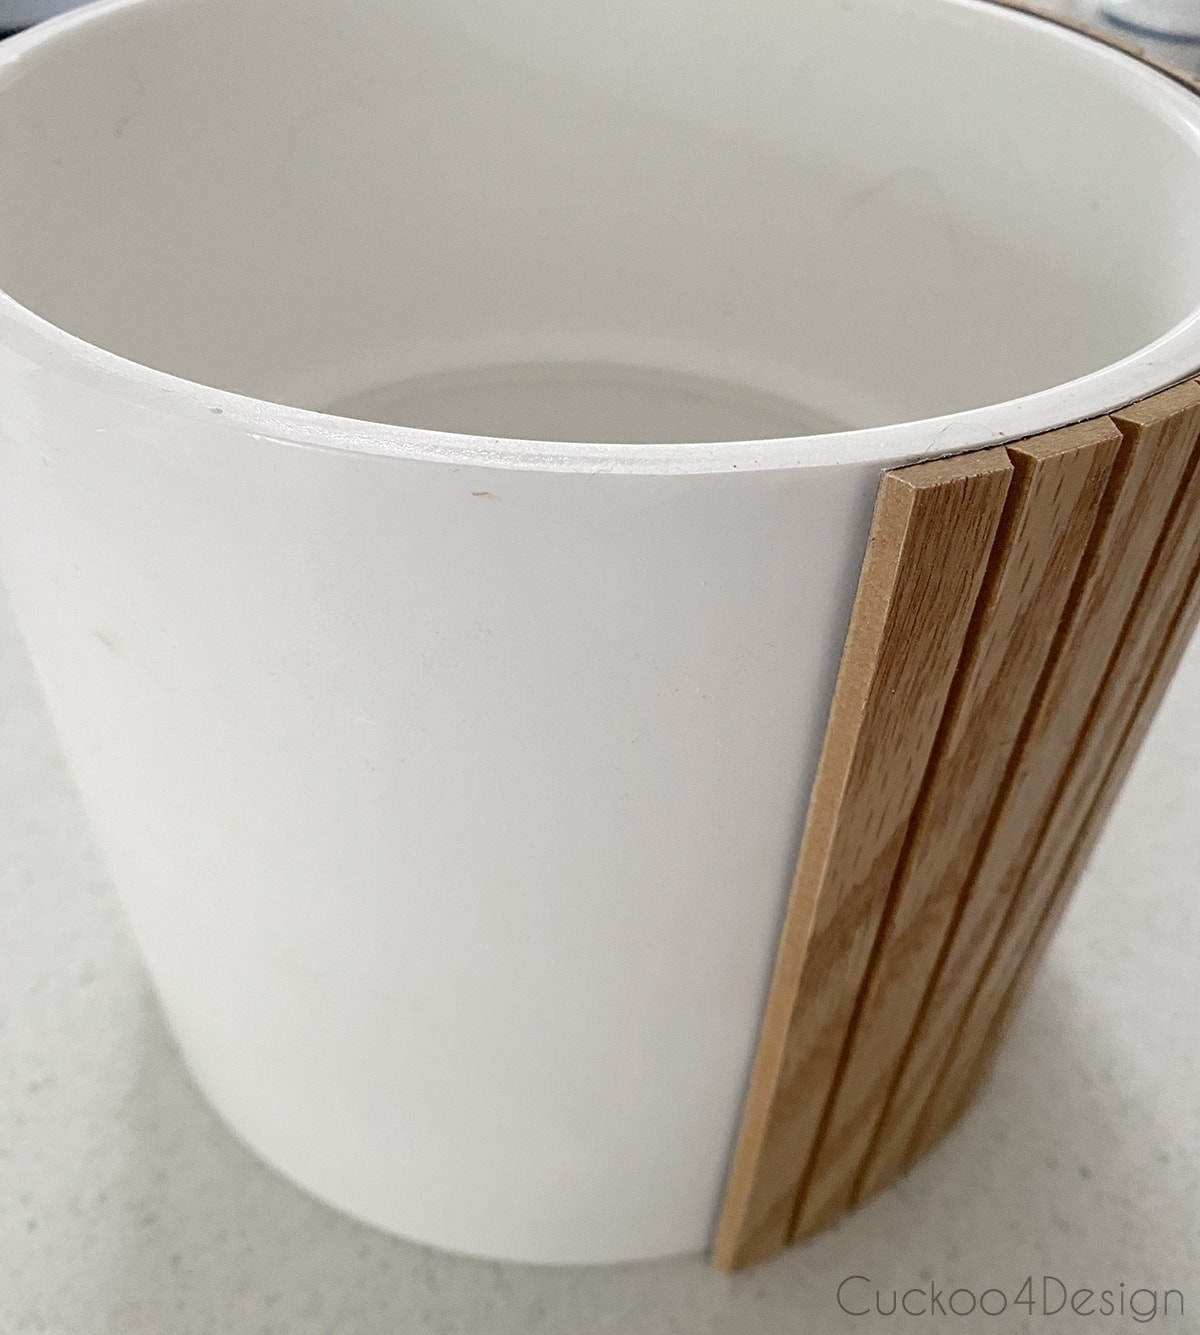
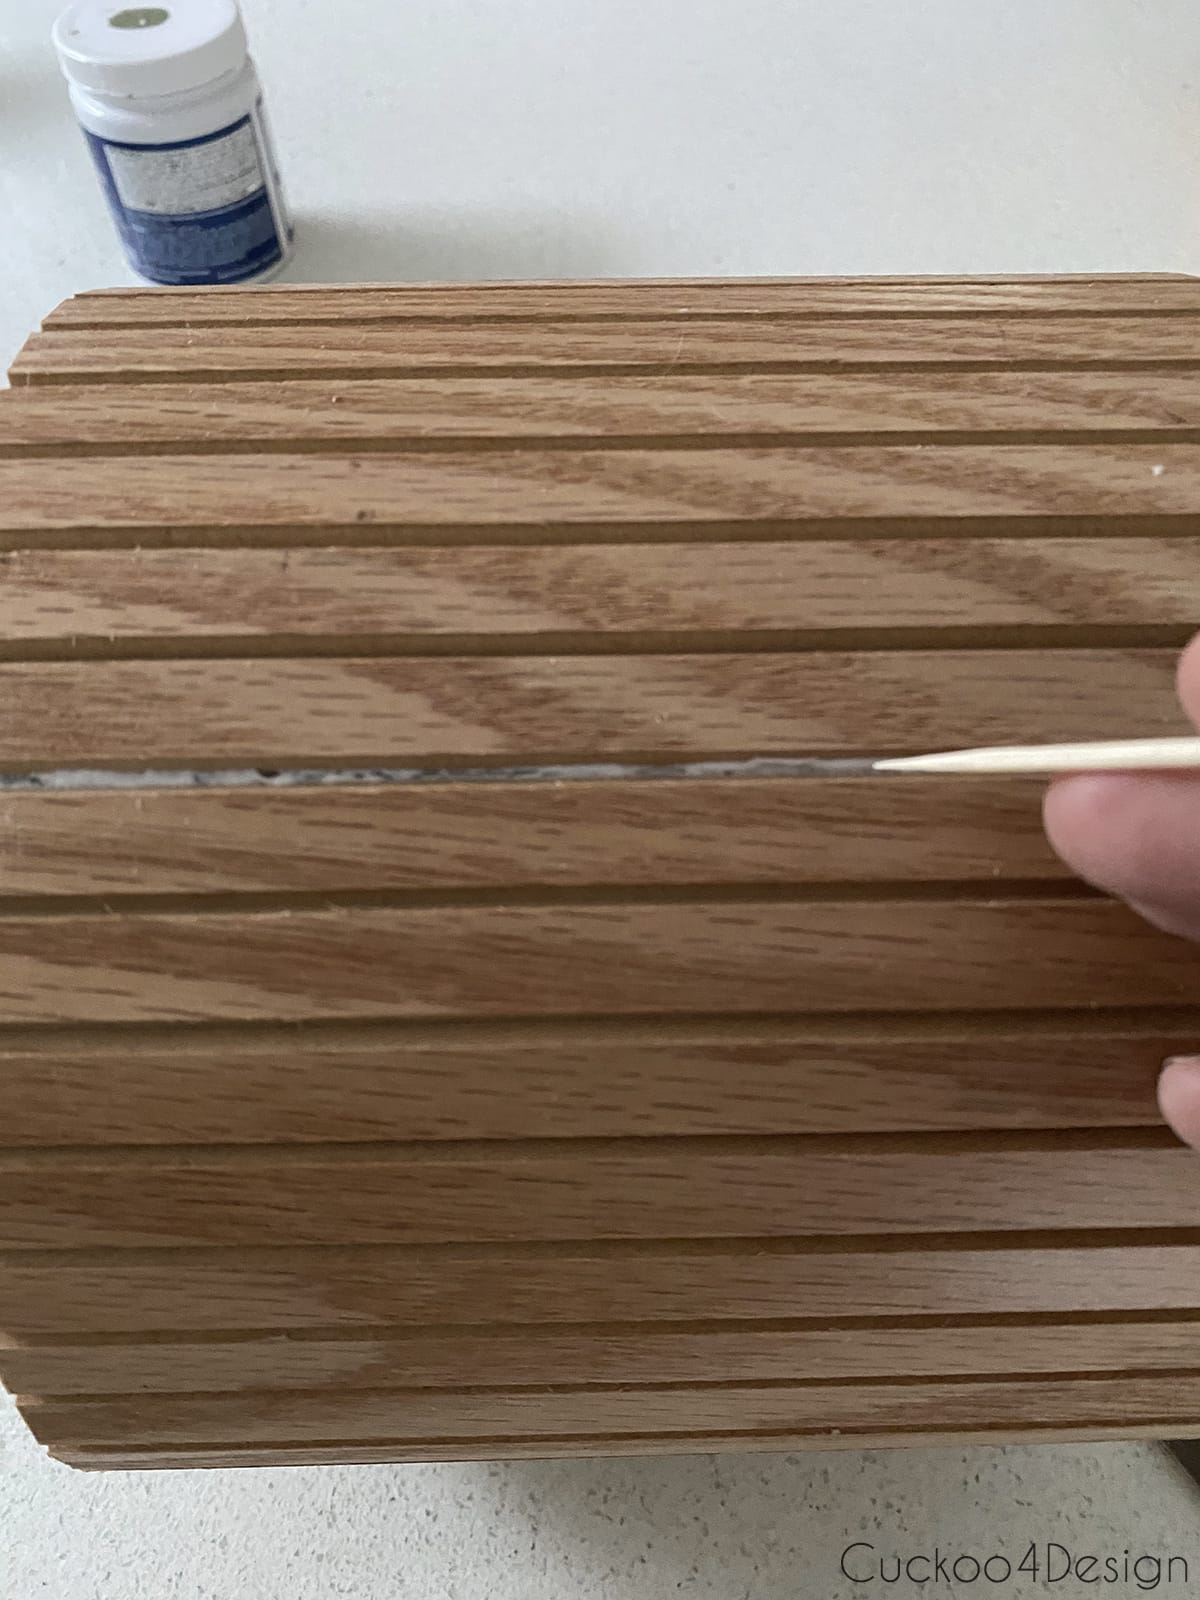
… and wrapped the fluted pole wrap titly around the pipe coupling. The access glue was once again easily removed with a toothpick.
I then used clamps to keep the wrap in place while drying.
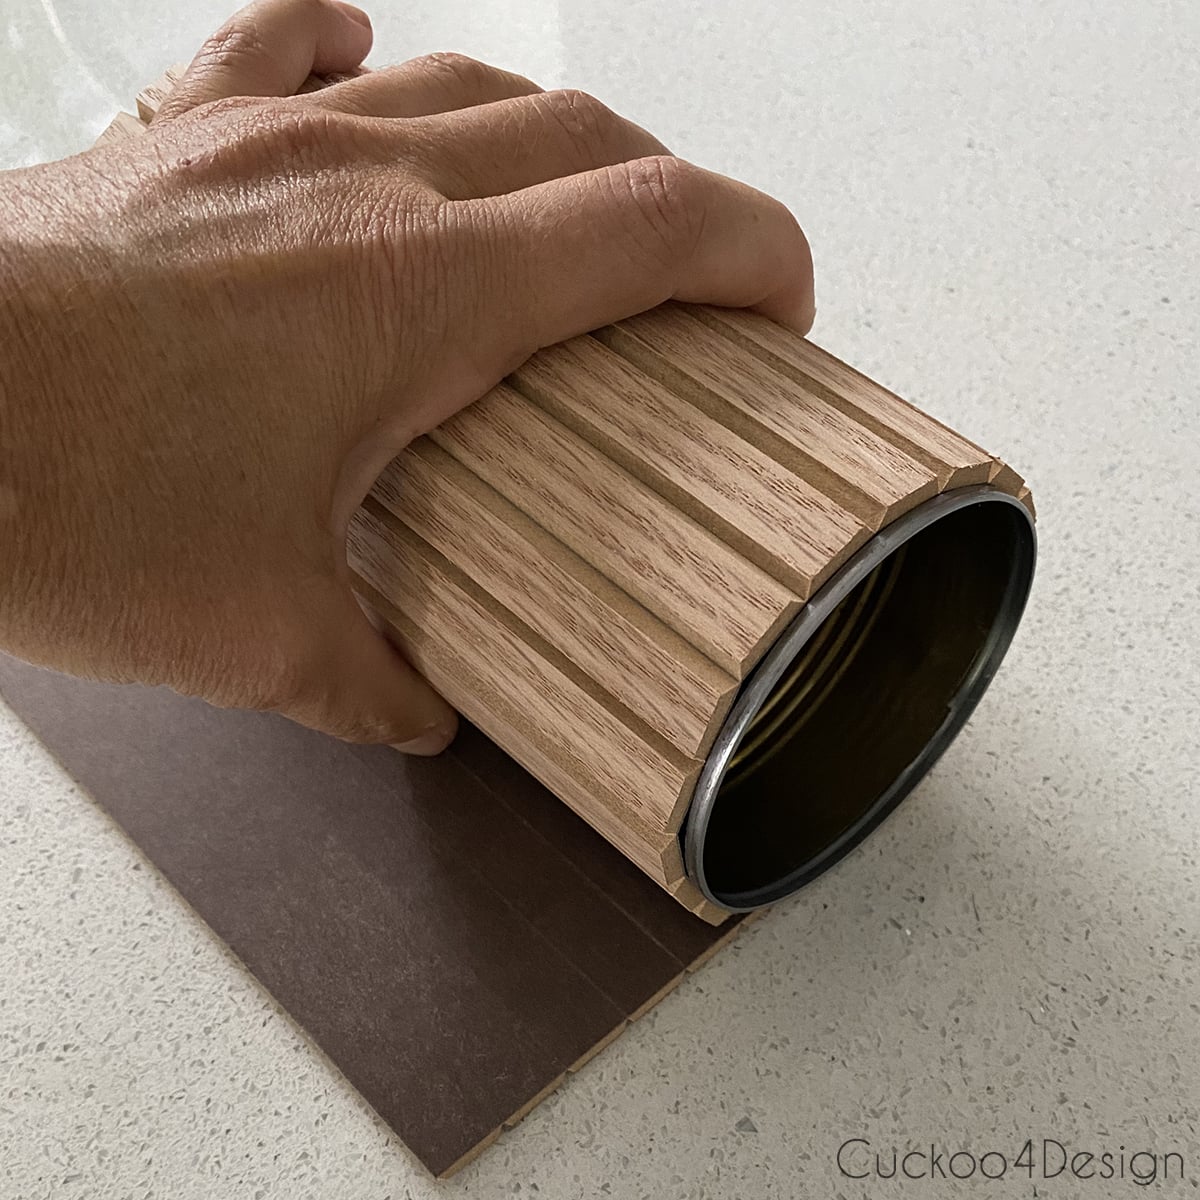
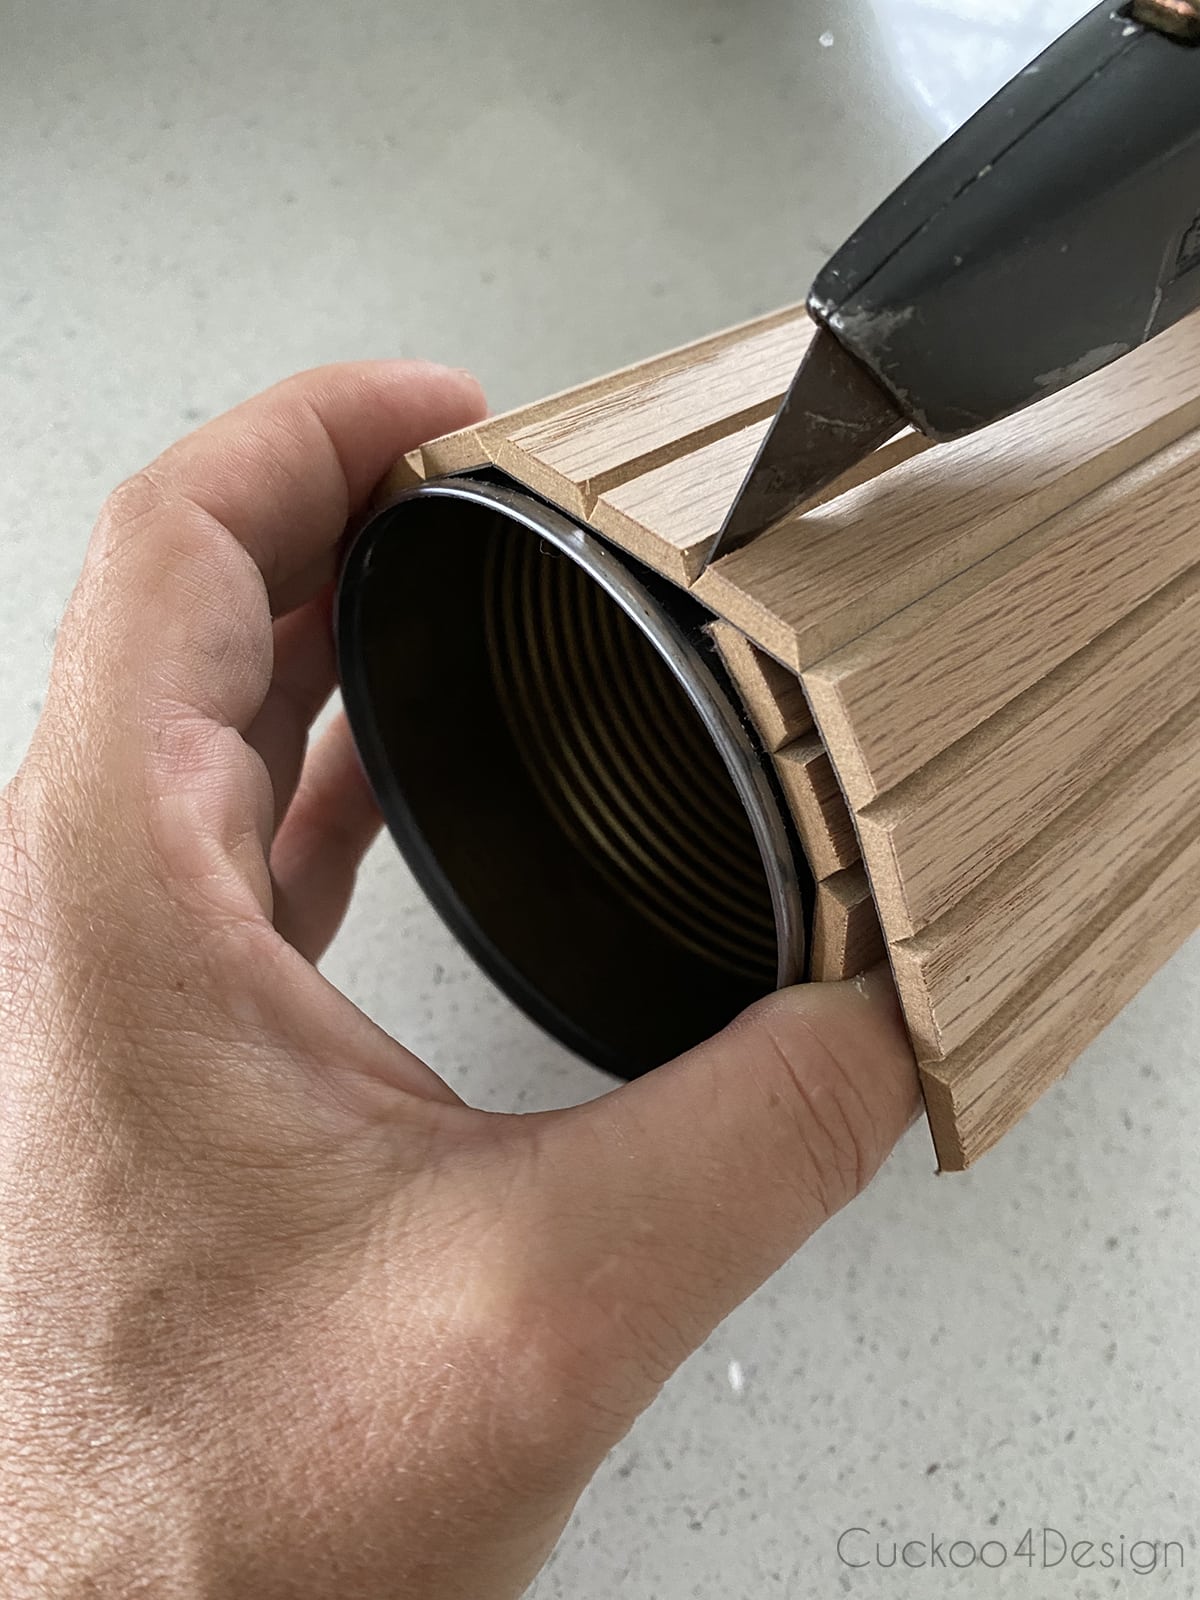
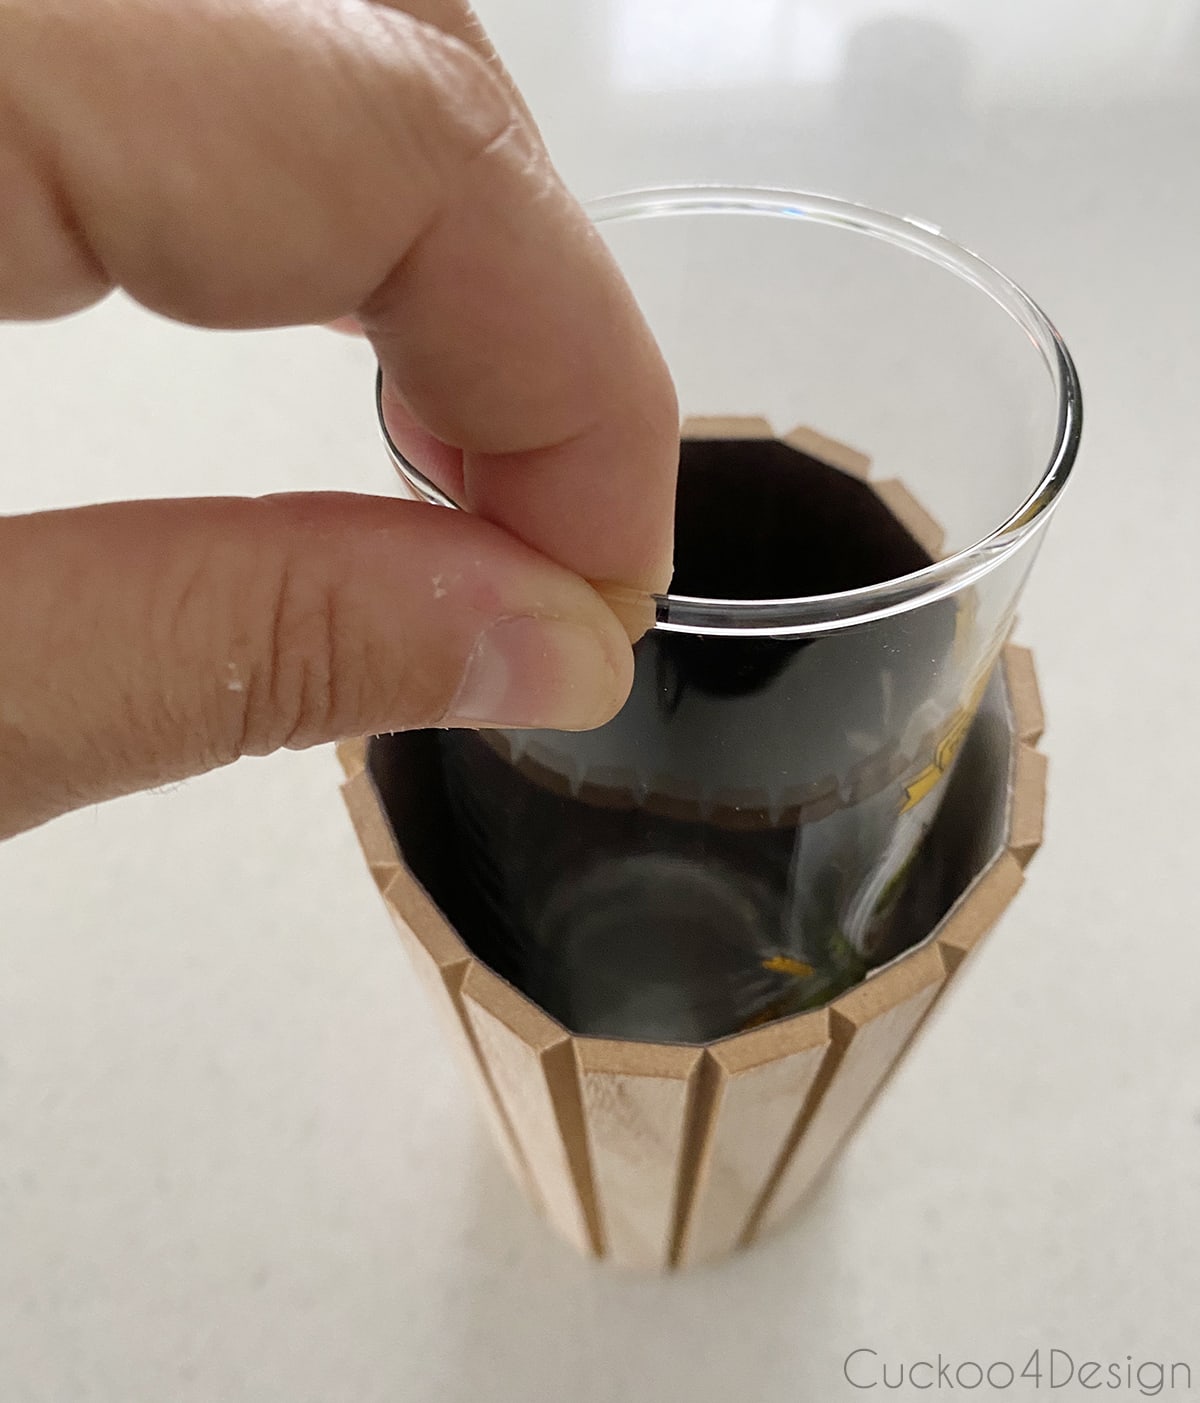
If you want to make a smaller fluted vase version or pot that isn’t open at the bottom. You can use anything else you would like. I tried an old food can and even a glass.
The pole wrap is so easy to cut with a box cutter since you just have to cut through the cardboard.
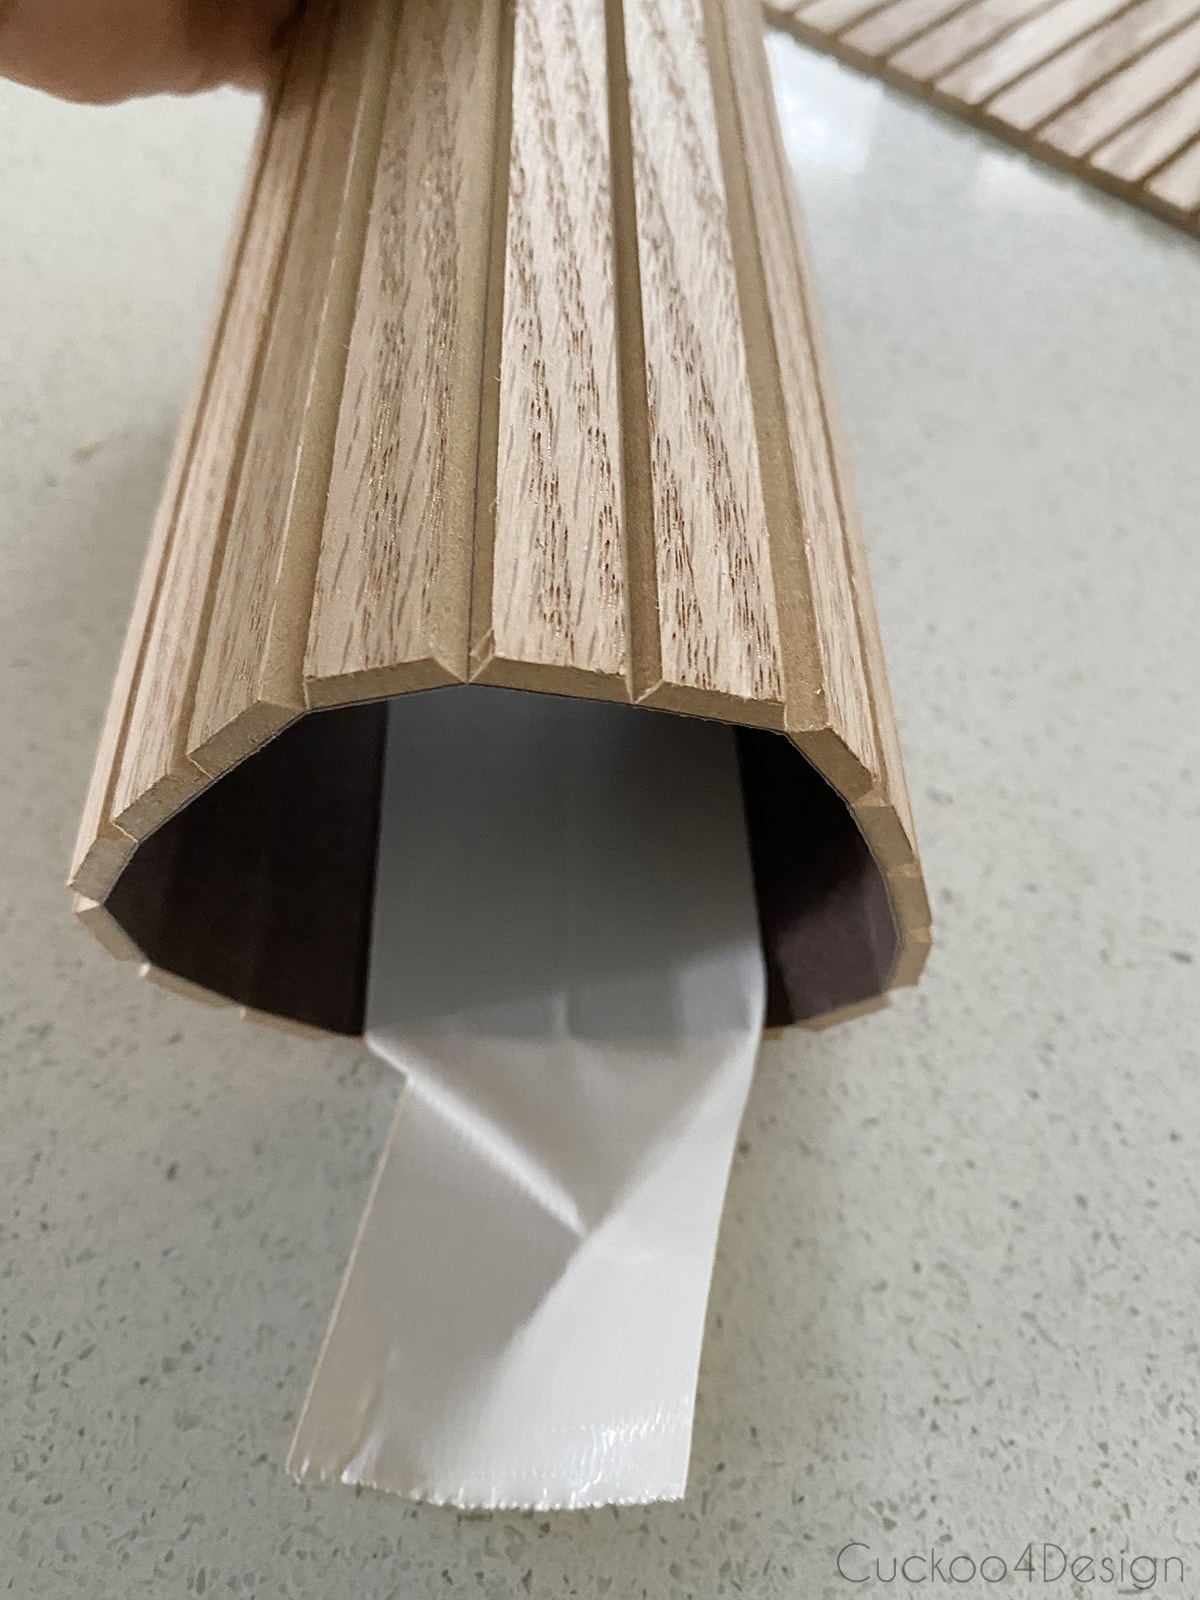
Or you can literally not use anything in the center and simply glue the ends together with duct tape as pictured below.
And you can also just slip a glass in the middle if you used duck tape.
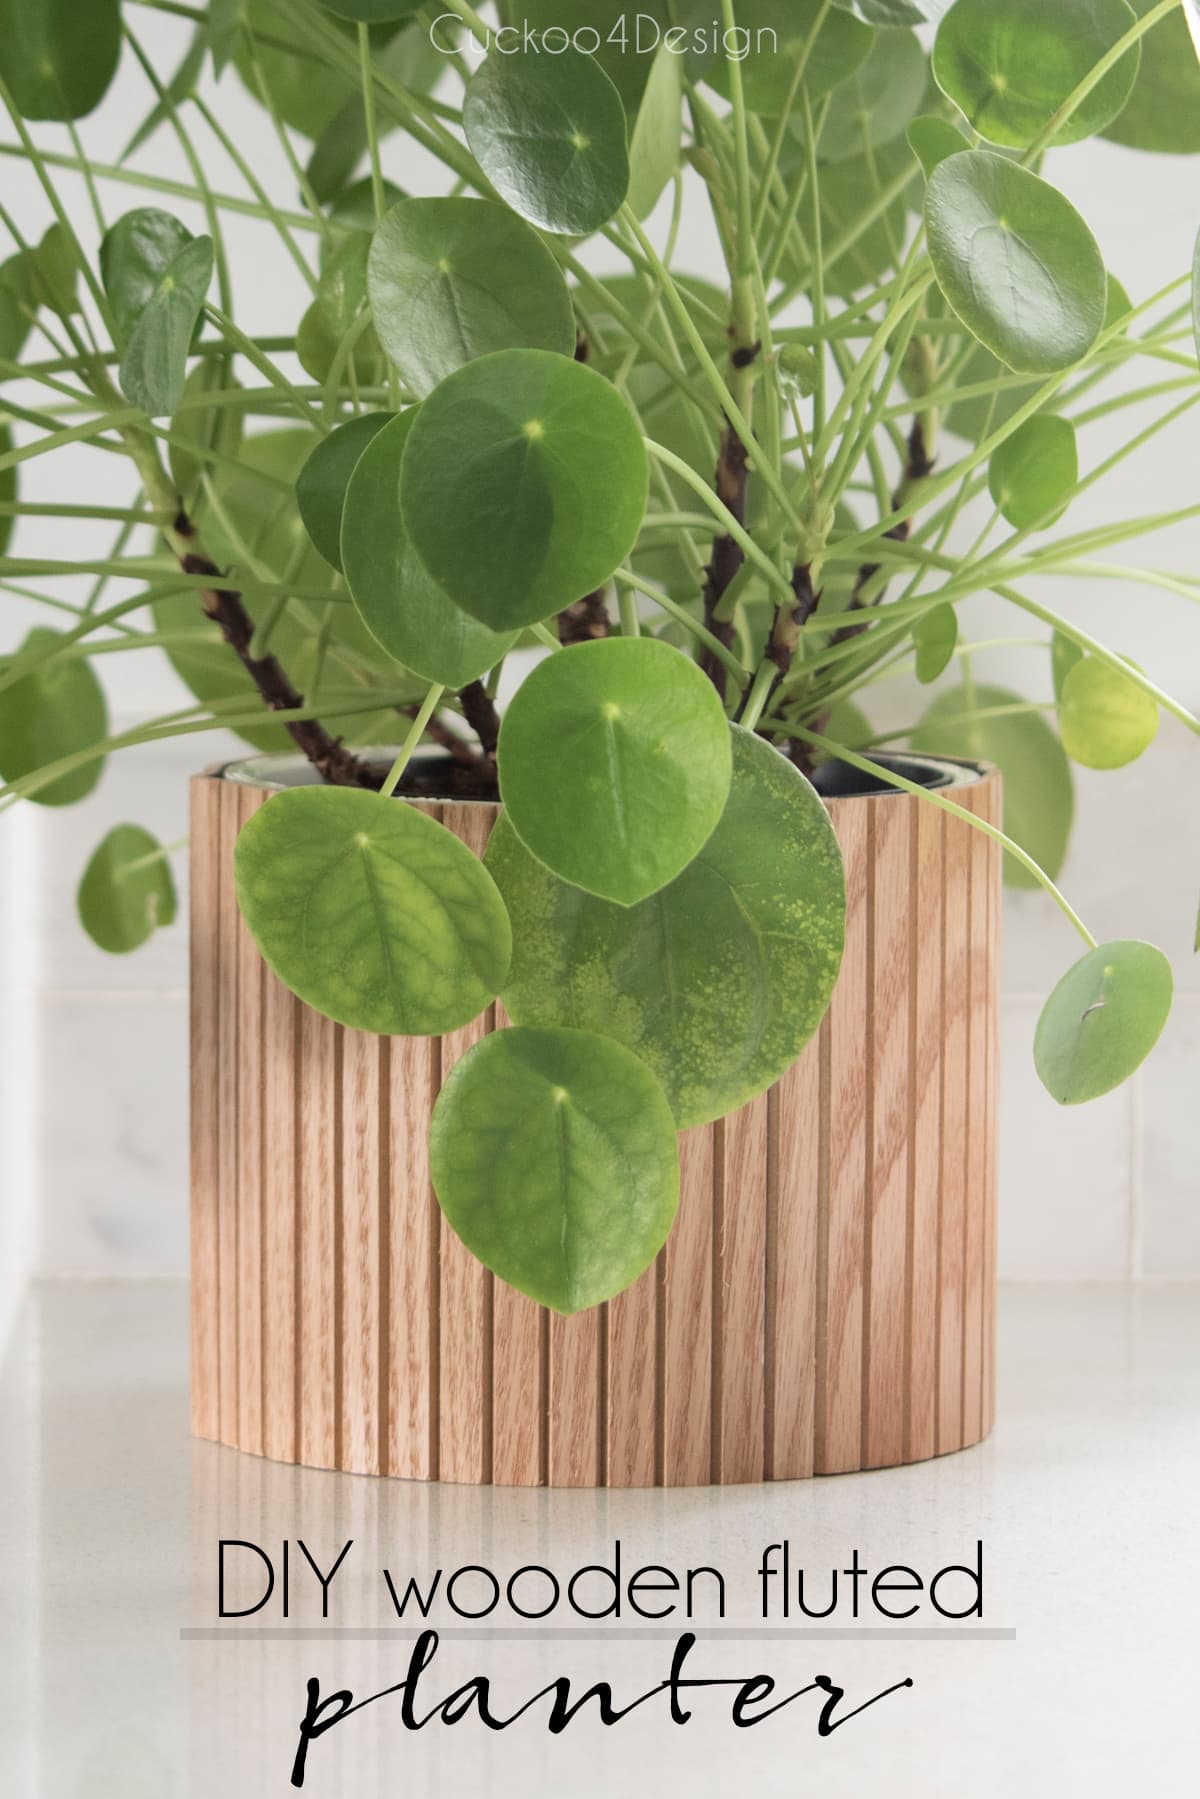
It doesn’t get easier than that and I love how the finished fluted vase and fluted planter look.
Fisnished wooden fluted planter sleeve and fluted vase
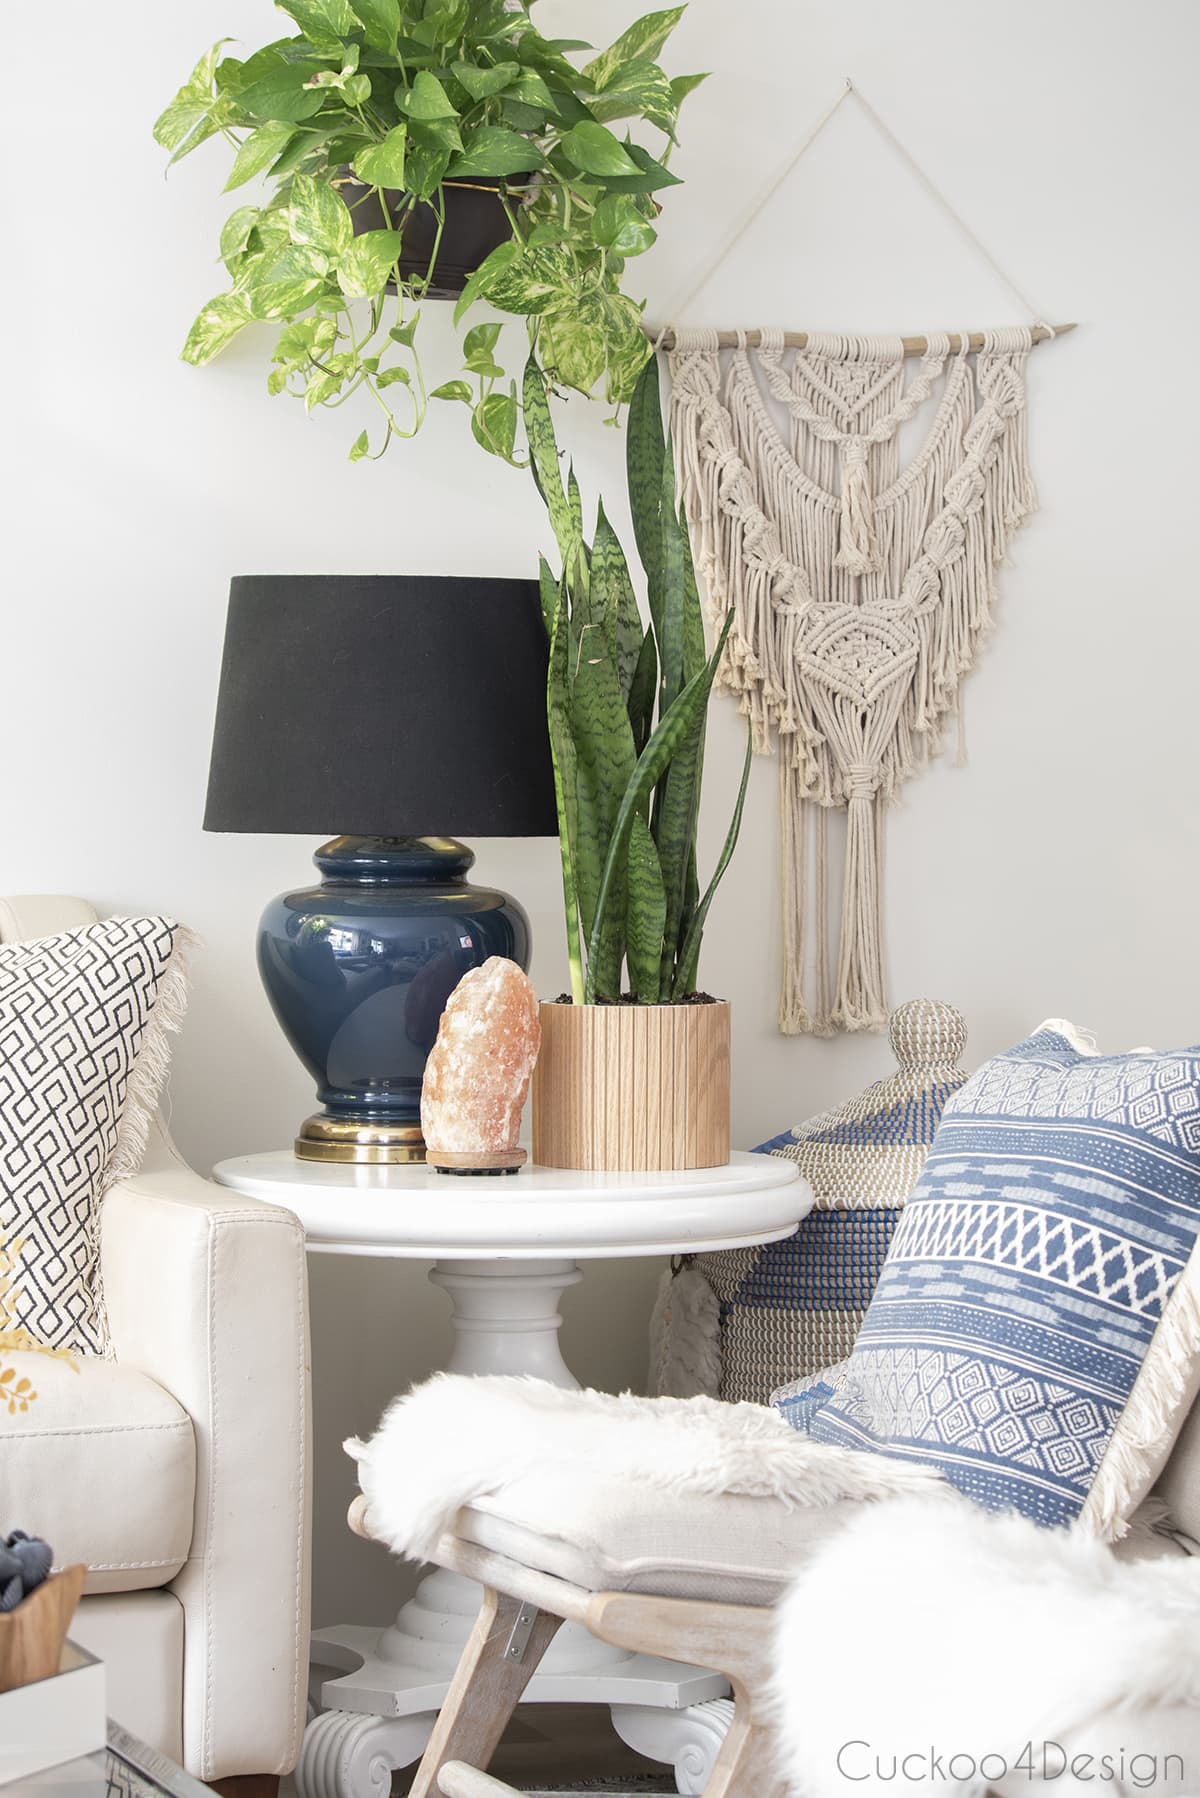
Below you can see the fluted planter sleeve with my snake plant on the living room side table next to my $4 thrifted lamp. As always I love to mix old and modern with lots of texture.
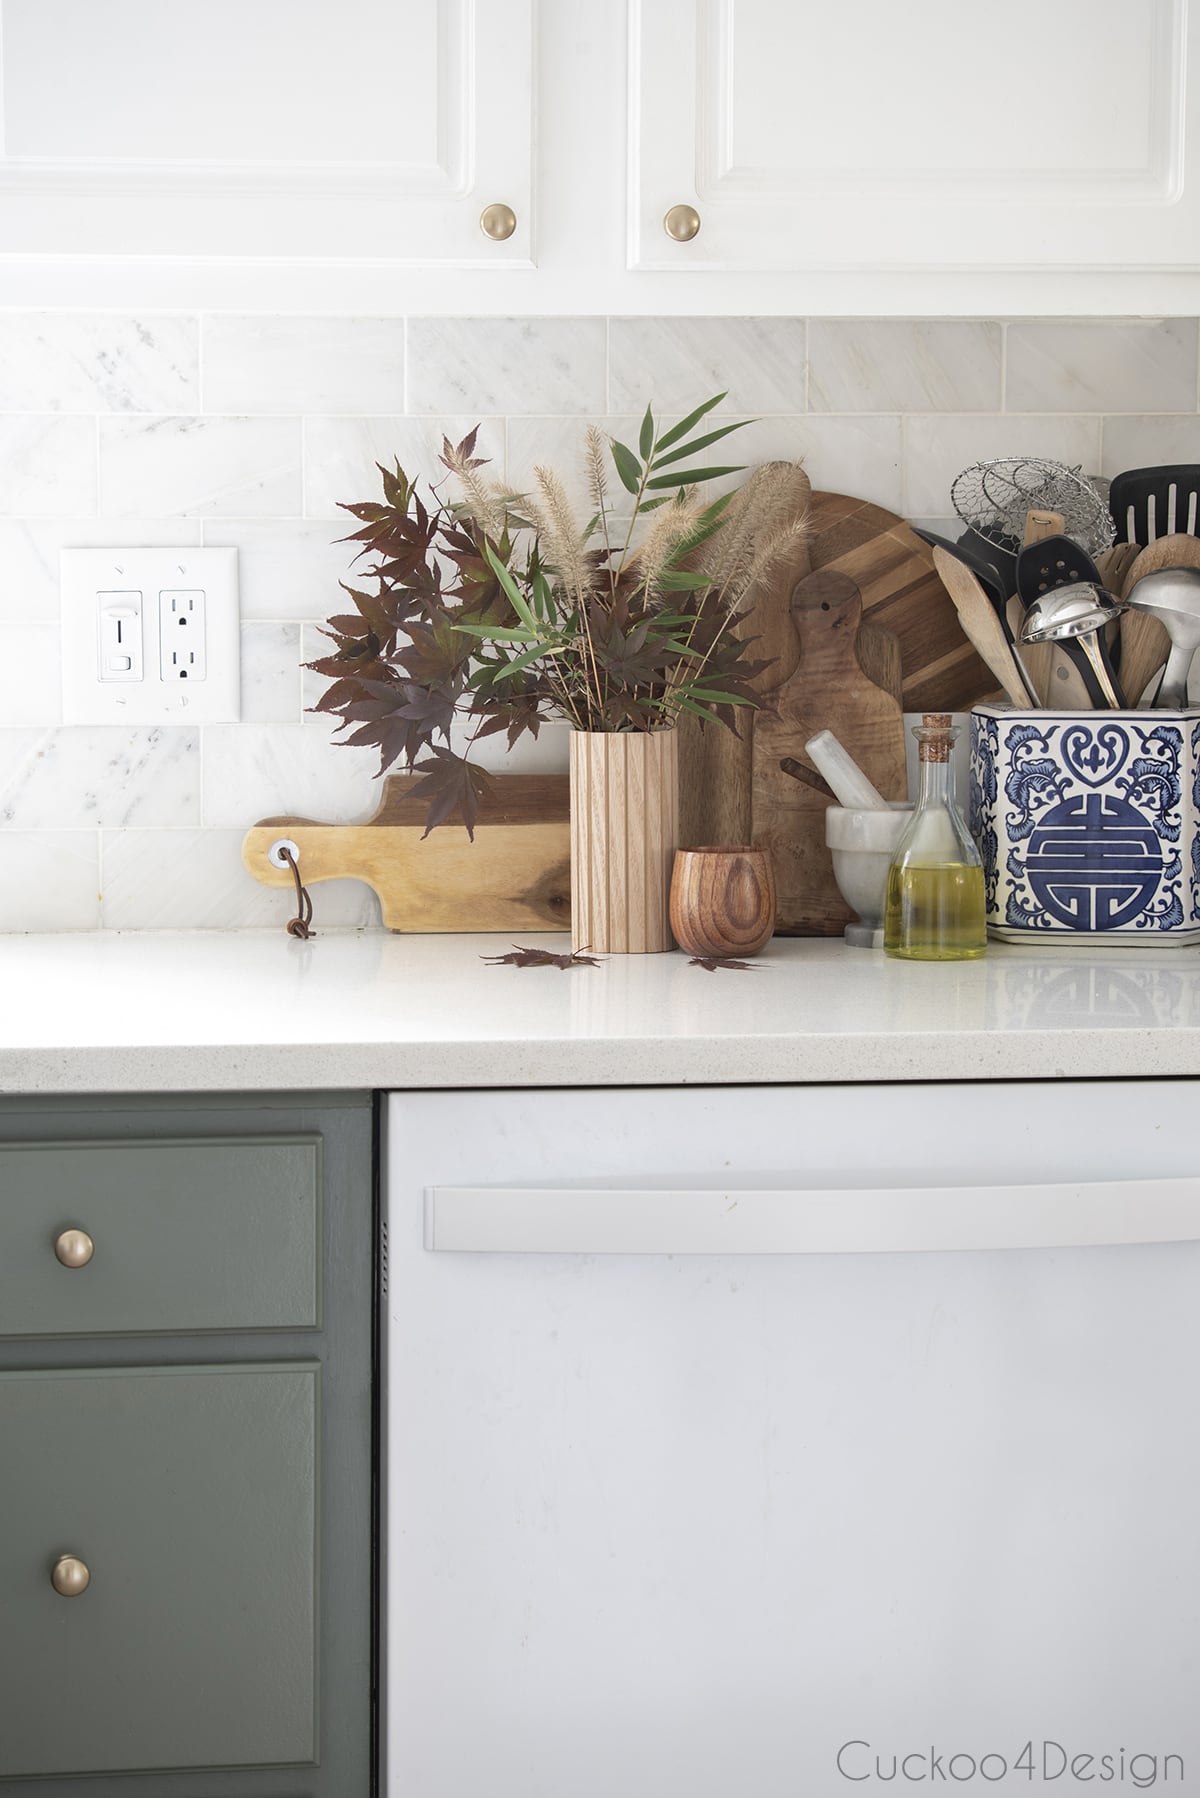
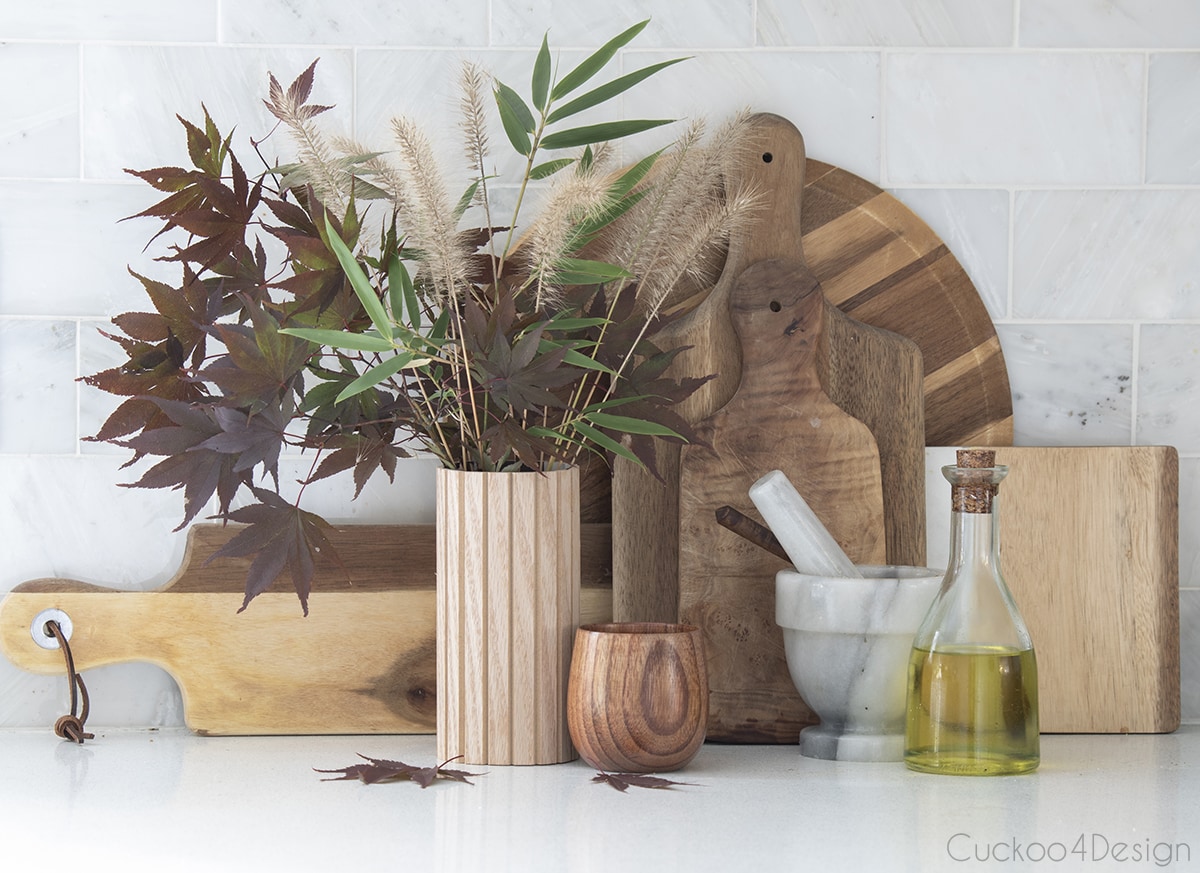
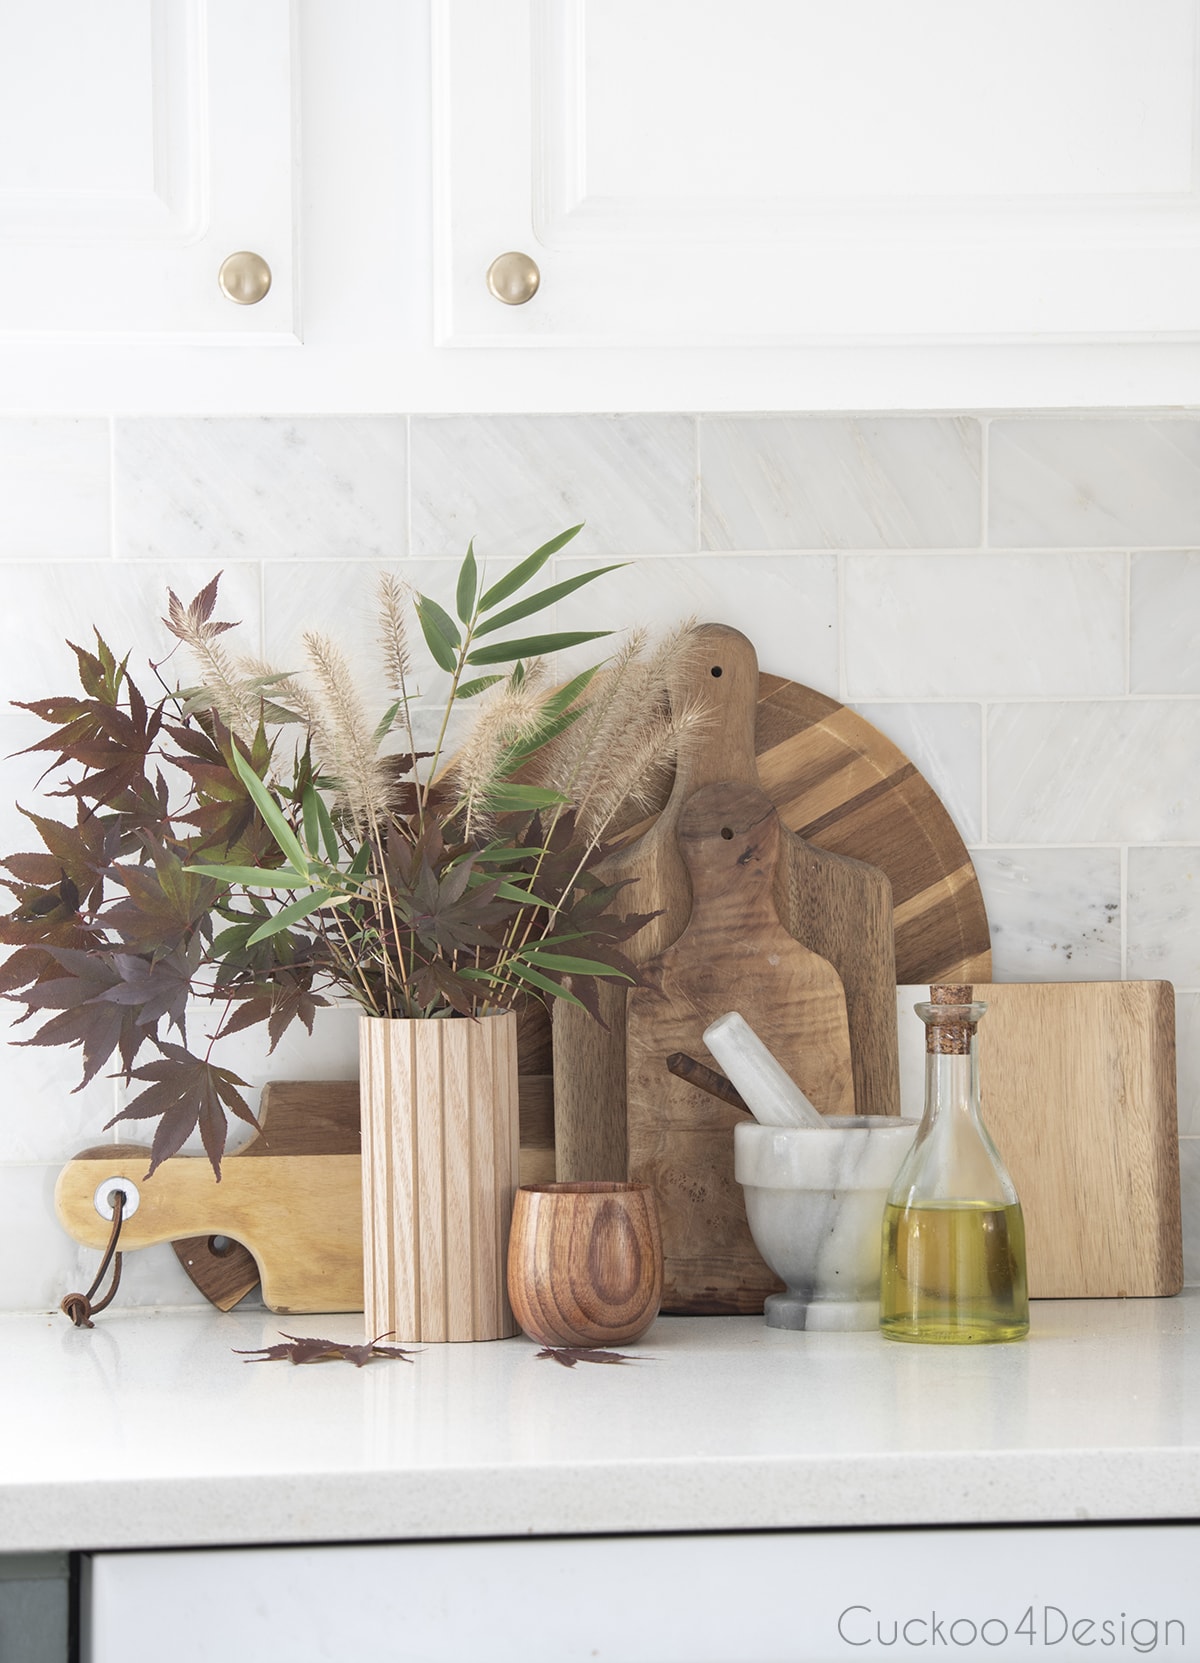
And the fluted vase with some fall foliage from our garden. That arrangement didn’t survive the day to be honest because Walter ate the grasses and shredded the rest of the foliage with the water spilled everywhere and the glass inside broken. Oh Walter!
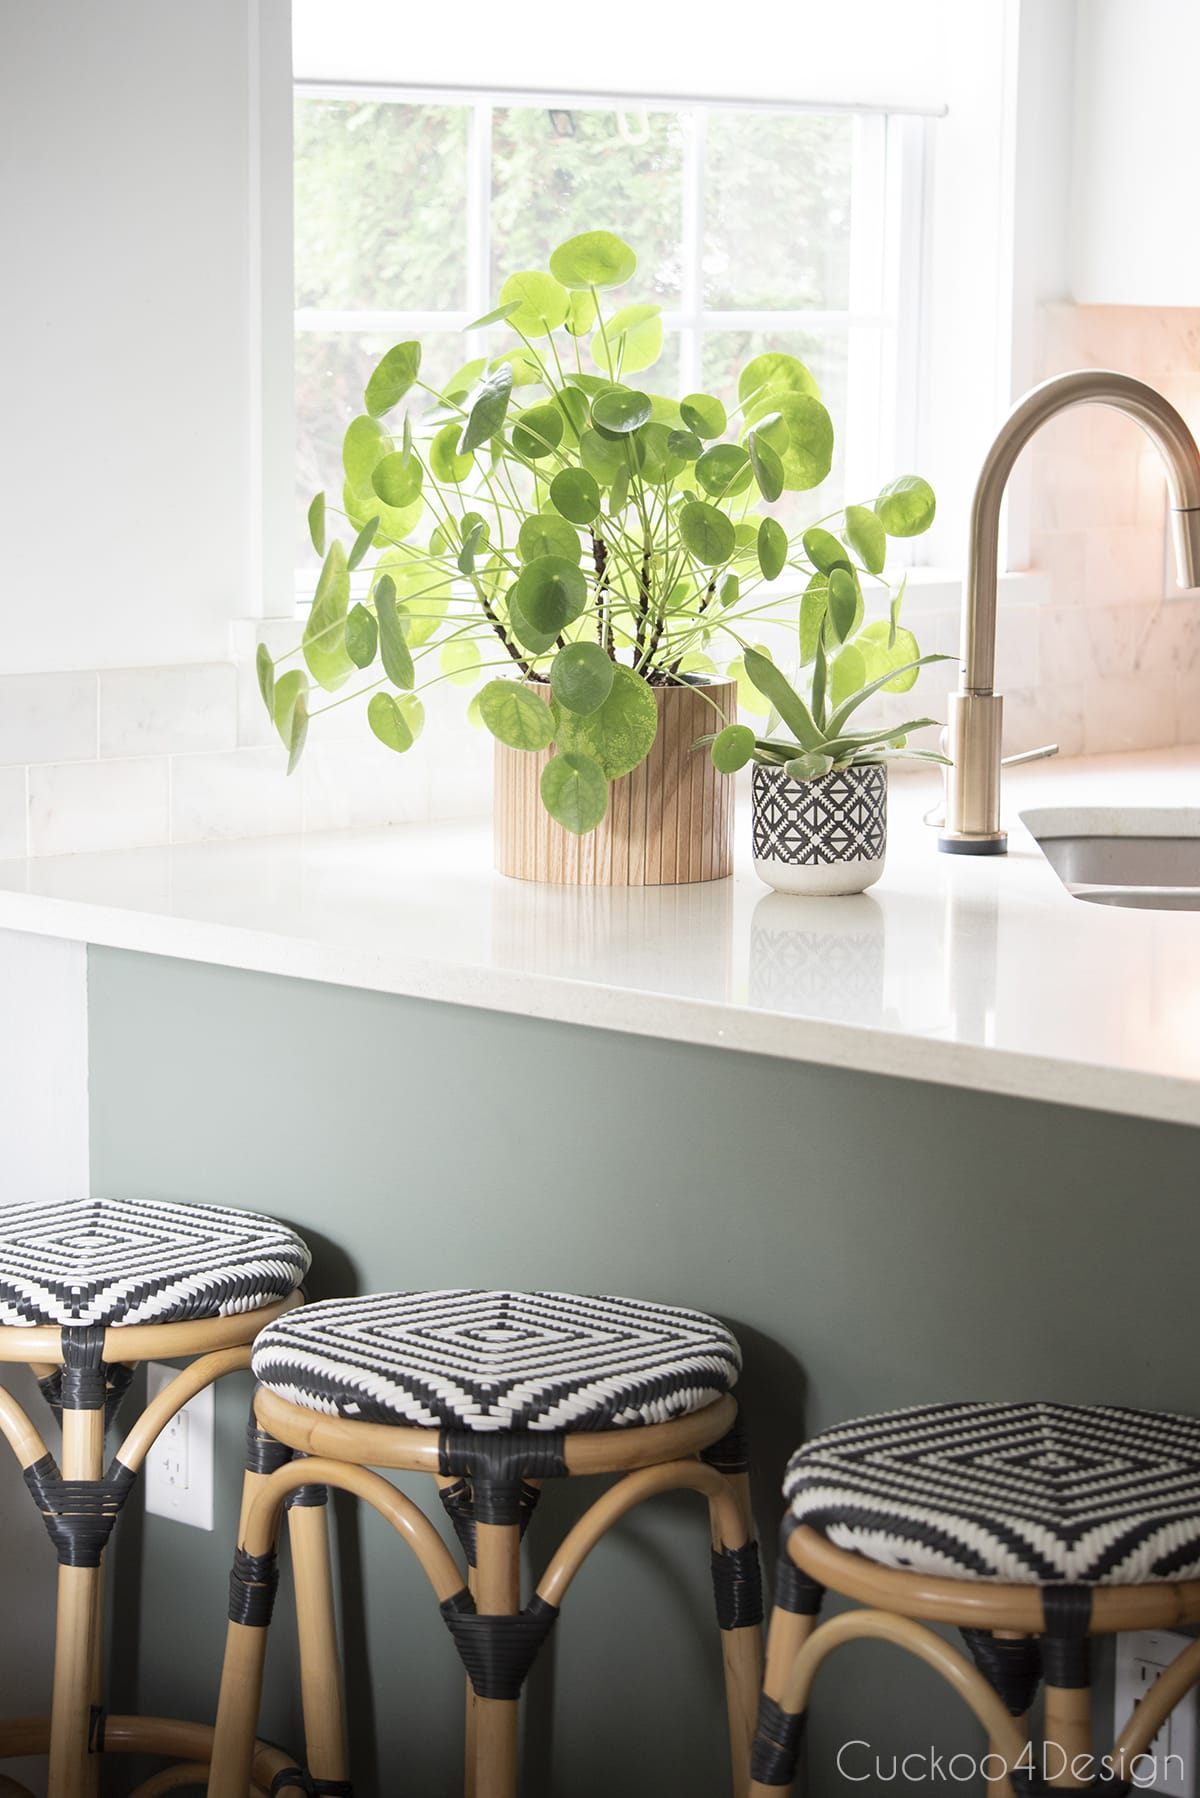
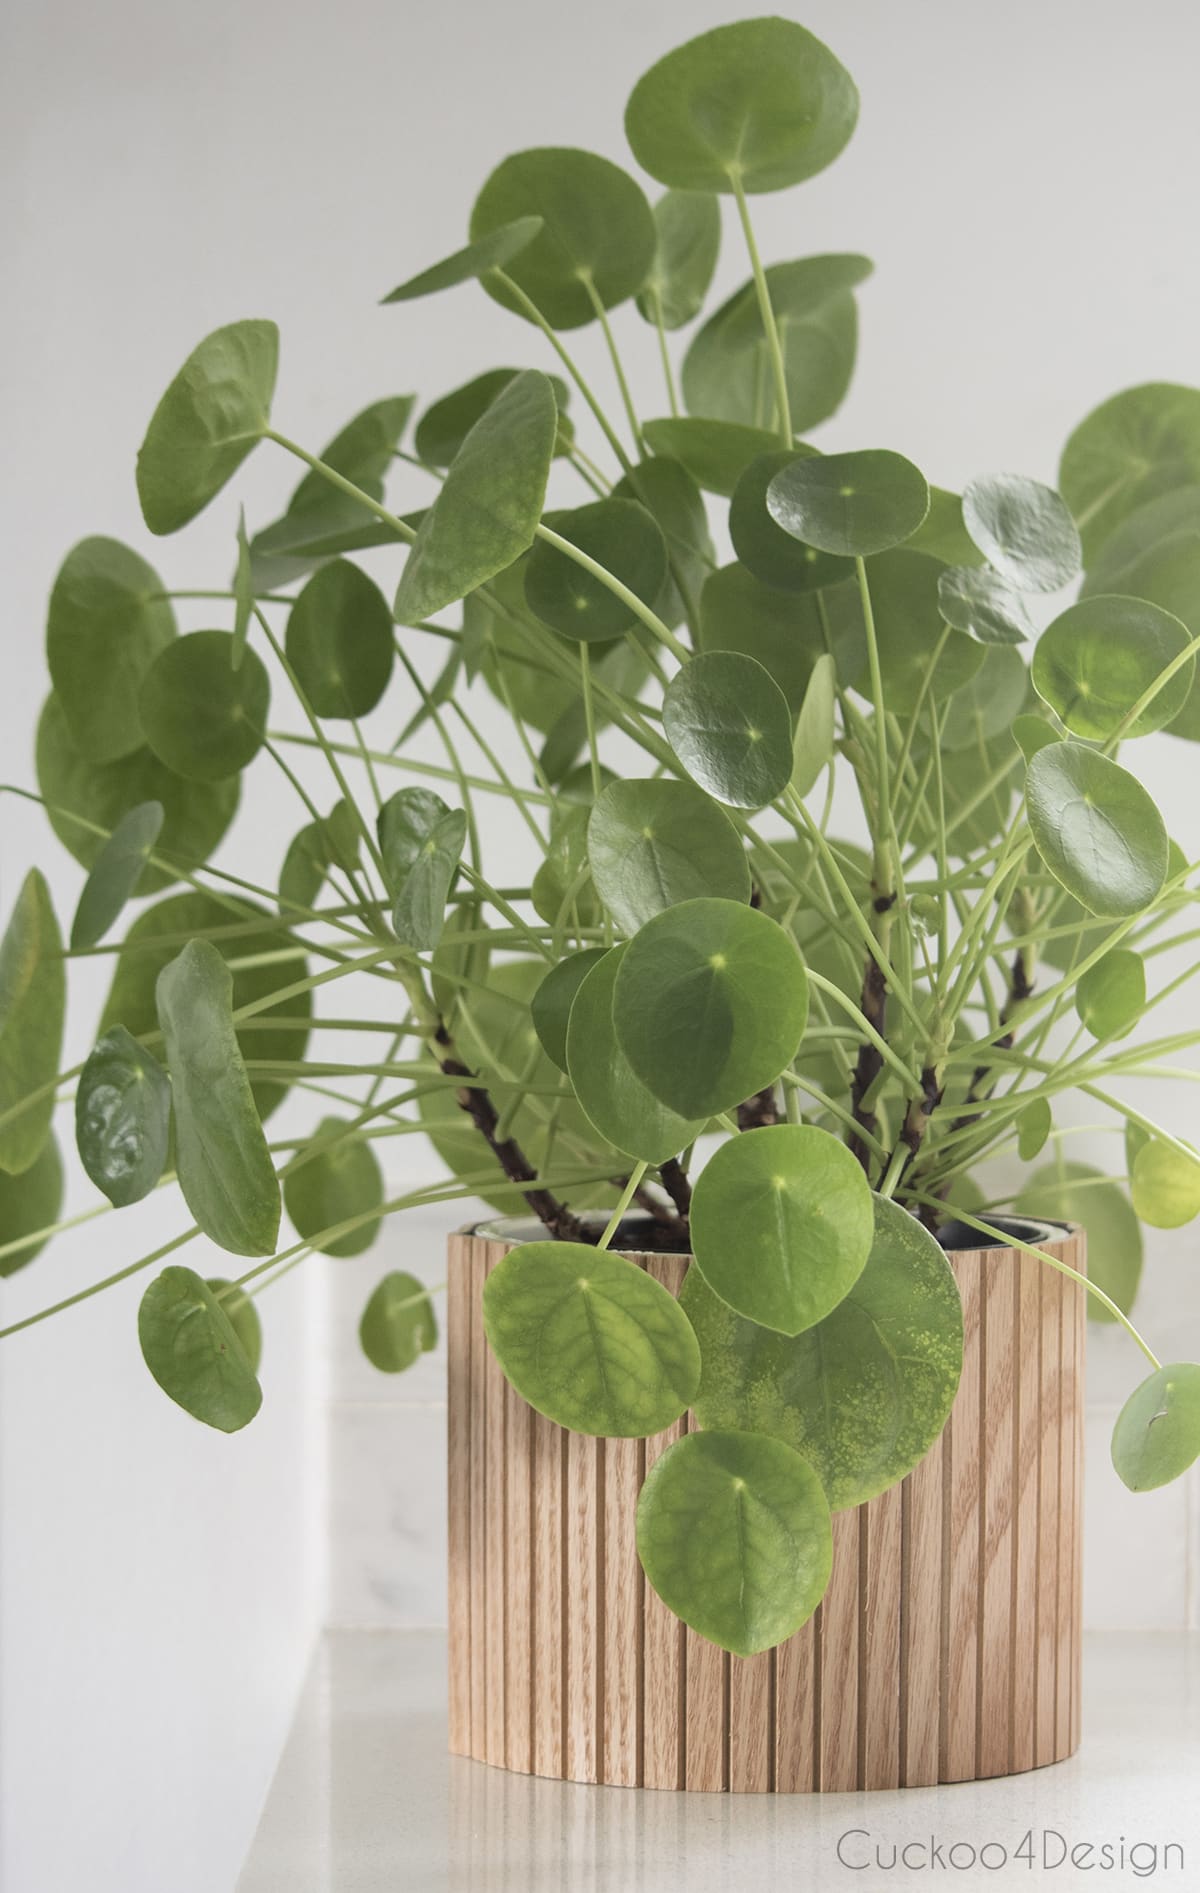
I absolutely love how my favorite pilea aka friendship plant looks in the fluted planter sleeve. Isn’t she lovely?
So where do you like the fluted platner sleeve the best? I have a feeling it will be moving around the house frequently
Tschüß,
Some more projects that you might like:
[pt_view id=”d4fd57cjt0″]




Ooooh what a great idea! They both look awesome!
How fun is this. I love it.
You are so creative. That is a great idea. Love It!
Great ideas!