How to build a room divider
Hi everybody! I can’t believe that my mom’s visit is almost half over already. We’ve been shopping and helping out at school. It sure is nice to have her around, but as for projects, I haven’t been getting anything done.
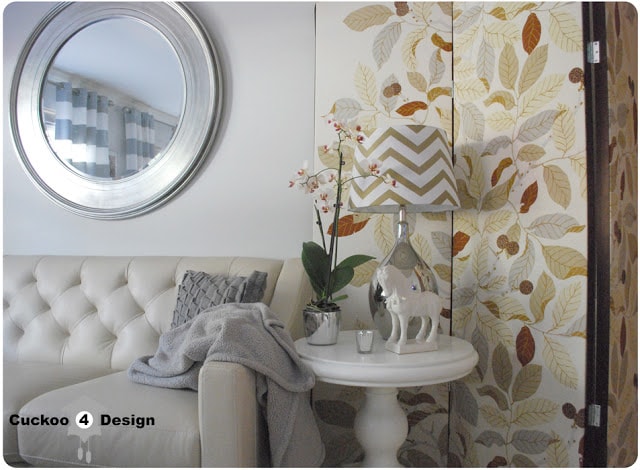
And that’s why I decided to finally write a post about my living room room divider today that I built several years ago, pre-blogging times! A lot of people have asked me about it. I wanted one because my staircase, aka the black hole, is next to my sofa and it’s just not cozy at all sitting next to a black hole.
In case you don’t know what I’m talking about. This is the room divider:
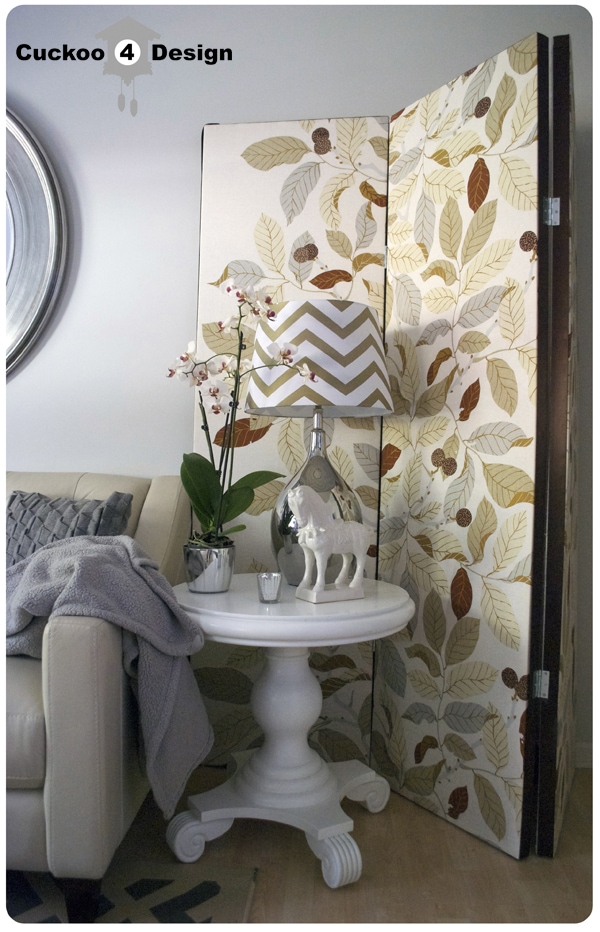
How to build a room divider
This post may contain affiliate links from which I will earn a commission at no extra cost to you. View my full disclosure policy.
After measuring and deciding what size I wanted per panel, I bought some 2x2s at the lumber yard and cut them to size. Each panel is 21 1/4″ x 75 1/4″ and I wanted 3 panels.
The middle short pieces are 18 1/4″ and the side pieces are 75 1/4″.
I used screws to put the pieces together from the sides and you can use some angles for the inside of the panel frames to keep it all together. Don’t ever forget to pre-drill when you use screws or your wood will split.
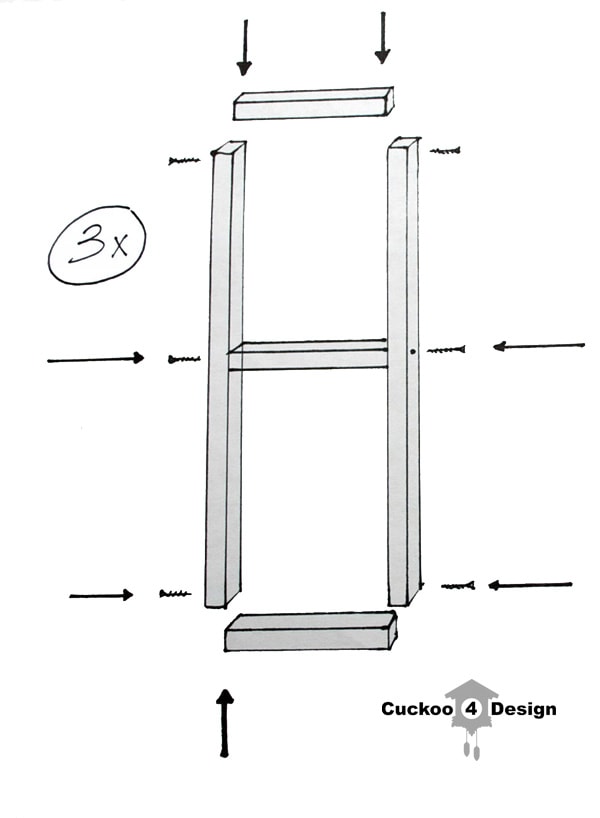
Please forgive me for my childish and unprofessional drawings, but that’s all I got! No photos to document the DIY process, sorry!
I covered the frames with quilt batting, which I stapled to the sides. Then I covered the panels with Ikea Stockholm Blad curtains that I had.
Everything was stapled with a hand stapler. Seriously, I should have invested in a power stapler for this project. My hands had blisters!
I have been searching and searching for another fabric for the other side of the divider but NOTHING! I really don’t know who the buyer is for our local Joann’s fabric but let me say this out loud: the person stinks! Most people are already sick of the Chevron overload everywhere and this stupid store still carries zero, NULL, nada, no chevron. That’s how horrible our local fabric store is. It’s sad!!! There, I said it and I hope somebody is listening.
But even on my NYC fabric search trip, I found nothing. Maybe I should just paint my own again. Or I’ve been thinking about making my own on spoonflower.com…oh, do I love this website. There are so many possibilities. (Since this post, I have found a solution for the other side: OMBRE, click here to see the other side of the divider)
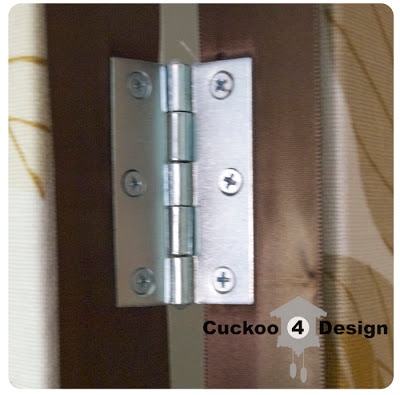
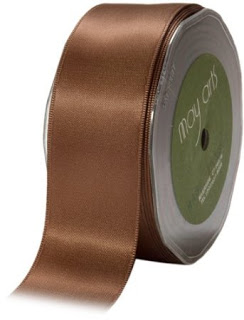
I finished off the edges of the panels where I stapled the fabric with a thick brown satin ribbon (like this one) from the craft store which can be attached with fabric glue or iron-on seam tape. Mine isn’t attached yet because I’m still hoping for that other side to finally get some pretty fabric. And I used simple hinges from the hardware store to connect all three panels together.
I’m really happy with it and I get asked all the time where I bought it.
Has anybody come across some pretty fabrics that would look nice on my room divider?
Well, let me know!


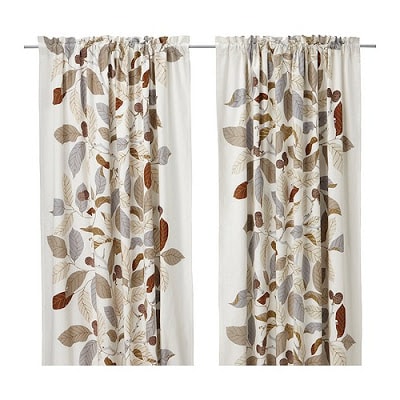
That is just wonderful. At first I thought you painted the leaves, but genius idea to use the drapery panels.
Thank you Christine!
it looks PERFECT with the curtain fabric on it!
Thanks Cassie
lol I think you and I are on the same wave length. I have been working on a room divider too but in fuchsia! I am thinking yours looks much better tough. I repurposed bifold doors for mine.
Smiles!
Sammy ~ Renew Redo
PS. that whole area looks amazing by the way!
Smiles!
Sammy ~ Renew Redo
Thanks Sammy! Are you going to write a post about it? I can’t wait to see it.
Julia! It’s beautiful! Functional art – a wall too! Great tutorial! Thanks so much for sharing your creativity. I’m including a link back in my highlights. 😉
Thank you so much Roeshel!