

Bathroom update
So last month I shared some of the ugly DIY truth (click HERE if you missed the post_ in my home and it had a positive affect.
I actually got my rear in gear and accomplished some things in our bathroom.
Lets go back for those of you who are just stopping in or missed everything entirely. My original plan in the bathroom was to have two pendant lights on each side of the mirror which is still what I would prefer. I think esthetically it would be the right thing.

{see the post about the bathroom plans HERE with all the sources}
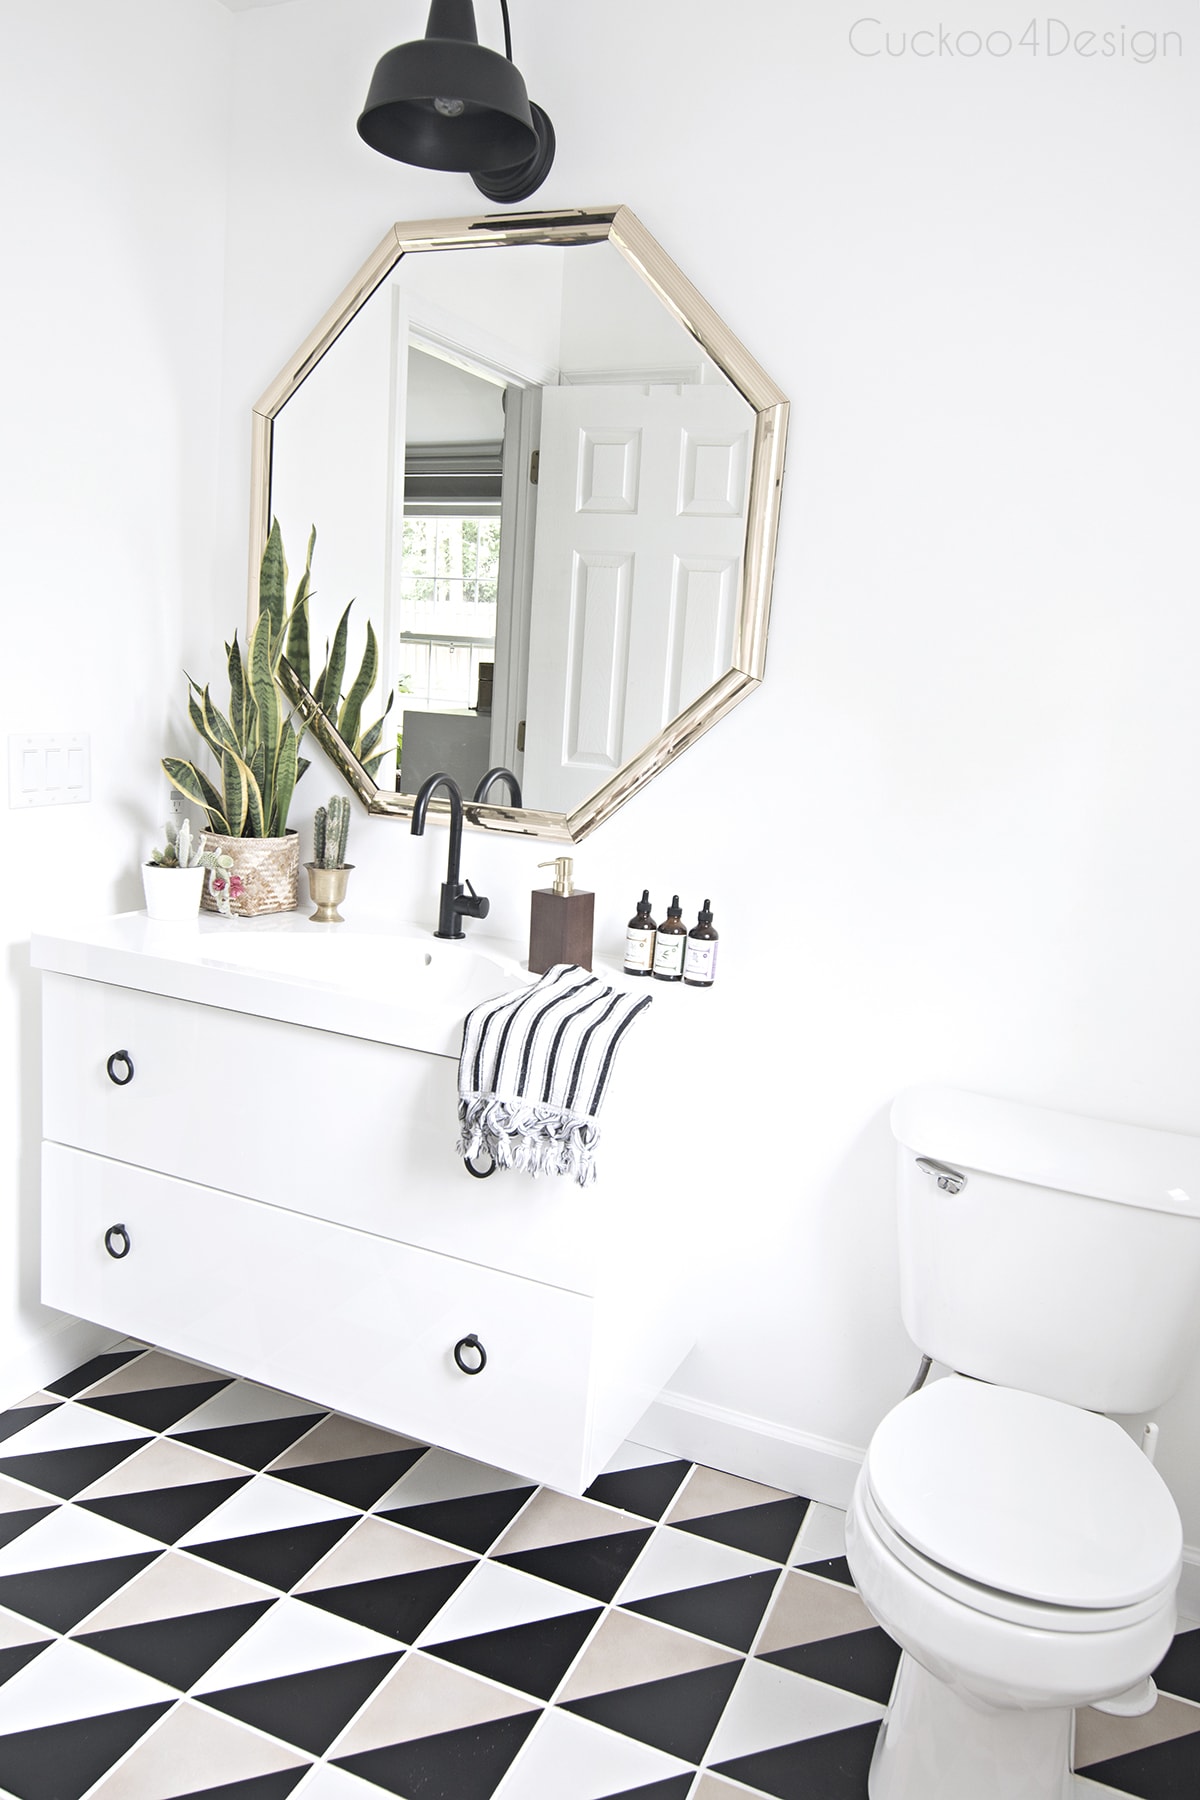
I wasn’t able to get an affordable electrician since the one I used all the time stopped working on the side. That’s all the reason why I only shared the vanity without revealing the view above the mirror like you can see in the below photo.
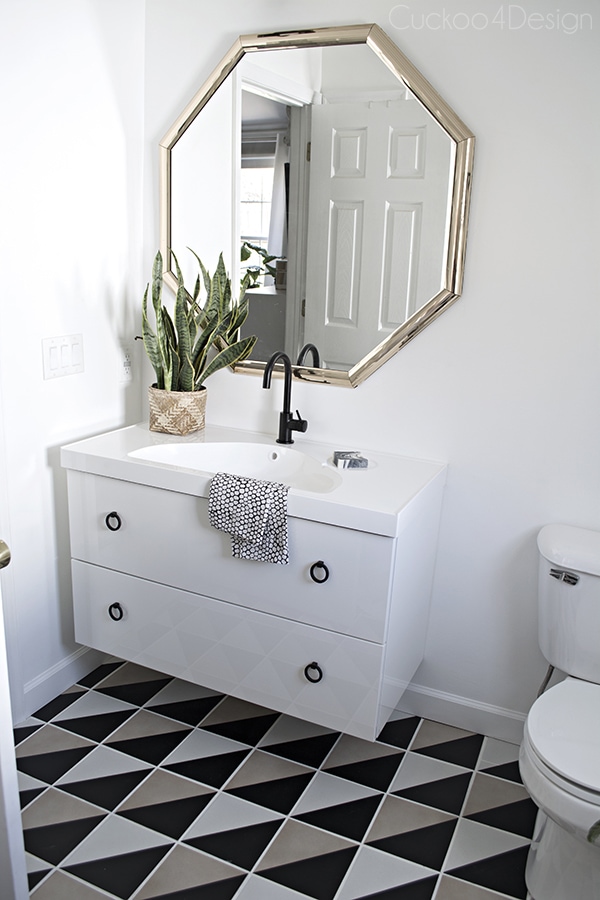
The truth was that I had an off-centered light because I was waiting for my pendant lights to finally get installed. That never happened and I just kept living with it.
Oh yeah and like I said in that other post, my grout looked awful, dirty and discolored even though it looked wonderful right after I did my little tile DIY (click HERE if you want to see it) but since the original grout was awful to begin with, it just went worse quickly.
So while bottle feeding the kittens and taking breaks I went into the bathroom and started working on centering the light fixture. I’ve said before that I don’t like writing an electrical tutorial since I’m not a professional and really don’t want to give advice on something that scares me. You know what I mean? I do it for our house but just don’t think I can give advice for others on how to do it.
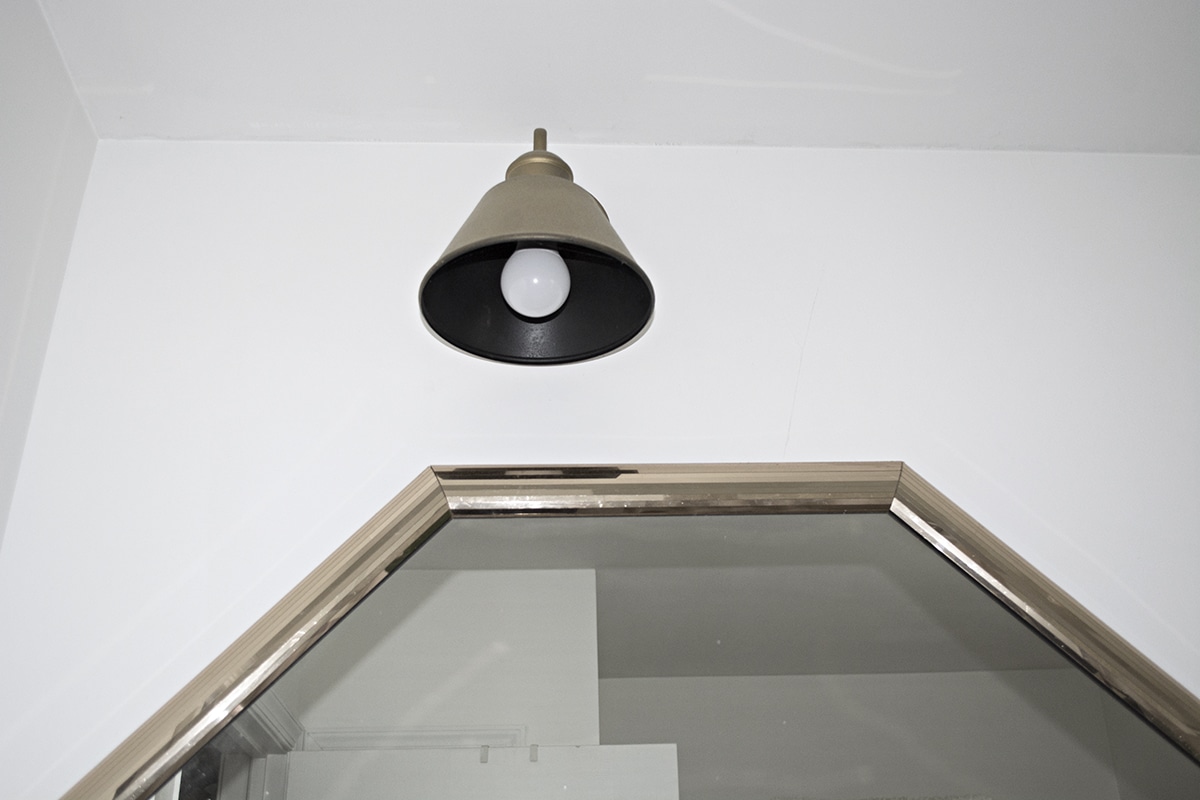
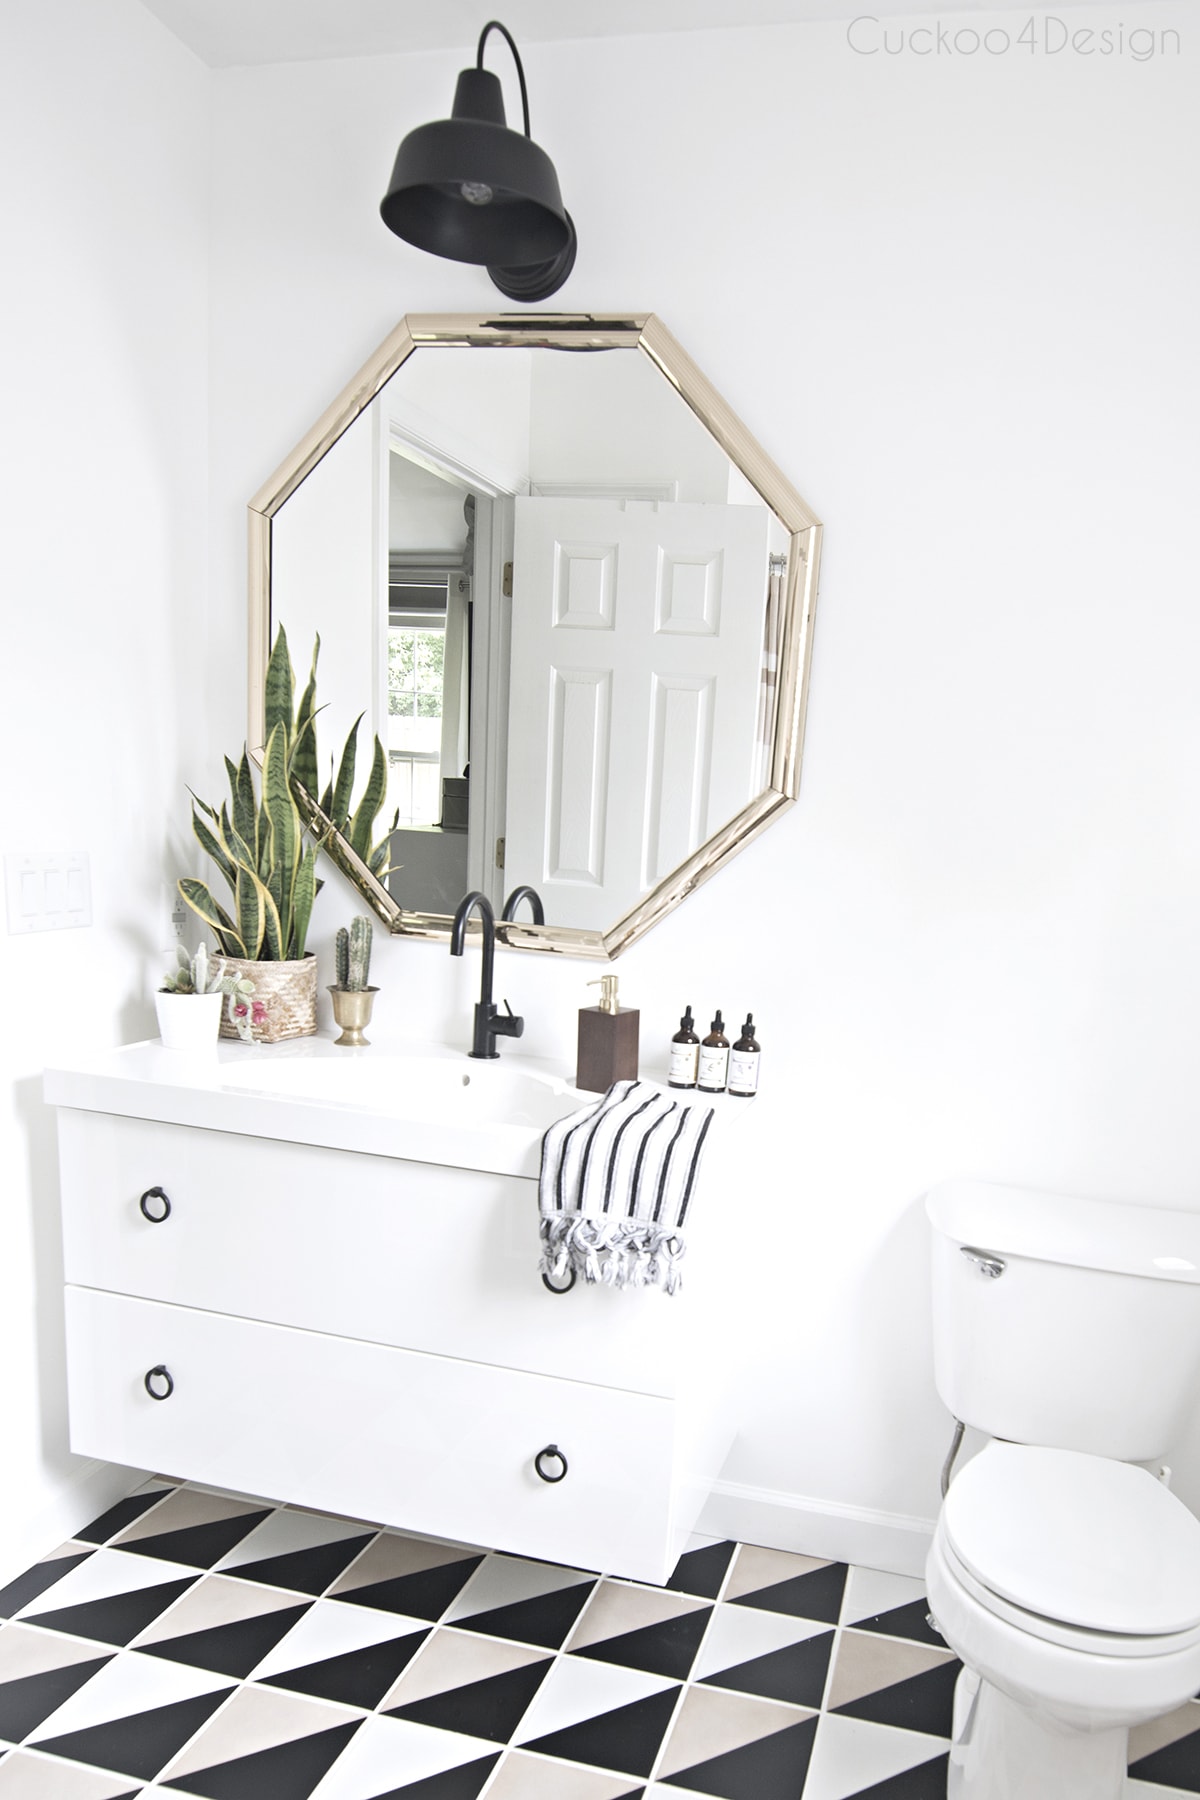
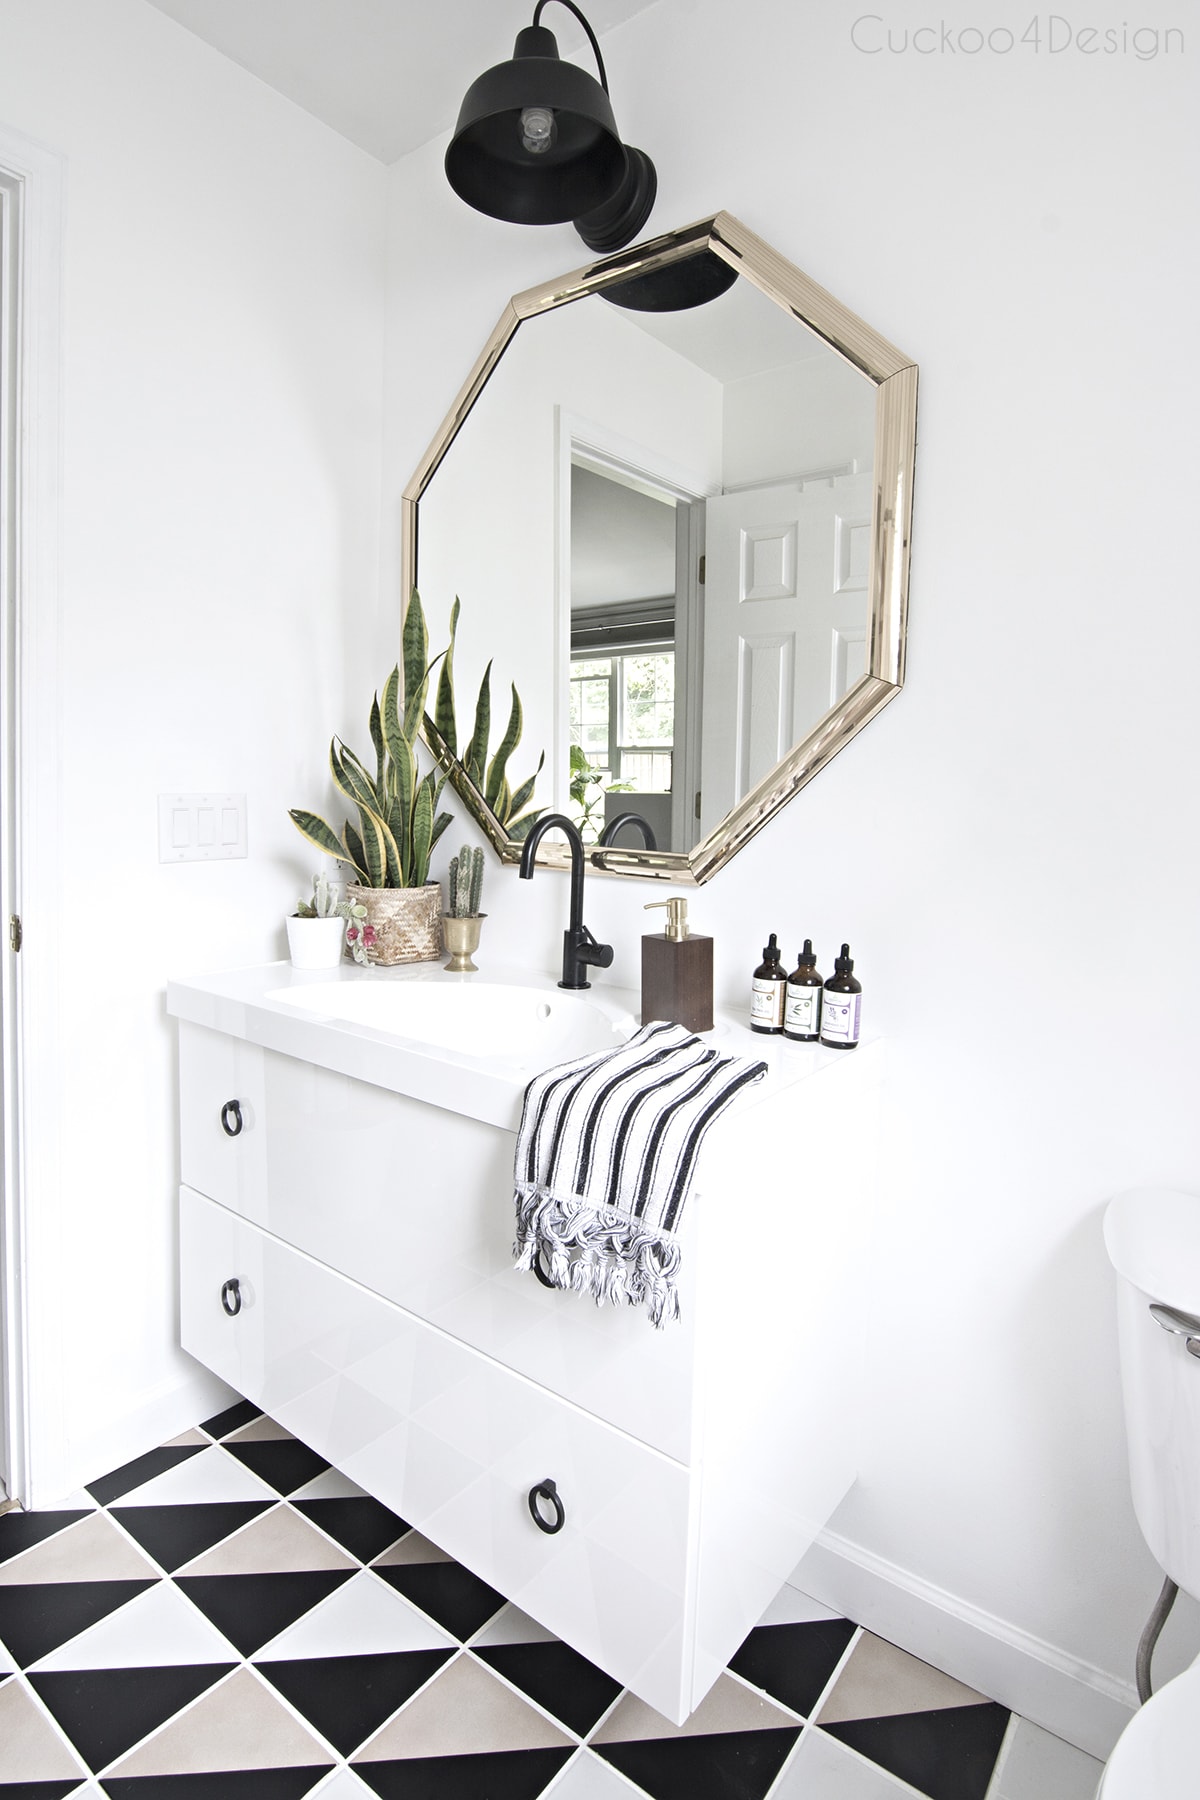
I was able to move the existing light box and patch the old hole. The light you see now is from our other bathroom (I used this light HERE. I simply just switched fixtures. It was galvanized originally, then gold and I then painted it black for this room.
It was a budget solution and I might want to still change it out in the future with something that looks less huge. It doesn’t look that big or disproportioned in reality. For some reason it does in the photos though. It’s so much better than the off-center light from before.
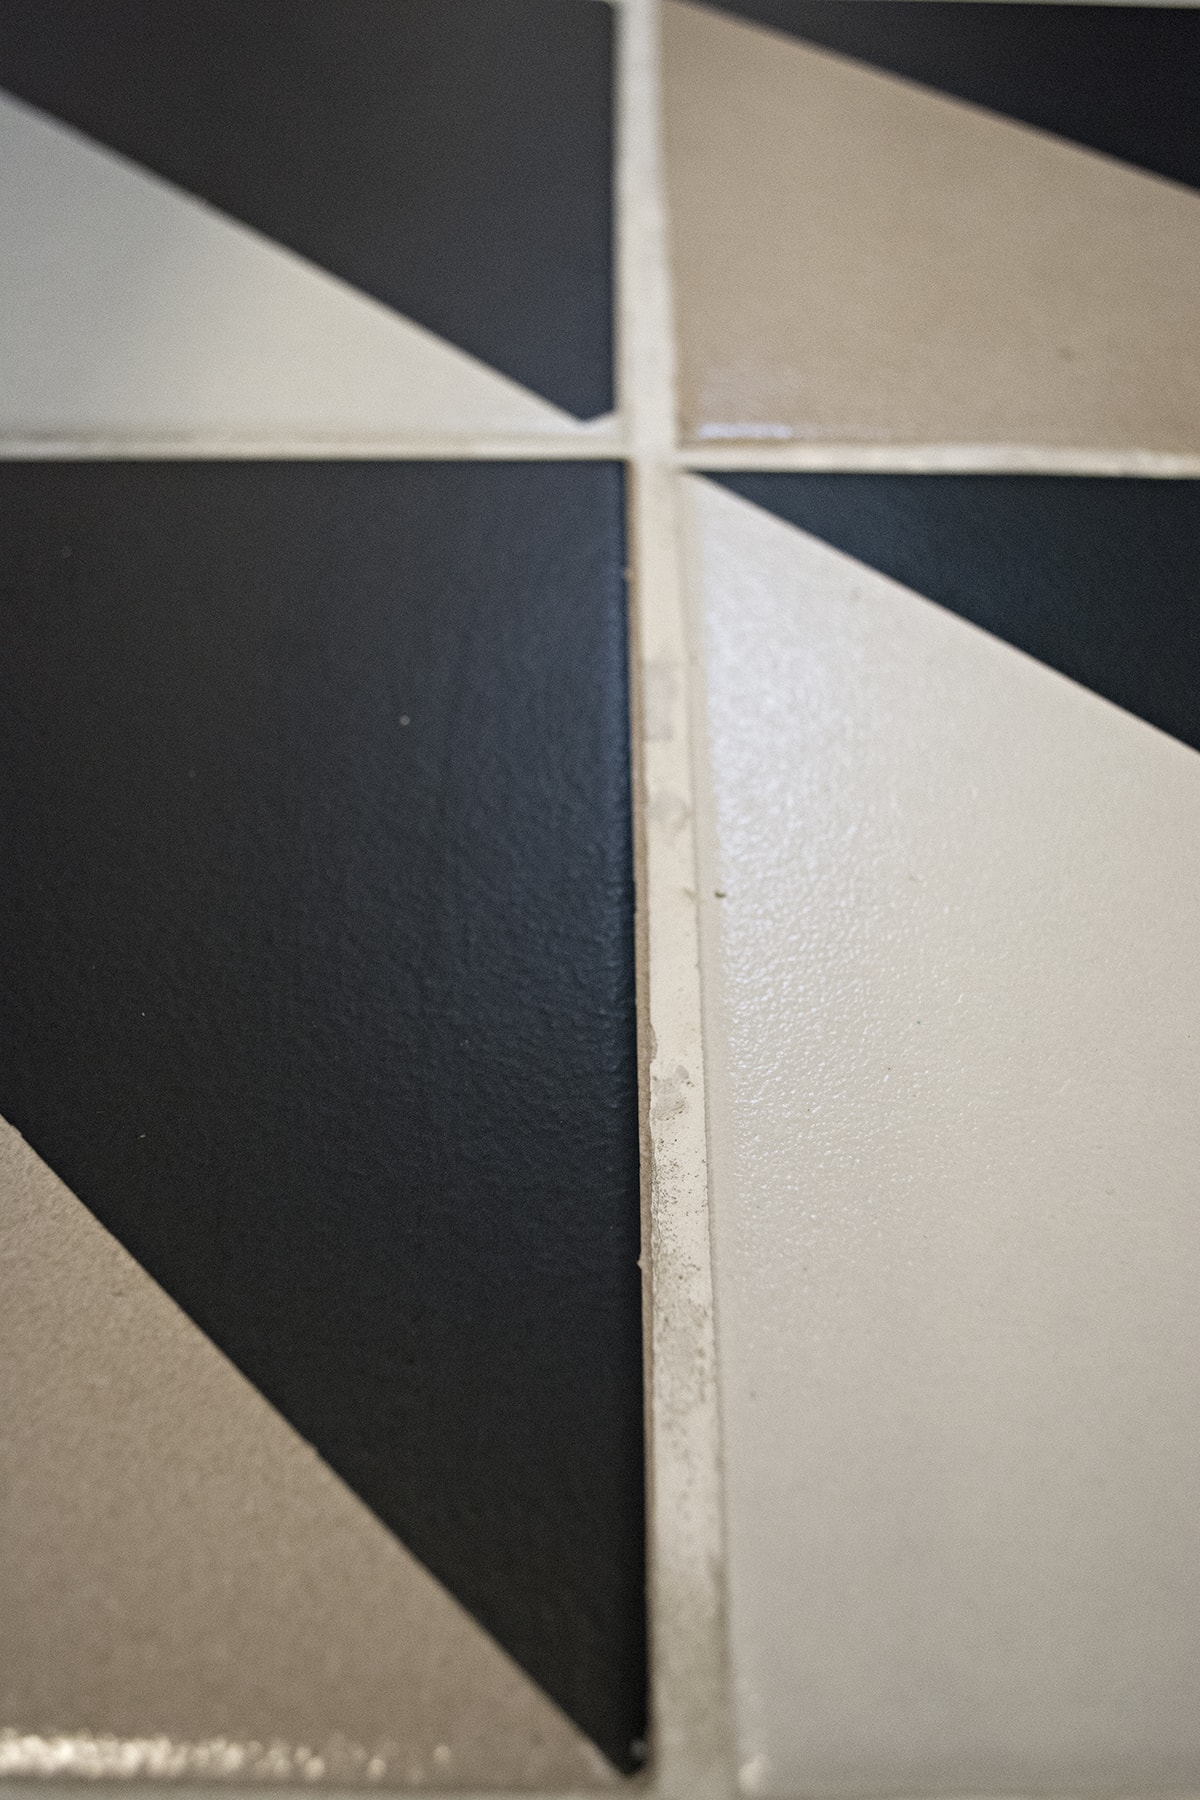
I’ve also spent many hours laying on my stomach on the floor and painting the grout white. If you go back to my ugly truth post then you can see that Sarah recommended trying Grout Renew (click HERE) and that’s exactly what I bought and tried. I had gotten so frustrated with the grout pen which is easier to paint with but really doesn’t give great results especially compared to the Grout Renew.
In some areas I had to paint two layers to get a nice clean grout line.
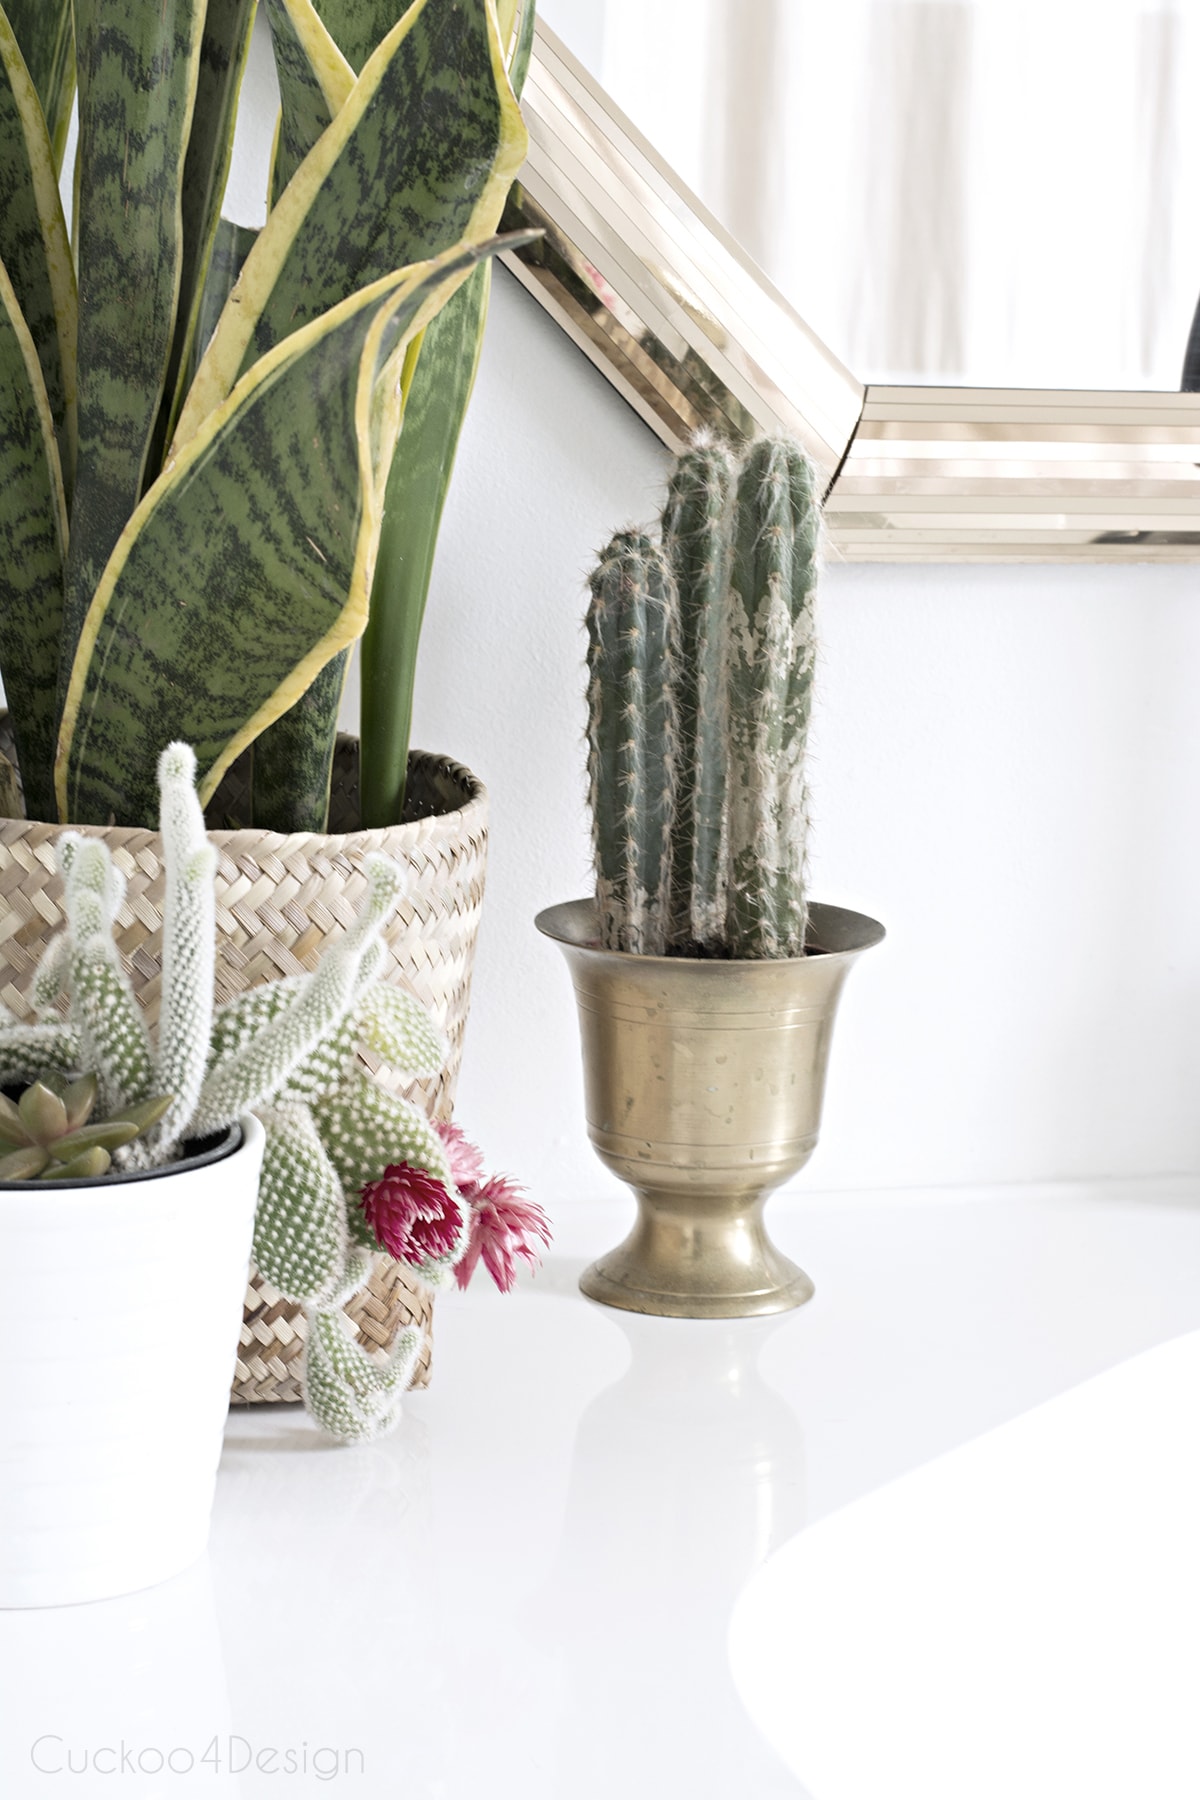
Look at all the photos and tell me that the grout doesn’t look great. I mean really… it looks awesome right? White, bright and totally new looking.
Oh and one other tip, don’t buy wooden soap dispensers like I did. That one is swelling up everywhere and looking pretty crappy. I Have to get a new one already after only having it for a month. Or maybe I just have bad luck with soap dispensers because I go through them really fast.
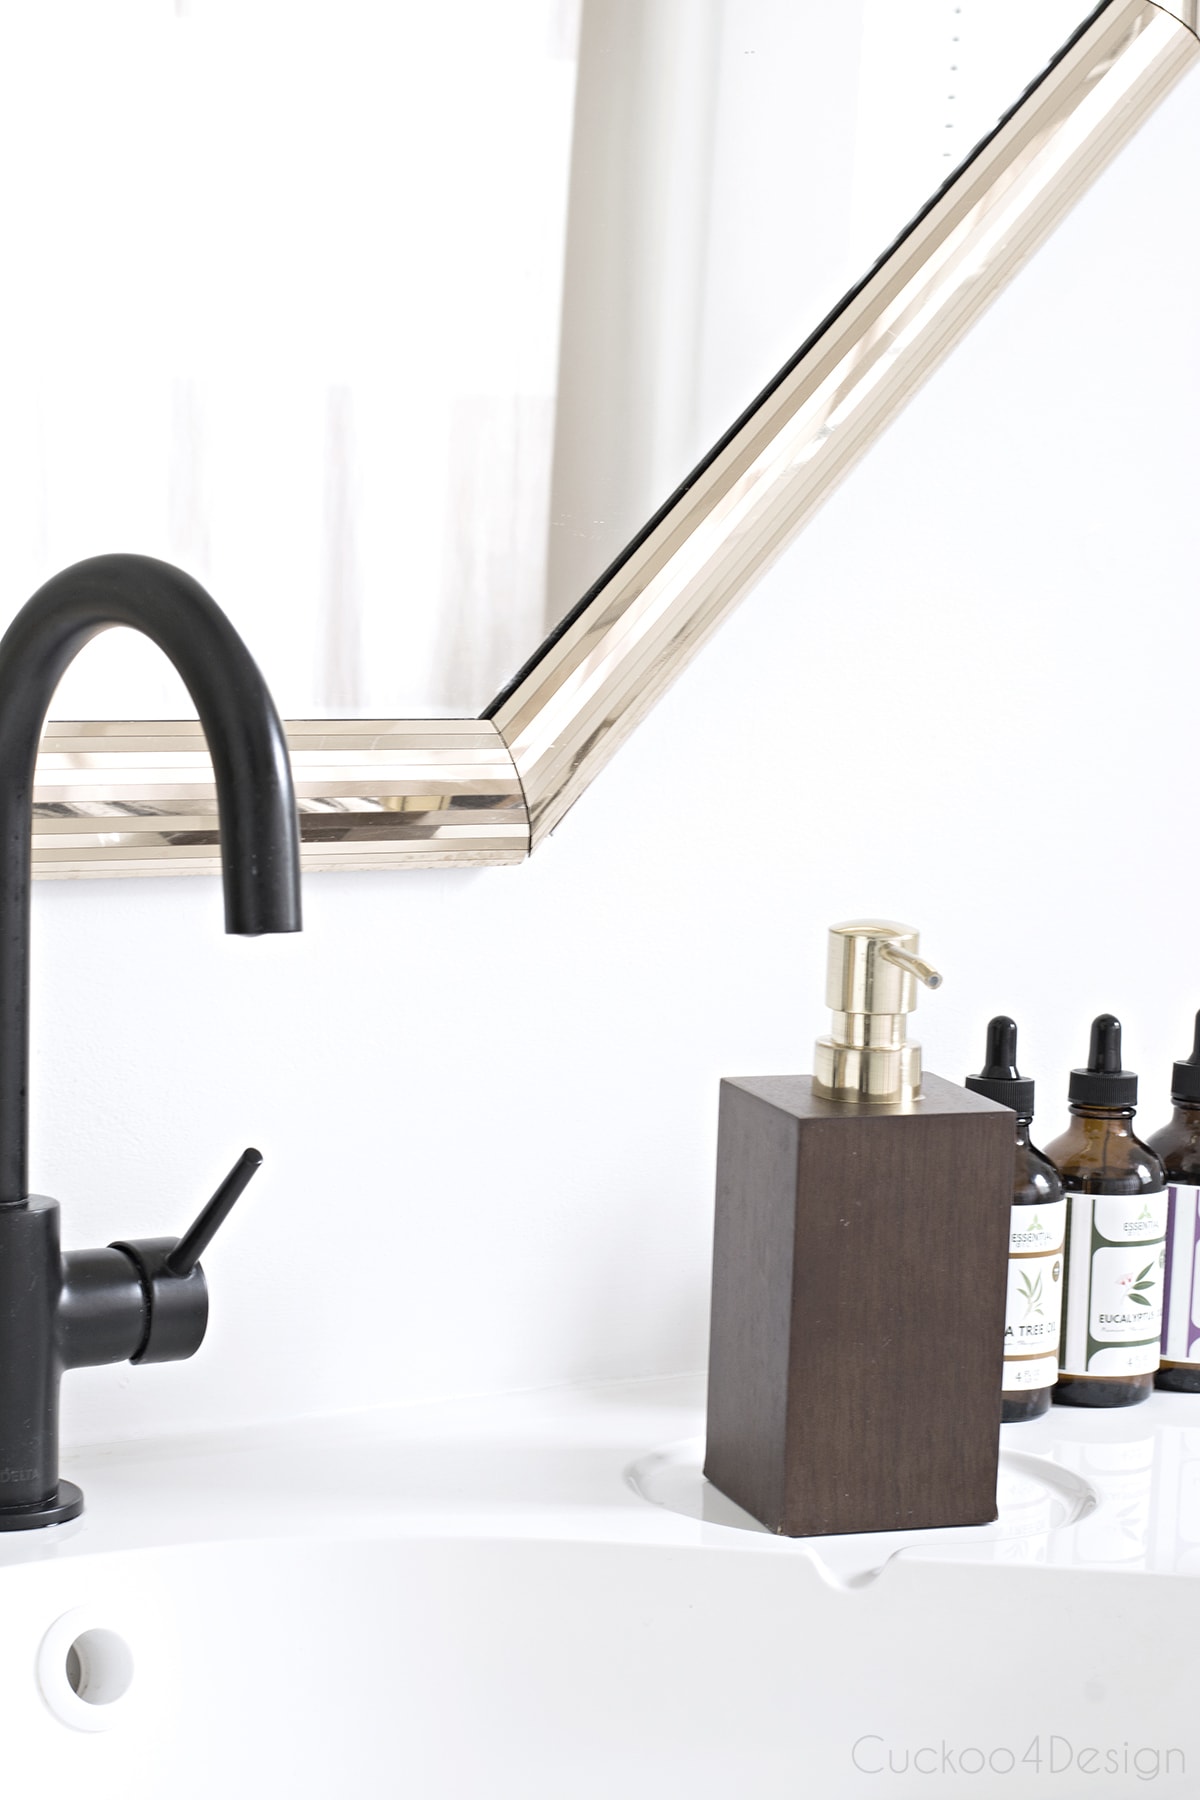
{I love the above oils by the way and use them all the time, click HERE, HERE and HERE. I also much rather buy these types of oils from a regular vendor than the widespread young living oils }
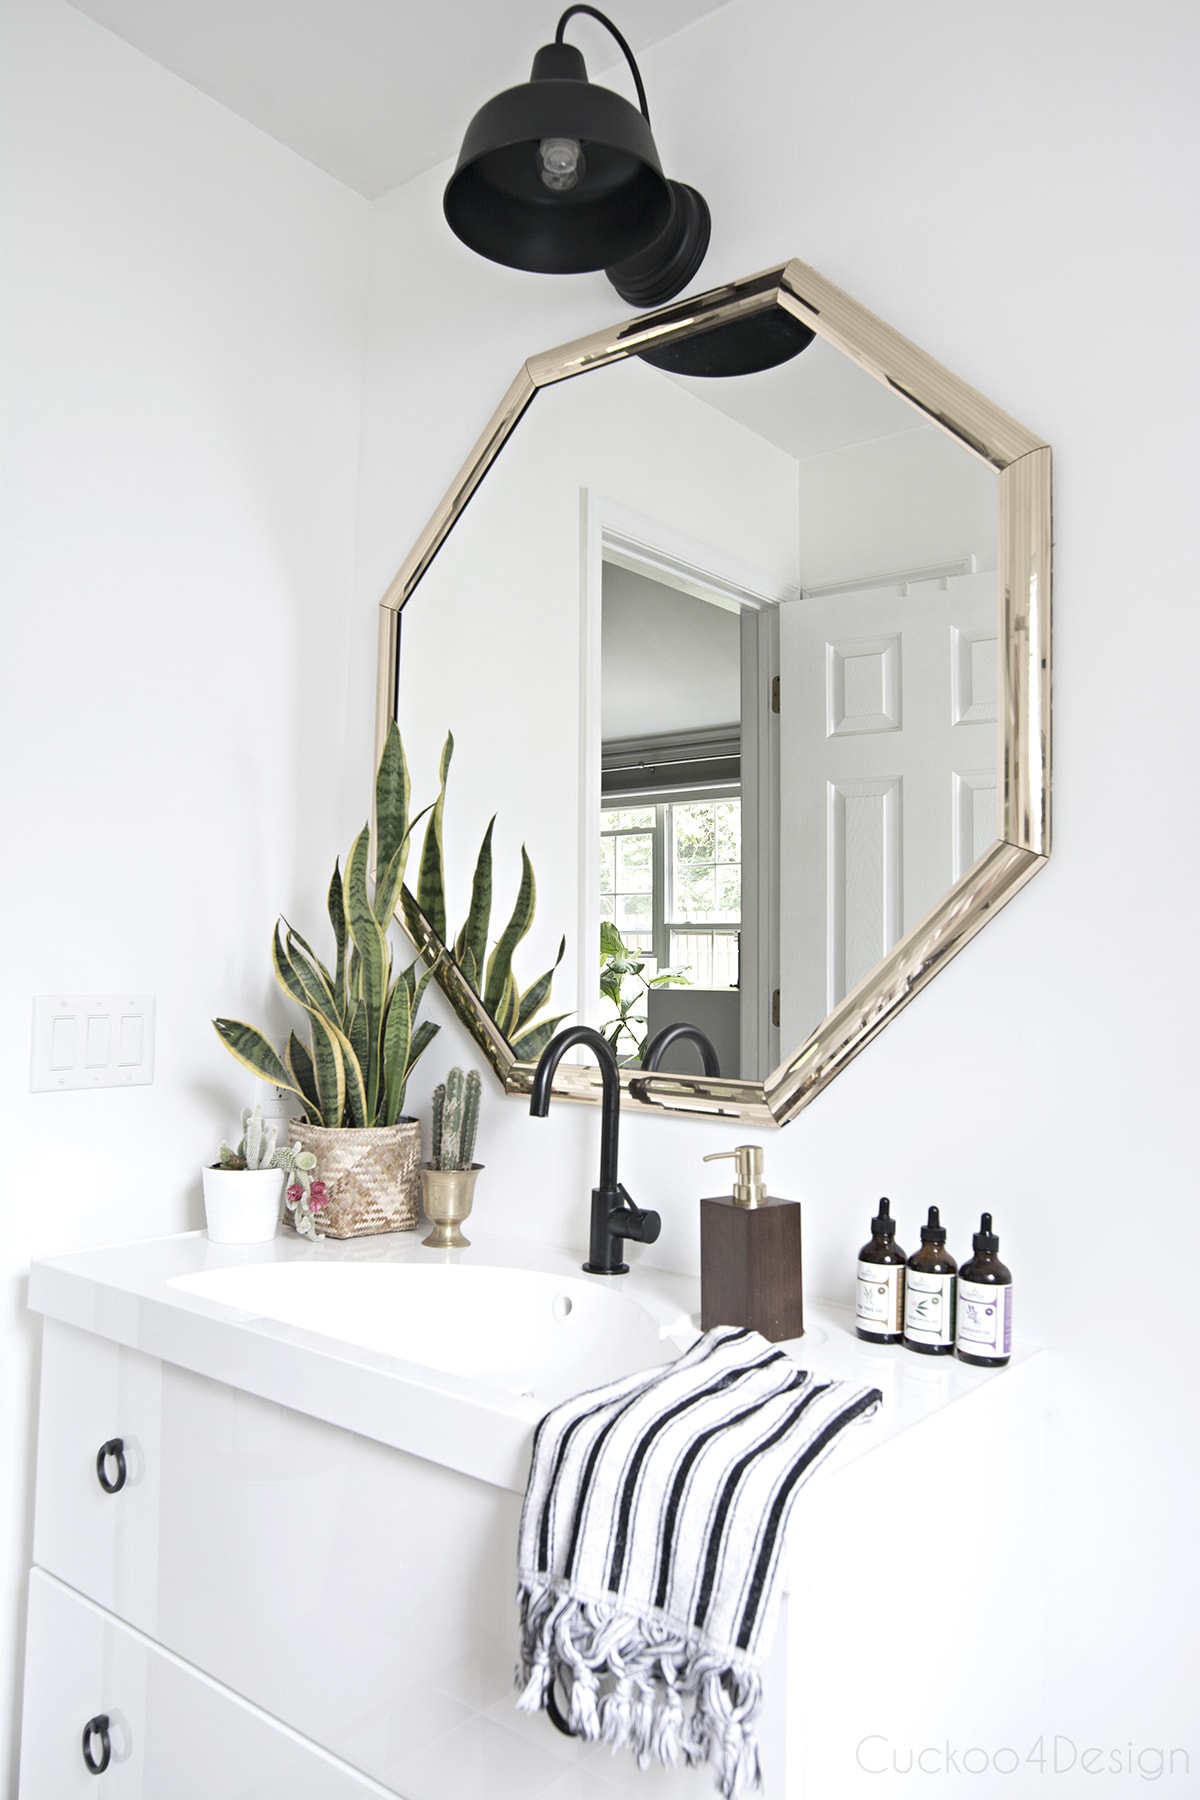
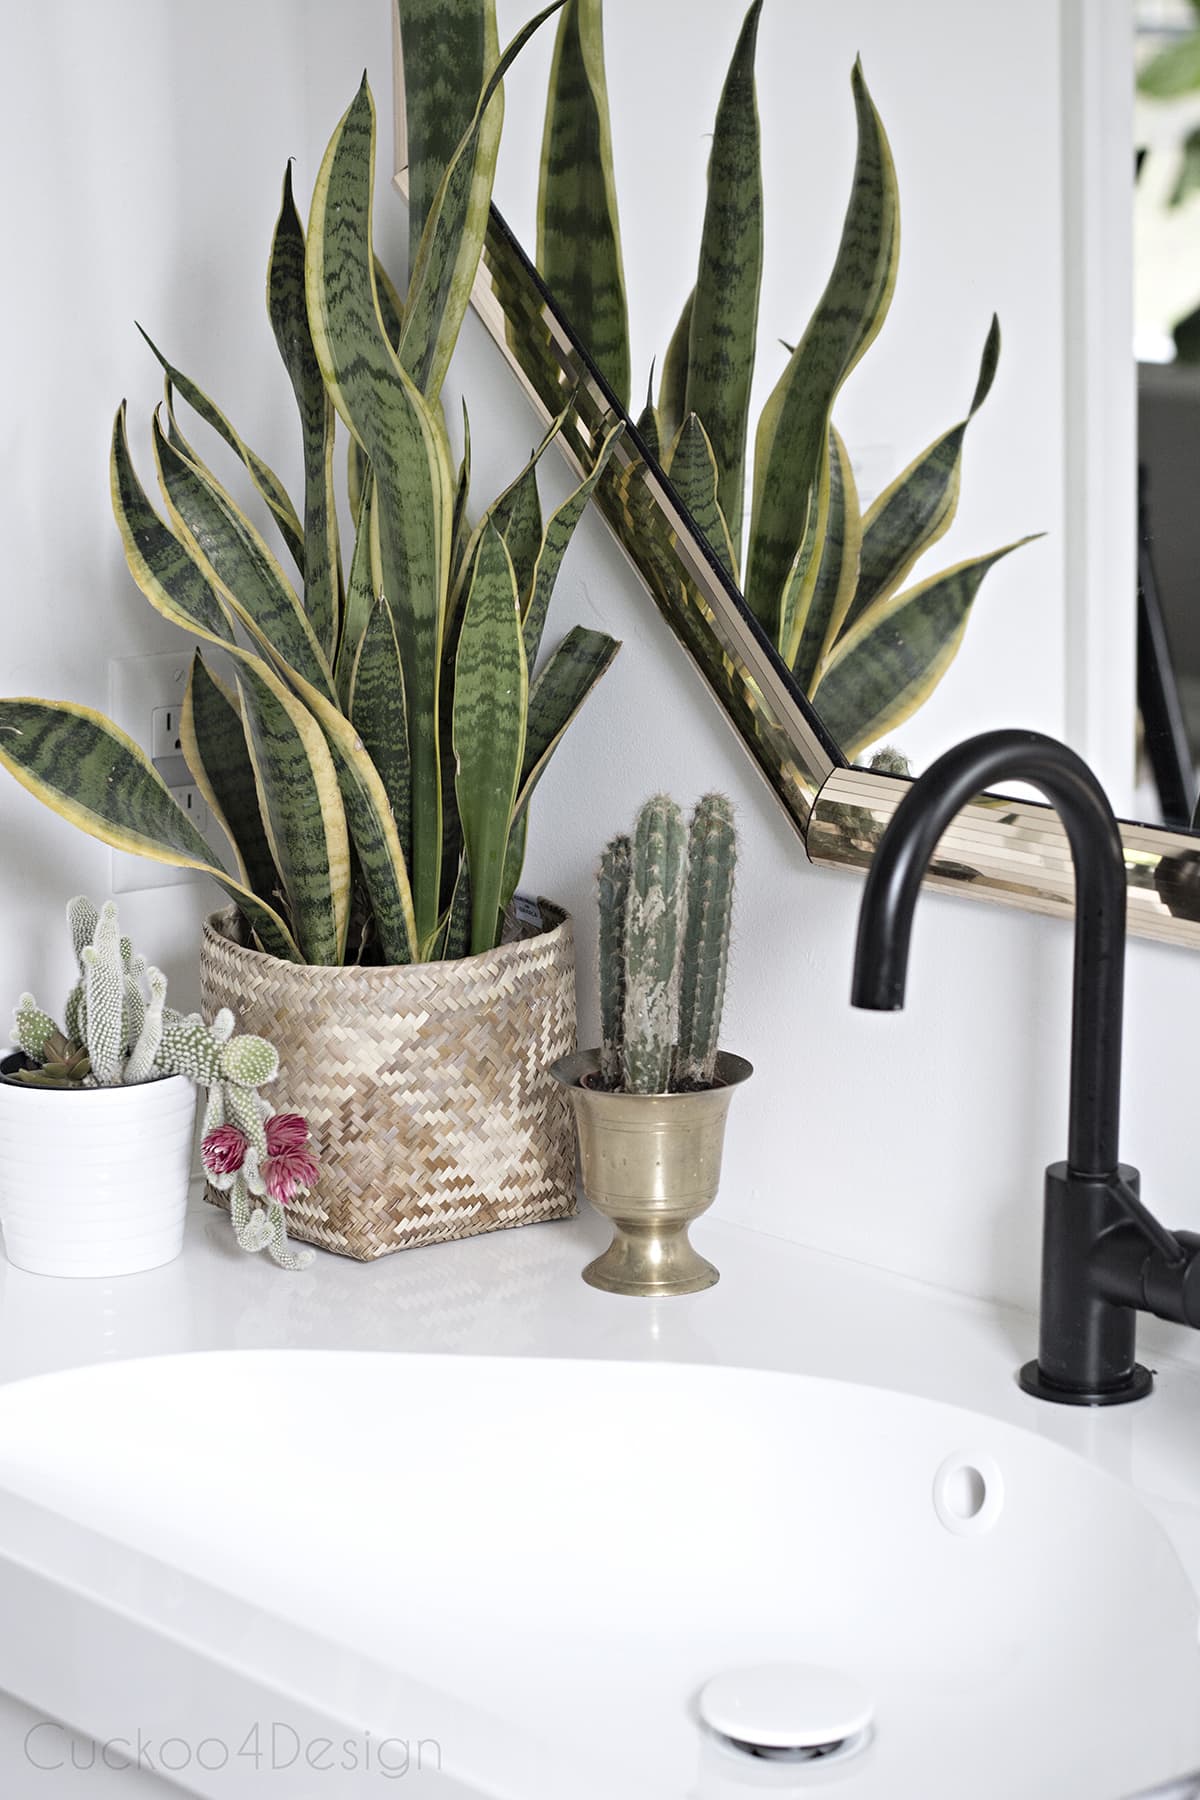
{my Ikea Godmorgon vanity came with the white drain hole and popup drain}
These are all pretty simple fixes and updates but have such a satisfying impact.
Once again the question arrises in my head “ph why did I wait so long”?
Who the heck knows! I should have learned by now that pushing smalls annoying projects ahead of you isn’t the right thing to do.
What have you been pushing ahead of you lately?
Tschüß

(Youleeya)
Here are more of my bathroom posts:
[pt_view id=”bc2f6efi0y”]
it looks so good! i love the plants in there especially, and i have a few oils i use as well. 😉 i just got a couple of glass soap dispensers from amazon that we can just refill- they are simple, but so pretty.
I’ve had the glass ones too. I don’t know why I like getting different ones all the time.
The bathroom looks amazing. I love it all.
Thanks Marty
Did you get my email about the promo pic for the tour. I need it asap. Thanks,
It looks wonderful! I appreciate how you always mention what DOESN’T work, and your process for figuring out rooms while you’re working on them. Thanks for keeping it real.
I get so annoyed when something doesn’t work and I want everyone to know and not make the same mistake 😉
I need to work on our grout too. It’s pretty nasty in my kid’s bathroom! Looking good Julia!
It’s such an annoying process to fix the grout but it’s worth it when it’s done. Looks so so much better now
Absolutely beautiful!! Loving the white fresh grout!! Truly is beautiful!!! I thought I was the only one who goes through soap dispenser!!! Lol
Oh thank goodness I’m not alone with the soap dispensers
I love the result and I love the story behind it! Great lesson!