

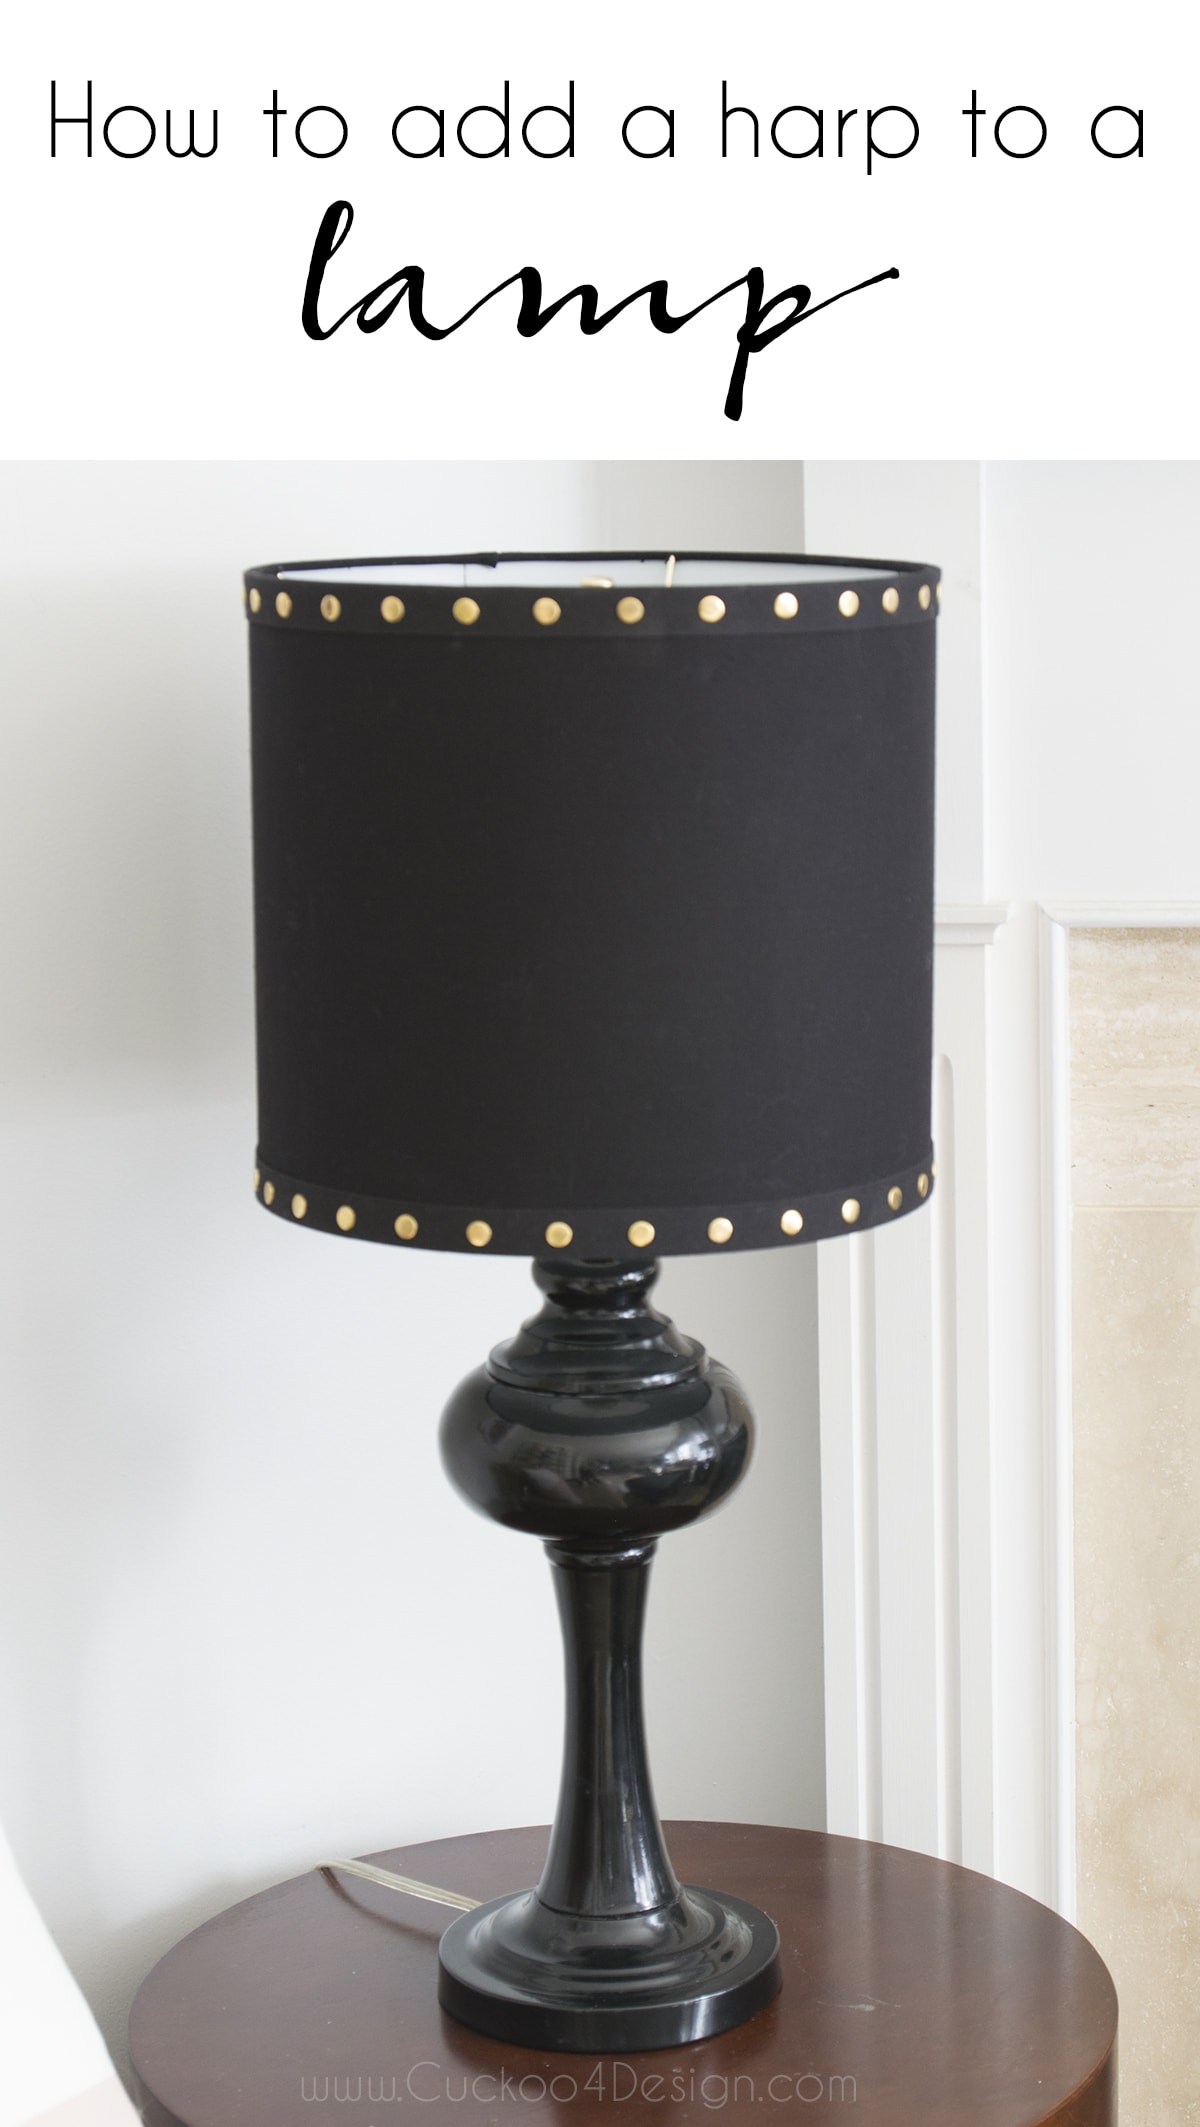
How to Add a Harp to a Lamp (Step-by-Step DIY Guide)
If your lampshade doesn’t fit quite right, the solution might be adding a lamp harp. In this post, I’ll show you step-by-step how to add a harp to a lamp so you can upgrade your shades easily.
Lately, I have only had time for smaller updates around the house, like my hallway I shared on Monday, which I still have to paint by the way. Today is another one of those, but it shows how much small changes and updates can impact a room and decor.
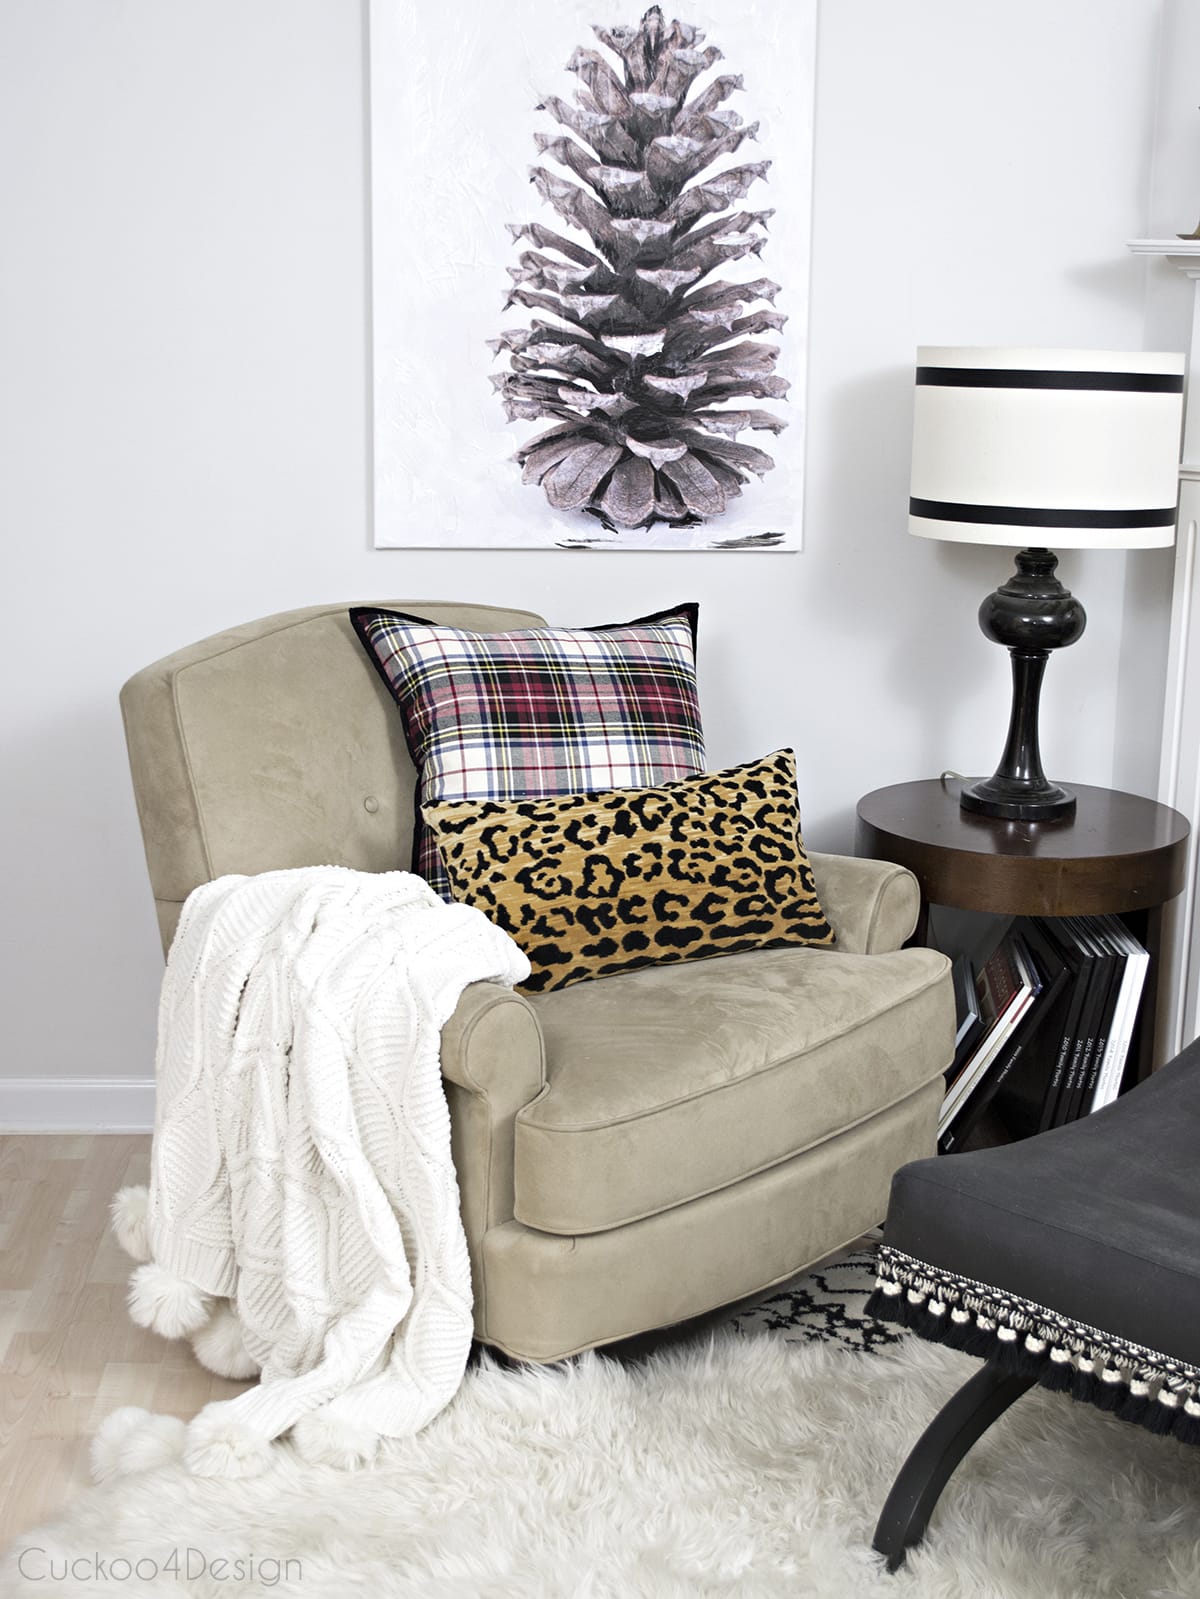
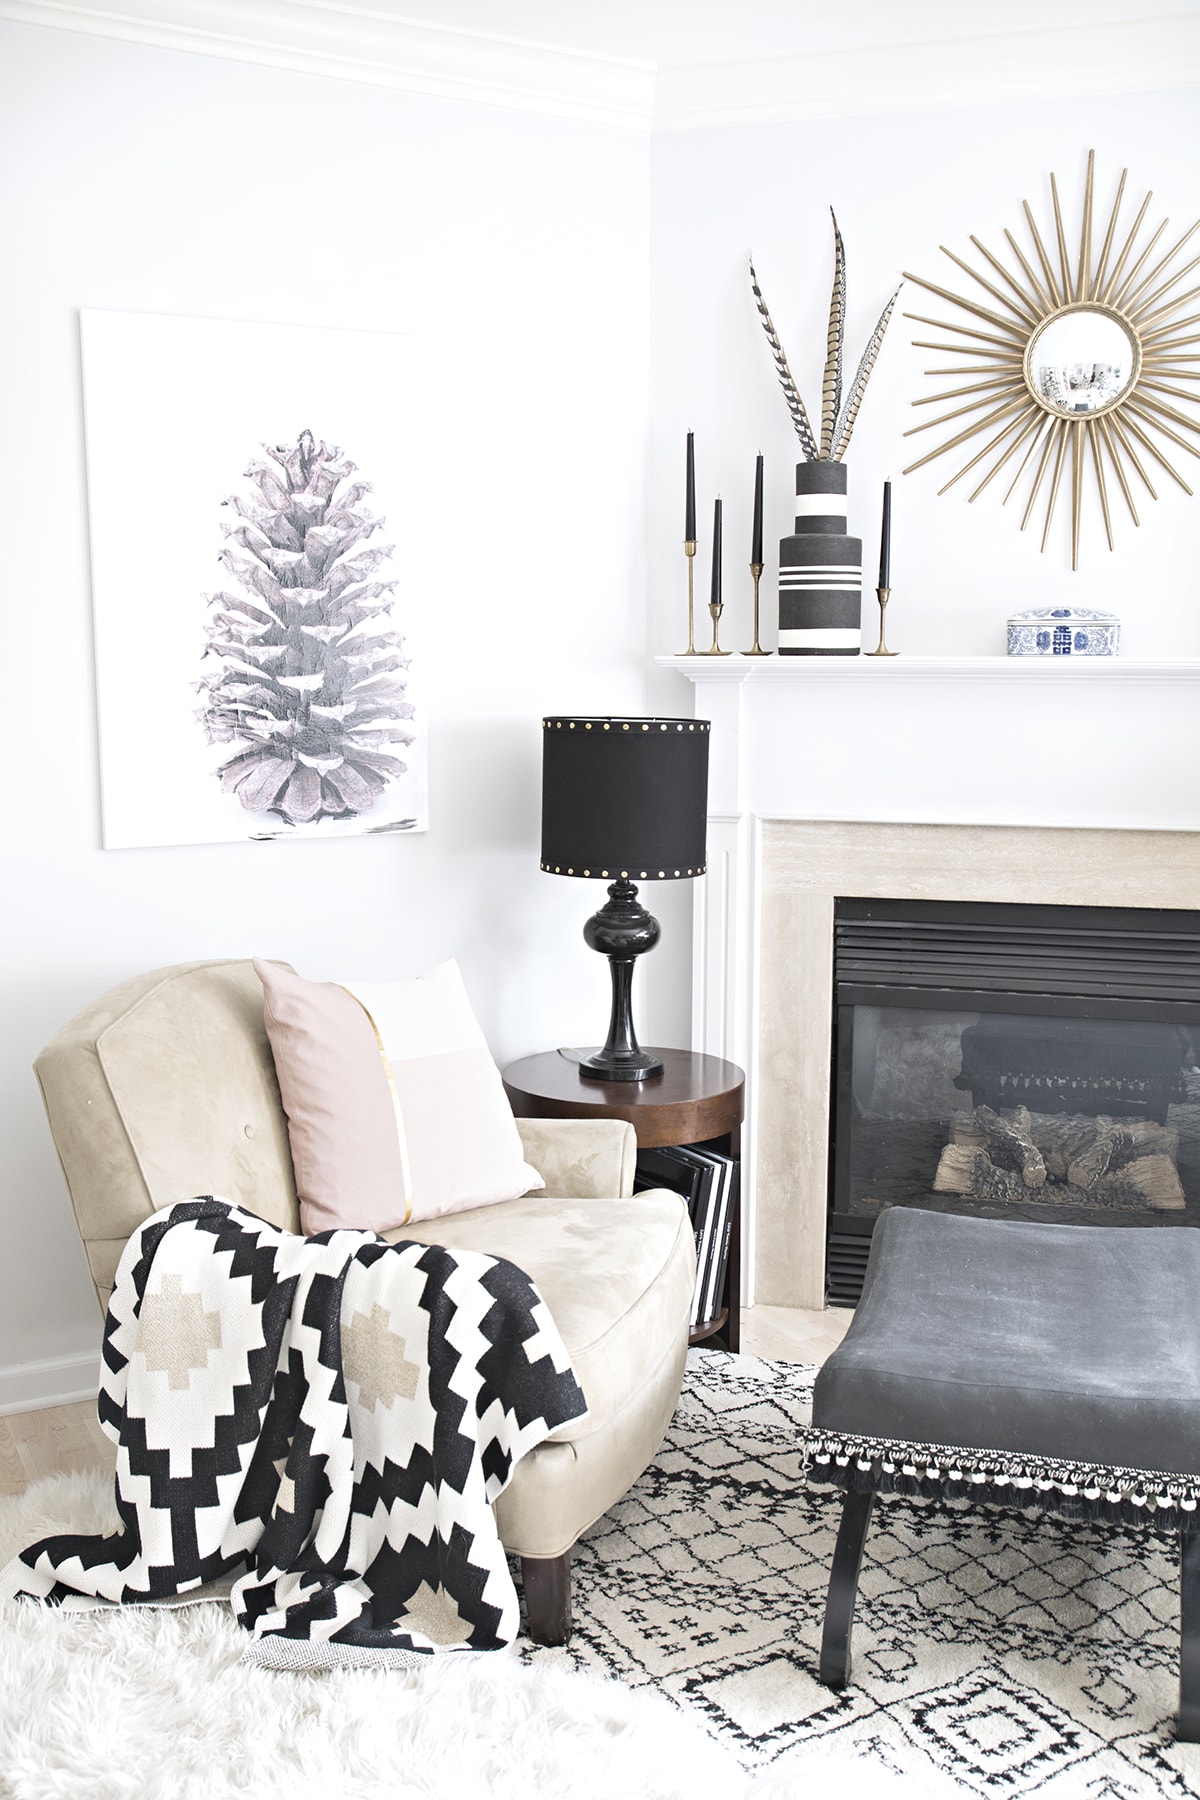
I’ve always felt like the scale of my lampshades was off on my lamps by the fireplace. I bought the lamp bases originally at Target years ago and still really like them. They didn’t come with the shades, but I also bought them at Target. The lamps are plain without any harps to attach different shades that need a harp.
How to add a harp to a lamp
This post may contain affiliate links from which I will earn a commission at no extra cost to you. View my full disclosure policy.
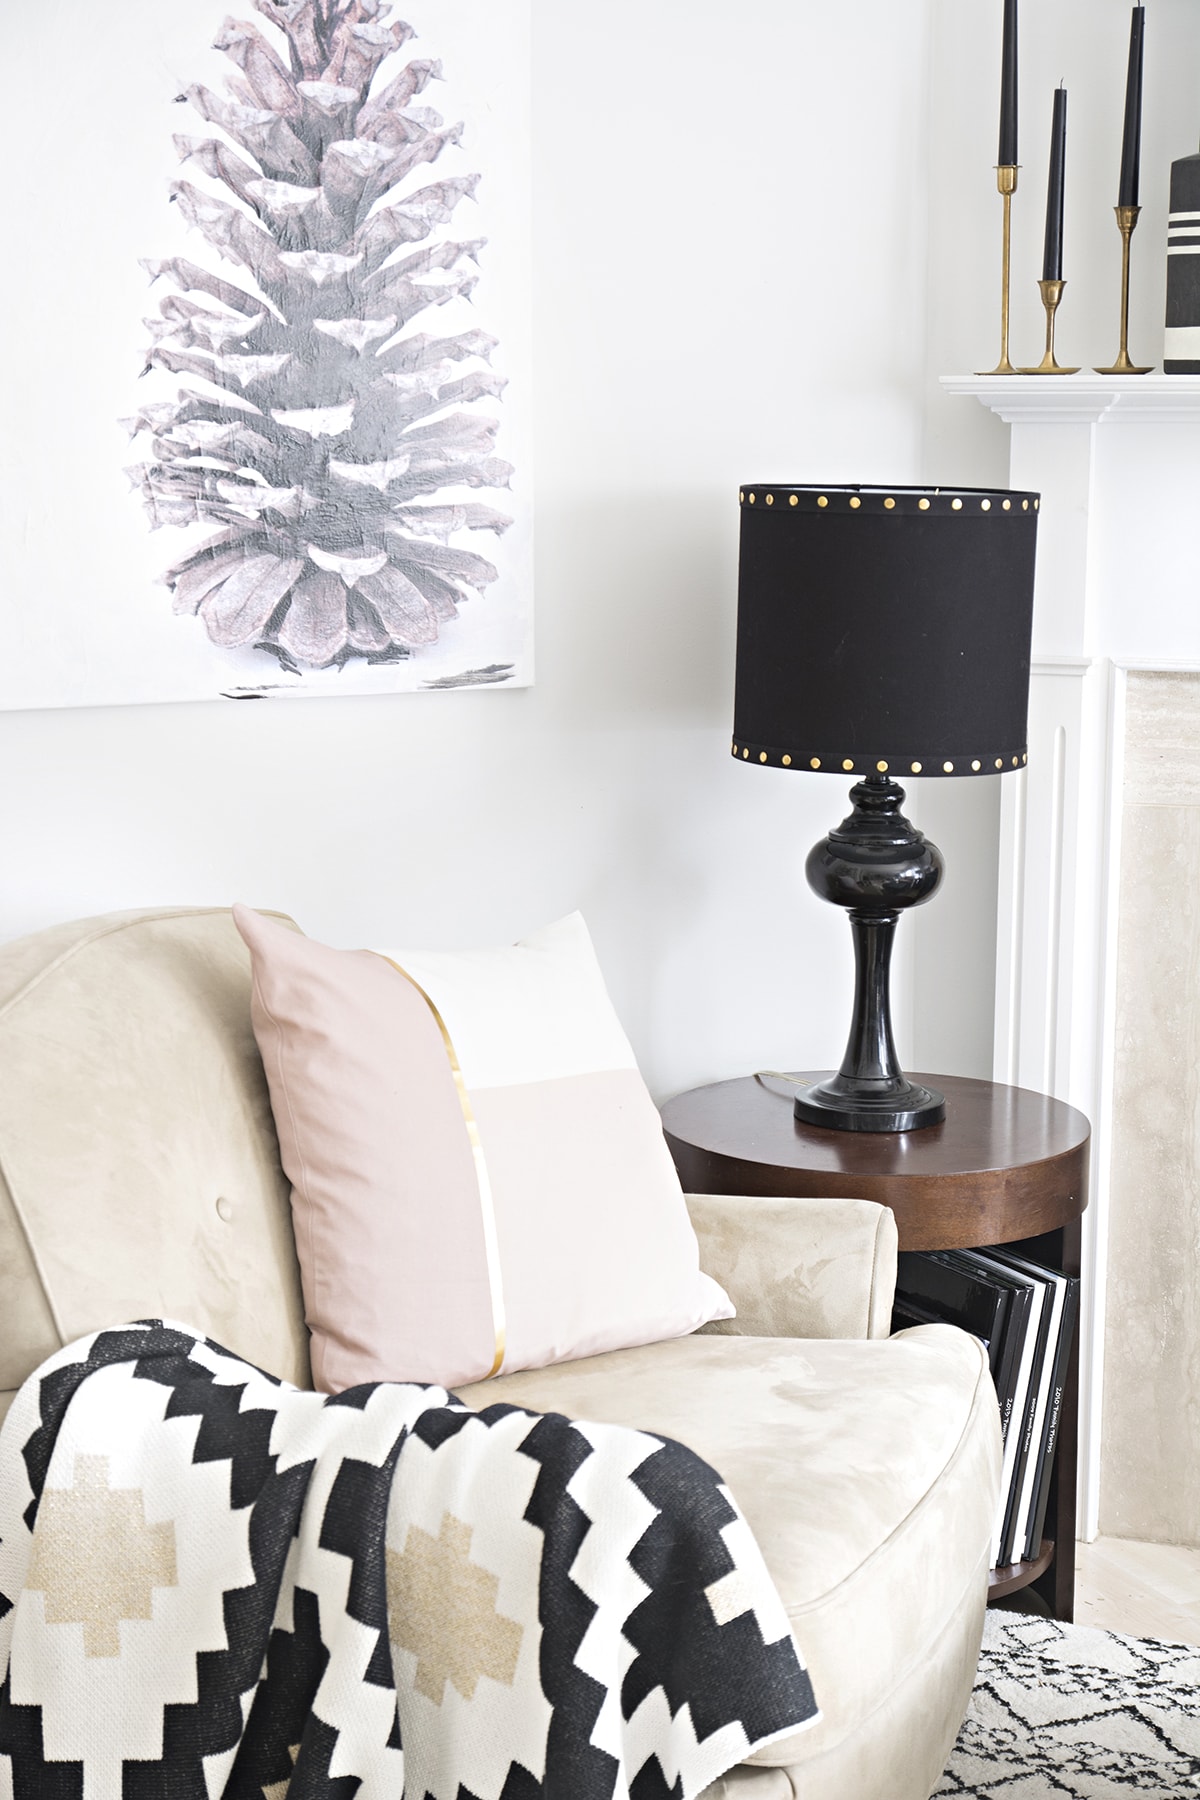
When I recently went to HomeGoods and found a pair of black studded shades, I knew they’d be perfect. The scale was perfect, and the price at $12.99 each was perfect too. The only problem was that they needed a harp on the lamp base.
Don’t get me wrong, I like the shades I had. Just thought the new ones were a better scale and a nice change.
Supplies needed
Instructions: How to Add a Harp to a Lamp
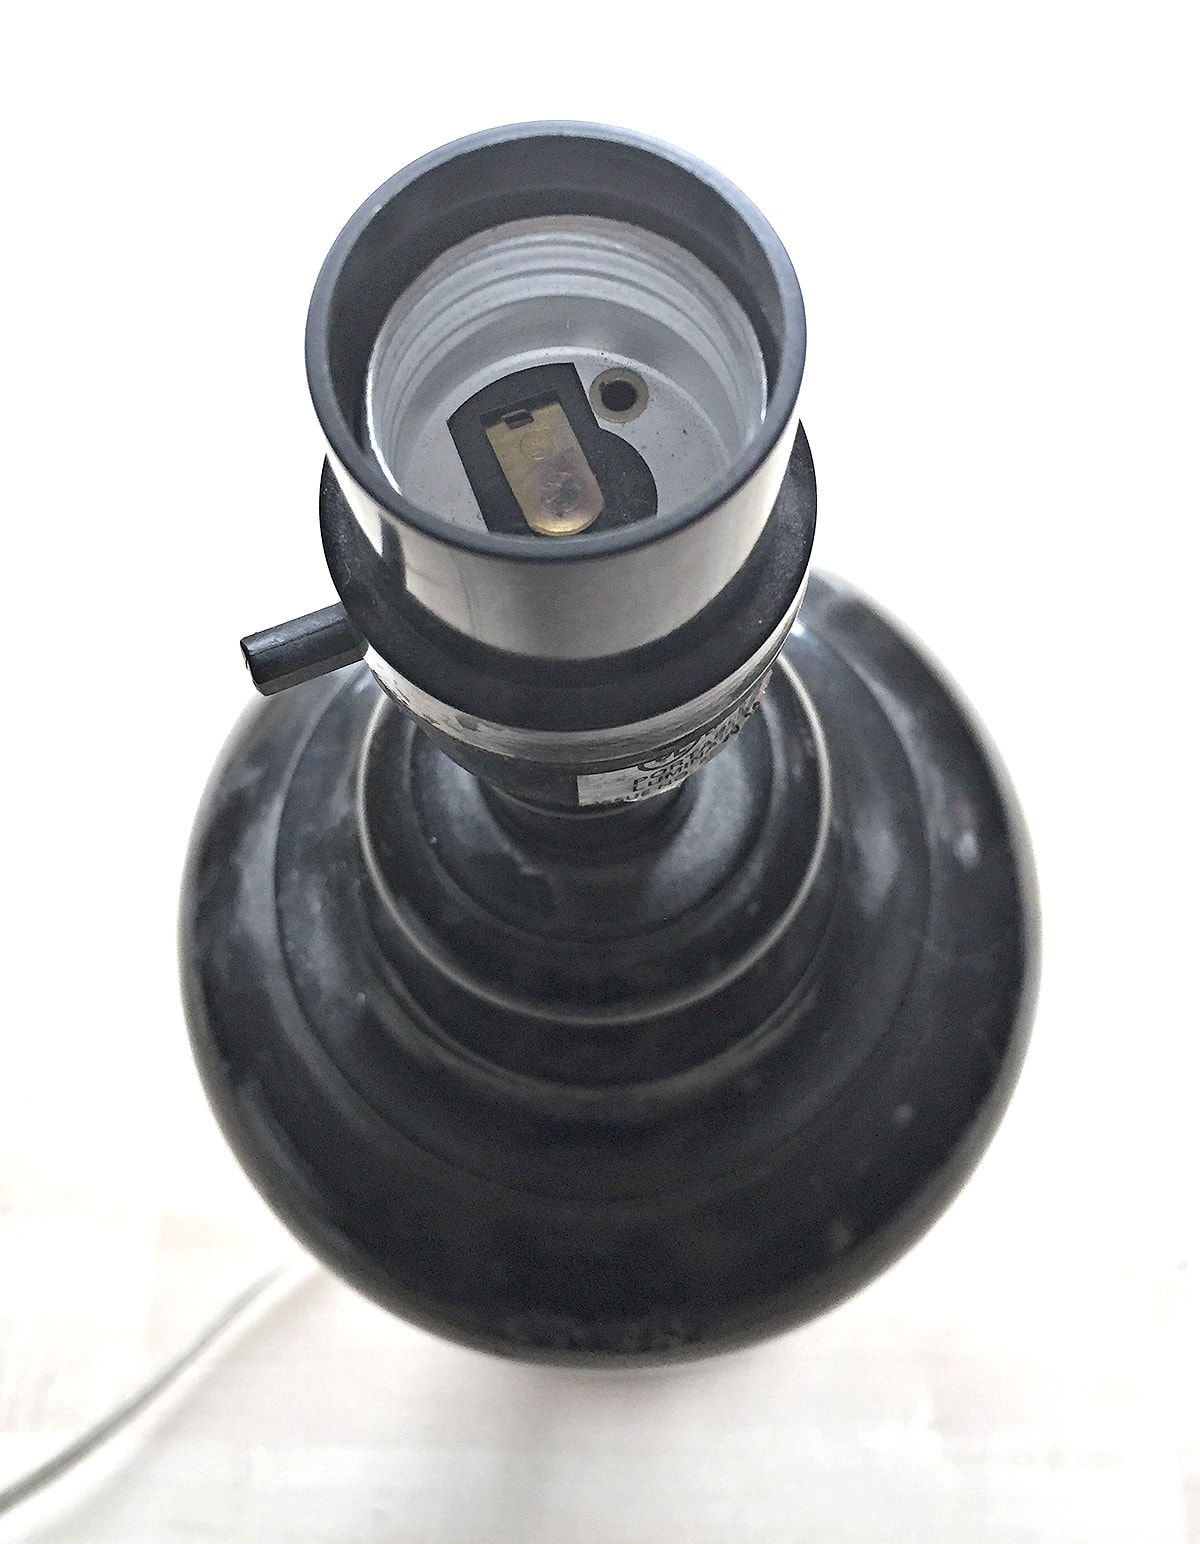
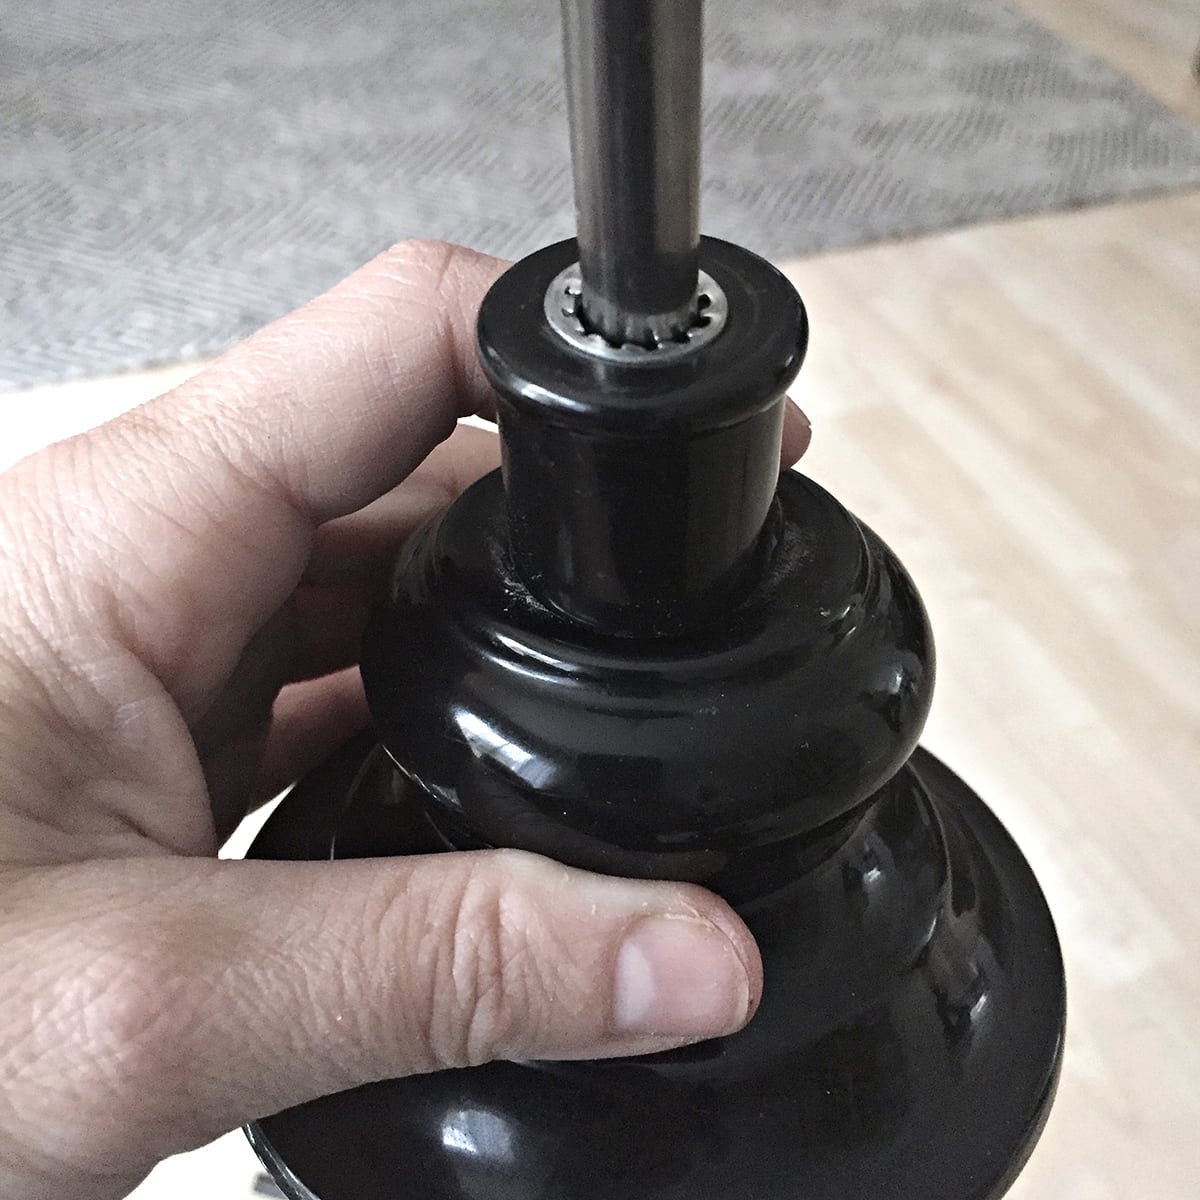
Step 1: Examine your lamp socket before harp installation
Take a close look at the top of your lamp. Many store-bought lamps, like my Target lamps, don’t come with a harp saddle, which is why your lampshade may not fit correctly.
This is what the top of the Target lamp looked like:
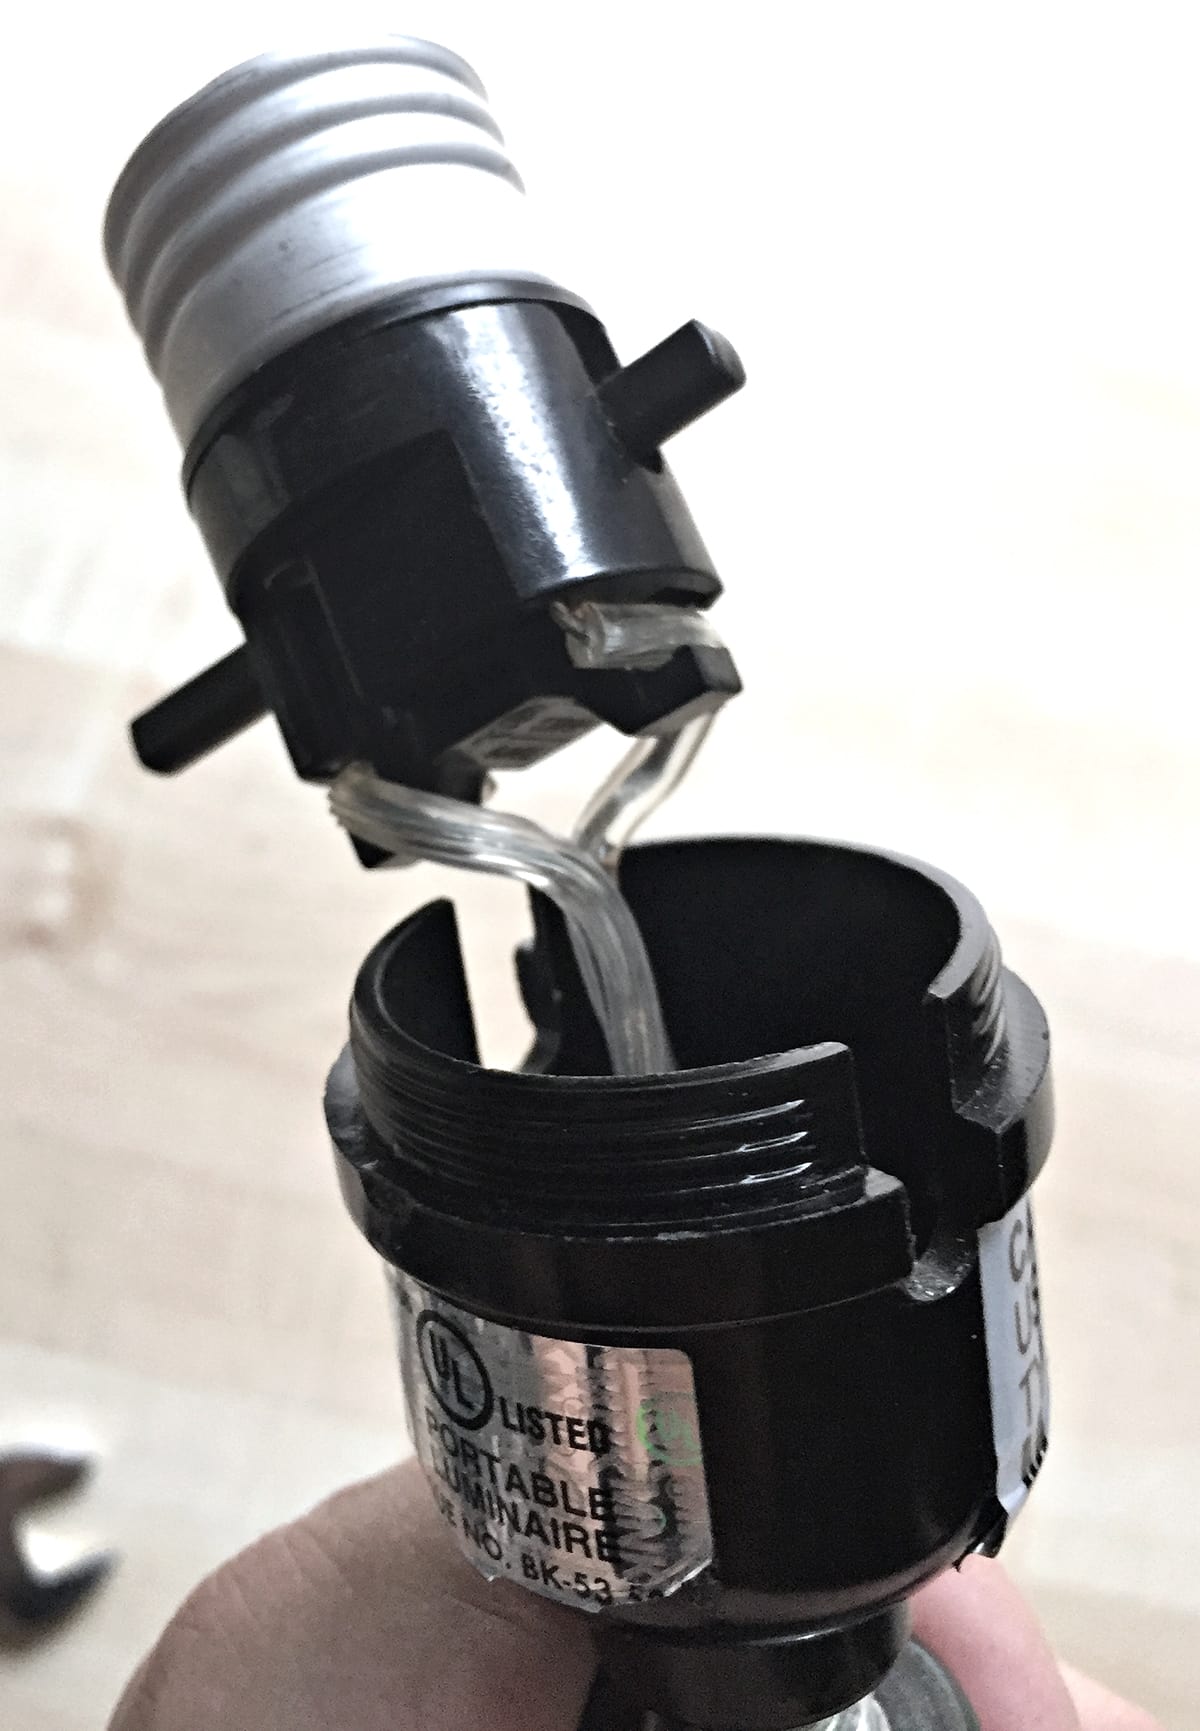
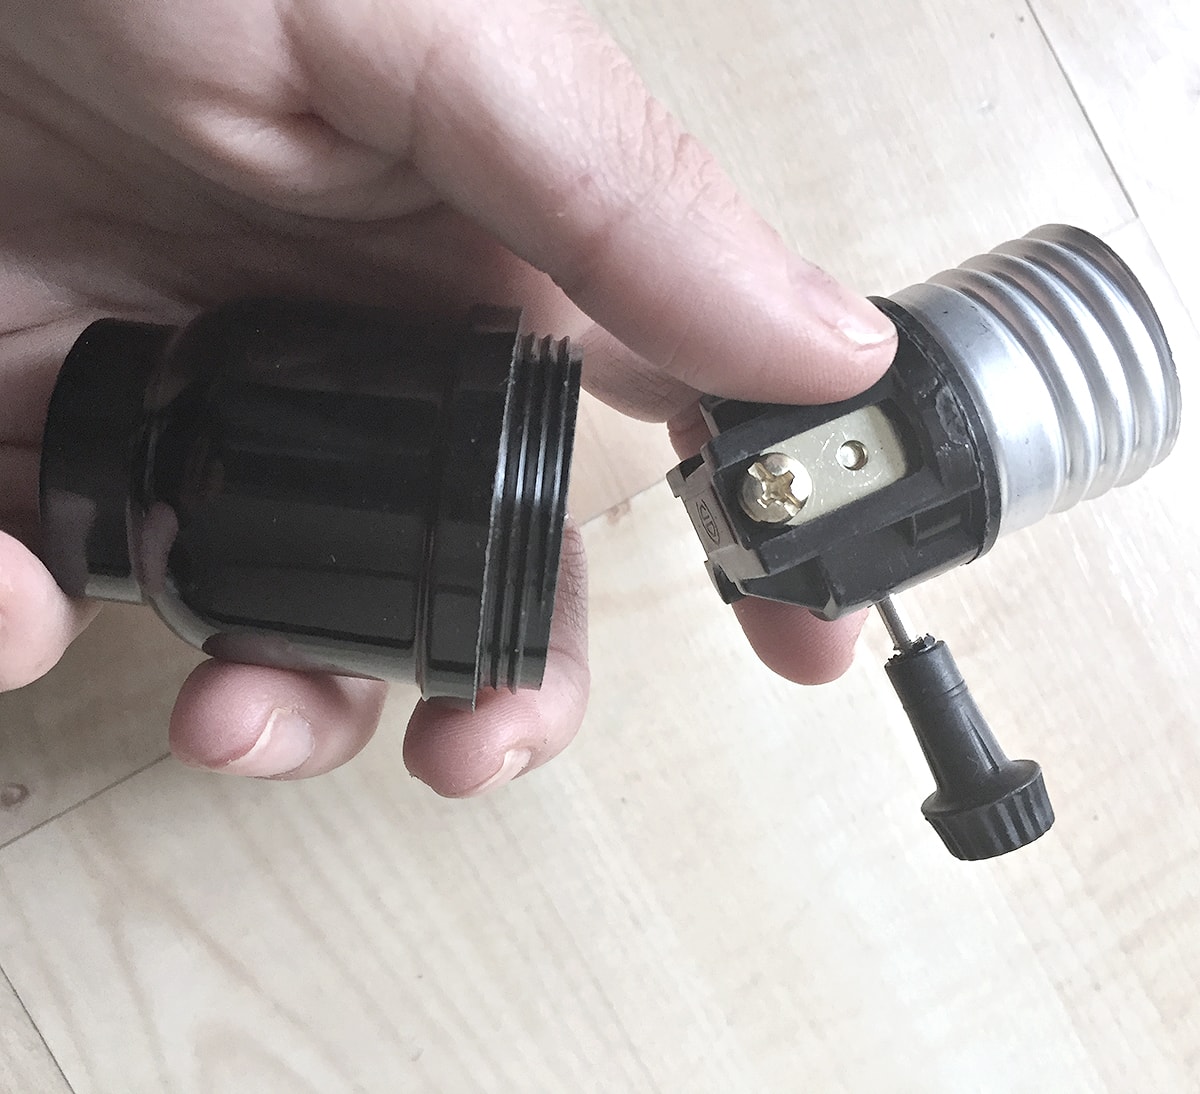
Step 2: Disassemble the lamp base
I explored and took one of the lamp bases apart by loosening the screws at the top and bottom of the lamp base. I then carefully pulled apart the socket so I could access the pipe and wiring.
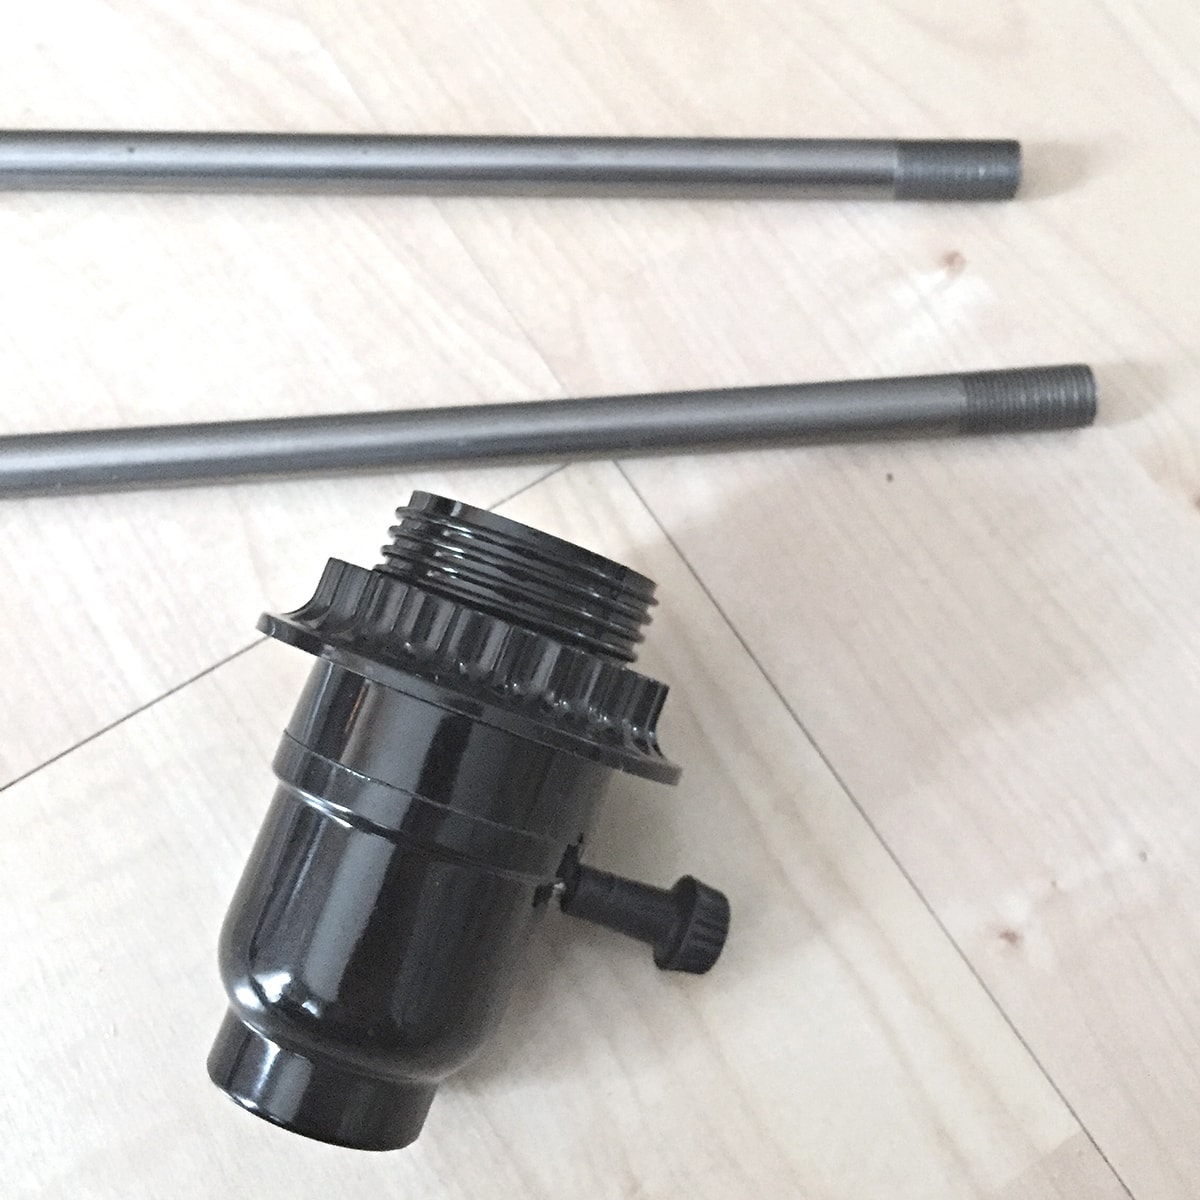
Step 3: Remove the old socket and pipe for the harp fitting
Some lamp tops are glued in place (like mine!), which makes unscrewing impossible. If this happens, you’ll need replacement lamp parts. I ordered a new lamp steel pipes, and light sockets with 3-way switches. Make sure you buy the correct pipe length for your lamp — mine was 15″, but yours might be different.
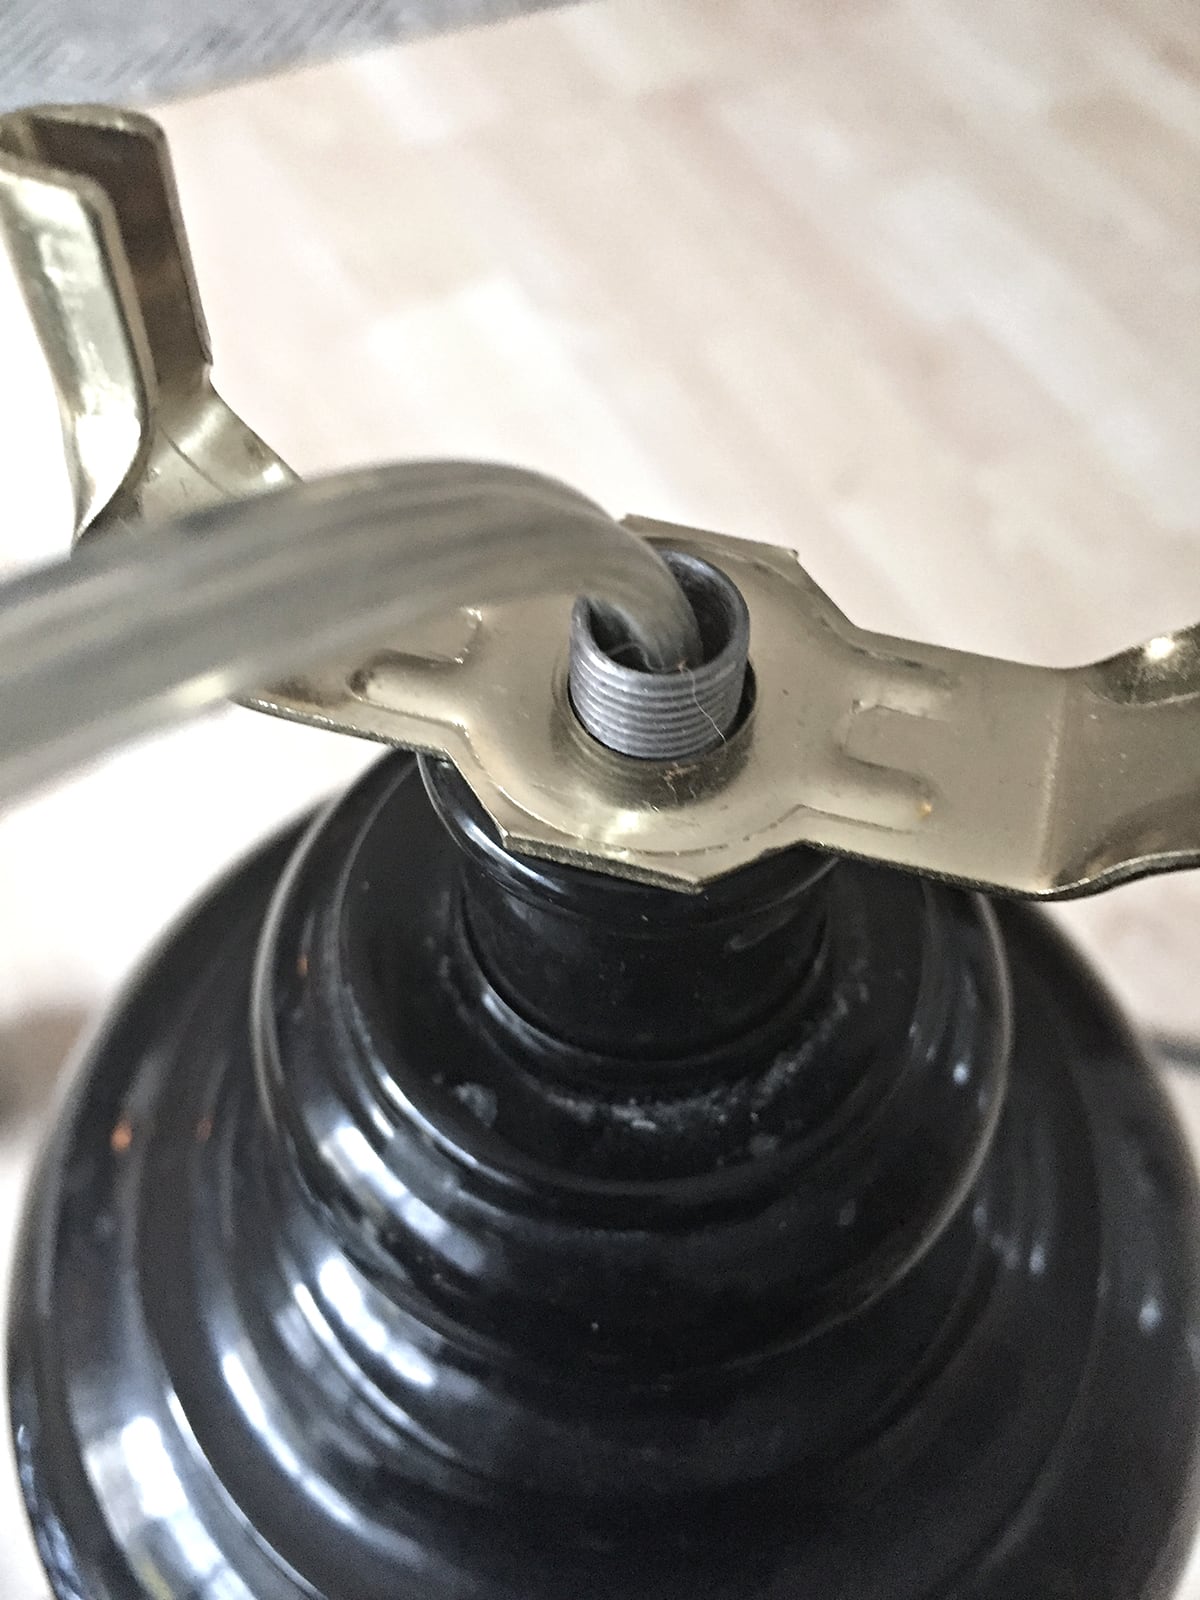
Step 4: Install the new pipe and socket
Then I threaded the new pipe into the lamp base and secured it with the screws. I reattached the socket base, but didn’t install the socket yet because the harp needs to go on first.
Step 5: Attach the harp saddle to the lamp
I slid the harp saddle, which is the small metal piece that holds the harp onto the pipe, before putting the socket back in place for the wiring.
Once the harp saddle is attached, you have to tighten everything securely.
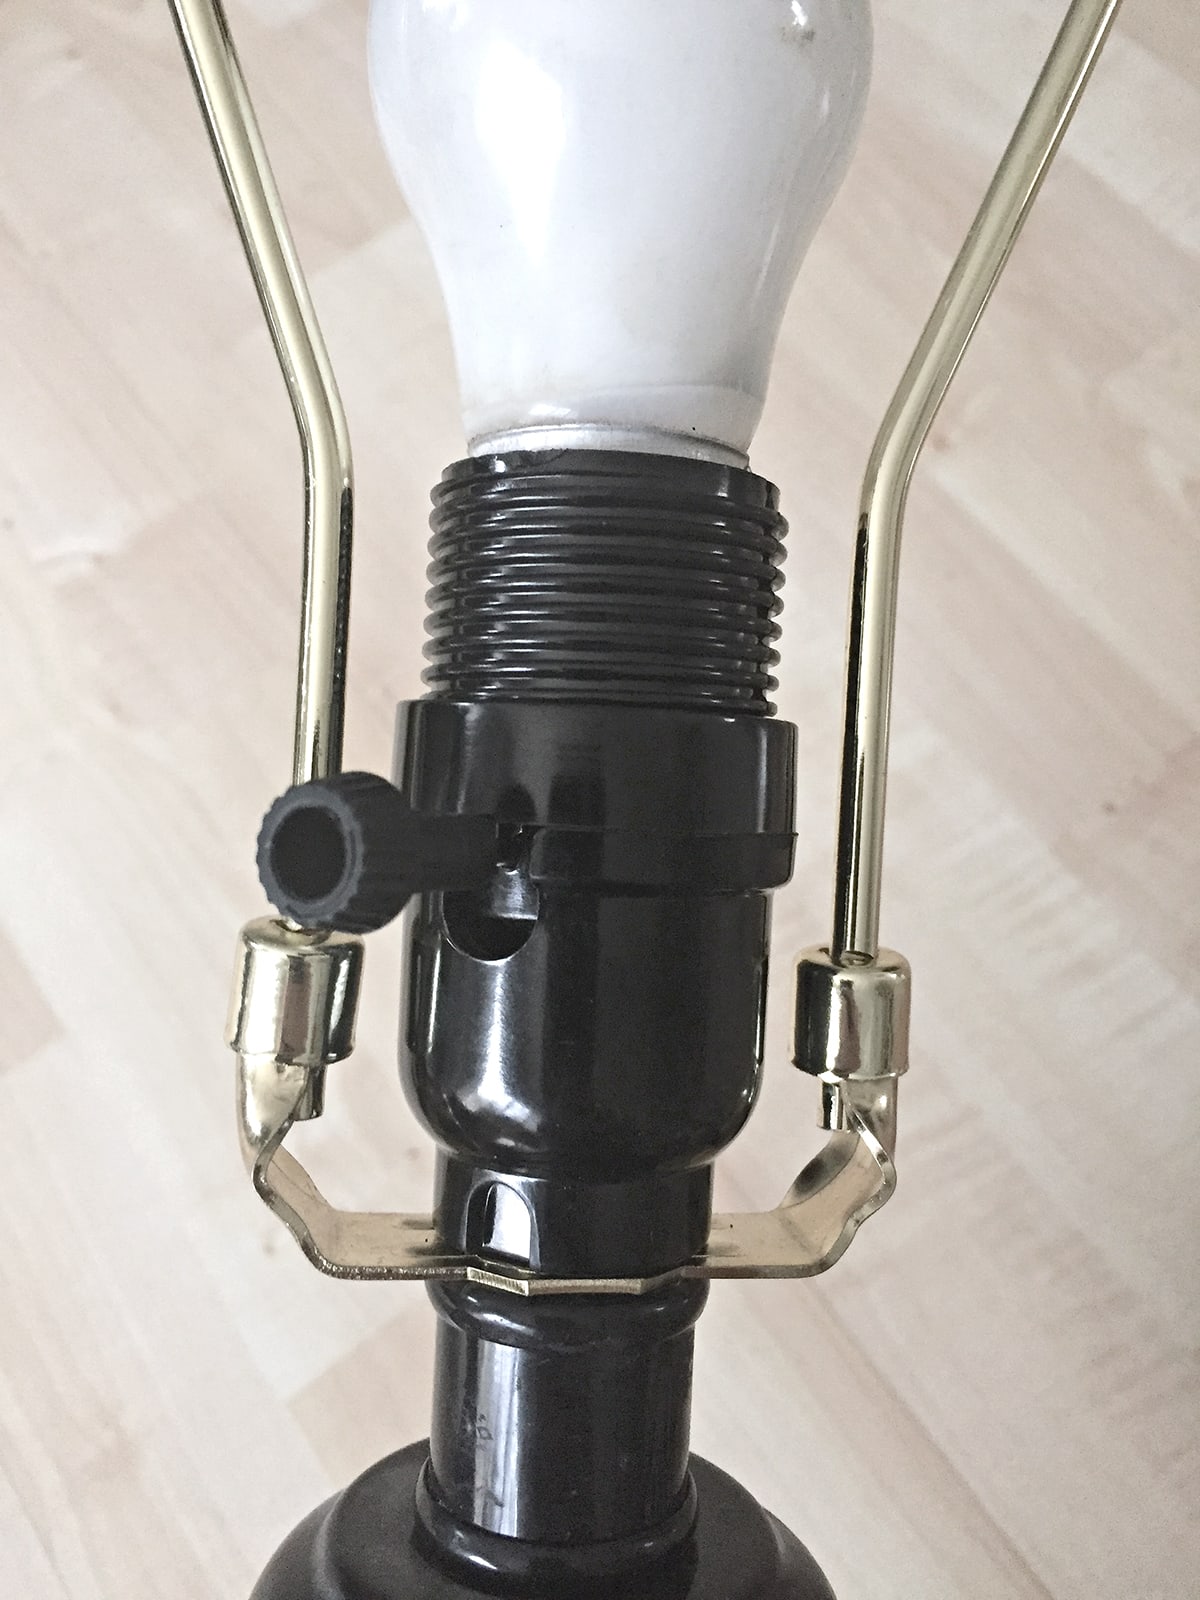
Step 6: Rewire the socket with the new lamp harp
I then reconnected the electrical wiring to the socket. If you need guidance, I recommend this helpful YouTube video that walks through the wiring process step by step. There is no need for me to come up with my own video when this one is informative and helpful, and just what I needed.
Step 7: Finish and add your lampshade with harp
After that, I slid the harp into place, added the lampshade, and secured it with the finial. Screw the light bulb in, plug the lamp cord back in, turn it on, and admire your handywork!
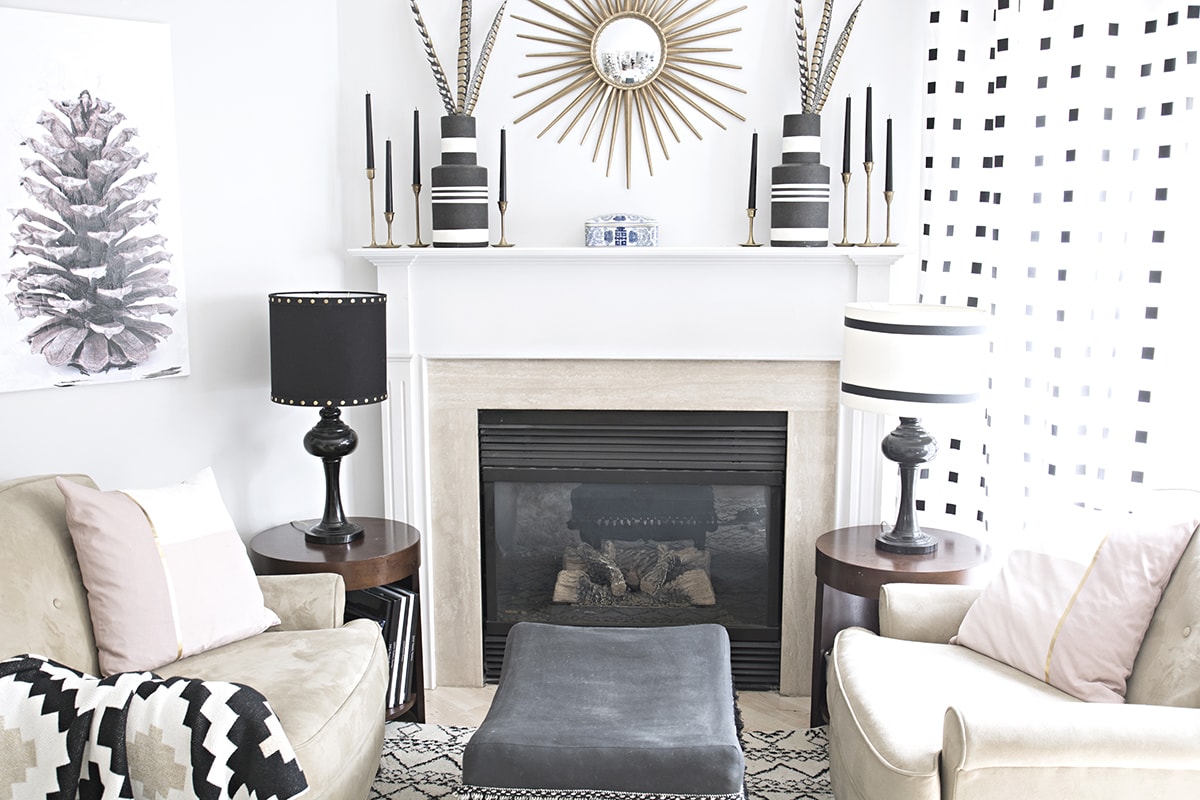
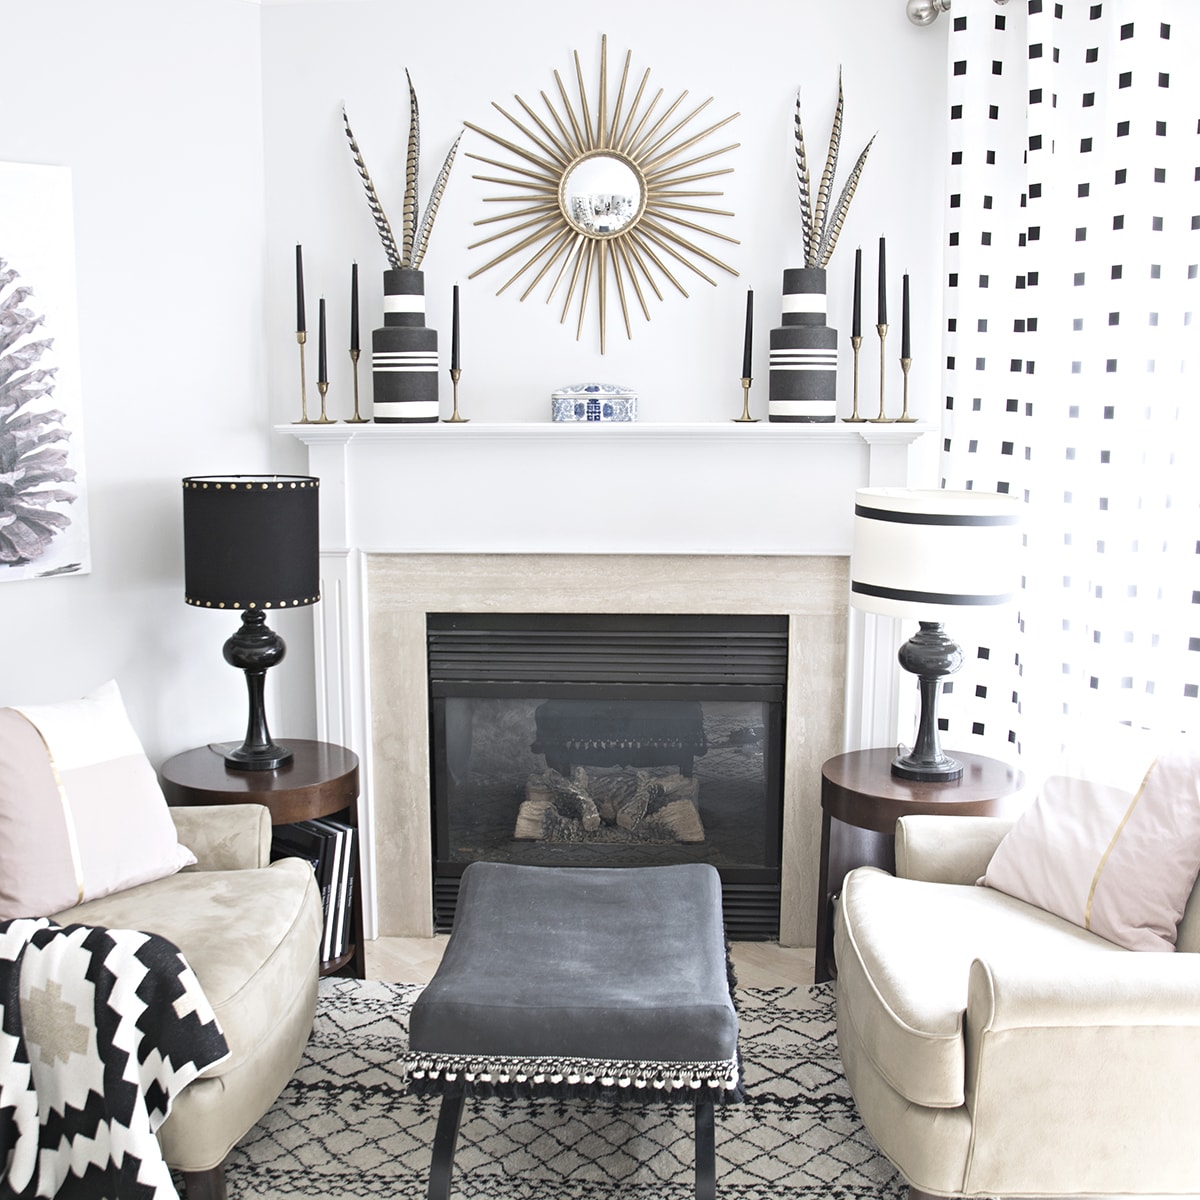
Finished lamps with harp and new lampshades
And here is the new shade, which is the perfect fit now. I can even go back to the old lamp shade if I feel like it.
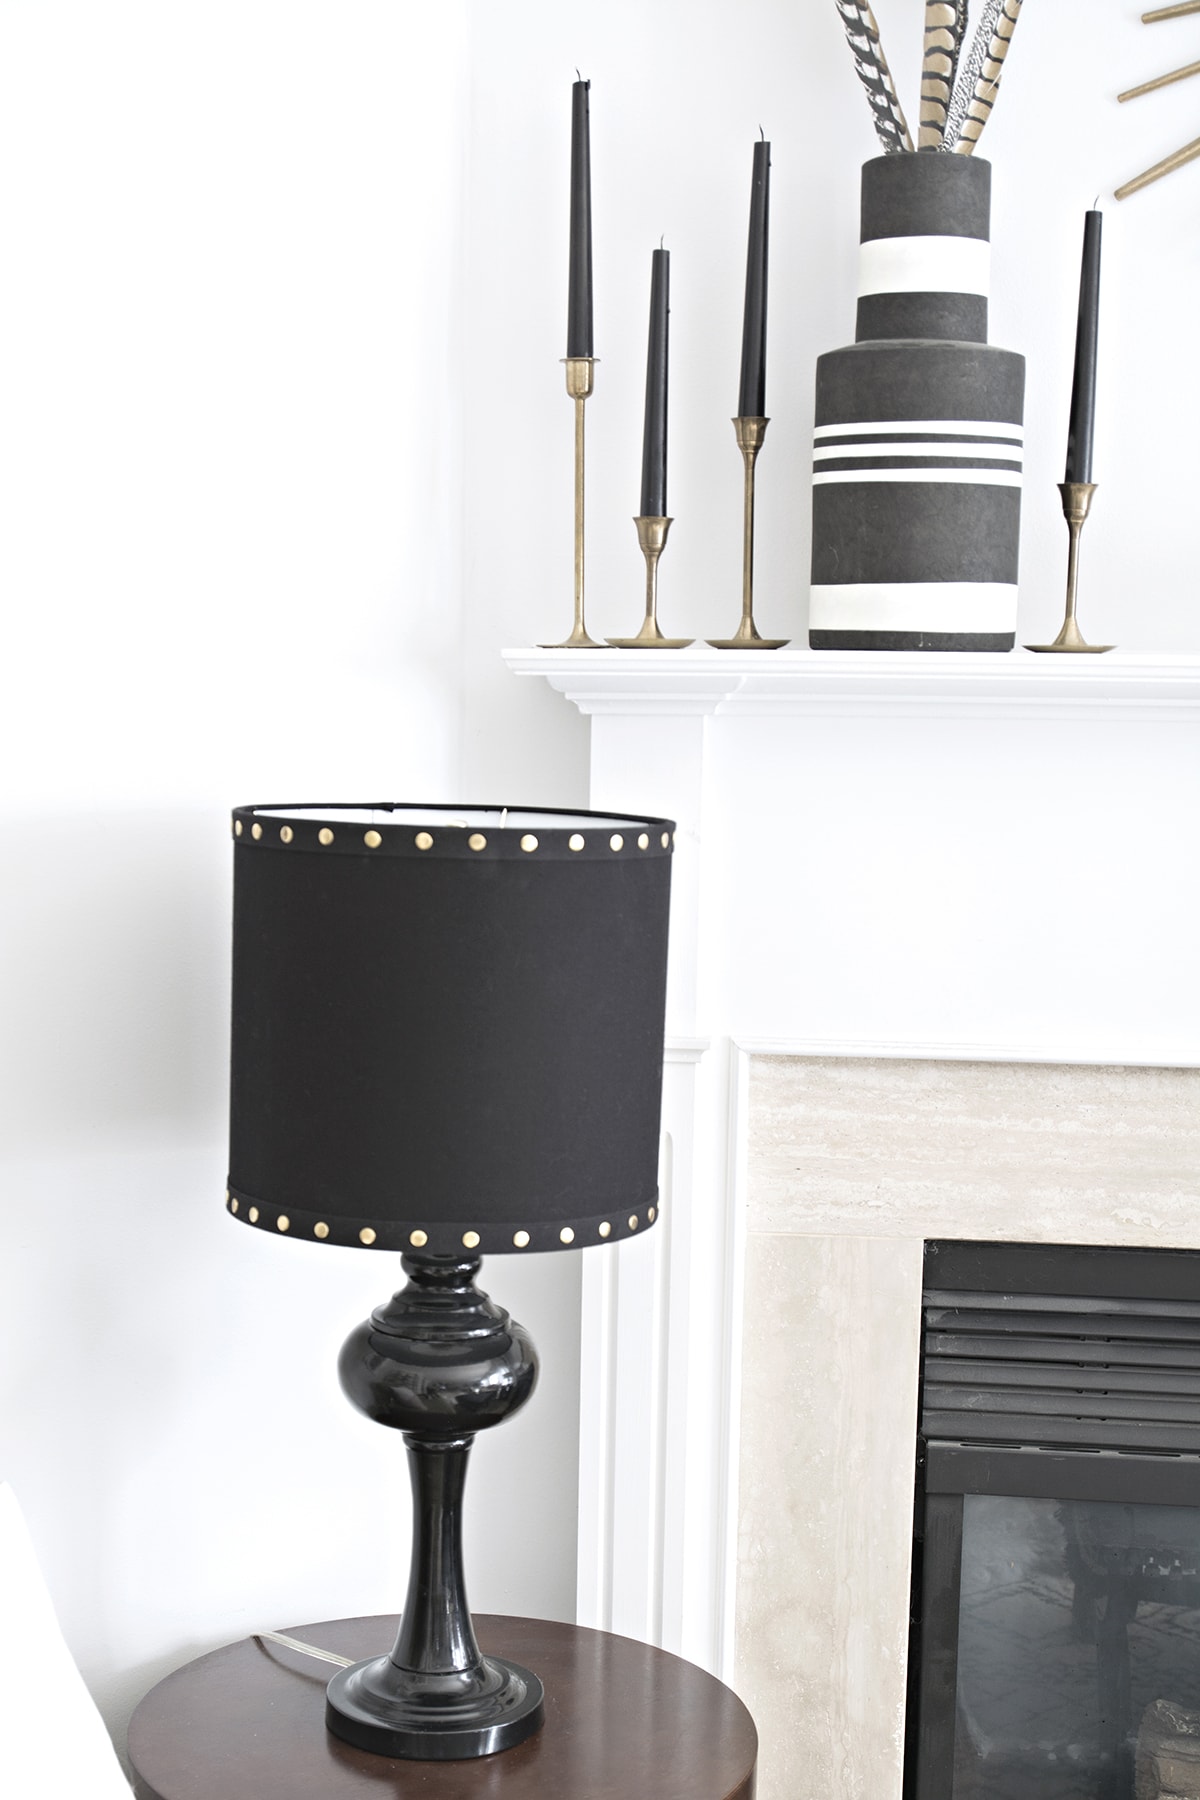
I searched high and low for the same shades online and just couldn’t find them. It’s just another lucky HomeGoods find, and I’m sorry I can’t share a link with you guys. But you can totally DIY something like this. Simply buy some black lampshades, and all you have to do is add some nailhead trim.
FAQ about adding a harp to a lamp
A lamp harp is a metal frame that attaches to the lamp base and holds the lampshade in place. It also supports the finial on top. Without a harp, certain lampshades won’t fit correctly.
Yes, in most cases, you can add a harp to any lamp by swapping out the socket and adding a harp saddle. Just make sure you purchase the correct size pipe and harp for your lamp base.
Not all lampshades require a harp. Some shades are designed to attach directly to the bulb with clip-on shades or fit with a UNO fitter. However, larger or heavier lampshades typically need a harp for stability. The clip-on shades are typically used on wall sconces or chandelier-type light bulbs.
Harp sizes are measured in inches from the bottom saddle to the top. A good rule of thumb is to pick a harp that positions the bottom of the lampshade so it just covers the socket and bulb.

Try it if you have a lamp that needs a little something else. Another small change that I want to make is to replace the pinecone art that I recently made as easy DIY Christmas canvas paintings. I don’t know how much longer I can get away with the wintery/Christmas look of the pinecone. What do you think?
Fireplace Decor Update
Since first writing this post, my fireplace area has gone through quite a transformation. I swapped out the table lamps and added a lighter, boho-inspired look with lots of greenery.
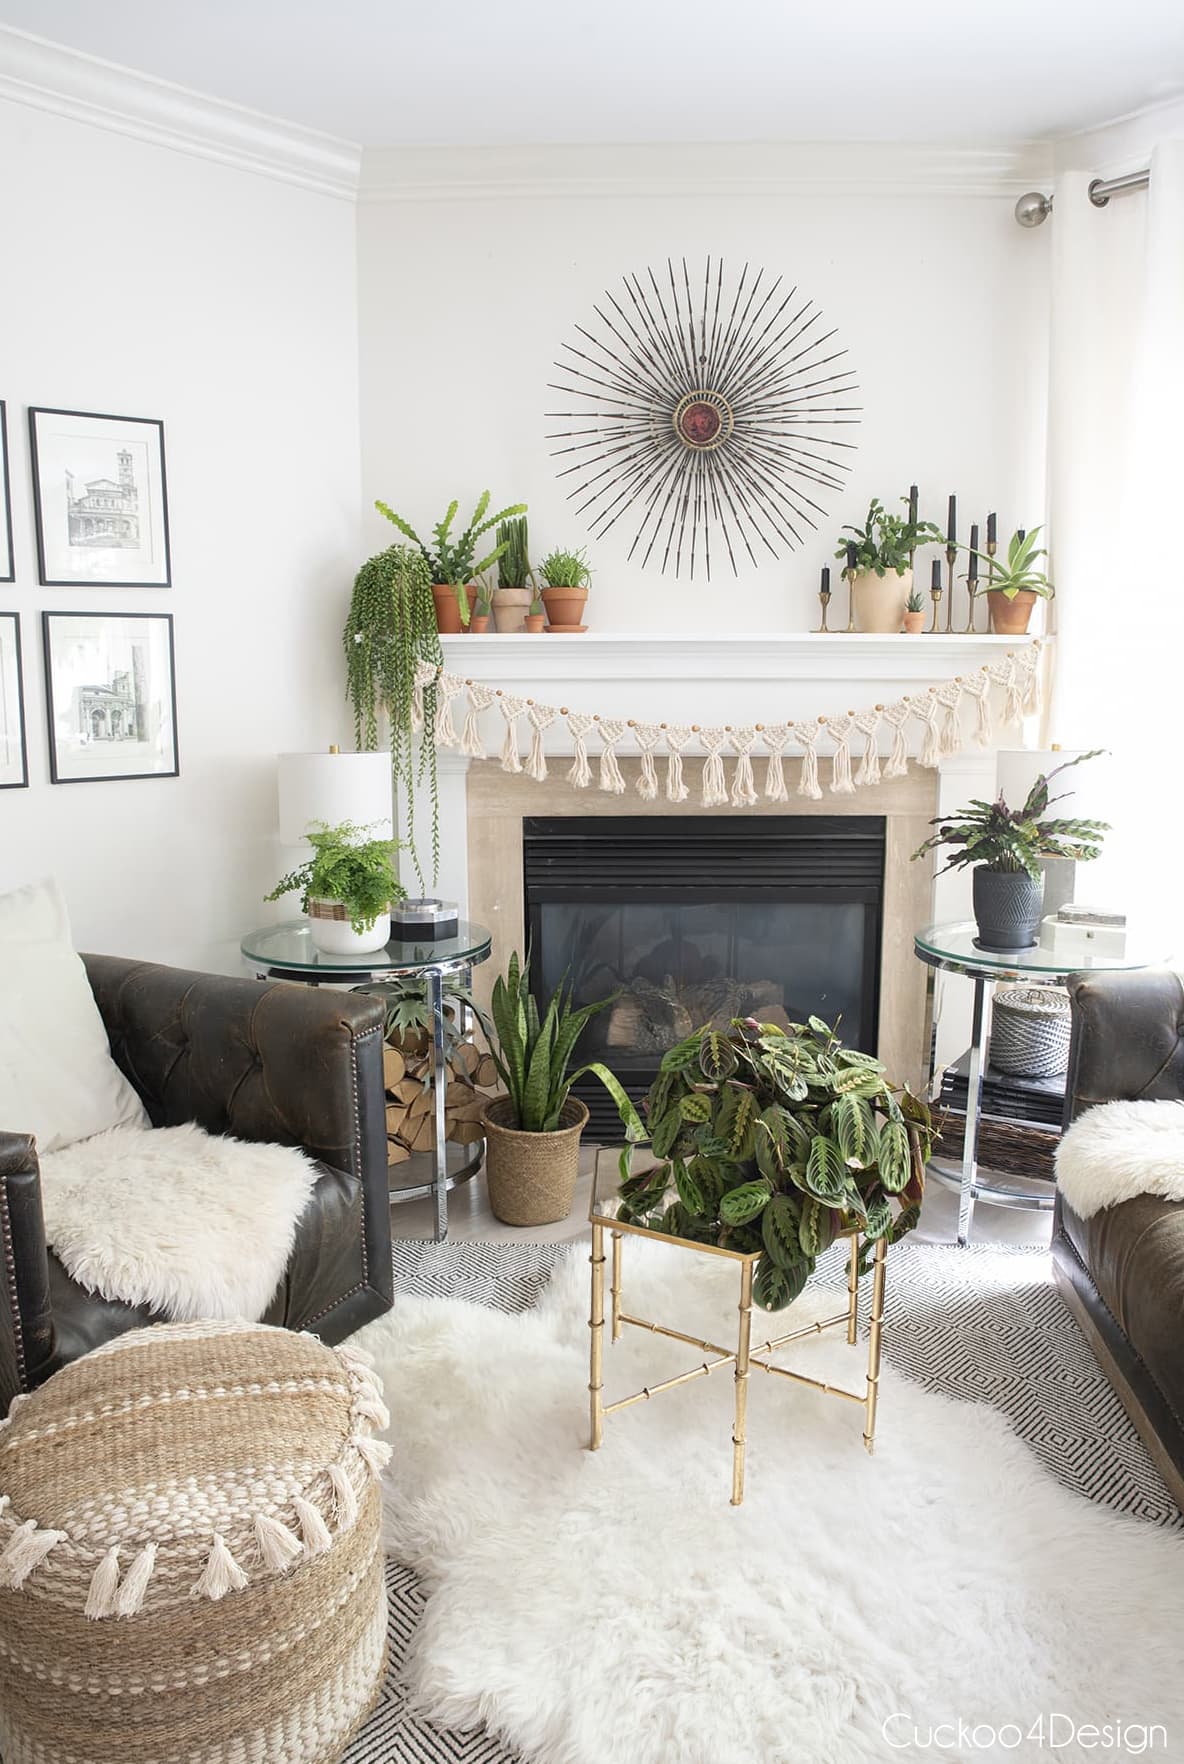
And here’s the most recent version of this cozy corner of our living room with a new gold arched mirror above the fireplace. It’s amazing how small changes can completely refresh a space!


Well, that was it for today again.
Tschüß,
i have passed up lamps before that are missing the harps….. because laziness!!! it always seemed like one of those stupid little tasks i didn’t know how to do. so i am glad you shared.
It really is a pretty easy project. Made it a little harder because I had to replace the pipe. Without that it would have been even easier.
Love the new shades! And good job figuring out how to make the switch; I would have given up the first time it got complicated 😉
LOL I was tempted but I like the lamps to I continued 😉
I cannot believe that you posted this on your blog today of all days! I just bought a lamp that I need to add a harp to but wasn’t sure if that was even something that could be done. Thank you. thank you. thank you!
Oh that’s awesome! Good luck!
Julia
Oh my gosh now I feel foolish for not buying lamps without it! Great tutorial. 🙂
Never again 😉
It looks like a simple task and easy to do! Love the idea!
You’re right, the lamps have a more balanced feel to them now. Good on ya! The artwork is so clever, but you’re right, Christmas is over and it’s time to try something else. Perhaps like cattle, grass prairie, bison…? There’s a lot going on in that little corner, so I guess less is more. 😉
Look like a small but creative idea for the lamp. It is also easy to do too. I think I will give my lamp a try like this. Thanks for your idea.
I love tassels. They’re so elegant. Particularly love the ones you made yourself: awesome.
THANKS so so much
Hi Julia, thanks for this ideas. I love when I find a project that turns out to be much easier than anticipated! I feel like such a pro! haha!
I just wanted to say the entire Vintage StyleLiving staff loves your blog! I love the way you walk us through adding a harp and absolutely love what you have done with that room especially the mantle!
Thanks