

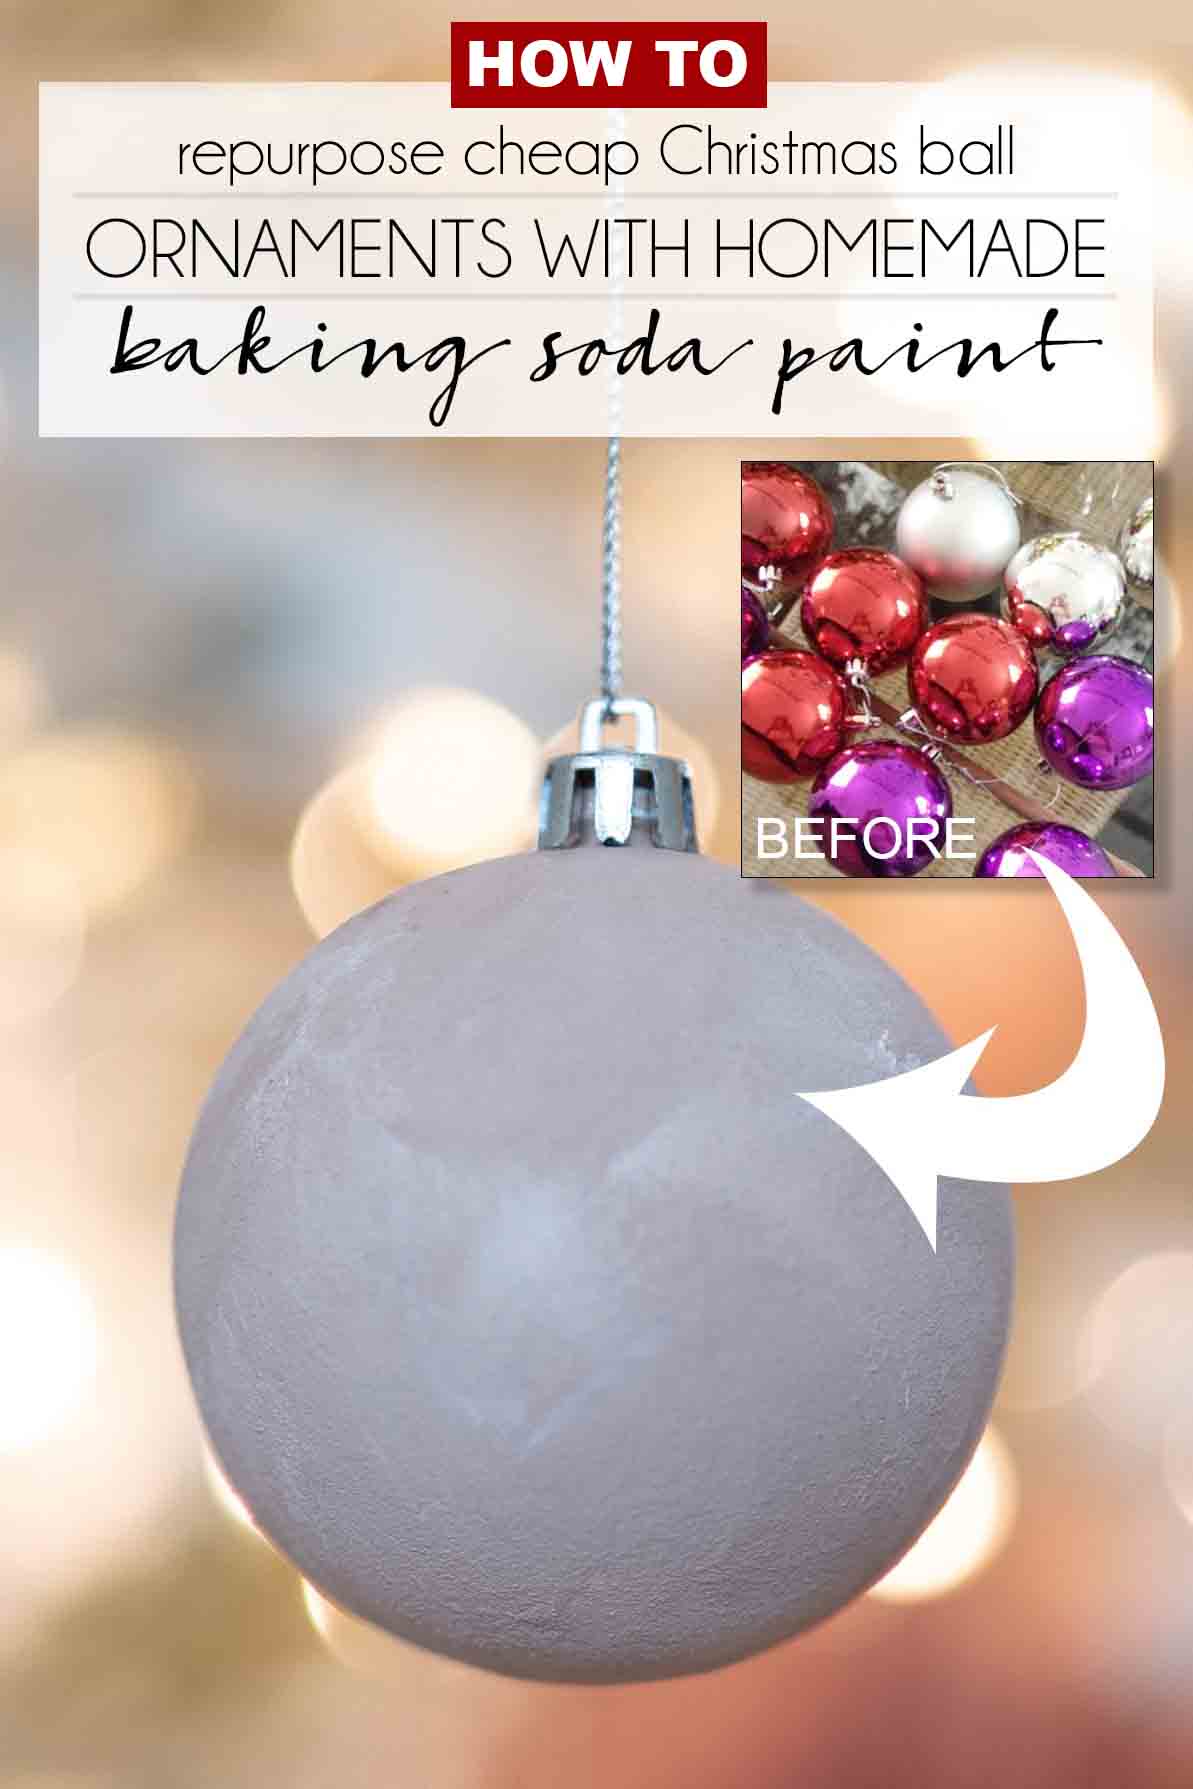
A fun way to repurpose cheap Christmas ornaments with baking soda paint
One of the latest crazes on Instagram and TikTok has been faux textured pottery and painting old thrifted vessels with baking soda paint to make it look like stoneware and terracotta. Today I want to show you how you can transform cheap Christmas ornaments and thrifted or old vases into modern painted Christmas ornaments that look like terracotta beauties.
Transforming cheap Christmas ornaments with baking soda paint
This post may contain affiliate links from which I will earn a commission at no extra cost to you. View my full disclosure policy.
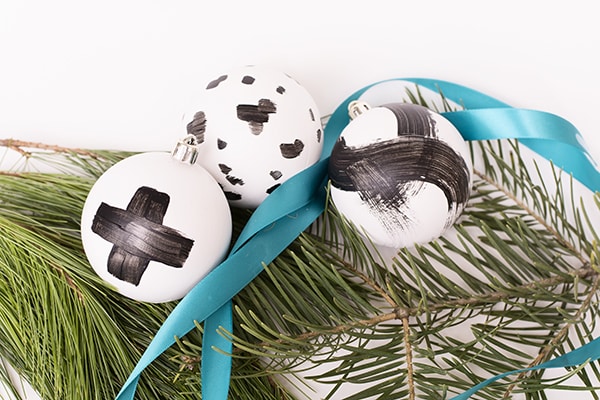
I love to repurpose Christmas ornaments and several years ago I painted some cheap colorful plastic Christmas ball ornaments to look like black and white painted brushstroke ornaments. Back then I loved the look but have changed my taste a bit since then. It was time to use them for something new.
If you’ve been around for a while then you know that I like to work with what I have and to repurpose things. That has definitely been the trend for me this year. I repurposed my desk into a bleached beauty and my mirror into a grasscloth looker just to name a few.
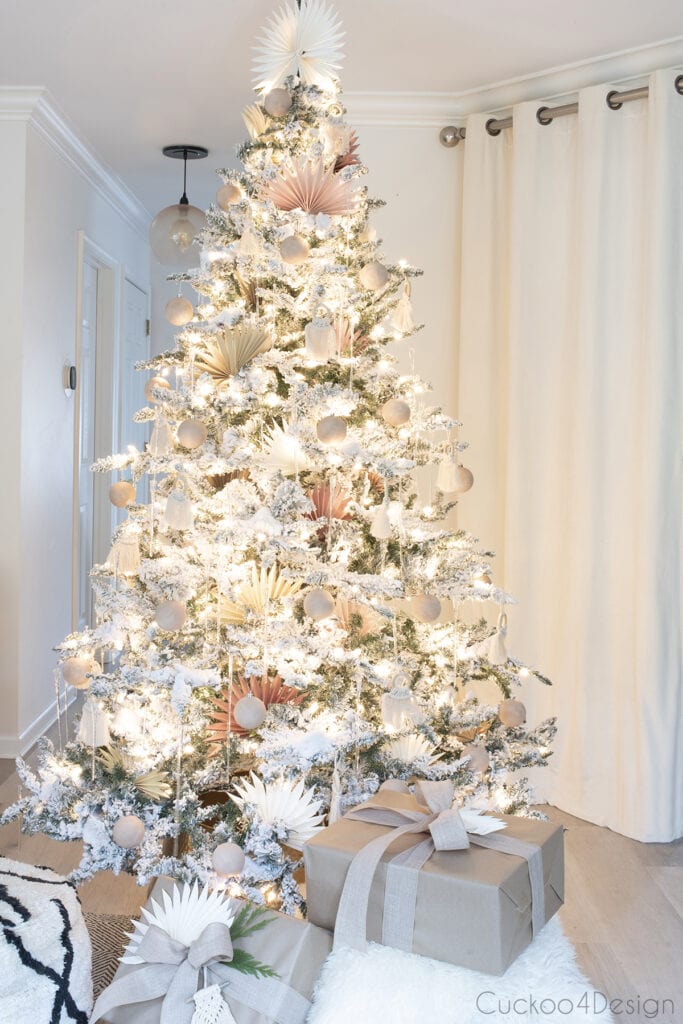
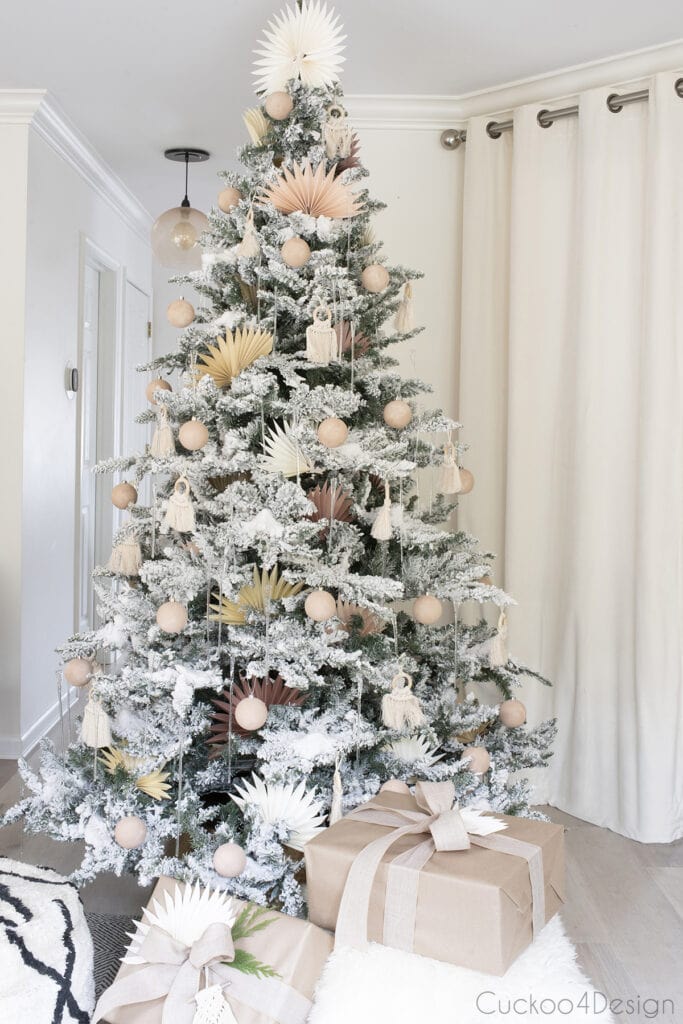
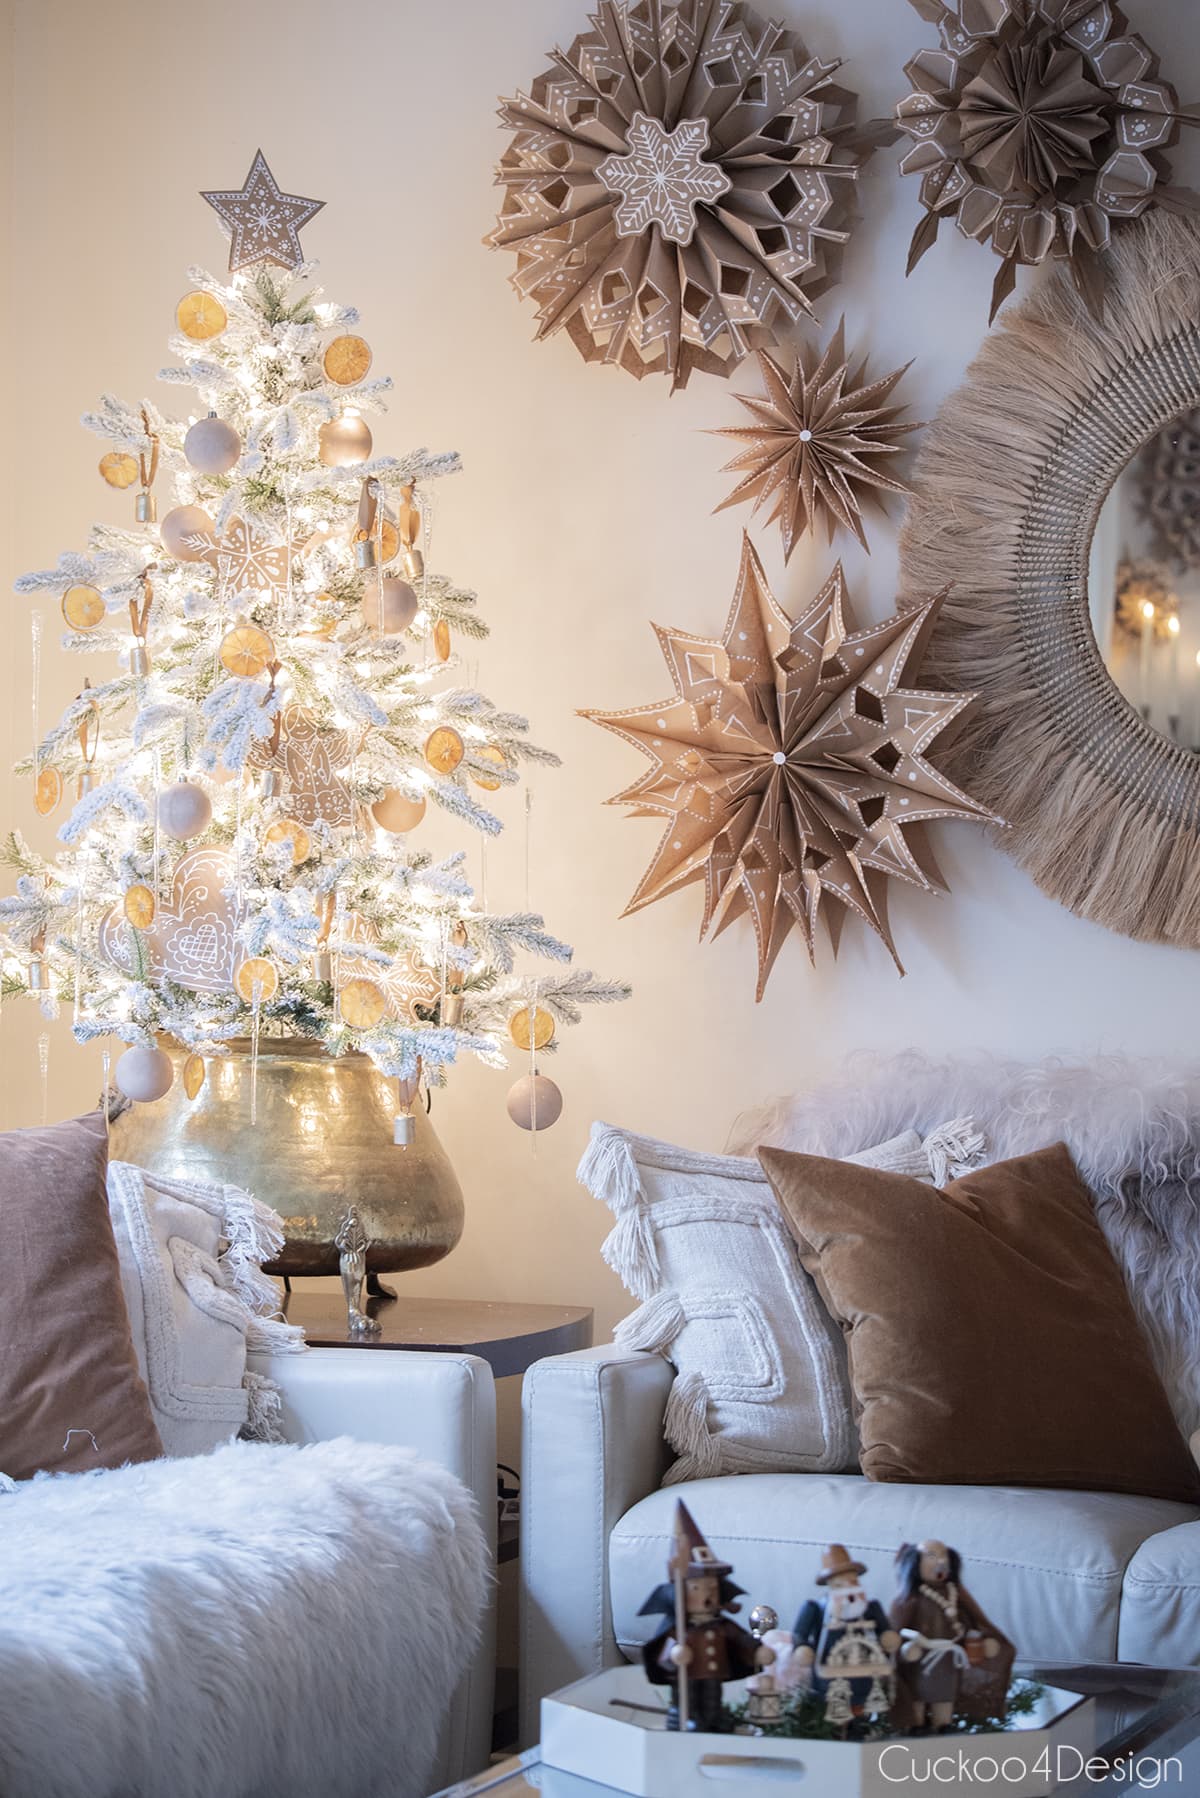
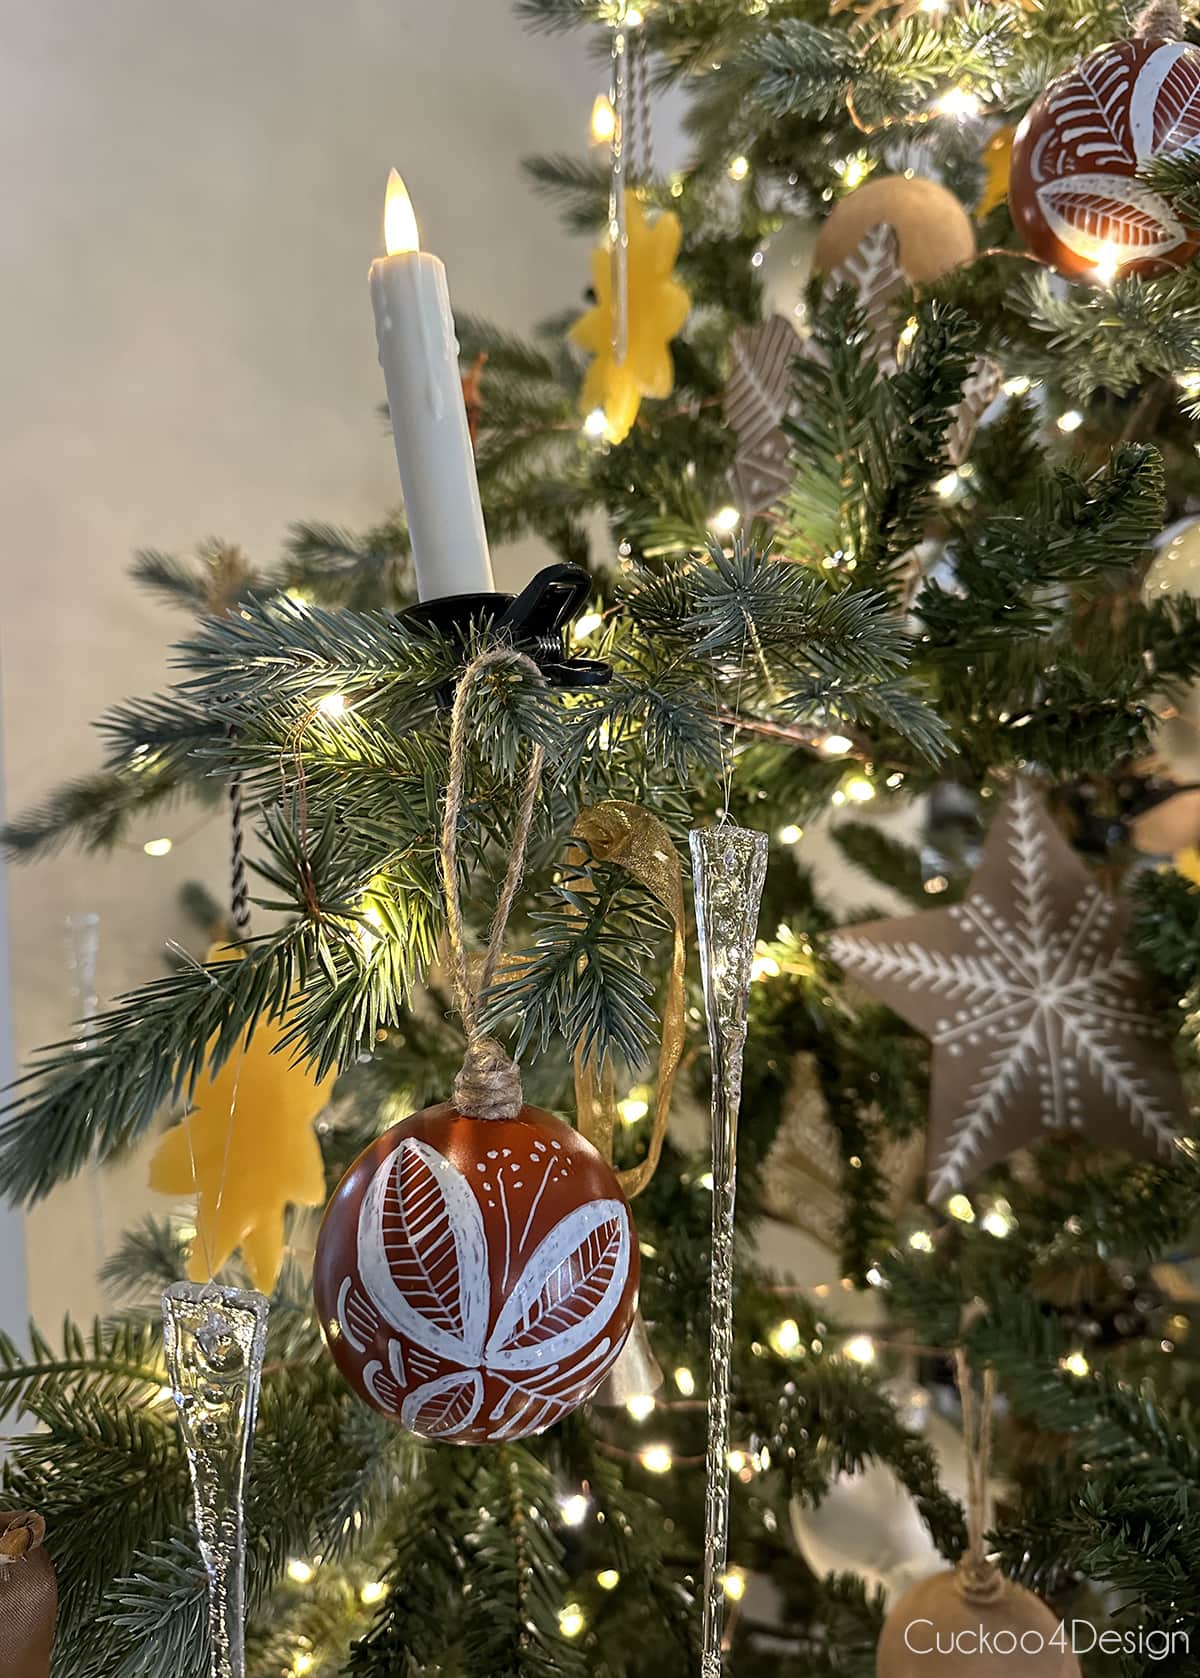
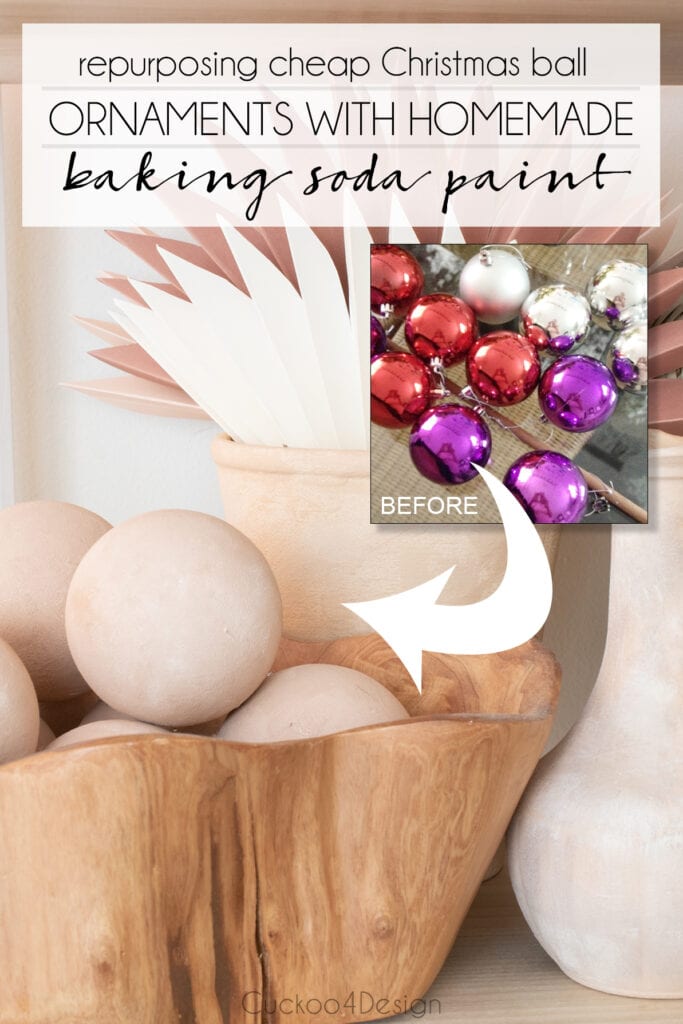
Below you can see how the faux terracotta sphere DIY ornaments look on our Christmas tree that I revealed this week in my Christmas tour. They are subtle and pretty and can also be used all year round which I will show you later.
Materials needed
- latex paint samples, leftover latex paint, or even craft paint, just don’t use oil paint ( I use different colors: a base color, a darker version, and white – more color details below in the instructions)
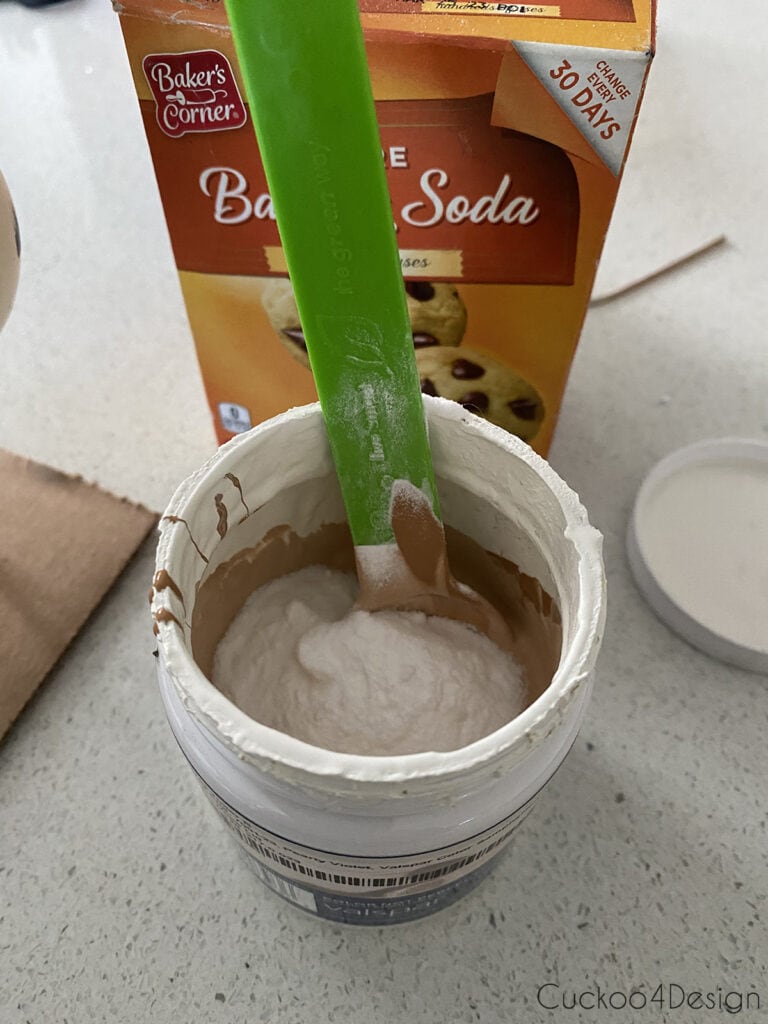
- baking soda
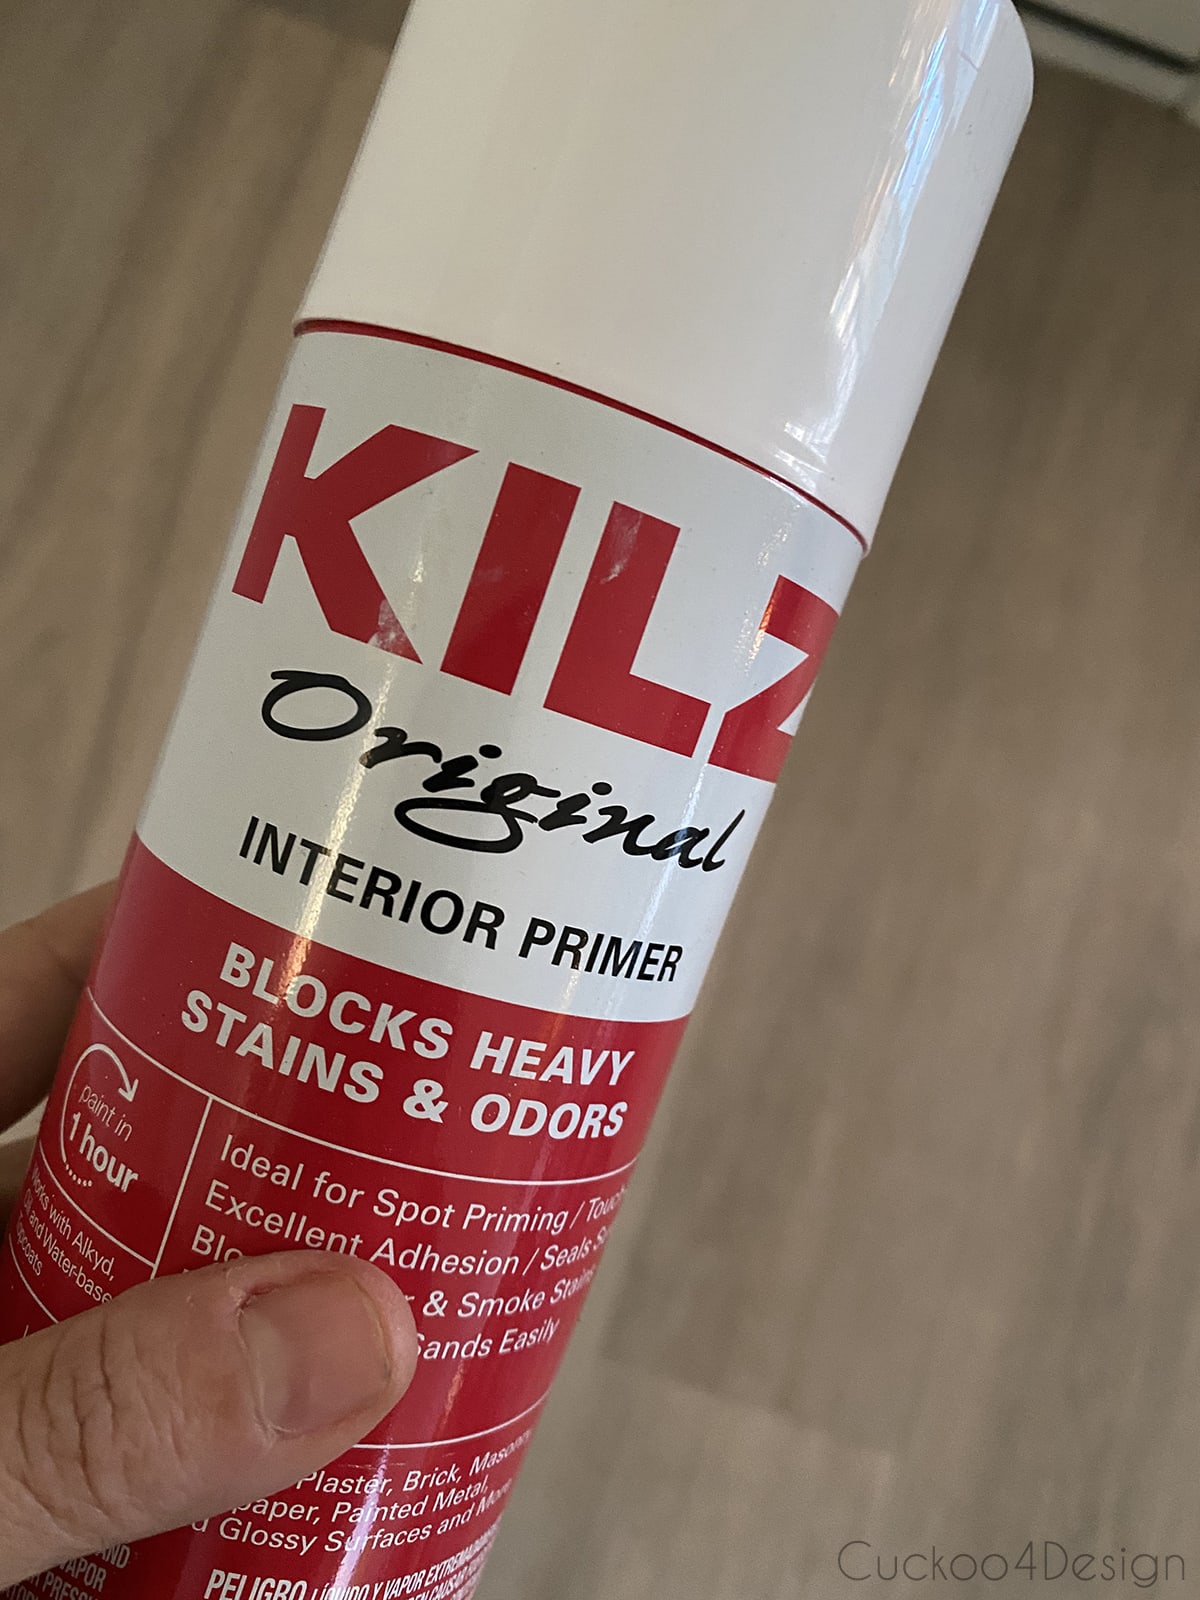
- Kilz spray paint primer (I’ve seen other people skip priming the outside of the ornament but I prefer to make sure the paint adheres perfectly to the shiny plastic)
- brush
- dropcloth
- ornaments (…or pretty much anything else you’d like to paint, the possibilities are endless and you could even use glass ornaments! The trend right now is to paint cheap pottery, vases, and glass vessels)
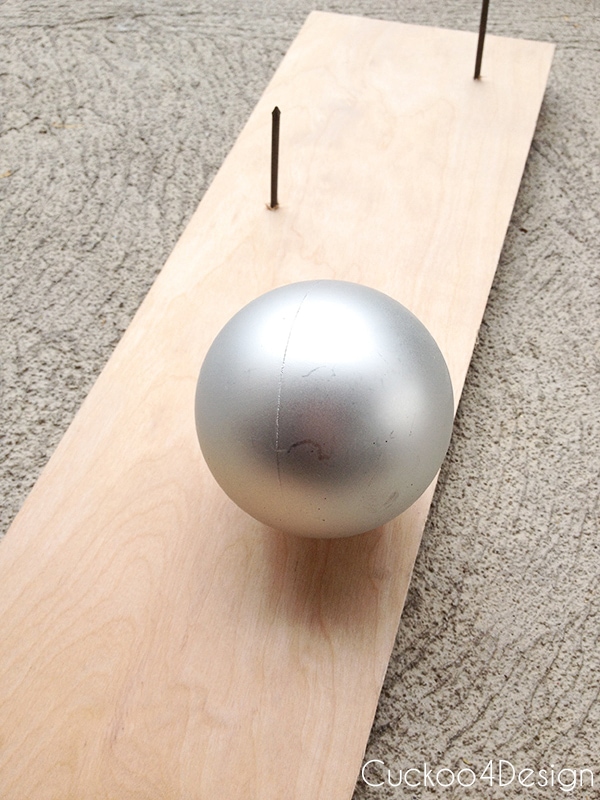
- cardboard or thin piece of wood
- nails, screws, or chopsticks (check below to see what I mean)
- spoon for mixing
RELATED: I have tried other DIY paint recipes in the past on furniture makeovers which is another great way to make affordable paint.
How to paint cheap Christmas ornaments with baking soda paint to make them look like terracotta spheres
This is definitely one of those easy DIY projects that even the kids in the house can help you with. Painting Christmas ornaments definitely doesn’t require super skills. If you are looking for another easy Christmas craft that kids of all ages can do then check out my lunch bag paper snowflakes.
When you add baking soda to paint, it makes the paint thicker, more textured, and less shiny than it was before. The more baking soda you use the more texture you get. If you are trying to paint something to make it look like pottery or concrete then this is the way to go. It is actually a lot of fun because you can’t really mess up.
Colors I used to paint Christmas ornaments:
You can buy color samples for cheap in small containers.
- Strawberry Malt by Valspar – 2008-8C (leftover paint from our bathroom makeover)
- Rustic Oak by Valspar – 2007-7B (paint sample)
- Ultra White by Valspar – 7006-24 (leftover paint from our house)
(Find out more about my favorite terracotta paint colors in a recent blog post that I wrote)
Some of the baking soda recipes out there give a certain ratio of paint to baking soda but I don’t really like giving a specific measurement for it because the beauty of this project is that it is forgiving and you can’t really do many mistakes.
Like I said earlier, I had a ton of cheap plastic ornaments leftover that I originally painted a couple of years ago with black and white acrylic paint (see my brushstroke ornaments tutorial). It was a fun project but I was ready for a change again.
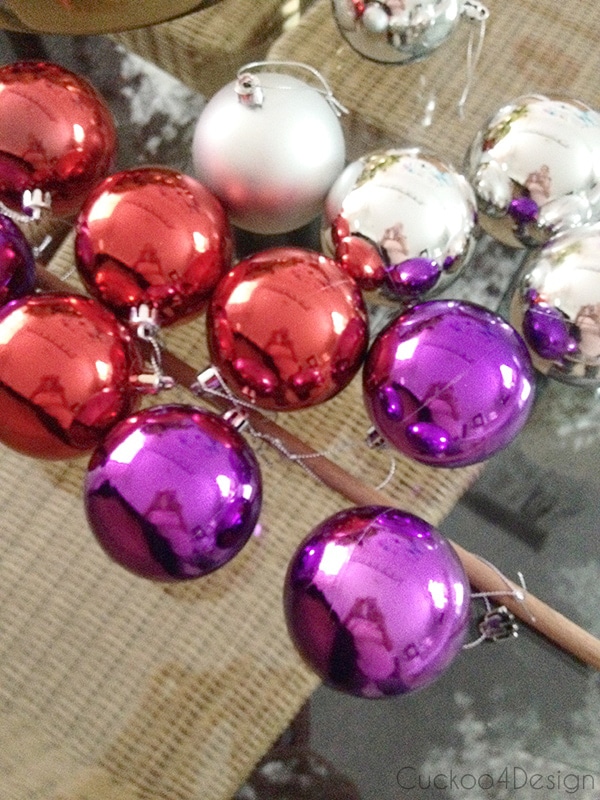
Below you can see the colors they used to be before I primed them with Kilz spray primer.

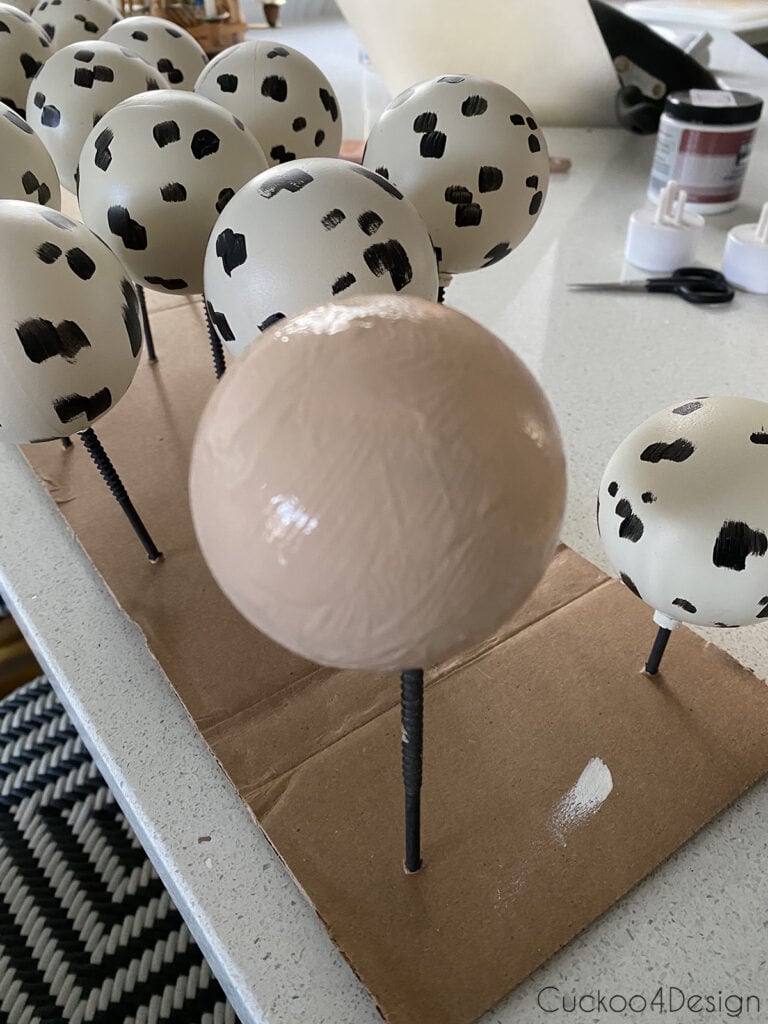

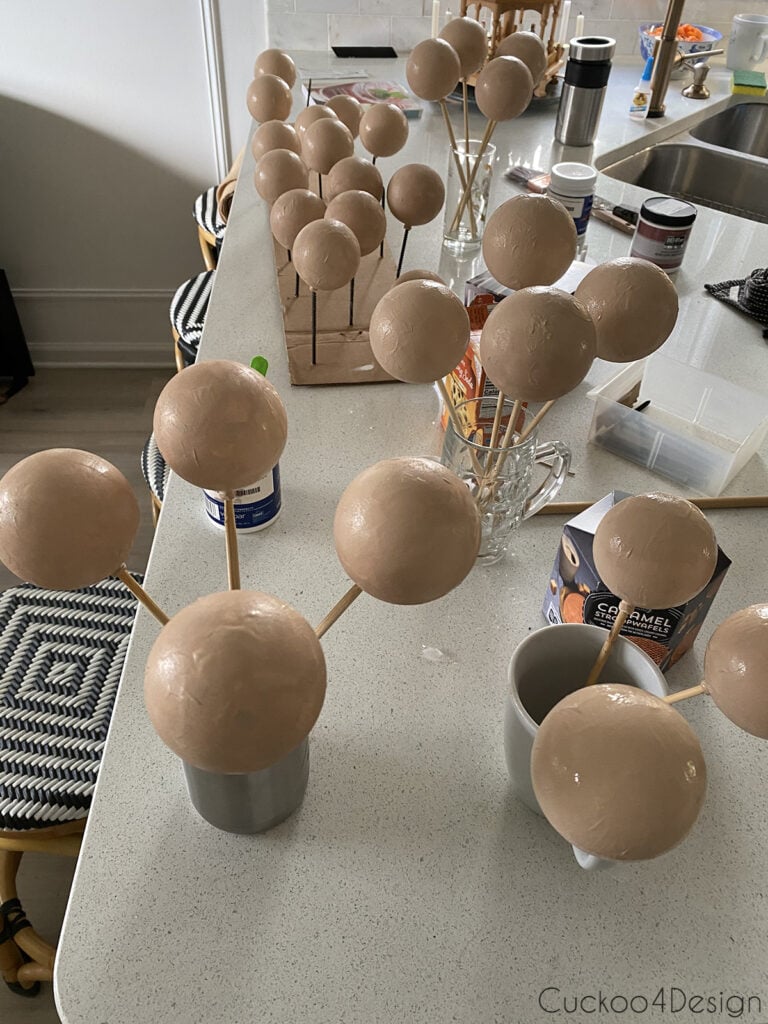
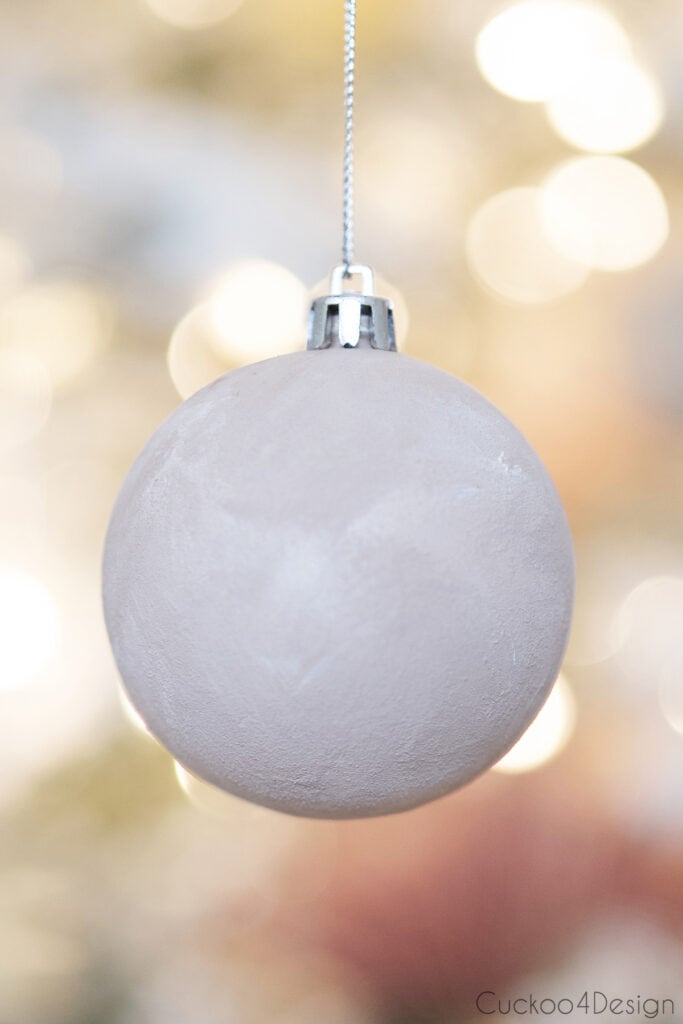
This faux terracotta paint project is all about layering the colors for texture.
- Like I said above I start with the middle-toned color which in my case is the Strawberry Malt. I actually ended up doing two coats of that color.
- When that is dried, I thinly brush on the darker color. For me, it was the Rustic Oak. Dab some of the paint off onto a paper towel before brushing it on so you can make sure it’s lightly painted on with no full coverage.
- When that is dried, I crosshatch an even lighter layer of the white paint. I wouldn’t even call it a layer. Just use the tips of the brush to lightly dust it with the white and feather it on.
- In the end, if you don’t like the results, then just go over it again. No harm here and super easy.
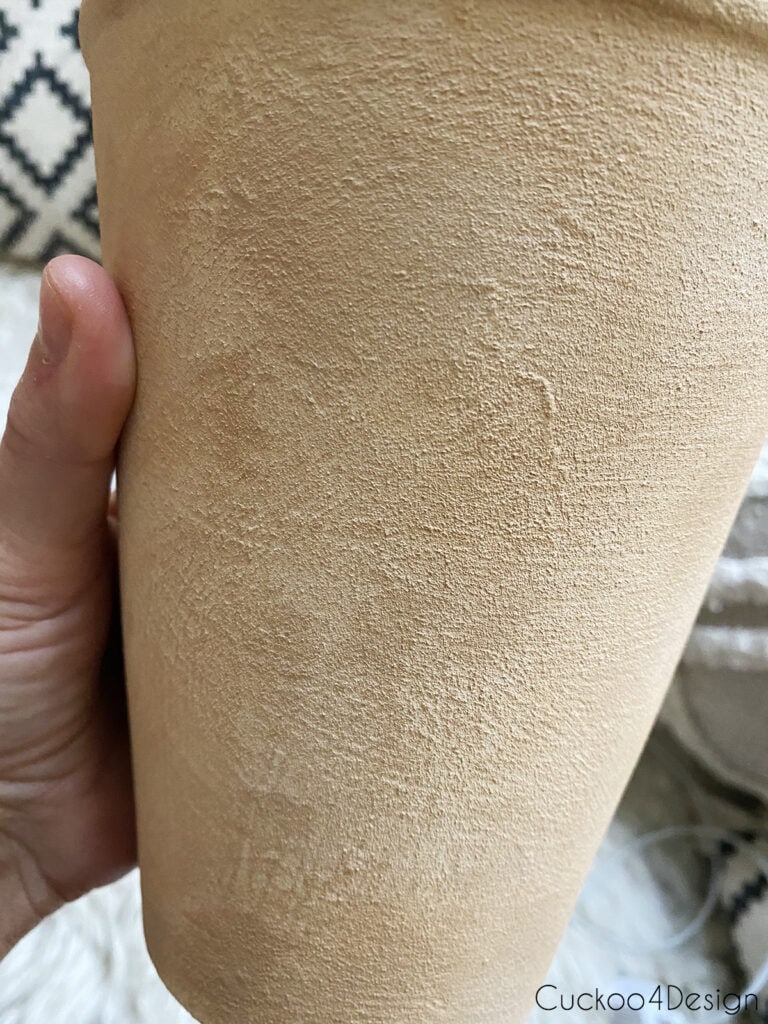
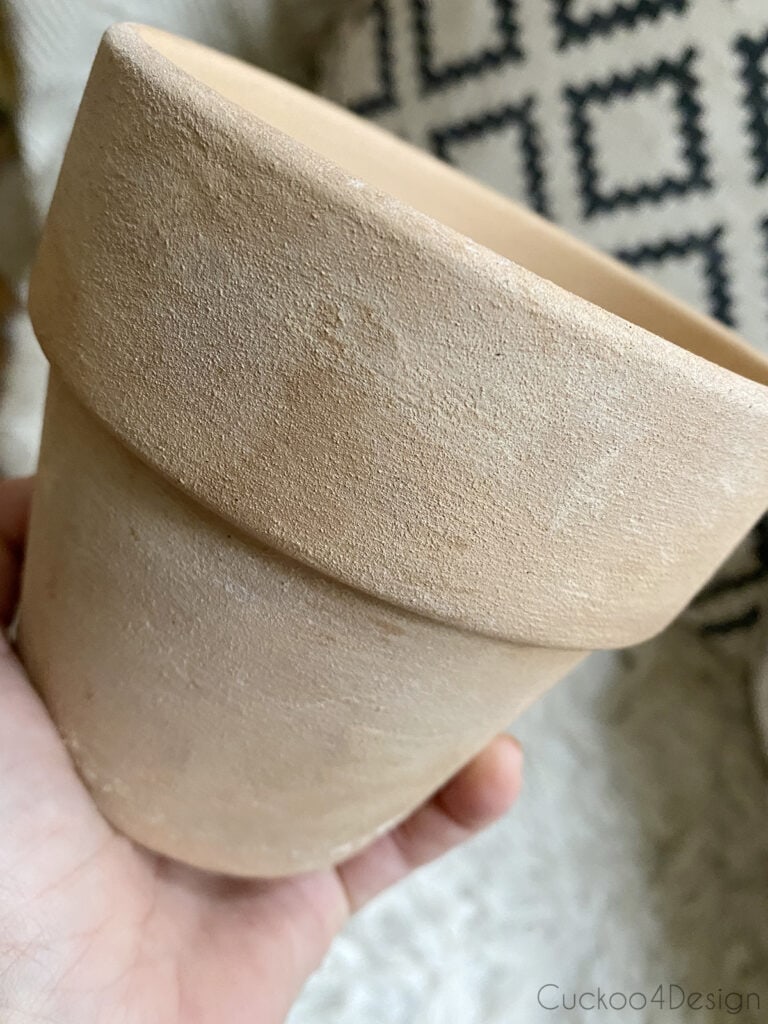
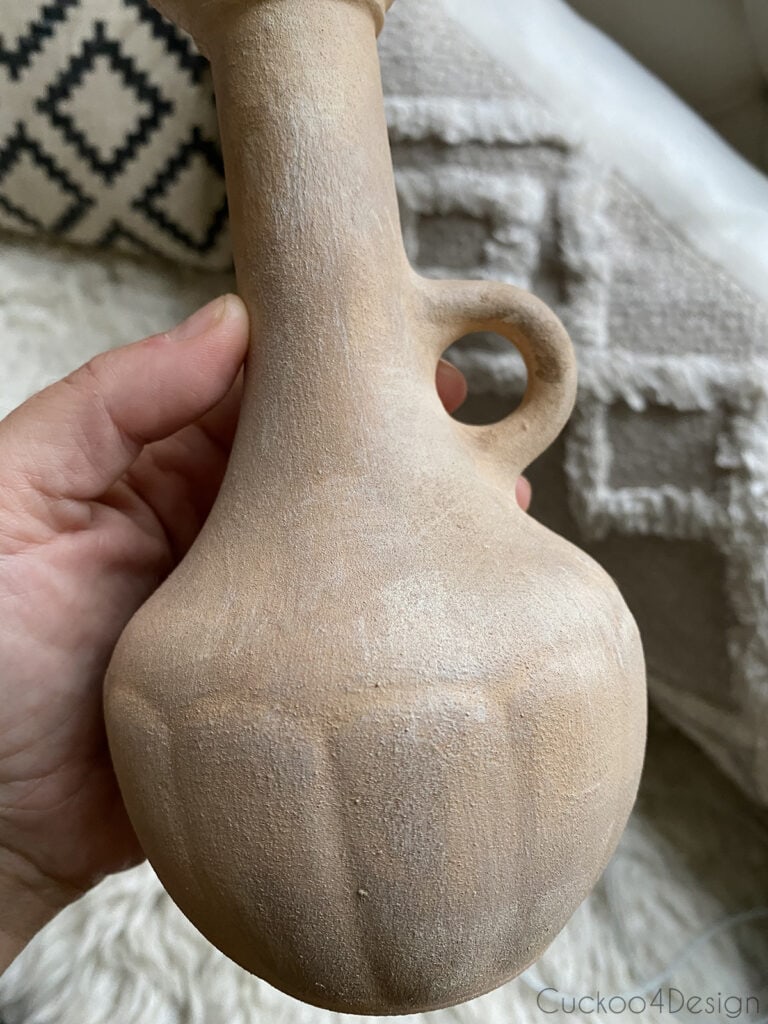
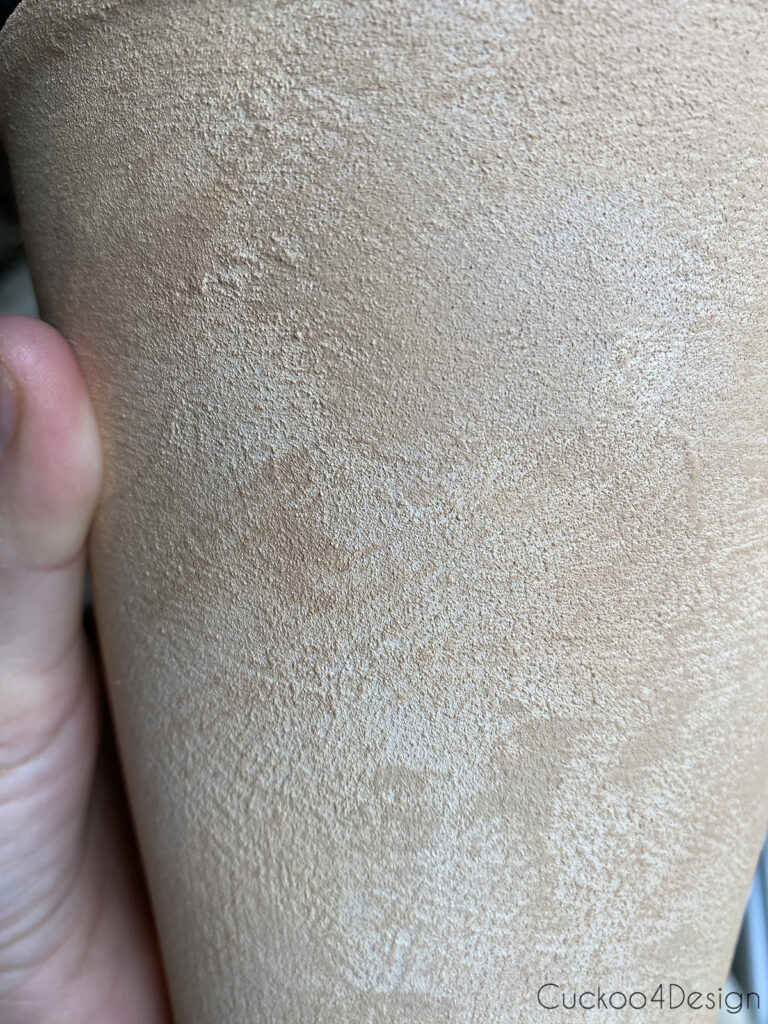
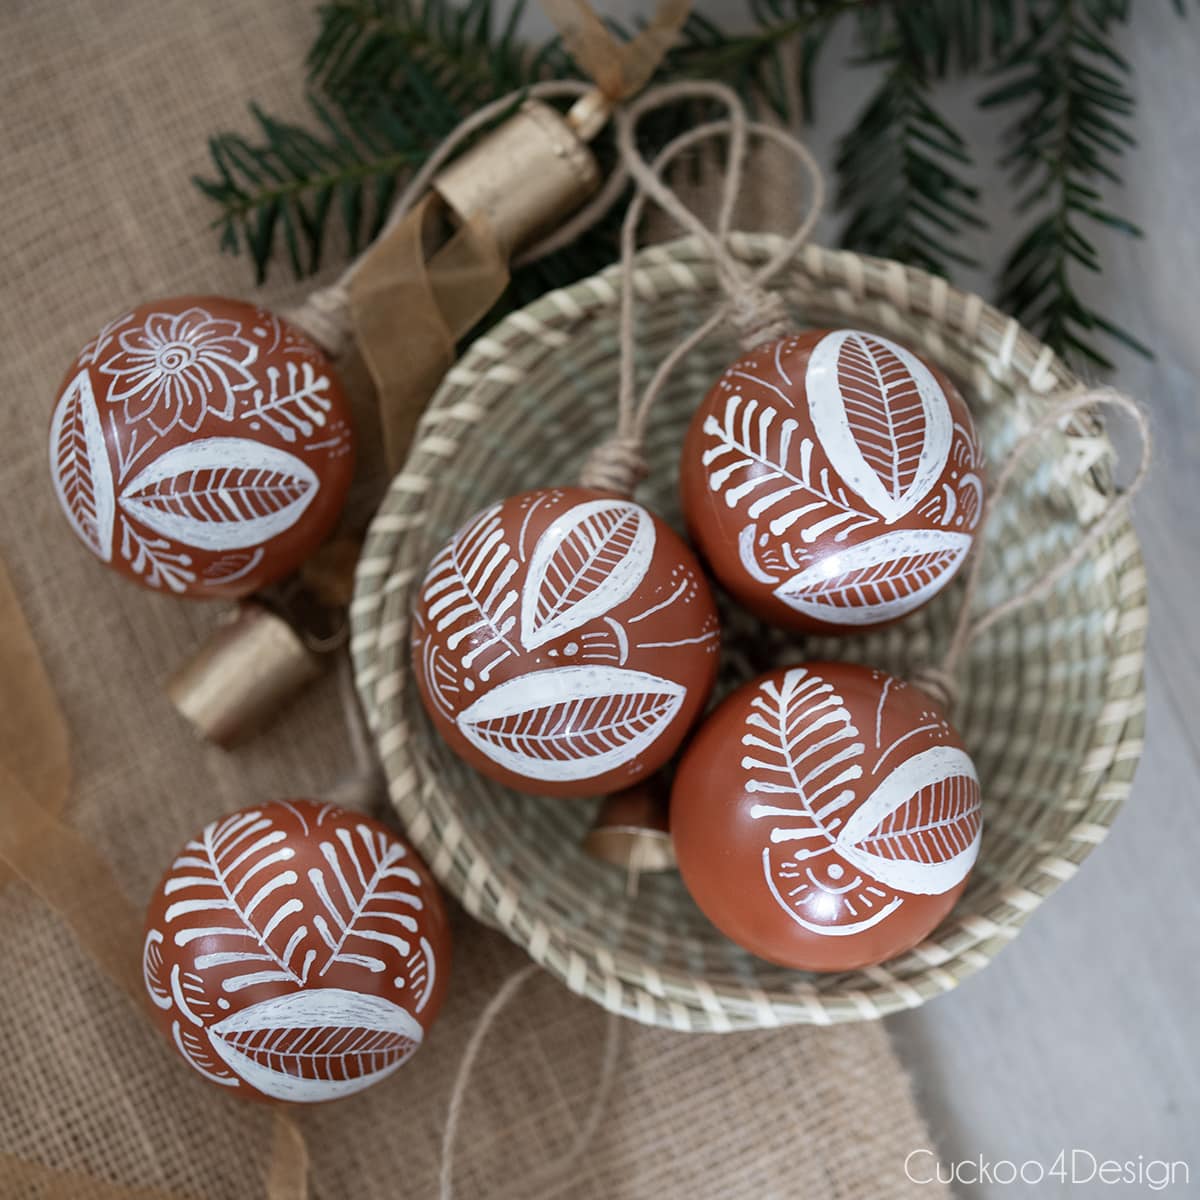
Check out the texture on my thrifted pots and vases. I think they really do look like terracotta, don’t you think so?
Also, check out how to paint flower pots for more tips!
Here is an idea for the finished faux terracotta spheres
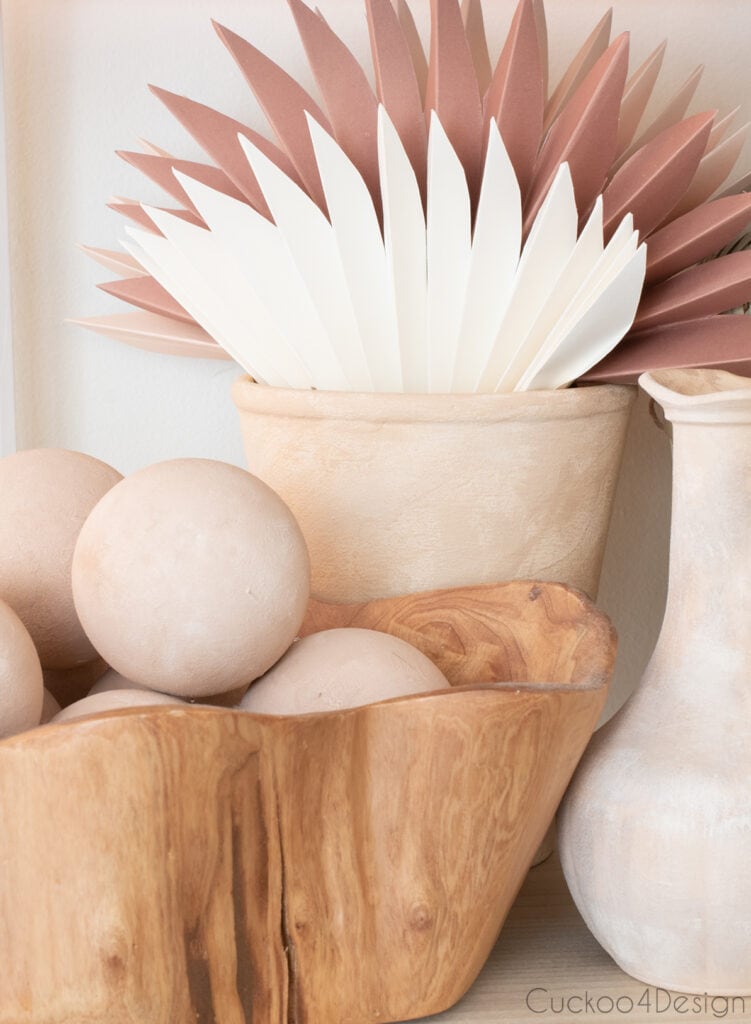
You can place the Christmas ball ornaments into a bowl all year as a bowl or vase filler. Just take the hooks or strings off and place them with the neck of the ball facing down. I also used my faux palm-leaf fans in a painted vase.
I think the baking soda paint Christmas balls are perfect for my tree. You can see them better when the lights are off.
I keep using these painted ornaments every year and recently did in my home tour with gingerbread decor. where I also made gingerbread Christmas ornaments out of cardboard. I even added gingerbread details to my paper bag snowflakes.
RELATED: If you are looking for another idea on how to paint plastic ornaments, then check out my faux burnished pottery Mexican Christmas ornaments where I am also using a redish terracotta color.
UPDATE: I used them again in my cheap sparse artificial Christmas tree with the above-mentioned newly painted ornaments and DIY beeswax ornaments.
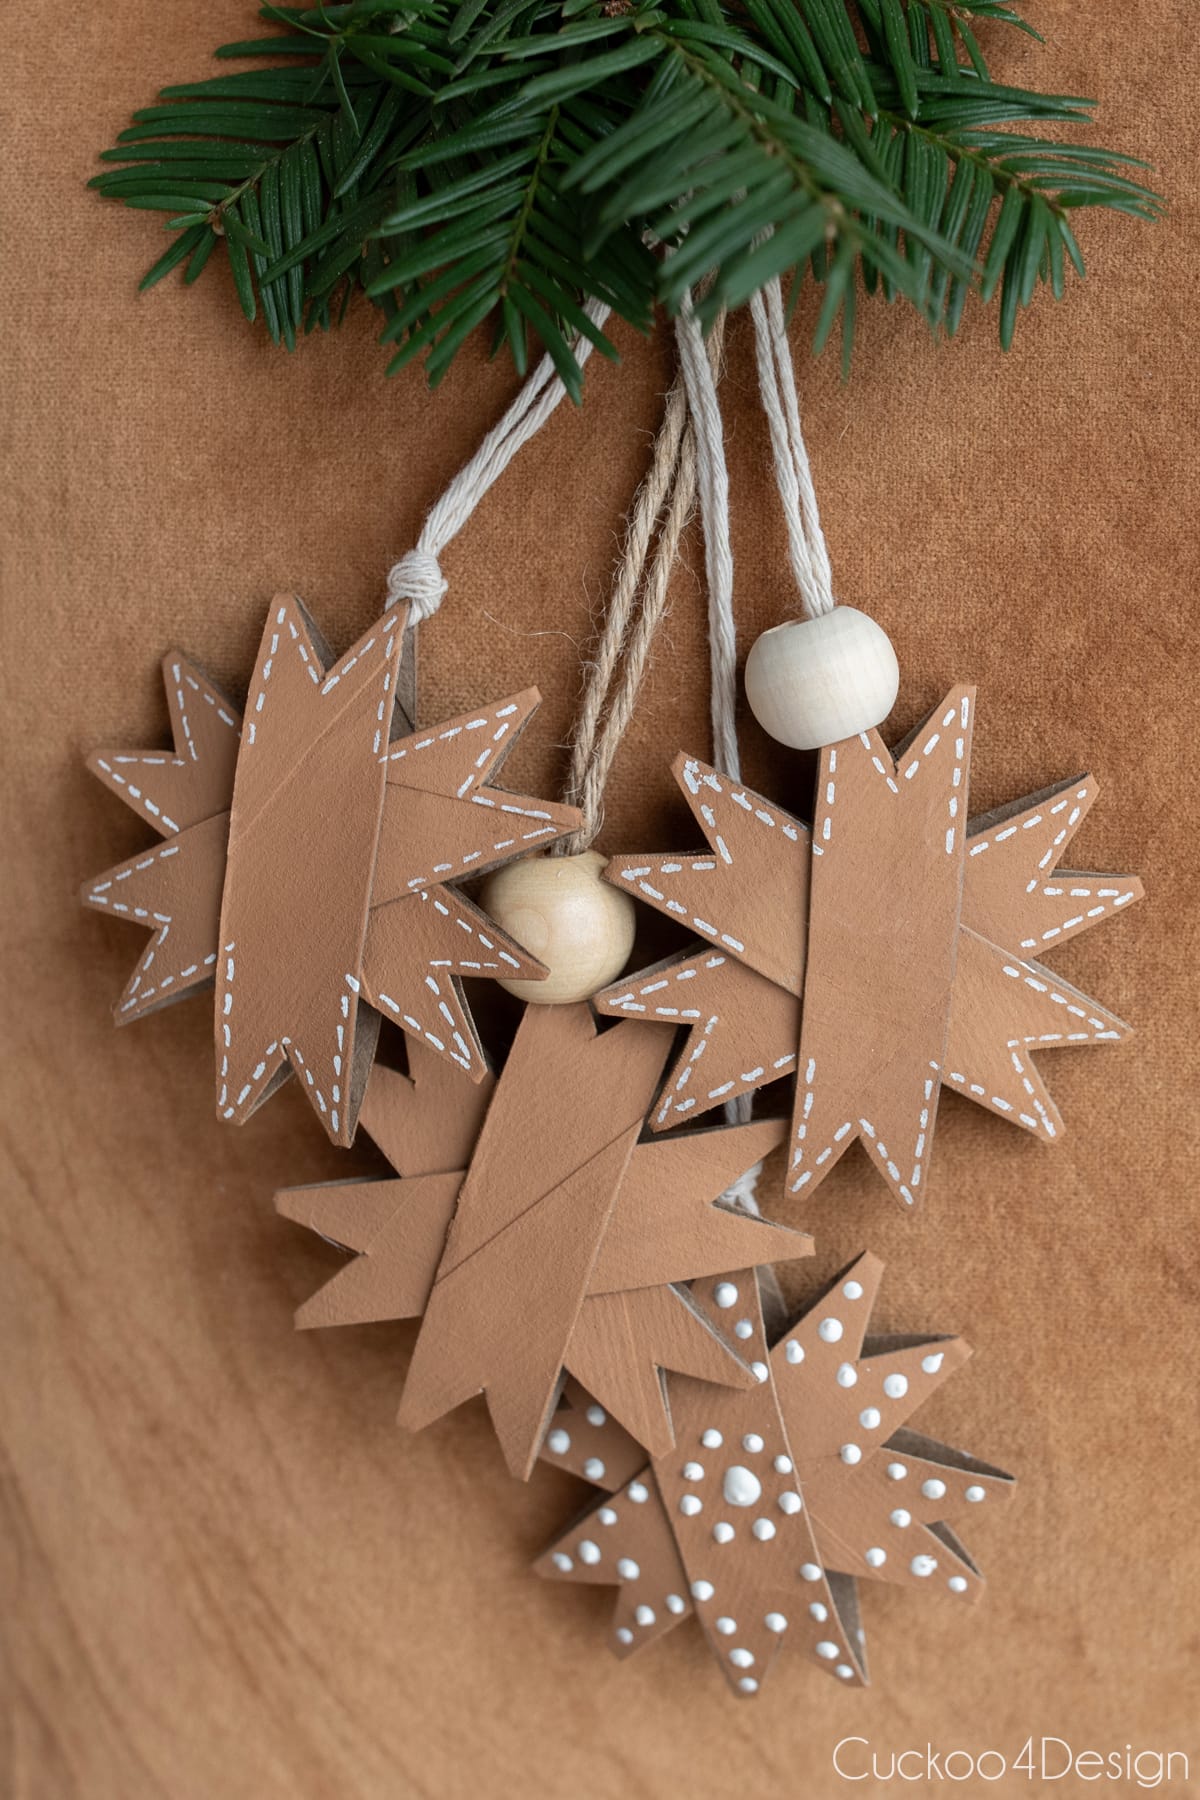
I also made toilet paper roll stars to match my favorite velvet pillows by painting them with the same type of paint.
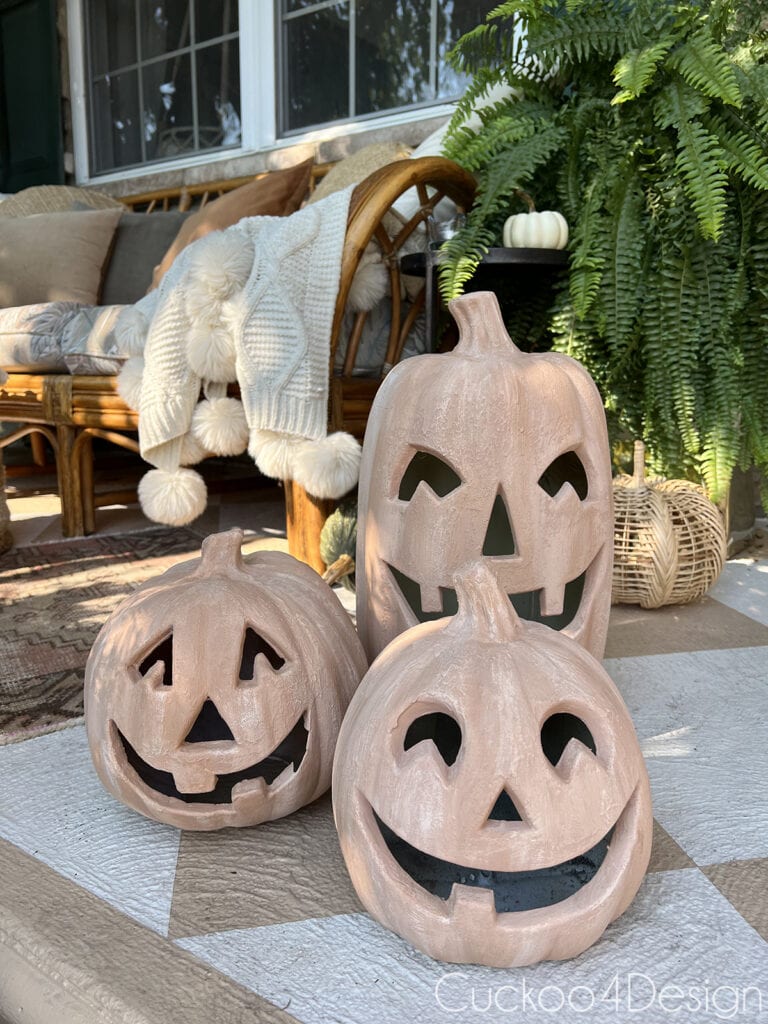
UPDATE: I recently used the same paint sample leftovers to give some mismatched plastic pumpkins a faux terracotta makeover.
Maybe I should make a video yet for this project but there are so many out there already since I mentioned this is kind of a craze right now. I have not seen DIY Christmas Ornaments painted this way before. So that’s a new one.
So what ya think? Is that a Christmas decoration that you’d be into? If not here are some of my other ornament blog posts like my poster board snowflakes with free snowflake svg file, easy honeycomb ornament, foldable 3D stars, or my favorite wooden German Christmas ornaments.
Tschüß,

So clever and looks amazing!
Great idea! Merry Christmas, Julia!!!
Julia,
Thank you for this idea and I’m going to try this with paint I have left over from all the crazy stuff I have painted in the past. I like that there is no measuring and I can eyeball the texture. Thanks again and Merry Christmas to you and your family:)
they look so amazing on your tree! great idea!
How do you imagine paint pens would do to draw on these once finished? I am looking for something girl scouts can customize:)
I’m not sure because the baking soda paint has texture to it.
I could not find your recipe to repurpose things. How did I miss it or do I have to buy mixture formula? Doris
Hi Doris, I mention in the blog post that I don’t like adhering to a specific recipe because it also depends on what consistency you want and how thick your paint is so “Mix baking soda into your paint sample to get a thicker pudding-like consistency. If you want more texture and grain then add more baking soda.” That’s all there is to it. Good luck!